BIOSTAR Gaming Z170X ATX Motherboard Review
Legit Reviews Test System
Before moving on to putting the BIOSTAR Gaming Z170X through some benchmarks, let’s take a quick look at the standard test configuration we will be using, along with the testing procedure and a glimpse of the UEFI BIOS.
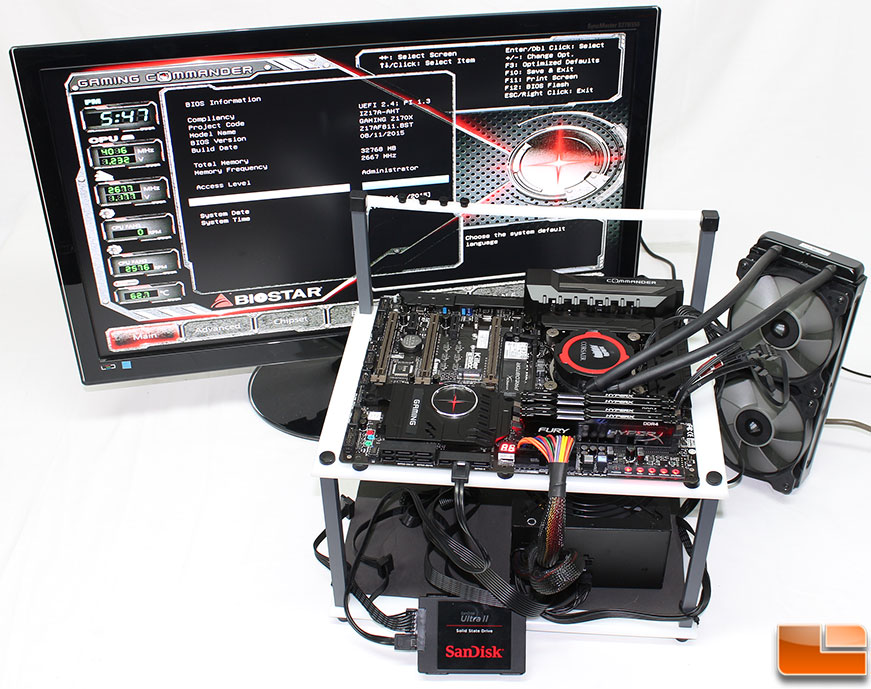
Intel Z170 Test Platform
Here is a quick look at the specific components used in the test system:
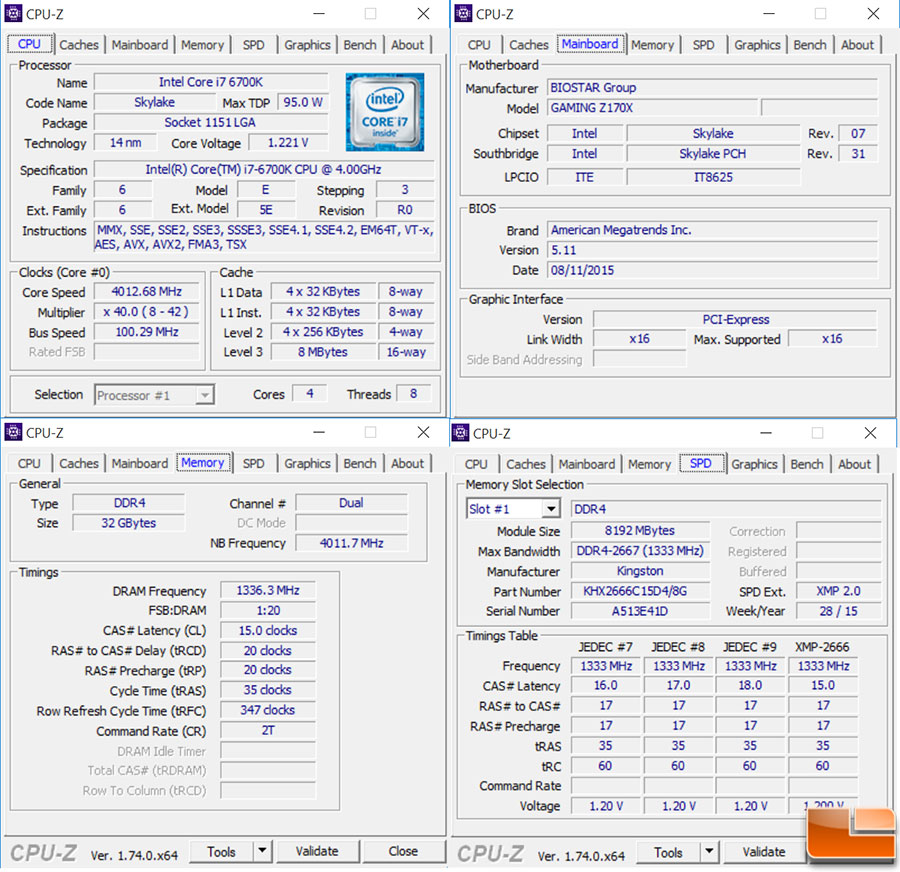
| Intel LGA 1151 Z170 Test Platform | ||
| Component | Brand/Model | Live Pricing |
| Processor | Intel i7-6700K | Click Here |
| Memory | Kingston 32GB DDR4 2666MHz | Click Here |
| CPU Cooler | Corsair H105 | Click Here |
| Video Card | eVGA GTX 970 SC | Click Here |
| Hard Drive | Intel SSD Pro 2500 180GB | Click Here |
| Hard Drive 2 | Sandisk Ultra II 480GB SSD | Click Here |
| M.2 | Kingston Predator G2 x4 240GB | Click Here |
| Power Supply | Corsair CX750M | Click Here |
| USB 3.1 Type C | Kingston DataTraveler microDuo 3C | Click Here |
| Operating System | Windows 10 Pro 64-bit | Click Here |
Testing Process
The above listed components will be installed on an open air test bed. Windows 10 will be a fresh install with all the latest patches, drivers and firmware available at the time we begin the testing.
All testing will be done in a temperature controlled room that maintains a 72F (22.2C). A 24-hour burn in is done to allow the thermal paste time to cure before doing any thermal testing.
Where possible, we will use integrated benchmarks, and run them three times averaging the results. In situations where there are no integrated benchmarks, we will use FRAPS to an analyze the performance, doing the same game run three times before averaging the FRAPS results.
Installation Process
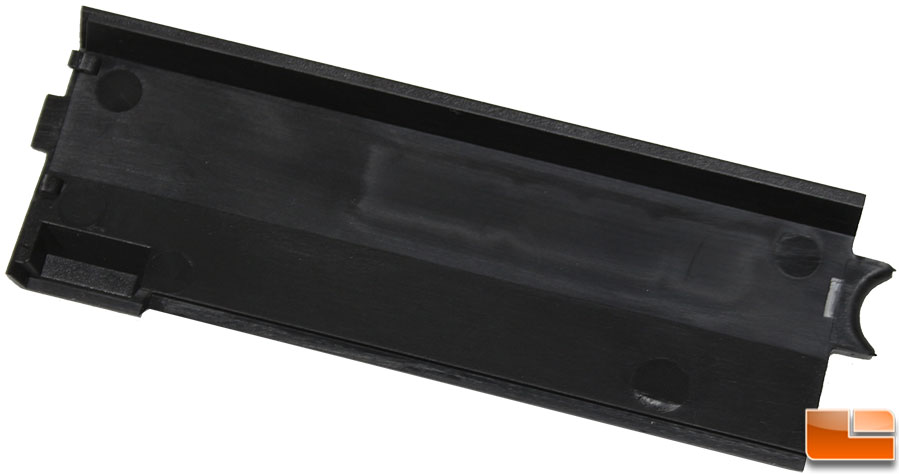
On my review sample, one thing that I quickly found is that the little cover for the hidden M.2 slot is rather difficult to put back into place. I tried several times to get it to go back in, and was afraid to keep pushing on it that it would break or cause a fault in the motherboard. Eventually I ended up breaking one of the little clips at one end of the cover. Upon further investigation, it seems the main clip wasn’t set correctly, and it was pressing against the top of the M.2 slot, all my pressing caused a dent in the M.2 plastic. Trying to fix the main clip, I went with a little too much pressure and snapped it. Now for the good news; BIOSTAR has acknowledge this is a potential issue, and will be looking to redesign the cover. My recommendation is to leave the cover in place if you do not need to use the M.2 slot.
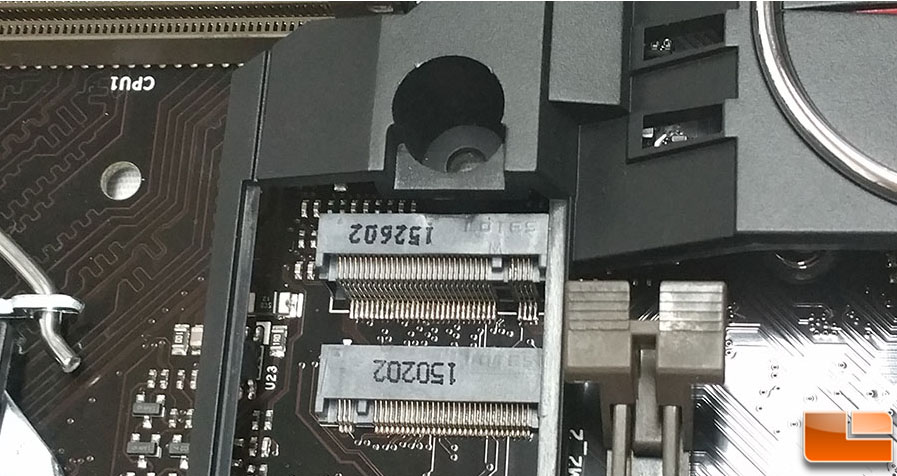
Installing the M.2 drives was very easy, and no different than any other M.2 installation. However, BIOSTAR used small thumbscrews to secure the Kingston Predator M.2 drives rather than small screws. The little thumbscrews are a nice surprise and much preferred over little screws.
BIOS
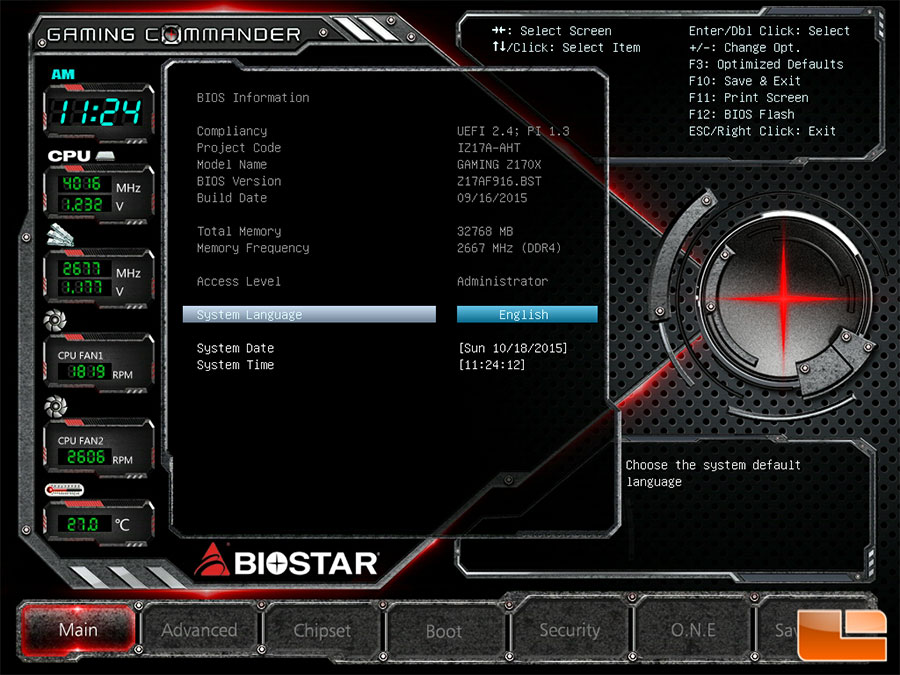
The BIOSTAR UEFI BIOS is pretty basic, providing a large number of screens with various options. If you are familiar with BIOSTAR’s previous motherboards, then this will look familiar. I found the UEFI BIOS to be easy to use and find the options I wanted to change.
BIOSTAR has issues two updates to their UEFI BIOS, both of which list Overclocking Stability as the key improvement. The latest BIOS is still listed as being in BETA, and while you should update to the latest version, we will utilize the 811 update, which is in production and not BETA stage.