ASUS P9X79 Deluxe Motherboard Review
ASUS P9X79 Deluxe UEFI BIOS
In the introduction of this review I stated that one of the main reasons for me wanting to upgrade is so that I can be using the newer UEFI BIOS (Unified Extensible Firmware Interface Basic Input Output System). Quite honestly the UEFI BIOS is a lot more user friendly, less cumbersome, and a lot less scary then the traditional BIOS. Whether you are a hard core Enthusiast, or a beginner computer user, the UEFI BIOS can accommodate any one of us types of computer users without having us pulling our hair out while trying to figure out how to set up our computer.
To view these images larger, Please click on them to view in a browser window
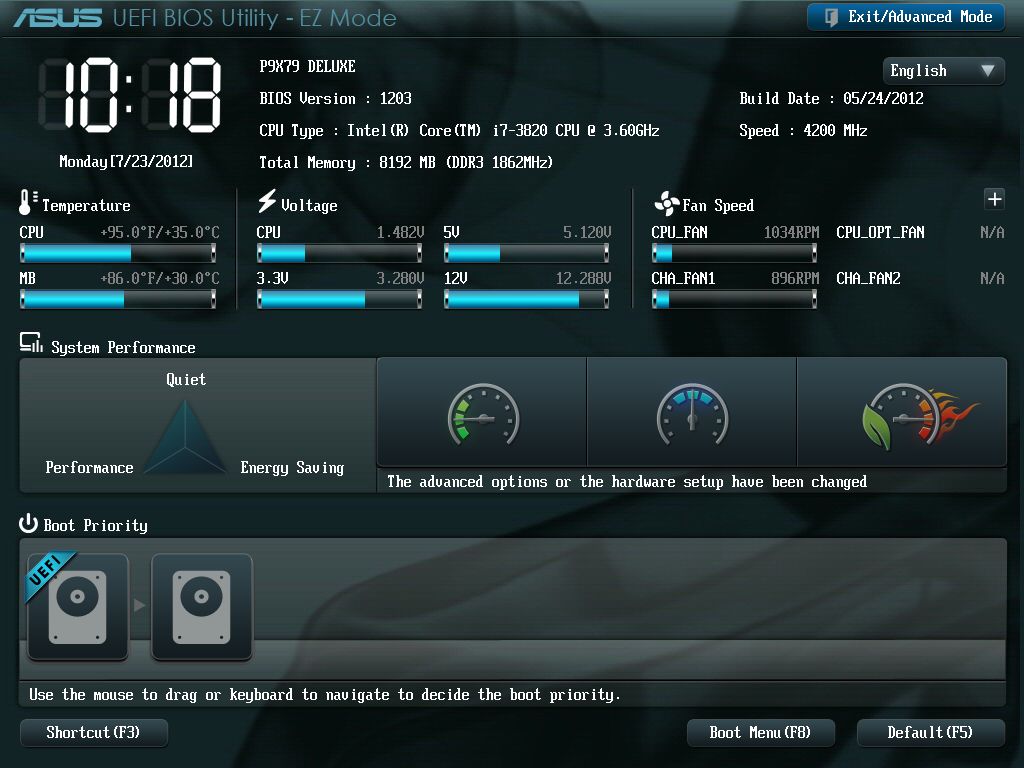
When we first enter the UEFI BIOS this is what we will be greeted with, the EZ Mode of the UEFI. Starting from the top of the screen working our way down, we get some general information about the computer. Right below this is where we can monitor our major computer areas, like temps, and voltages. Moving down, this is where if we do not feel comfortable in the advanced portion of the UEFI but still want a quick and painless overclock, we can click on any one of the buttons here, there are three buttons and each one will give us a different level of performance. And each level of performance is determined by the cooling of the computer system, and what we are running on this motherboard. Then at the very bottom of the EZ mode of the UEFI BIOS is where we can change our boot order of our drives. Towards the bottom right hand corner, we can either default the UEFI settings or we can go directly to the boot menu.
Time for me to move on to the meat and potatoes of the UEFI BIOS, the Advanced Mode. This is where we are giving a lot more flexibility on what we can do with the P9X79 Deluxe motherboard, being that there are so many different settings, I will stick to the Ai Tweaker menu. To enter the UEFI Advanced Mode just move your mouse over to the Exit button, click on it then click on the exit to Advanced Mode button.
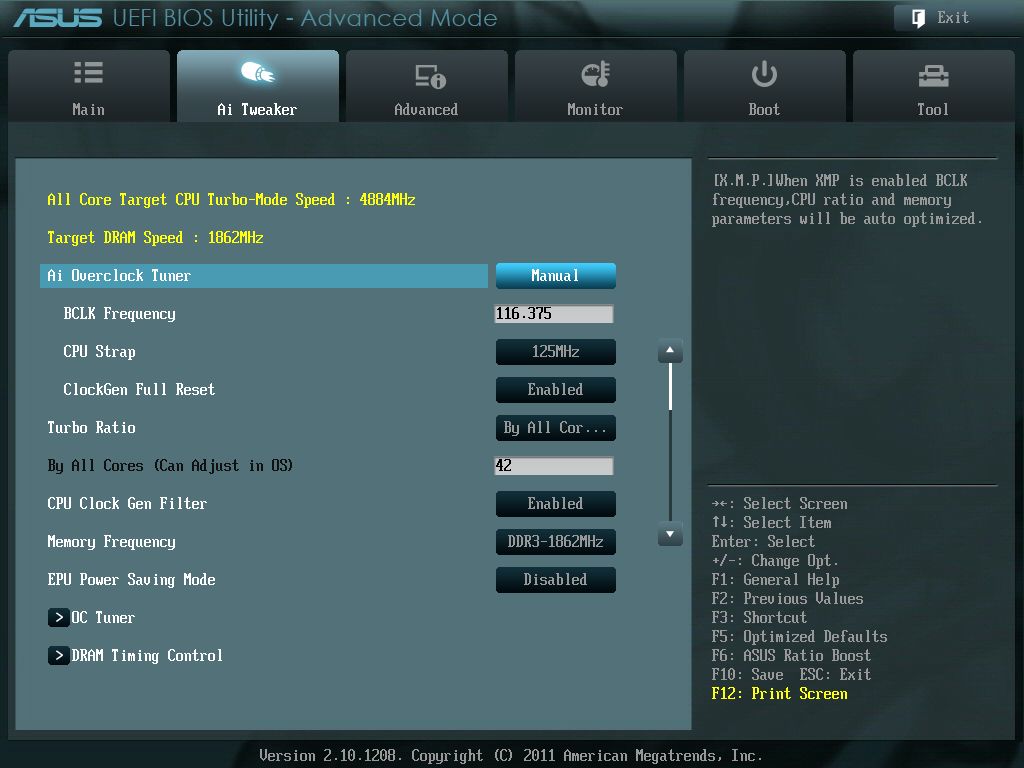

The Ai Tweaker menu is where we can overclock/configure the CPU, motherboard, and the memory to our personal specifications. As we look at the main menu of the Ai Tweaker we can already tell there are a lot of different settings we can make to fully customize and fine tune the P9X79 Deluxe motherboard.
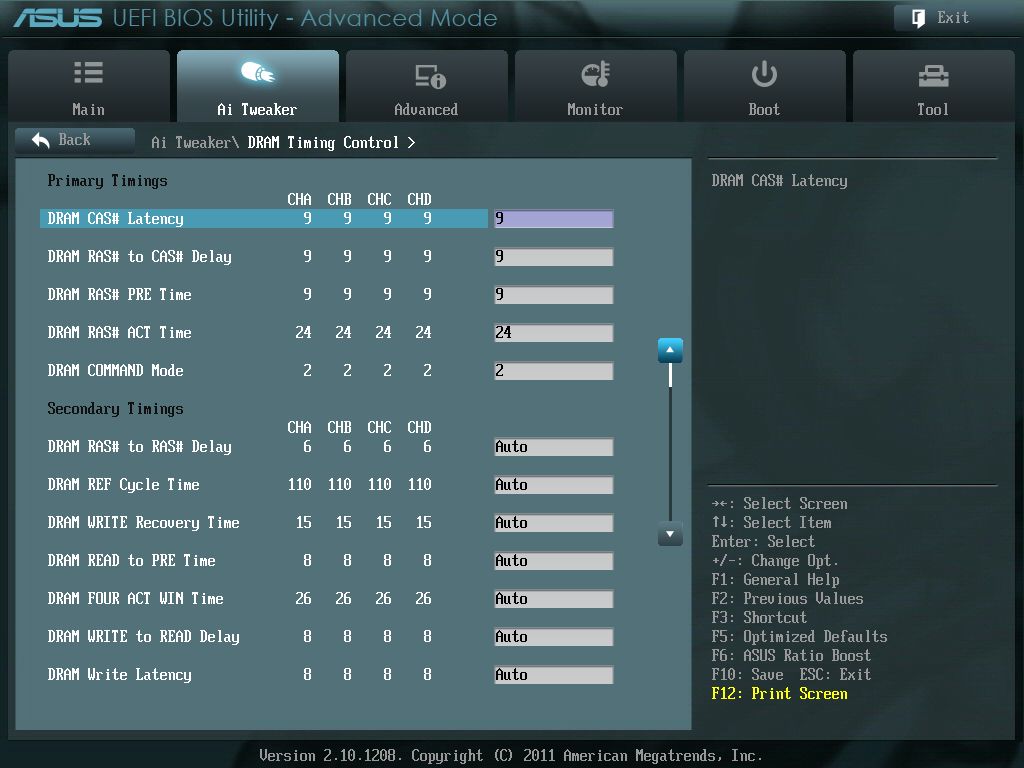
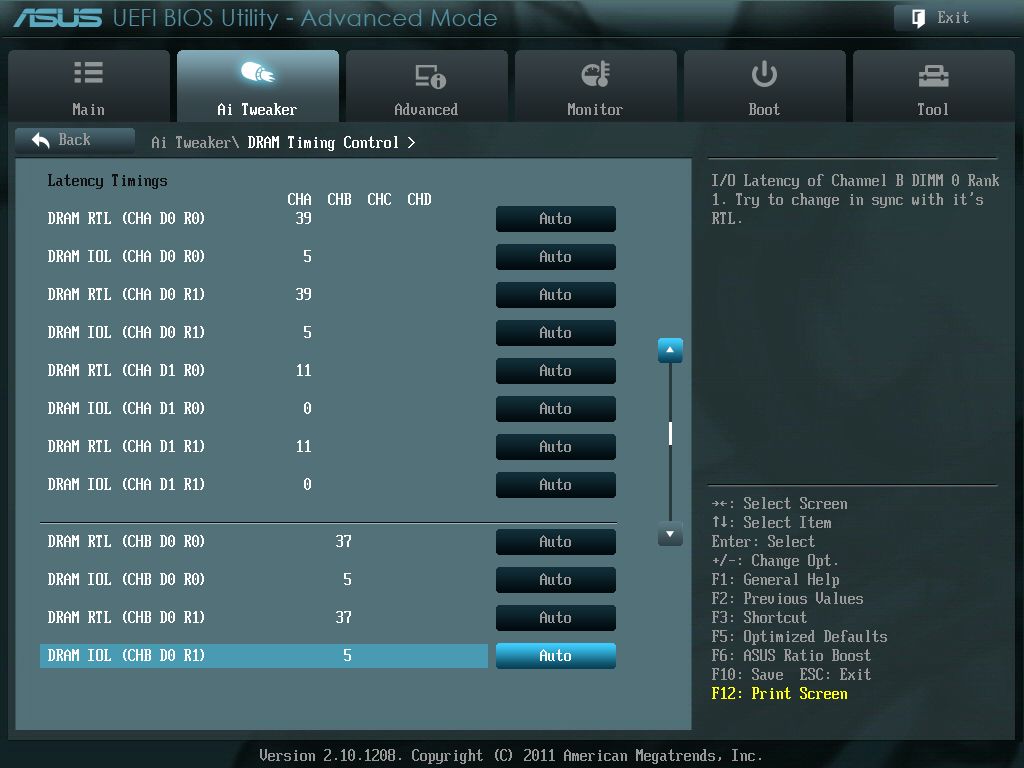
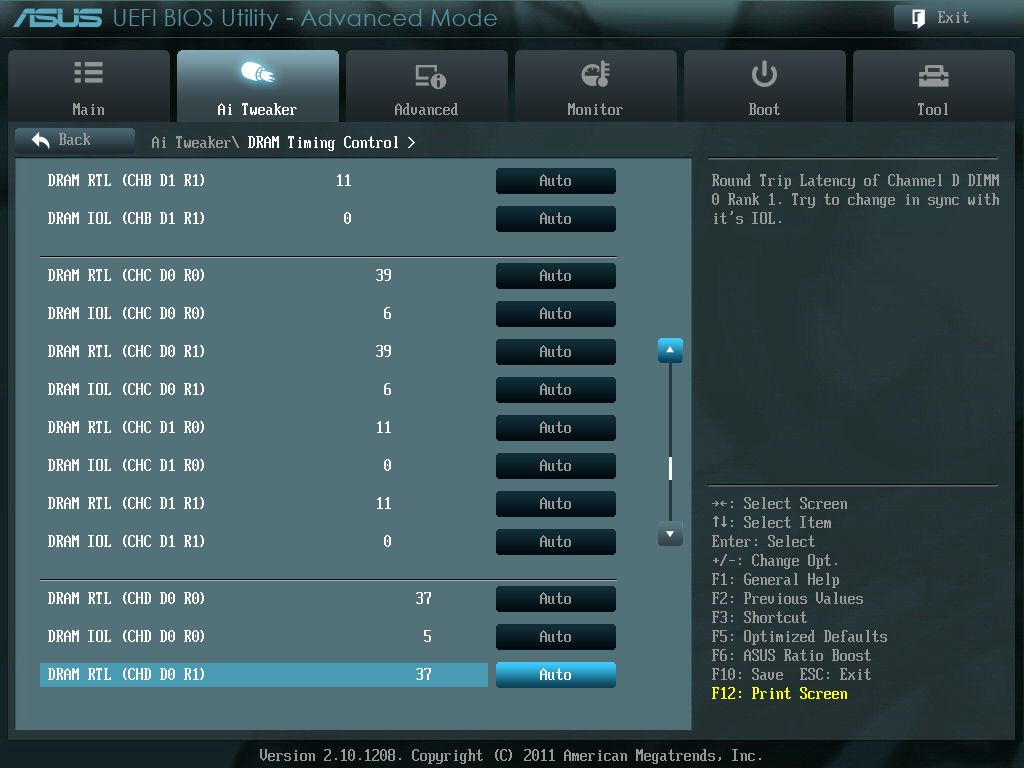
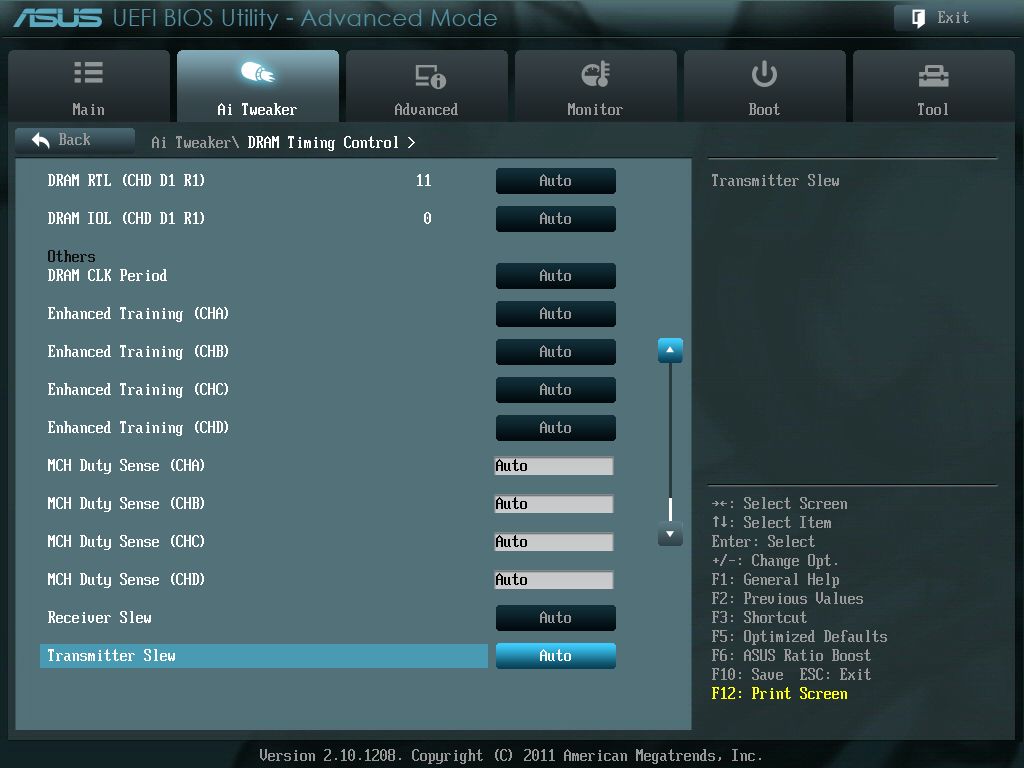
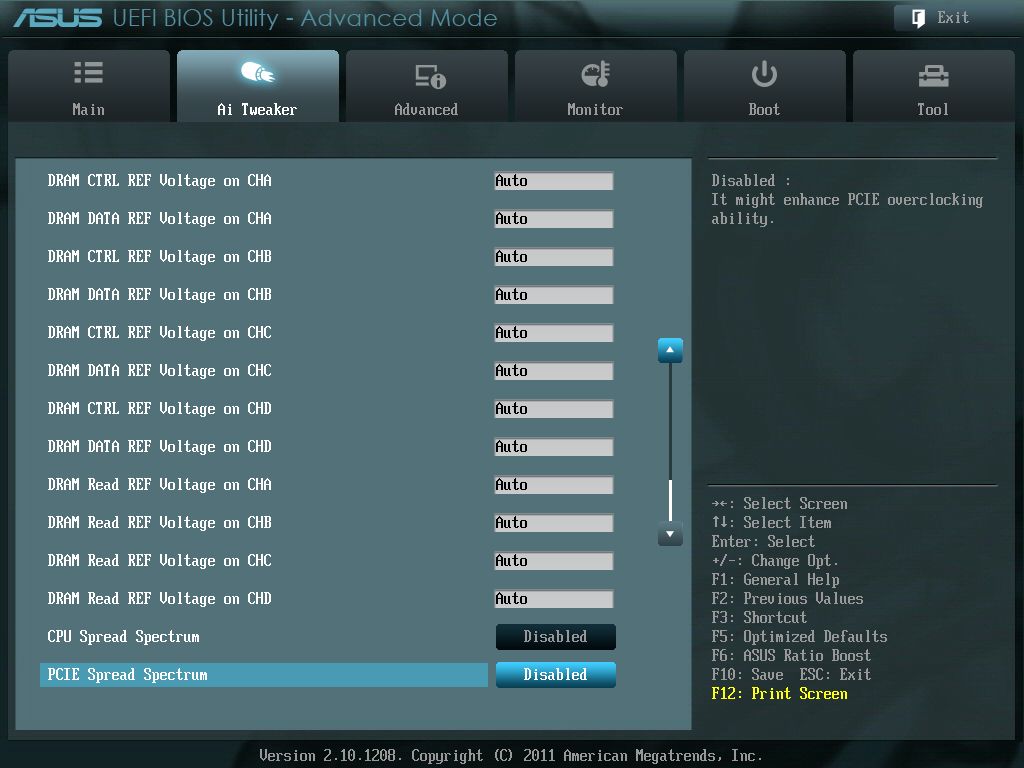
We are also giving sub menus so that we can further our customizing the settings of this motherboard. The Screen Shots listed above pertain to the DRAM timings.
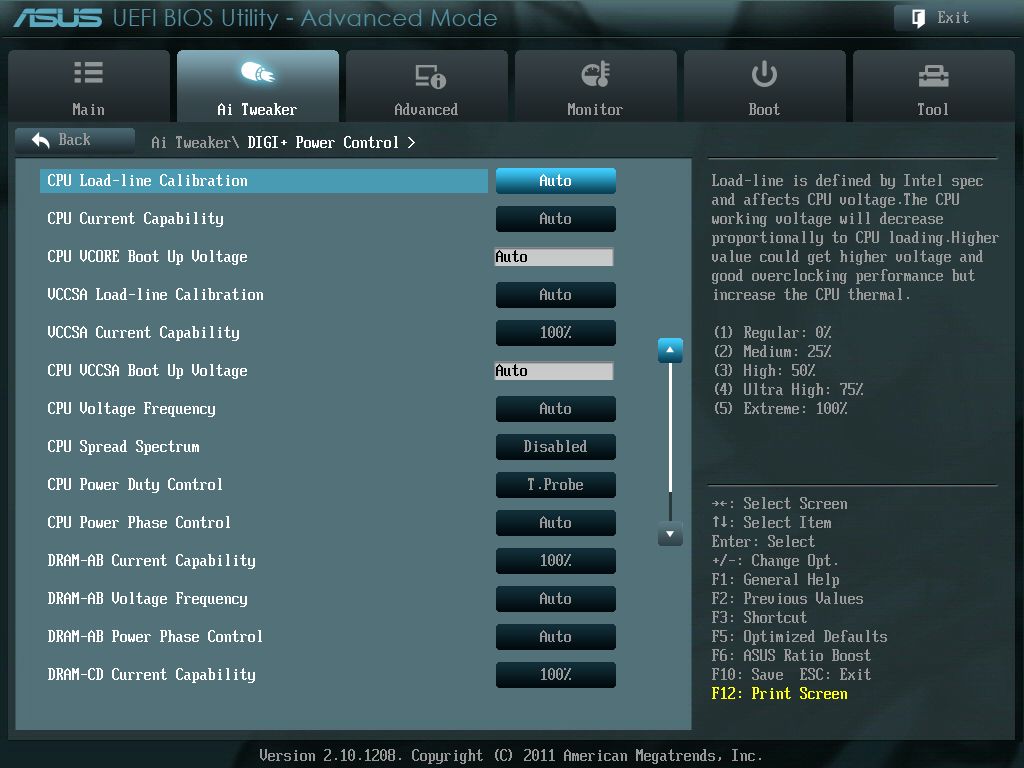
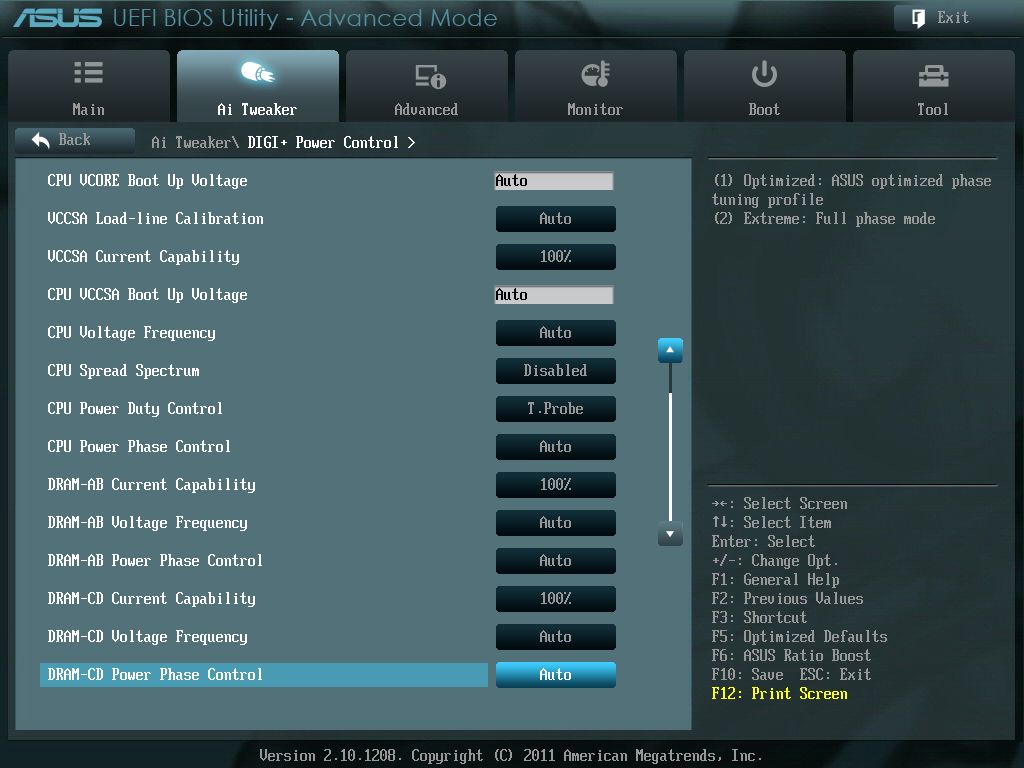
This sub menu pertains to ASUS’ very own DIGI+ capabilities of the P9X79 Deluxe motherboard. These settings we are looking at is where we can further tweak on how we want the phased power distribution for both the CPU and memory.
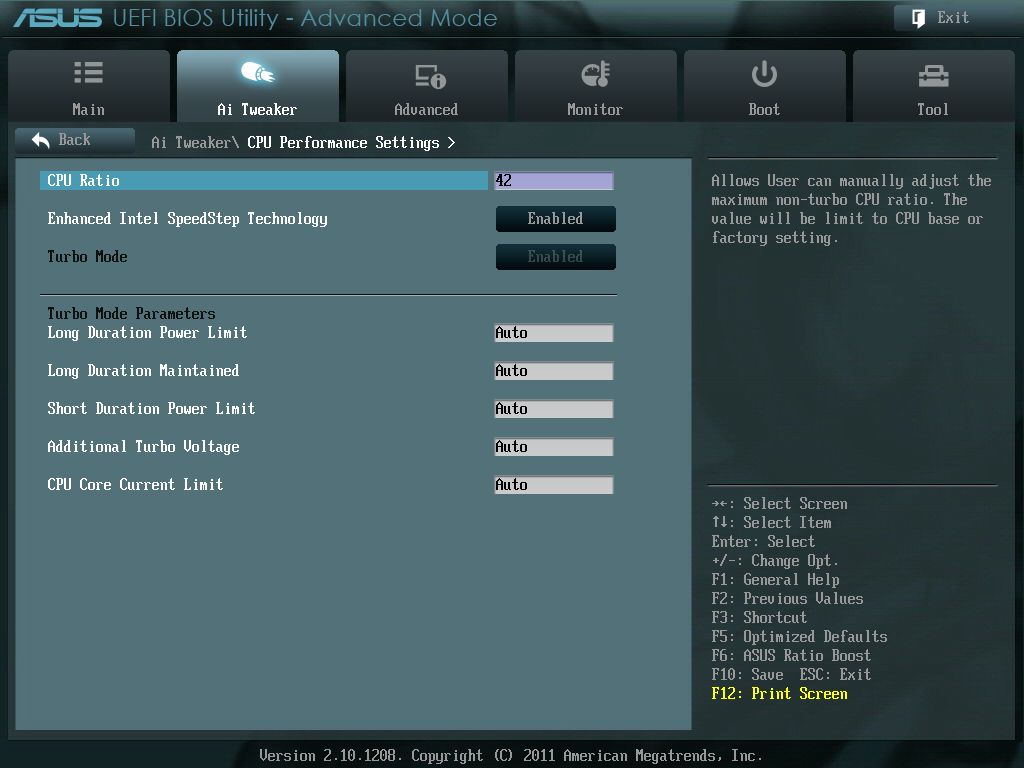
Giving the CPU performance sub menu a quick look at, if you are overclocking, this is where we will make our CPU multiplier adjustments, and Turbo mode parameters.
The one thing I do not get is why ASUS didn’t put the CPU turbo/Base multiplier on the main Ai Tweaker menu. I had to keep entering this sub menu to make a CPU multiplier adjustment; then, I had to go back to the main menu to see how that adjustment changed the parameters of my computer.
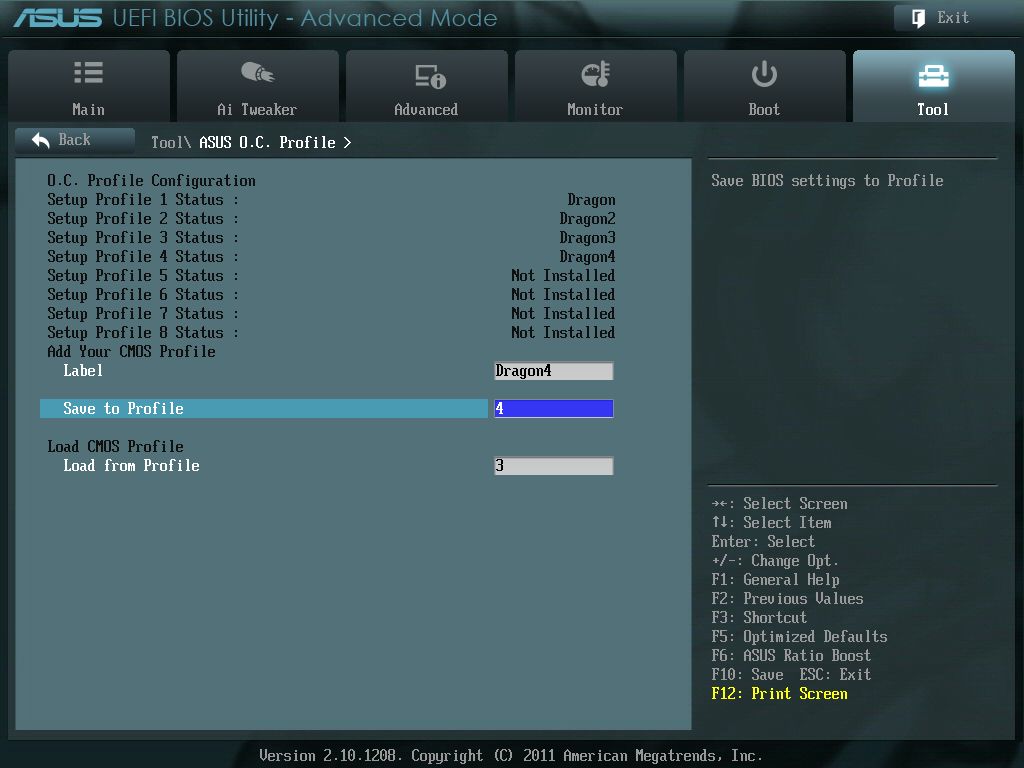
The Tools/ ASUS O.C. Profile menu is where we can save/load multiple profiles for our configurations on the P9X79 Deluxe motherboard. So that if you like to have different modes of running, we can quickly switch from one set up to another quickly and effortlessly.
As we could see there are a lot of different settings we can make to the ASUS P9X79 motherboard, in fact so many it can be overwhelming. If you are unfamiliar with a particular setting in the Ai Tweaker Please, seek help by either reading your instruction manual, and or seek help on your favorite/friendly review computer forums.
Comments are closed.