XPG Battlecruiser PC Case Review
Battlecruiser: Build Process
This build took a bit more effort to complete because of the RGB components. XPG sent some of their Prime ARGB cables, which are priced at $49.99 shipped on Amazon for the Prime ARGB MB and $35.99 shipped on Amazon for the Prime ARGB VGA. They also shipped us their Levante 240 liquid CPU cooler, which is priced at $139.99 shipped on Amazon. Check out our reviews of the XGP Prime ARGB cables and Levante 240 liquid CPU cooler if you would like to know more.
RGB components require extra cables to drive the lighting. This means there is more planning to do on how to route the cables so each accessory will have power without creating a mess of cables. The XPG Levante 240 liquid CPU cooler has its radiator mounted at the top of the case to cool the RX 5700 XT. Because there are several RGB accessories with this build, one can only imaging the multitude of cables on the back of the motherboard tray.
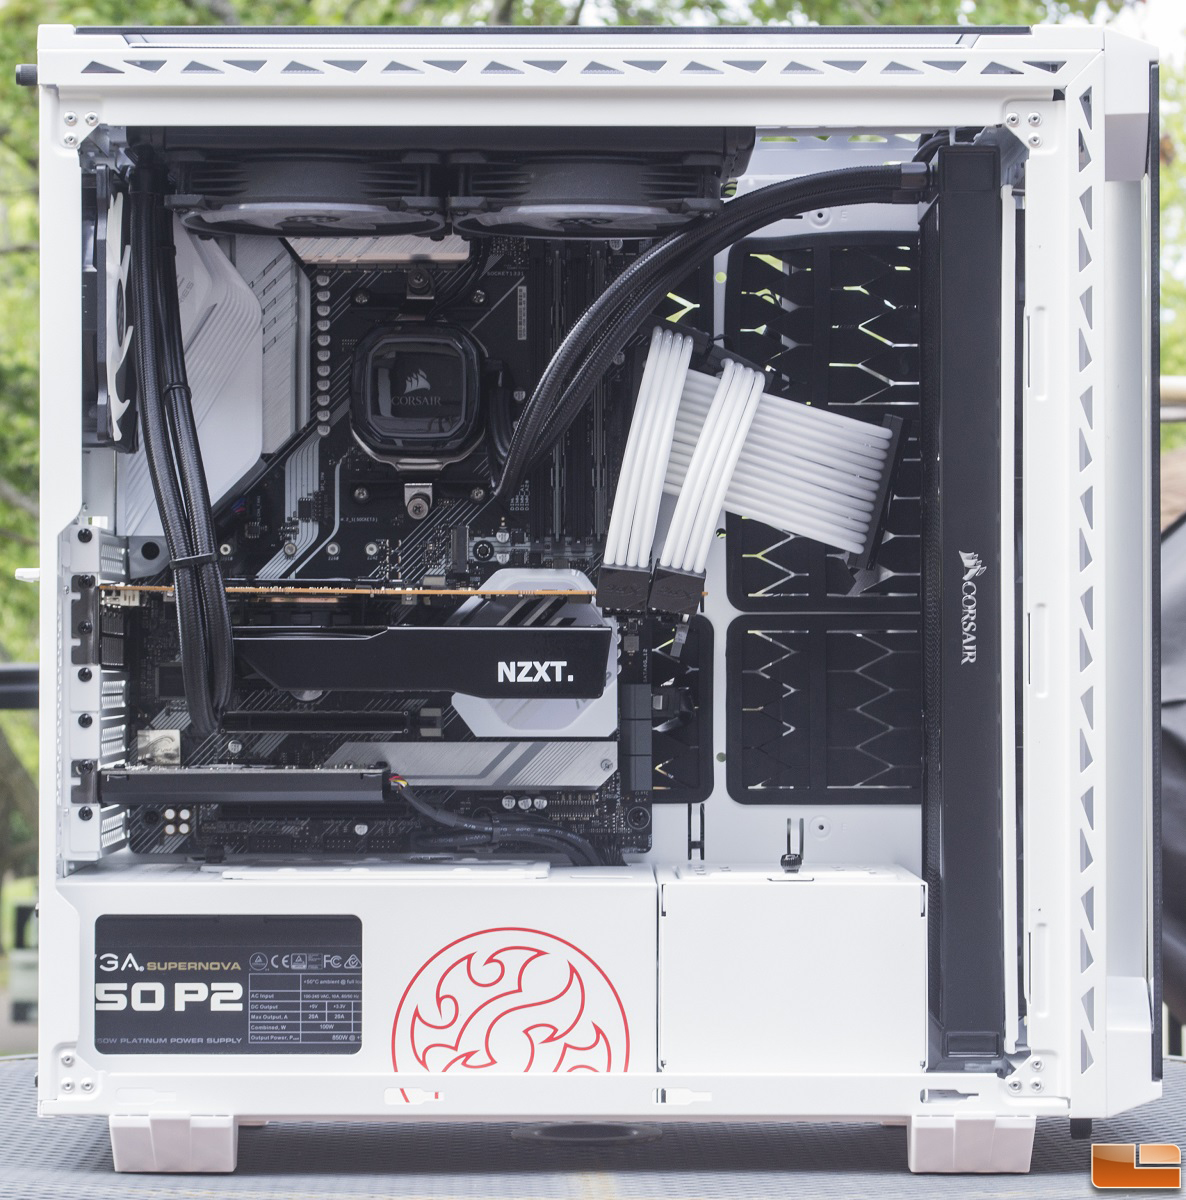
After an hour of planning out my cable routes, I figured out a way to route the cables without cutting through diagonally. I also planned for the possibility of RGB cables disconnecting while putting on the side panel. With this many cables, planning the cable route is something to consider. Luckily, the window side panel went back into place and lightly touched the cables at the front and the 24-pin motherboard cable. How many zip ties did I end up using? Let’s just say… more than the provided four from the accessories box.
I wanted to mount my SSD into one of the included SSD brackets, but decided not to because the brackets were not reversible. This meant the power and data cables had to route over from the top, not the bottom. This would have created more of a mess for cable management considering there were no cable tie down points directly below the CPU cutout. Ideally, the power and data cables should access the SSD from the bottom. This would help with minimizing cable clutter.
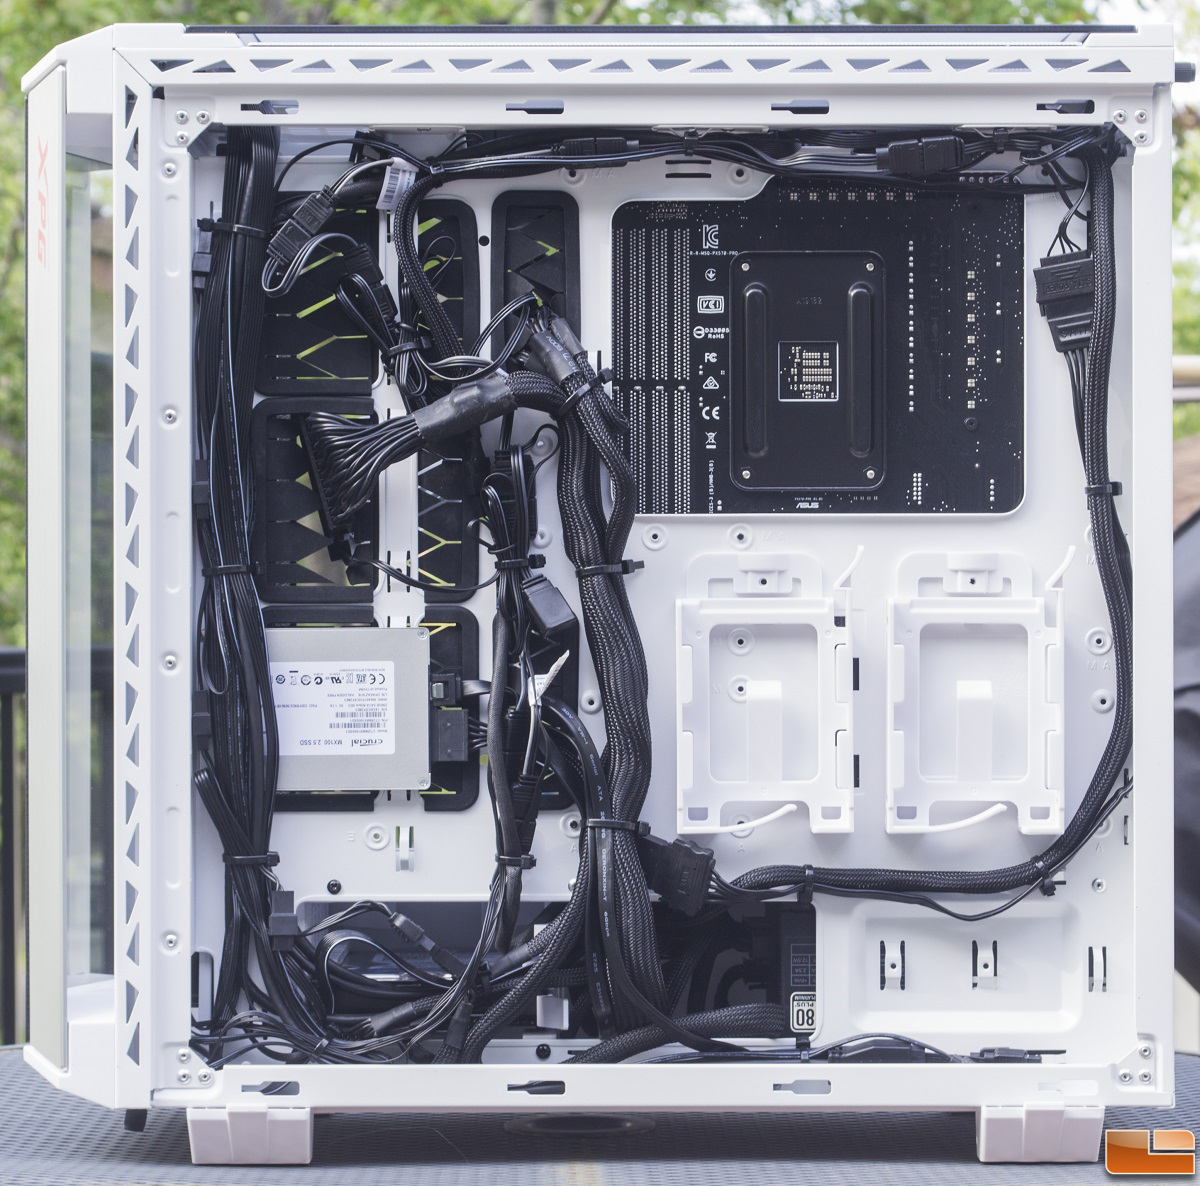
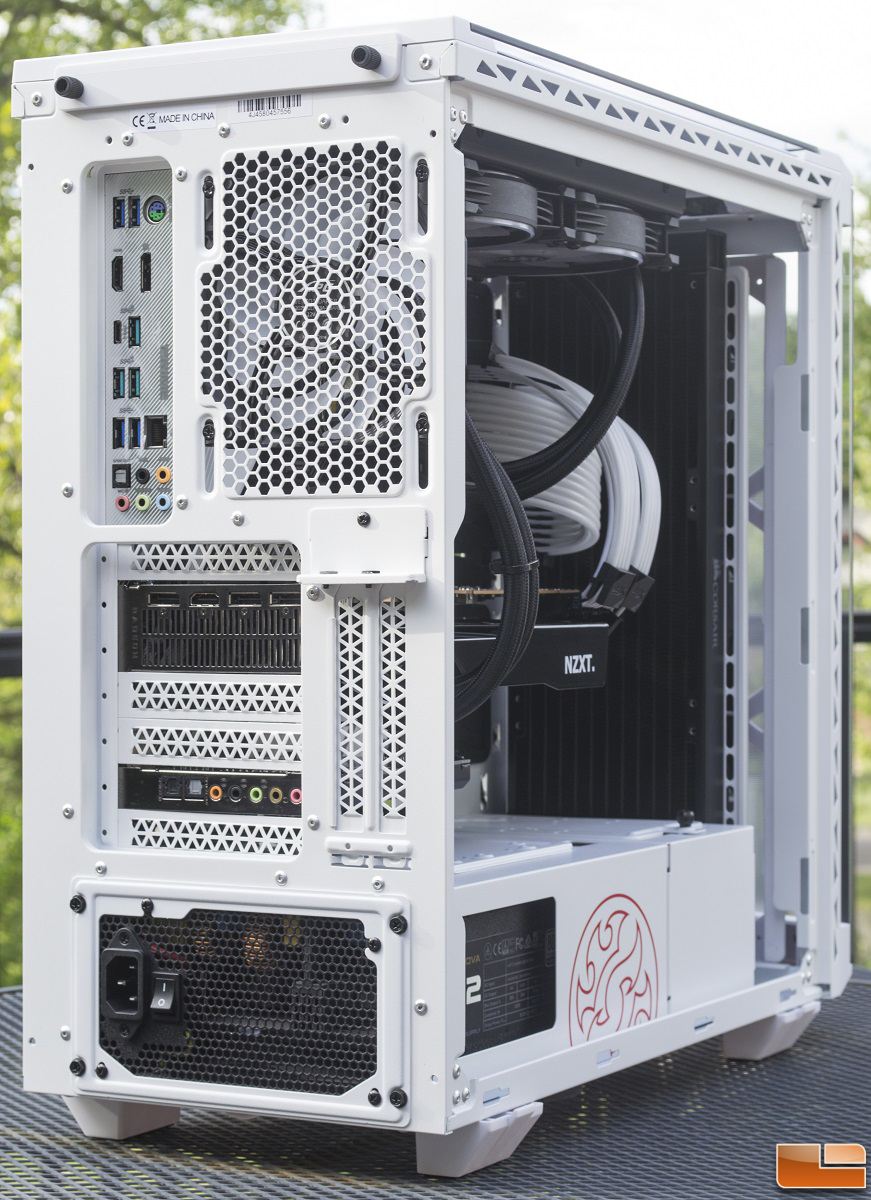
I was very thankful for the many tie down points on the back of the motherboard tray. This was great to have because of the many RGB components in this build. At just about every corner, there was a cable tie down point. Of course, the cable management feature of the Battlecruiser was not perfect. The several small cutouts on the power supply chamber were inaccessible with the motherboard installed.
Even if the cable cutouts were larger on the power supply chamber, the power supply unit would be in the way. For most cases, the power supply unit is completely exposed when looking from behind the motherboard. With the Battlecruiser, there was a solid piece of metal that covered the PSU. This meant routing any cables, like the front panel audio or fan cable, will require the removal of the power supply. Adding additional accessories in the future will require more effort than usual because of this design.
The top and front fan brackets are removable. This allowed me to install a 360mm radiator behind the three 120mm ARGB fans.
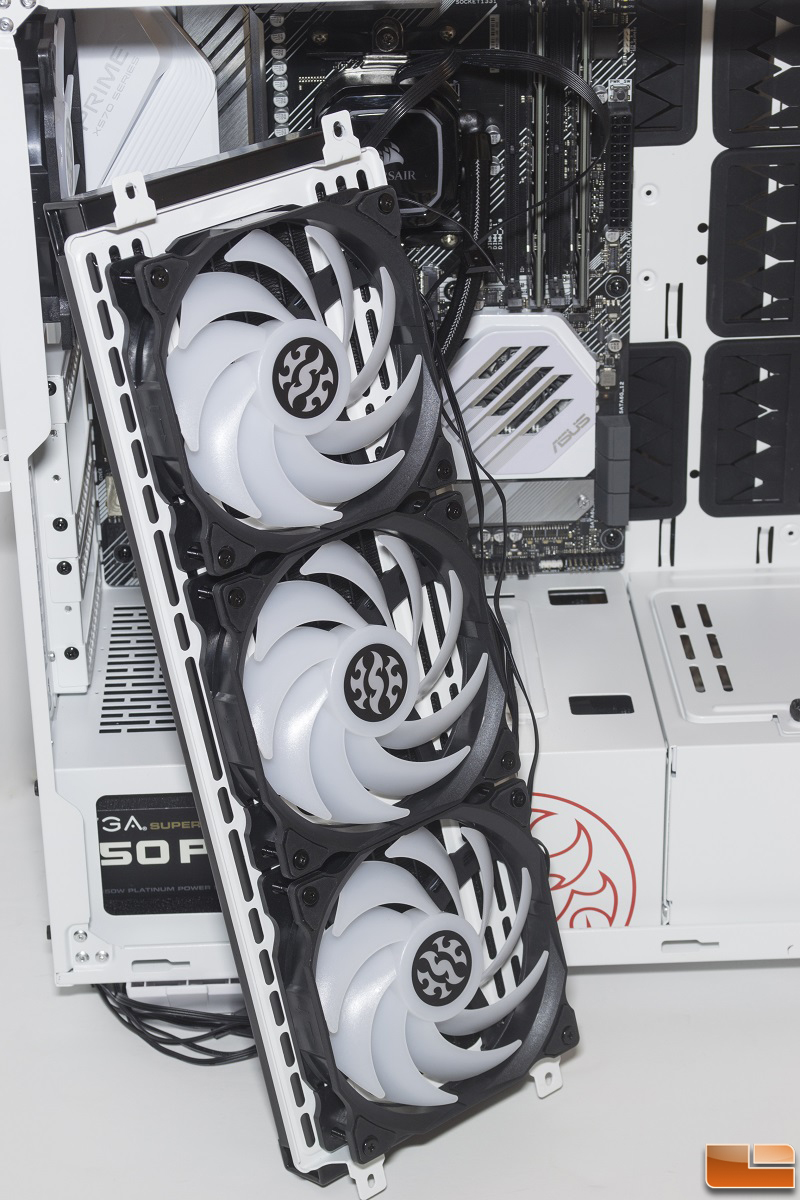
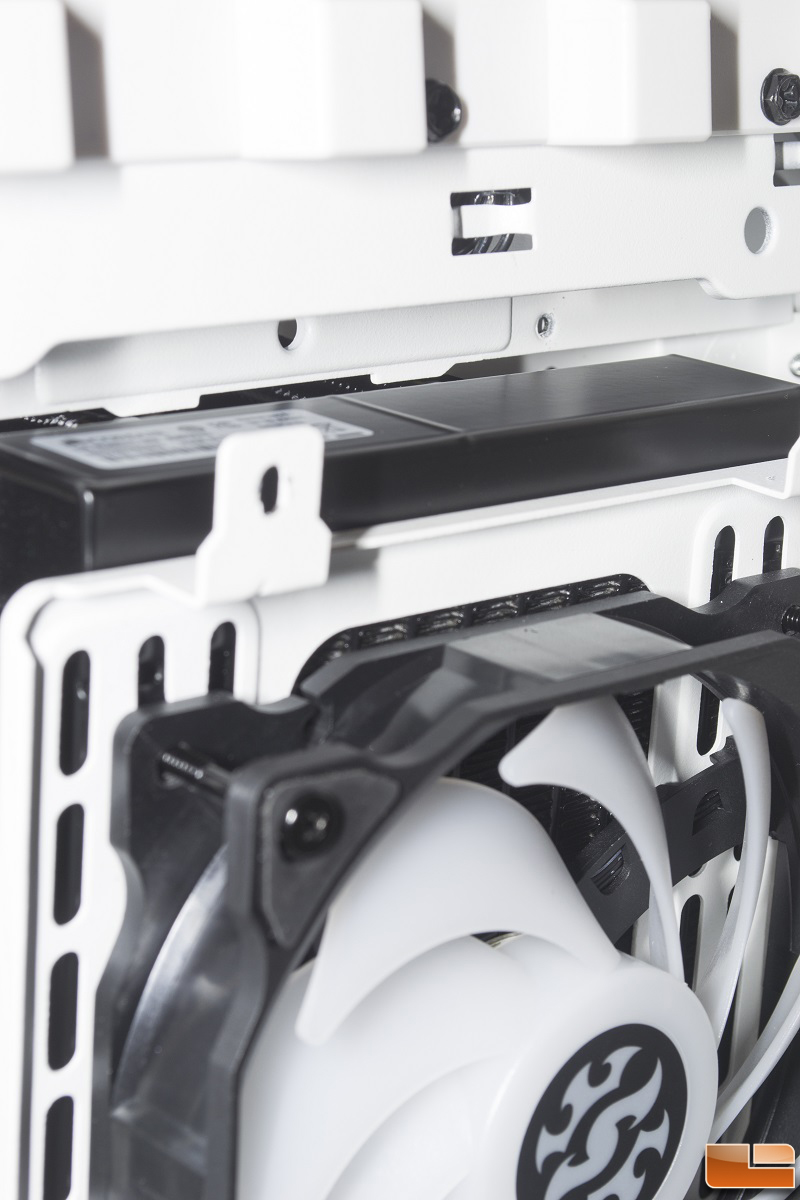
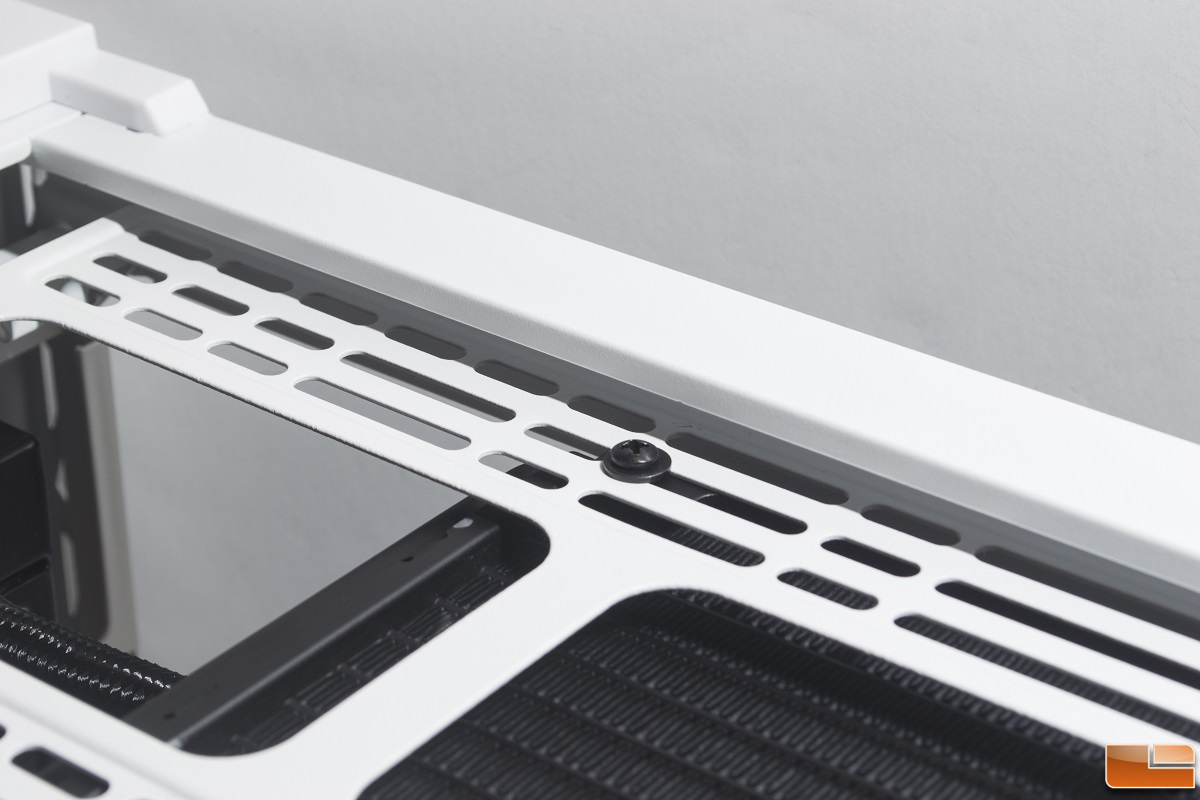
It was possible to install the radiator without removing the front fan bracket as I soon found out. With the radiator and fans mounted on the bracket while outside the case, I was unable to push the assembly back into the case properly. The radiator came into contact with these two small protruding parts off of the frame. If they were not there, the assembly would install properly without issue. There was no clearance to slide the radiator down a bit to clear these two metal parts. For a 280mm or 240mm radiator, this would not be an issue since there would be room for adjustments.
As for the top fan bracket, it could mount closer or further away from the motherboard. This increased the compatibility for larger RAM modules and radiators. But do be mindful when installing a top radiator with it sandwiched between the fans and fan bracket. With the fan bracket mounted further away from the motherboard, the first row for mounting was inaccessible via screwdriver. Especially with a 280mm radiator setup, consider fully reinstalling the fan bracket once you feel confident about your fan and radiator placement.
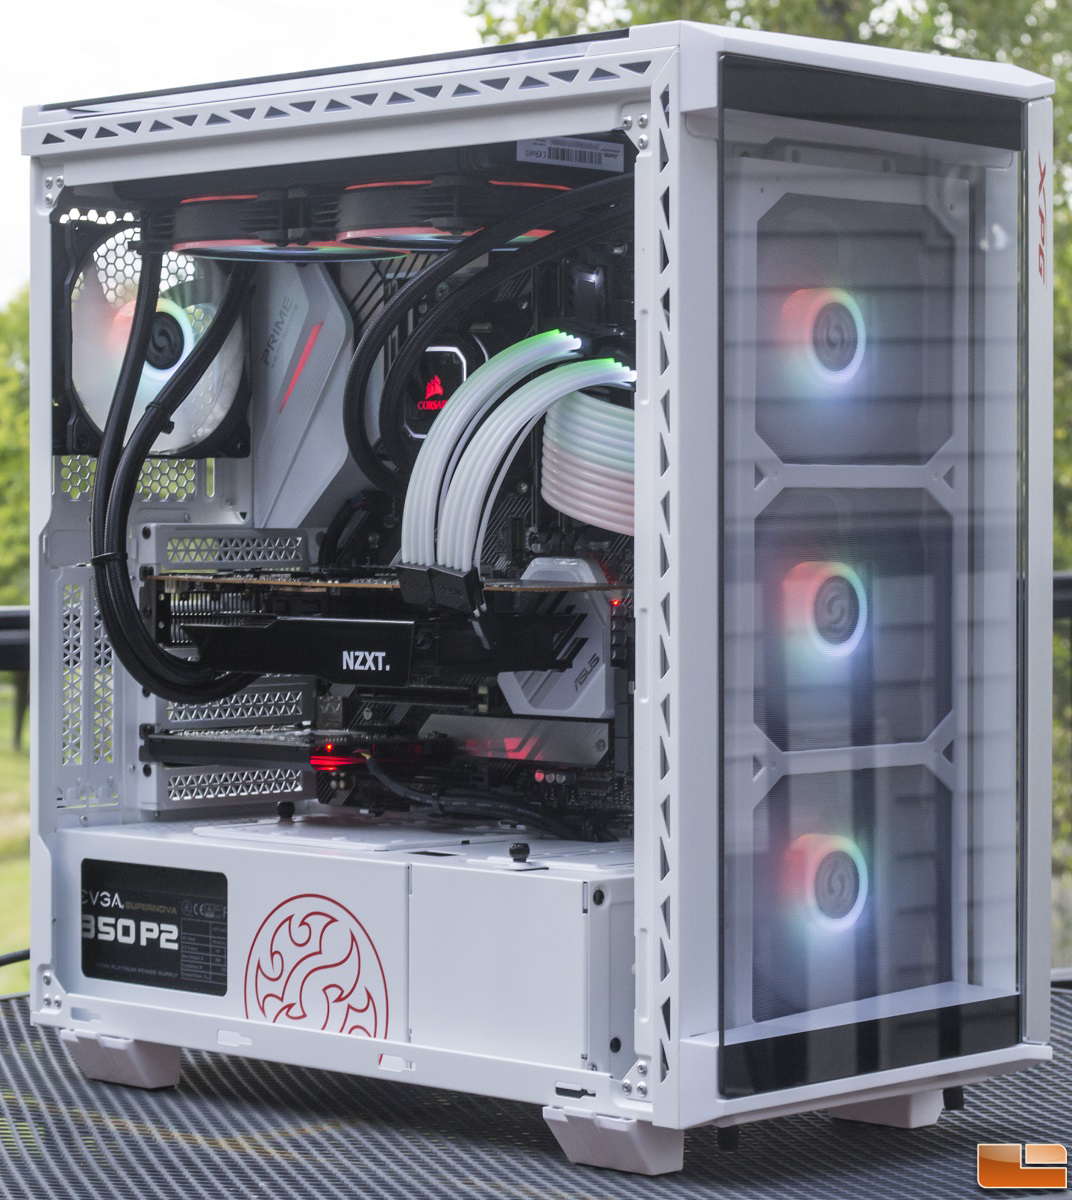
With the Battlecruiser operational, the fans and RGB accessories fired right up. I did have to do plenty of testing and troubleshooting to get all the RGB accessories working, but that was expected. The case comes with two 3-pin 5v header cables, and two 4-pin 12v cables. All four cables go into the onboard lighting controller of the case. I daisy chained all of the fans, the three RGB cables, and the Levante 240 water pump to a single 3-pin header of the case. The RGB lighting effects worked well and the accessories were very bright in a normally lit room.
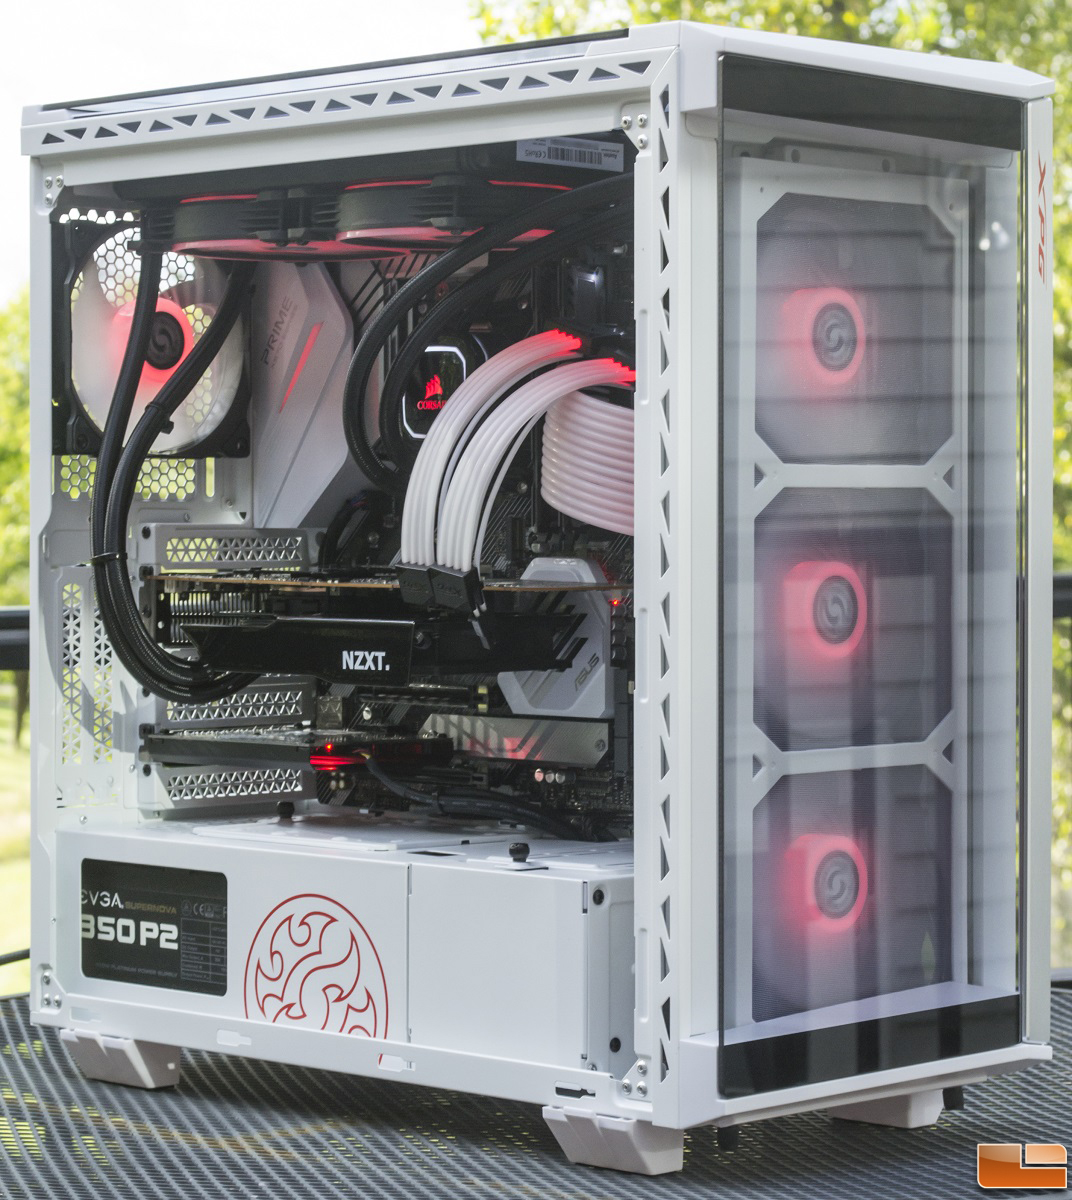
The lighting controller in the Battlecruiser comes with 13 lighting modes. There is also a music mode, which syncs with the music audio from the front panel header of the motherboard/dedicated sound card. However, when switching to music mode, the speakers no longer played audio. The RGB lights did synced to the audio as expected, but I would have liked to hear my music with music mode on as well.
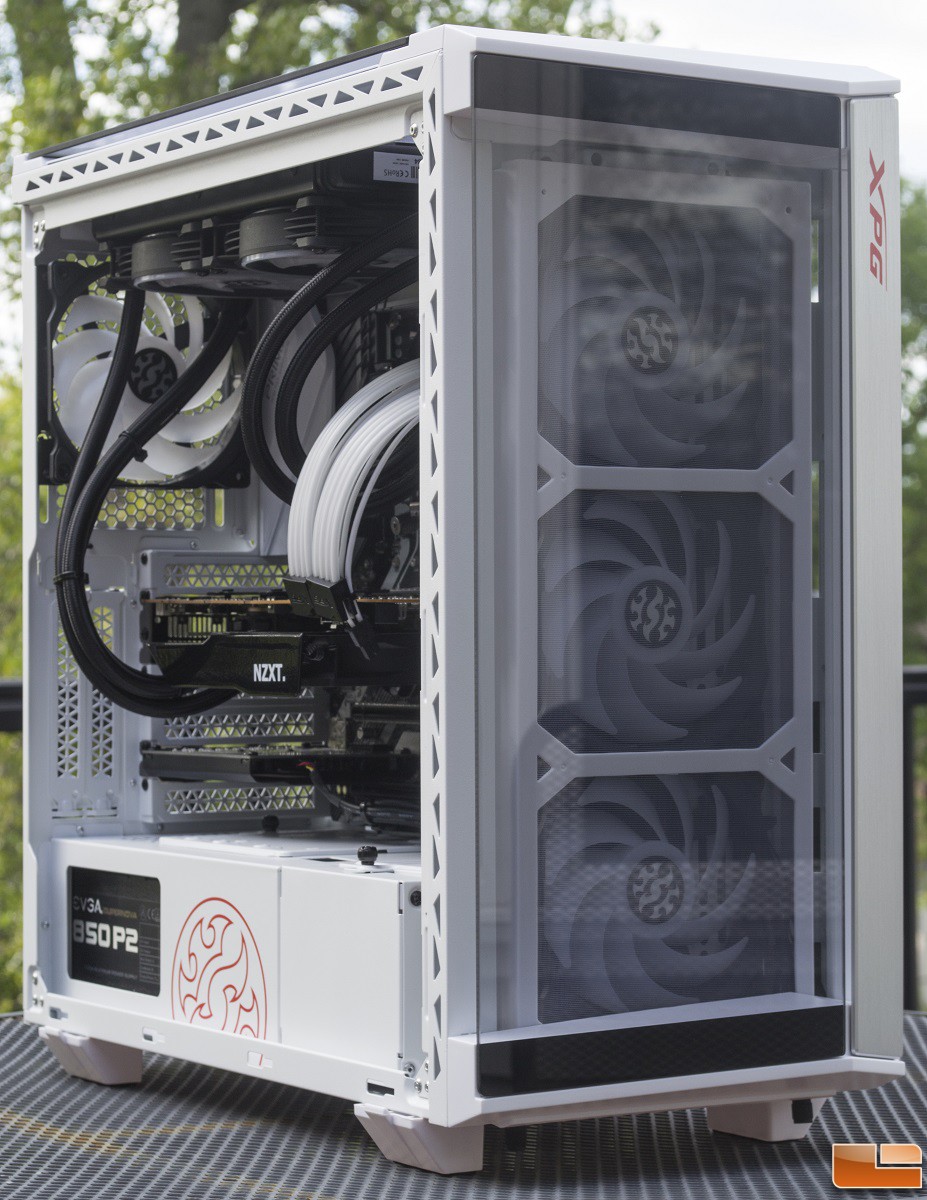
In terms of overall appearance, the Battlecruiser is a great looking case with its four tempered glass panels and RGB fans. The asymmetric front panel with the brushed aluminum strip also gives it a unique look. The only thing that I would have liked to see were consistent designs on the ventilation holes on the power supply chamber and expansion slots.
![]()
There were some complications after the build was complete. Each of the nine expansion slot brackets had a small indentation at the tip. This was for securing it when installed. This is normal for many cases, but the indentations on the expansion slot brackets were slightly too large. This meant if you were to remove any accessories that utilizes the horizontal expansion slots, it would be difficult to reinstall the expansion bracket back. The small indentation came into contact with the motherboard. This did not allow much room to slide the bracket between the rear panel of the case and the motherboard.
I was hesitant about removing the entire motherboard just to reinstall something as silly as an expansion slot bracket. After several tries, I placed the expansion slot bracket right up against the expansion slot mounts and lightly tapped the bracket into place. The small indentation still contacted the motherboard, but it was not enough to cause any damage to either parts.
The top dust filter was not exactly my favorite. It had two strips of magnets on both lengths to stick on the frame of the Battlecruiser. However, the widths of the filter were left hanging with no support from the frame. Because it was made from a flexible plastic material, this meant the dust filter could not remain flat without concaving downwards. It also began to warp due to heat after several days to a week of normal usage and gaming. Had it been made of hard plastic, this would not have been a problem. Eventually, I ended up removing it completely from the system as it was not aesthetically pleasing with the sagging. But removing it did improve airflow for cooler temperatures.
One drawback about a case with tempered glass panels is airflow performance. With the Battlecruiser, the front panel has plenty of ventilation to allow the front fans to pull in air. The bottom also provided good ventilation with its large surface area. As for the top, the glass panel is too close to the frame of the case. Even though the top fan bracket is on the same level as the edge of the side panel window, this only allowed about an inch of space for the air to escape.
CPU temperature was not affected by this as the 360mm radiator for the CPU was at the front. The 240mm radiator on the XPG Levante 240 was at the top to cool the RX 5700 XT. Temperatures did improve about 9C without the top dust filter and panel. With the top dust filter and panel, some of the air exiting the radiator seemed to recirculate into the case.