XPG Battlecruiser PC Case Review
Battlecruiser: Interior Review
There is a lot of room inside the Battlecruiser. The cable cutouts on the motherboard tray all have rubber grommets. Even with an E-ATX motherboard installed, there is still enough room to slide the cables through the rubber grommets of the cable cutouts. The XPG logo is also displayed on the power supply chamber.
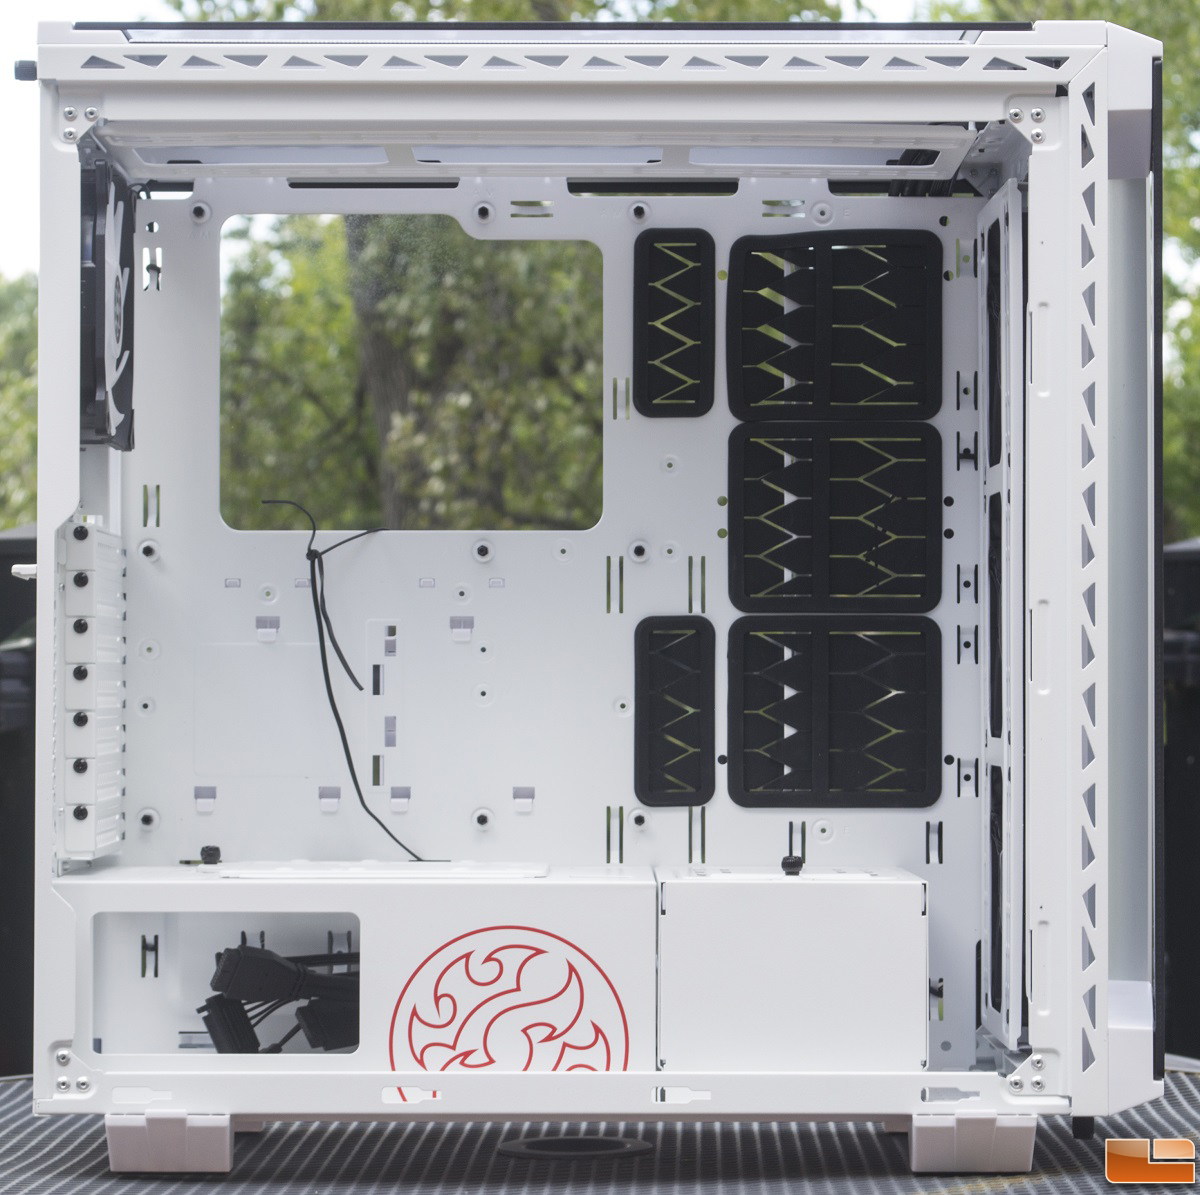
Behind the motherboard tray are two tool-less SDD trays, a large CPU cutout, and a bunch of cable tie down points. With RGB components, it is so important to have many options for cable management. This will help aid with tidying up the cables as we will see in the next section.

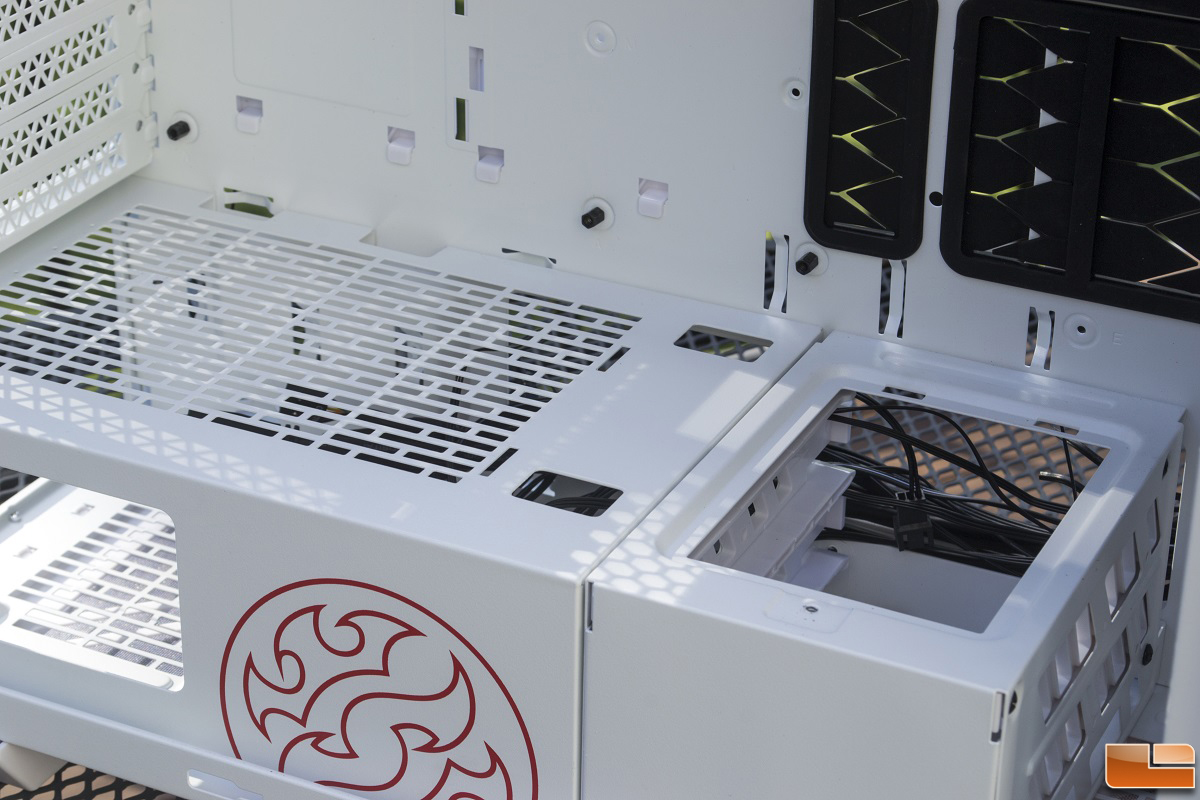
On top of the power supply chamber, there is a mounting bracket for a 3.5″ HDD or a 2.5″ SSD. Further towards the front of the case is a bracket for mounting a water pump. Both of these brackets are removable via thumbscrew.
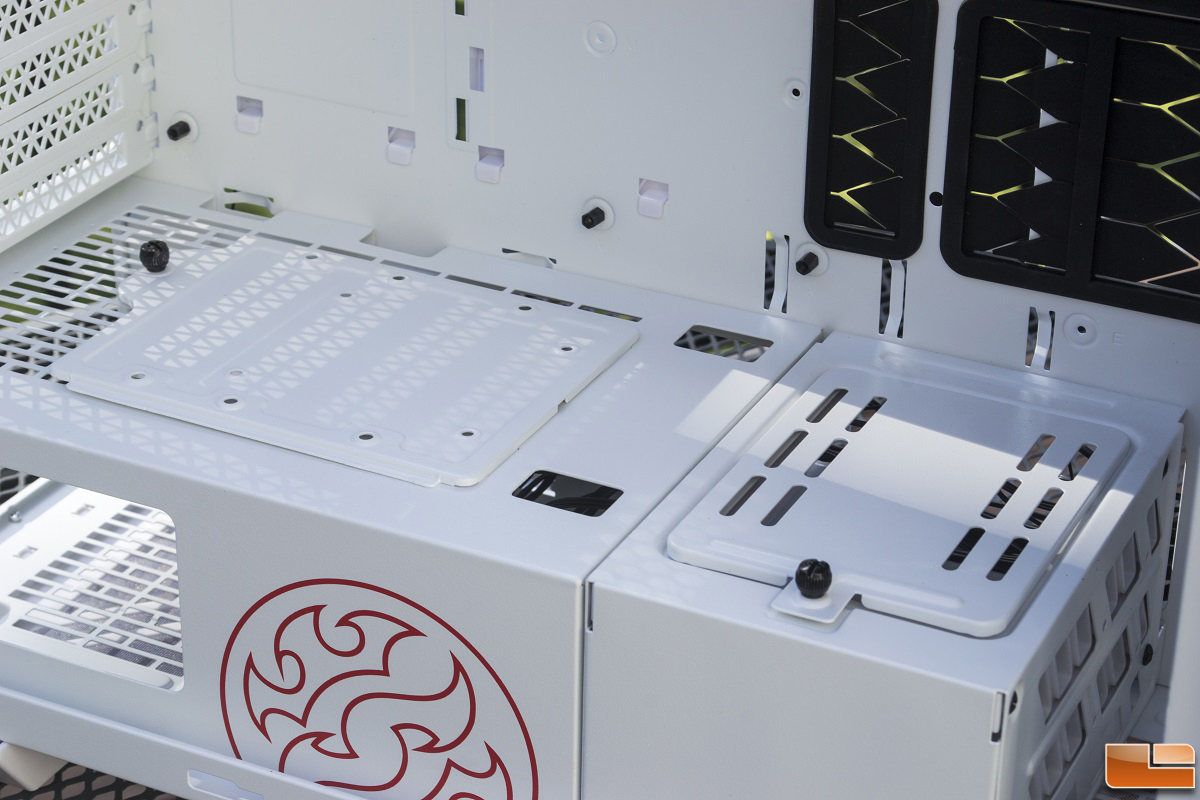
With the power supply chamber brackets removed, there are more ventilation holes for airflow. One thing I should also point out are the small cable cutouts on the power supply chamber. This can be problematic when trying to pass multiple cables through.
Many gaming cases have adopted a modular design, which improves the user experience when it comes to system building. The front and top fan brackets of the Battlecruiser are removable via screws for easy fan and radiator installation. It is possible to reposition the top bracket closer or further away from the motherboard. It can also flip 180 degrees to accommodate a top radiator with fans. This is good for RAM compatibility.

Let’s take a look at the build process in the next section.