XPG Battlecruiser PC Case Review
Battlecruiser: Exterior Review
The Battlecruiser consists of four 4mm tempered glass panels. This allows the case to show off the interior components, even the cables behind the motherboard tray. The window panels are not tinted and are removable via thumbscrew. We can also see the four 120mm ARGB fans: three in the front, one in the rear. With this configuration, the Battlecruiser is ready to cool right from the box.
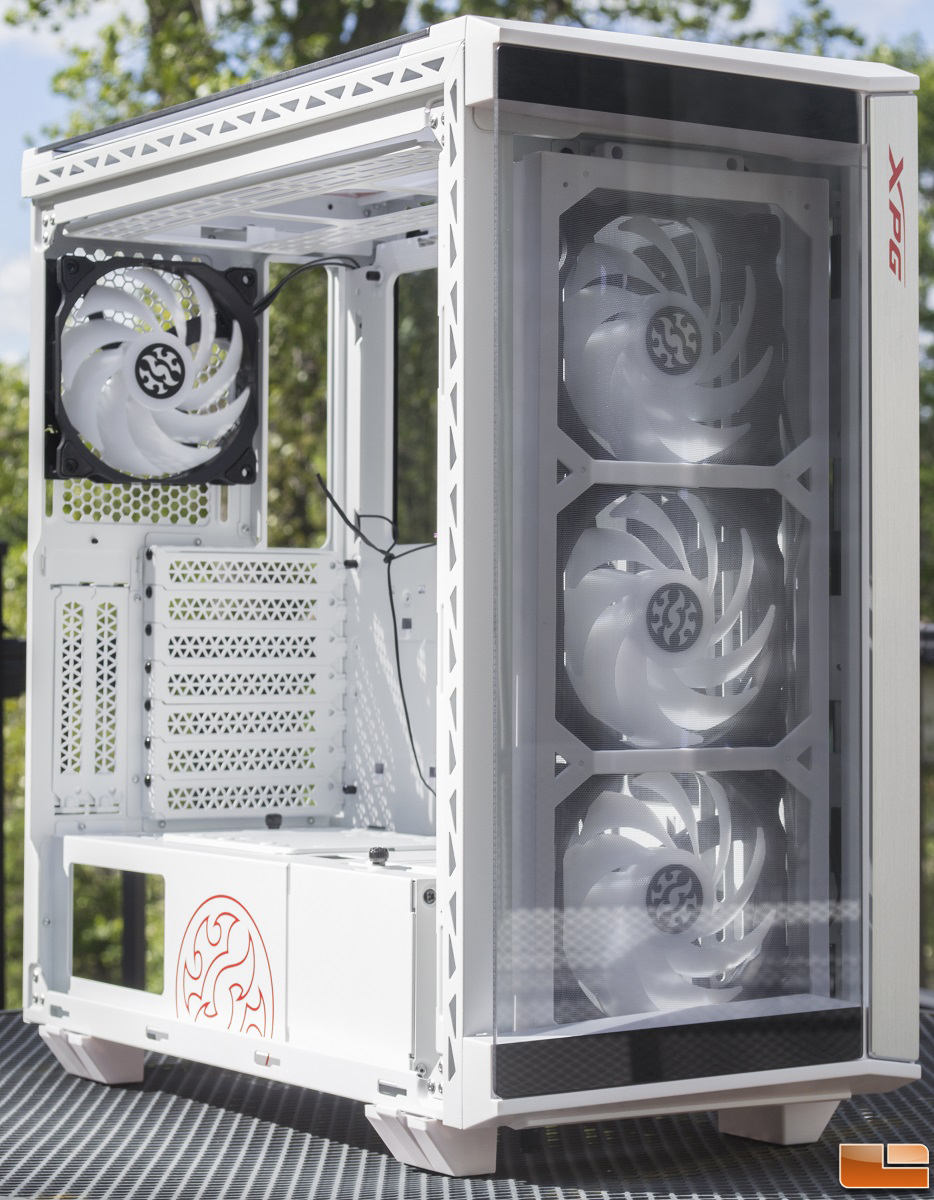
The front panel has an asymmetric design. Towards the left side, there is a brushed aluminum strip with the XPG branding logo. The rest of the front panel is made of mainly glass with a small gap between the brushed aluminum strip. Under the front panel is a magnetic dust filter in front of the three 120mm fans.

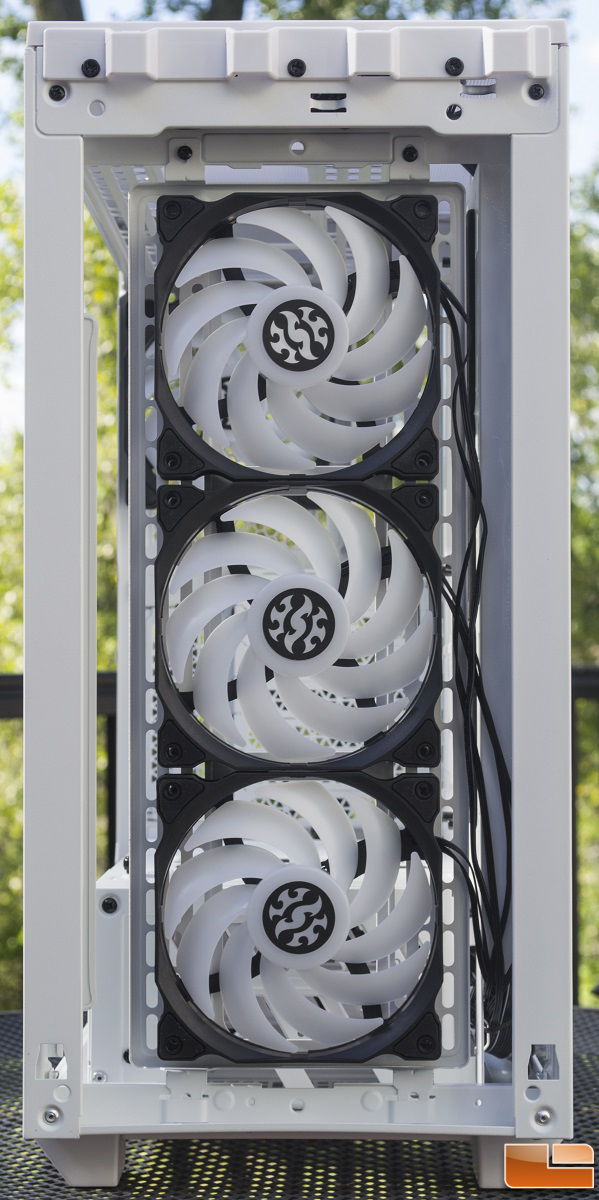
With the front panel and dust filter removed, we have a better look at the fans and the removable fan bracket. The Battlecruiser is very flexible when it comes to cooling with support for a front 360mm radiator.
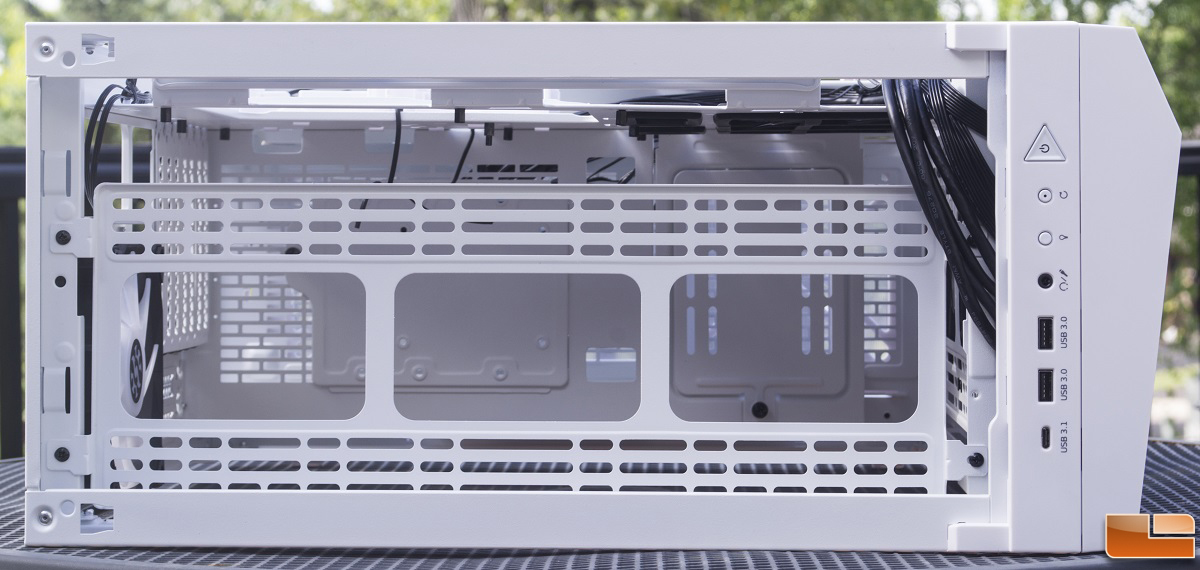
Because the side panels are not tinted, there is a clear view of the interior of the case. They are removable via thumbscrew. Unfortunately, there are no latches to hold onto when removing them from the case.
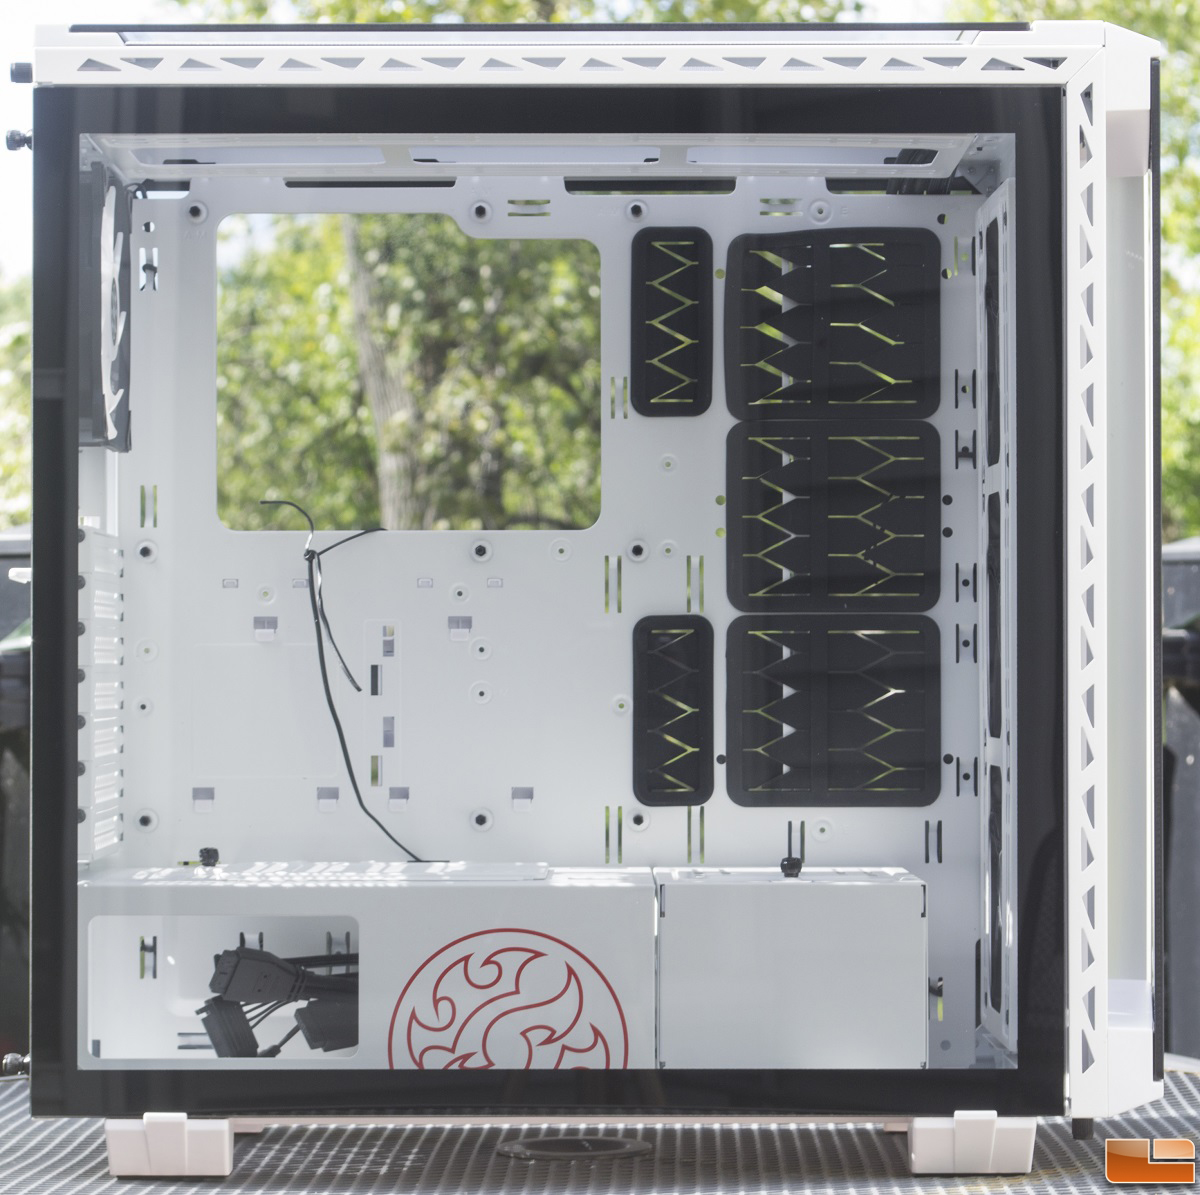
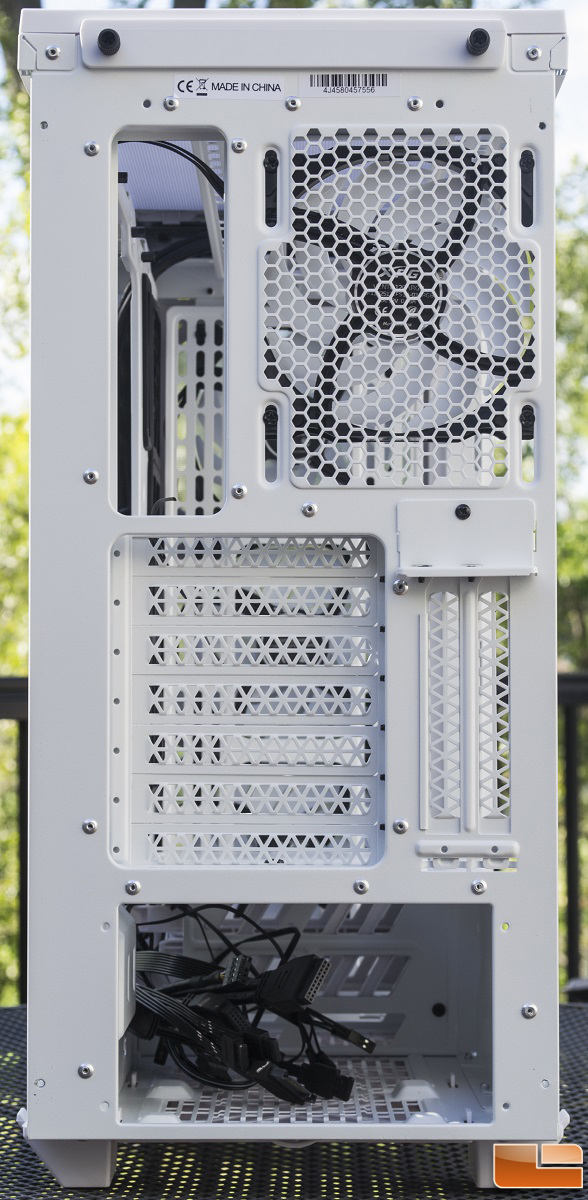
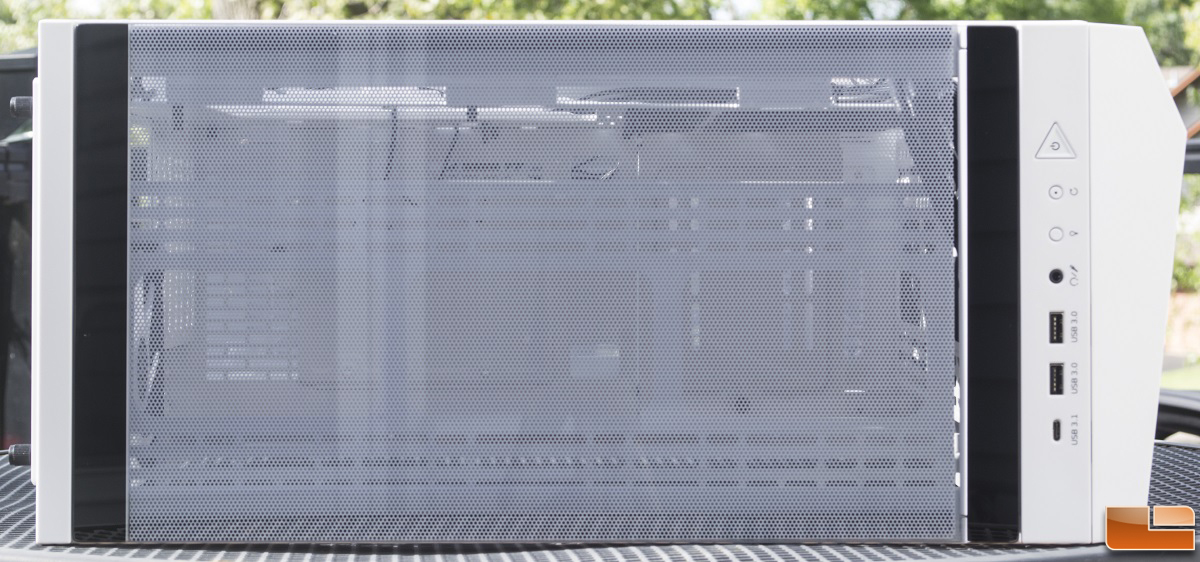
The rear of the case is pretty standard. There is an adjustable fan mount with the fourth 120mm fan occupying it. It has seven horizontal expansion slots, and two vertical GPU slots. The power supply unit mounts at the bottom with the help of the included PSU mounting bracket.
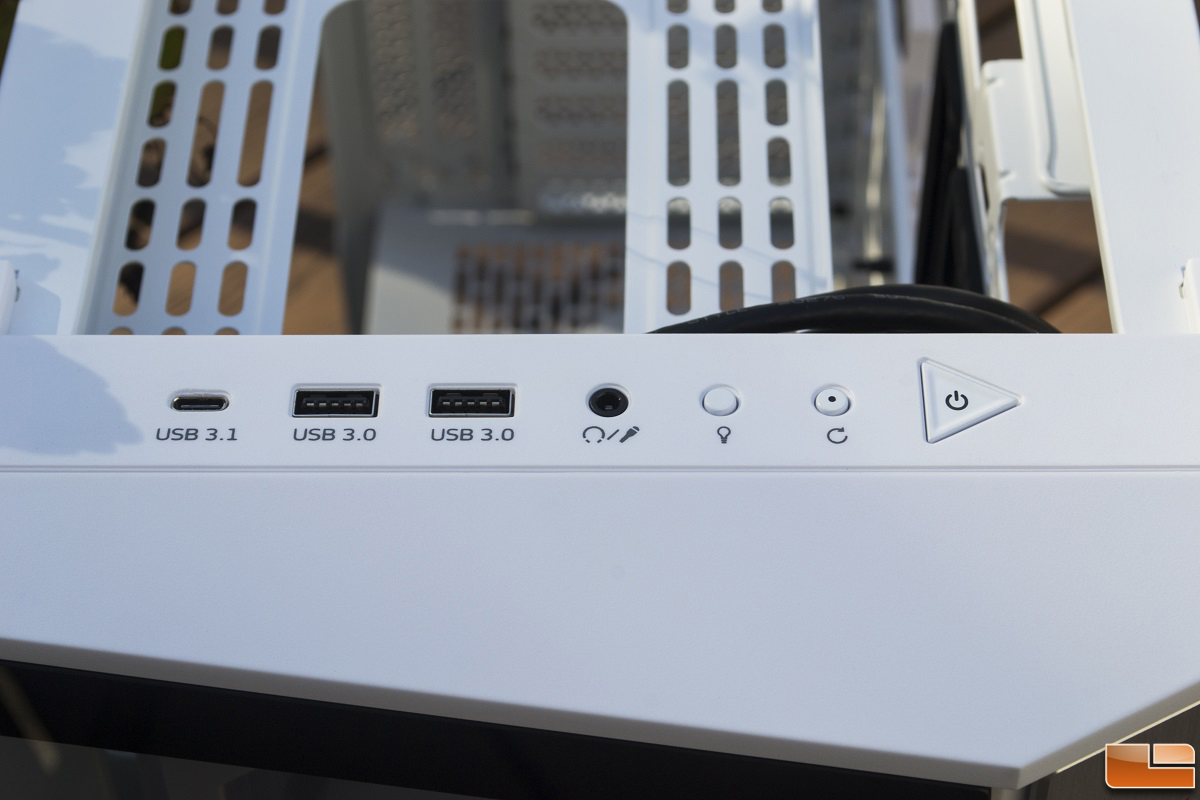
As for the front panel I/O ports, there is a USB Type-C port, two USB 3.0 ports, and a 3.5mm audio/microphone jack. There is also a button for lighting control, a reset button which doubles as the HDD activity light, and a large power button in the shape of a play button. I should also point out the USB Type-C port uses a USB 3.2 Gen 1 connector instead of a USB 3.2 Gen 2 connector. This will have an effect on transfer speeds and power delivery. Not all motherboards have two USB 3.2 Gen 1 headers, so take this into consideration.
Like the front panel, the top panel is mostly tempered glass with a magnetic dust filter underneath. The dust filter is flexible, which could cause some unintentional sag over a period of time.
Removing the top panel and dust filter reveals the empty but removable fan bracket. There are a lot of fan mounting options with this bracket. It is also possible to install a 360mm radiator here as this is the same fan bracket as the front.
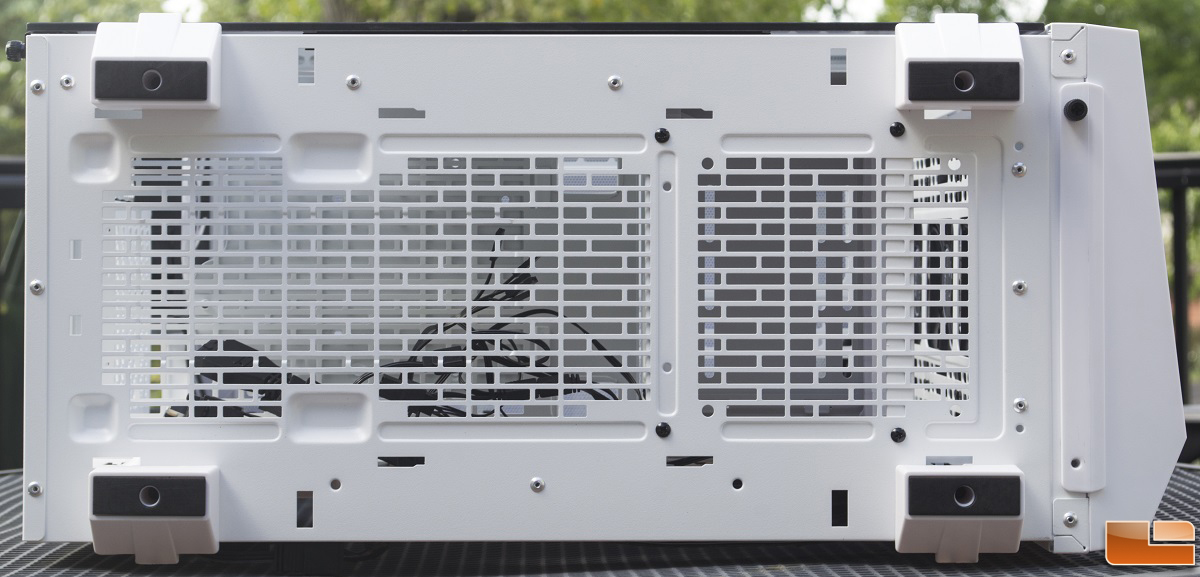
The bottom of the Battlecruiser includes a large ventilation area with a dust filter. The dust filter slides out from the rear of the case. This can make cleaning a bit of a hassle as most people set their computer cases with the rear facing a wall.
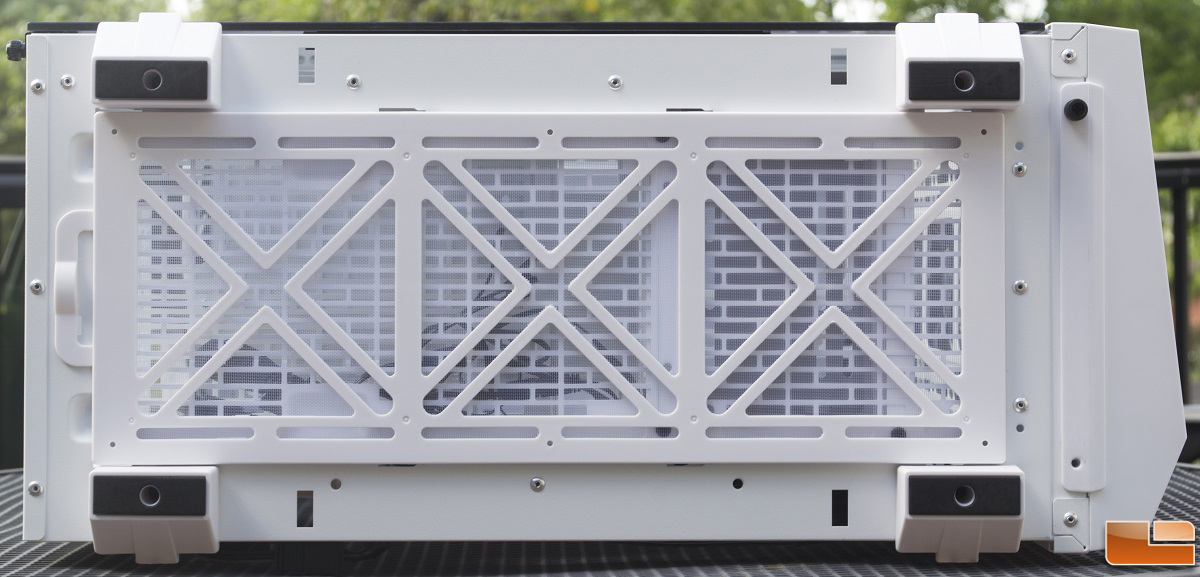
Without the dust filter, we can see the ventilation area spans from the rear to almost the front of the case. There is a fan mount closer to the front of the case for a 120mm fan. But installing a fan in this area will require the removal of the HDD cage.
Now that we have seen the exterior, let’s take a look at the interior of the Battlecruiser in the next section.