SteamOS on a Sub-$400 Gaming System
SteamOS on a Sub-$400 Gaming System
Earlier in the week we showed off the parts we are going to use for a dedicated gaming machine using the SteamOS. The goal of the system was to build a gaming rig that would be comparable to the cost of the current generation of console systems. Since both the Playstation 4 and the Xbox One retail for $400.00, that’s what the budget for this gaming system was set at. Today we are going to take a look at the SteamOS and see what it’s all about! Let’s do a quick recap of the hardware we are using for our SteamOS build.
- 11/17/2014 – Part 1: What we are doing, part list and system build
- 11/20/2014 – Part 2: How to install Steam OS and Gaming Thoughts
- 11/24/2014 – Part 3: Installing Windows 8.1 and General System Performance
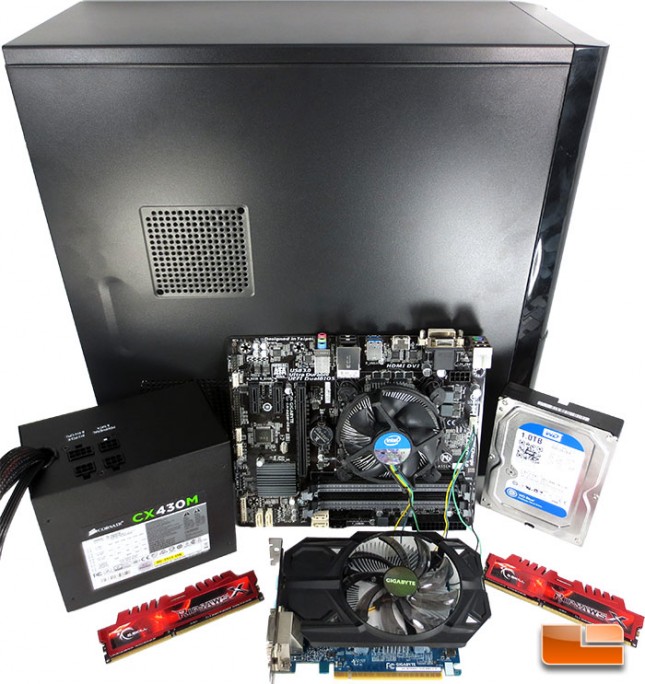 The components that were chosen for the build aren’t the fastest in the world by any means, but they should give a pretty solid system for the price! In order to help keep the cost of the build down, I opted to rock the Intel Pentium G3258 dual core processor. For only $69.99 the G3258 was really able to impress me when it comes to gaming when paired with a solid graphics card. The graphics card was going to be key in this build, but having a limited budget I couldn’t go with something like the latest GeForce GTX980, but I needed enough horse power for the job without blowing the budget out of the water, I opted for a GIGABYTE GeForce GTX750OC 2GB graphics card. The GIGABYTE GeForce GTX750OC can be found for as little as $94.99 after a $15.00 rebate and while we haven’t looked at this particular GTX 750, others have proven themselves as a solid little card.
| Component | Amazon.com | Newegg.com | |
| Motherboard | GIGABYTE GA-B85M-DS3H | $55.99 | $45.99 AR ($10) |
| Processor | Intel Pentium G3258 | $69.99 | $69.99 |
| Graphics Card | GIGABYTE GeForce GTX750OC 2GB | $109.99 | $94.99 AR ($15) |
| Memory | G.Skill Ripjaws X 4GB (F3-12800CL9D-4GBXL) | $48.96 | $38.24 |
| Hard Drive | Western Digital Blue 1 Terabyte HDD | $54.99 | $54.99 |
| Chassis | GIGABYTE GZ-F3HEB PC Case | $29.99 | $29.99 |
| Power Supply | Corsair CX430M Modular Power Supply | $44.99 | $24.99 AR($20) |
| Total Cost: | $414.90 | $359.18 AR($45) | |
When the system was all said and done, we were able to build it for $359.18 after the three rebates come in. You can check out the build log and finished product through the links below!
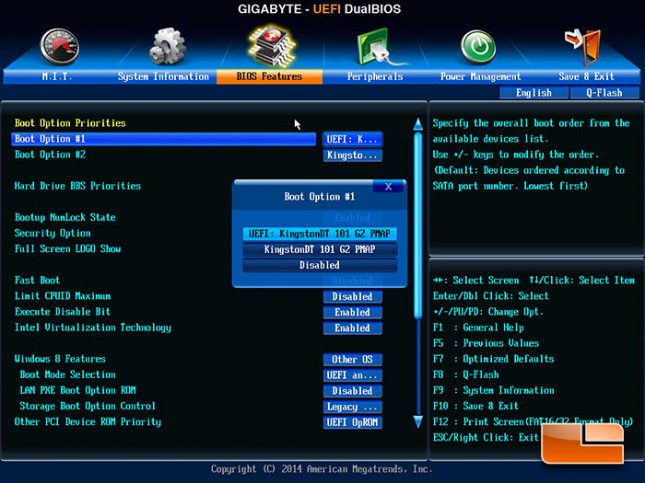
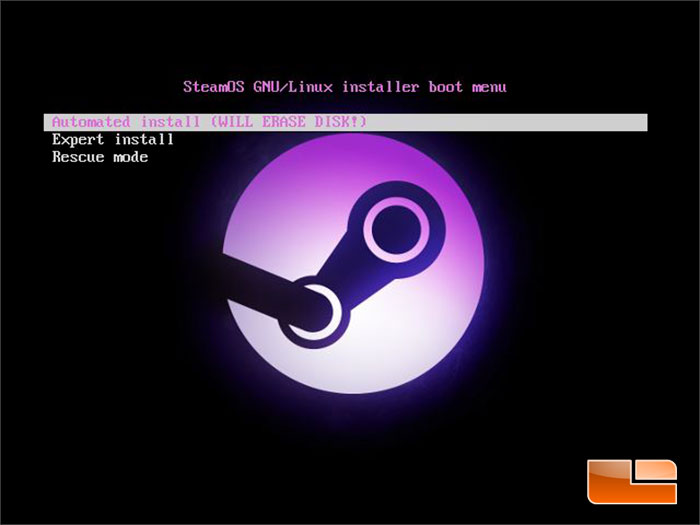
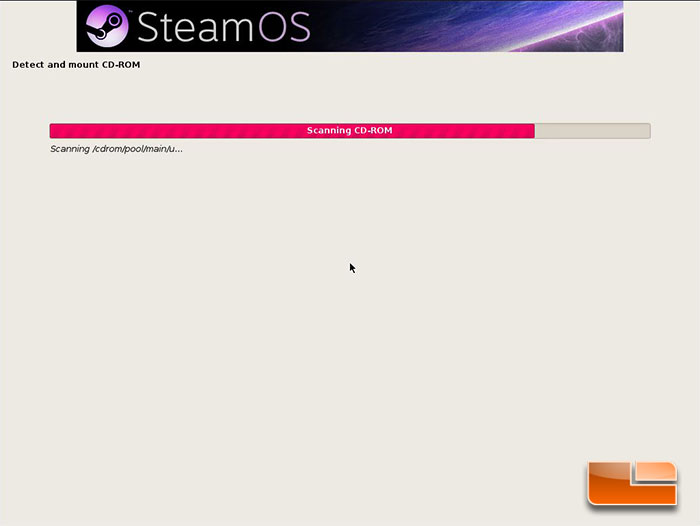
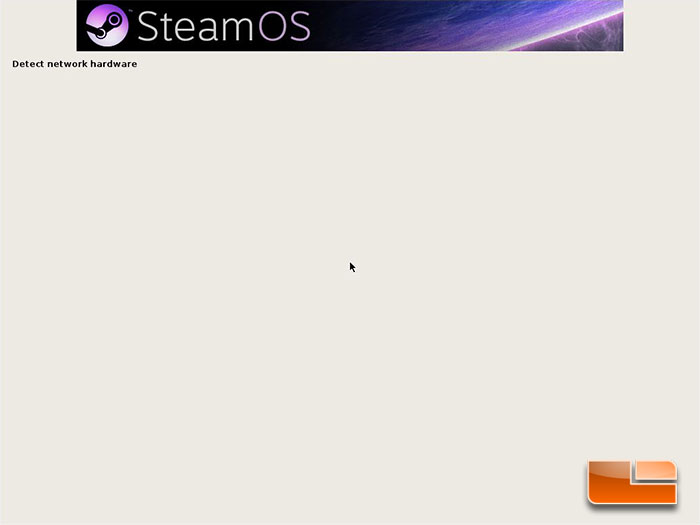
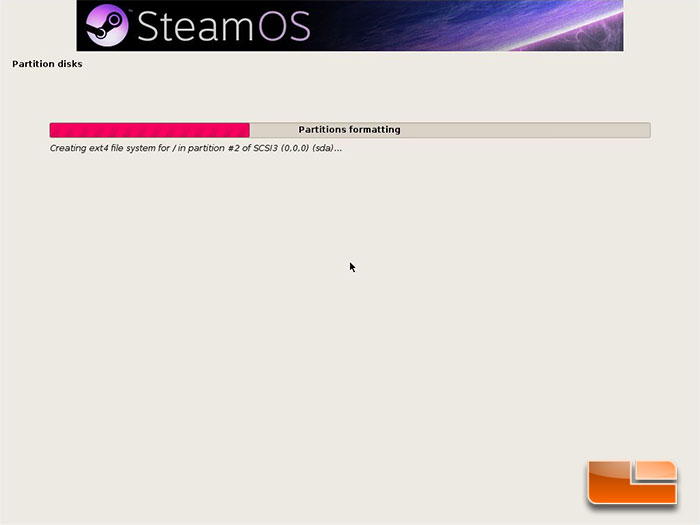
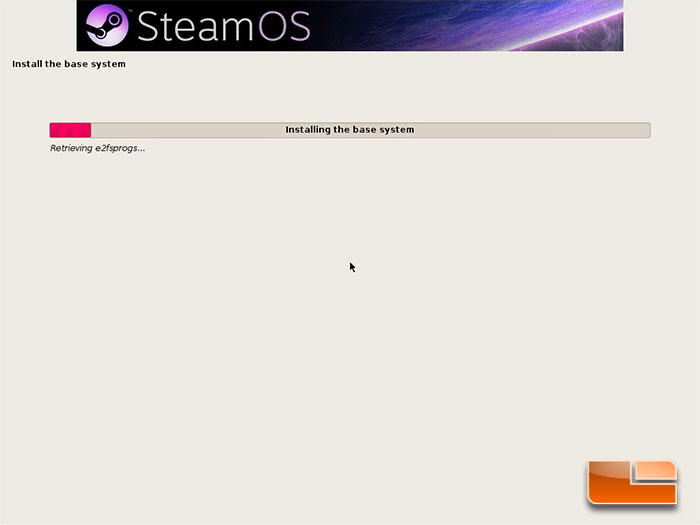
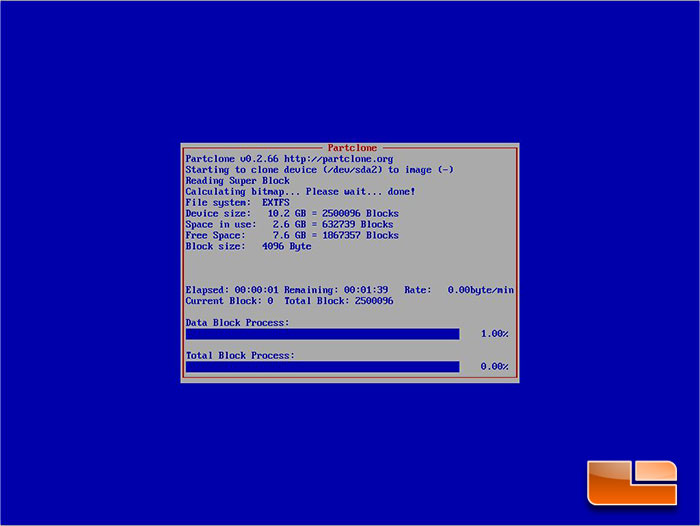
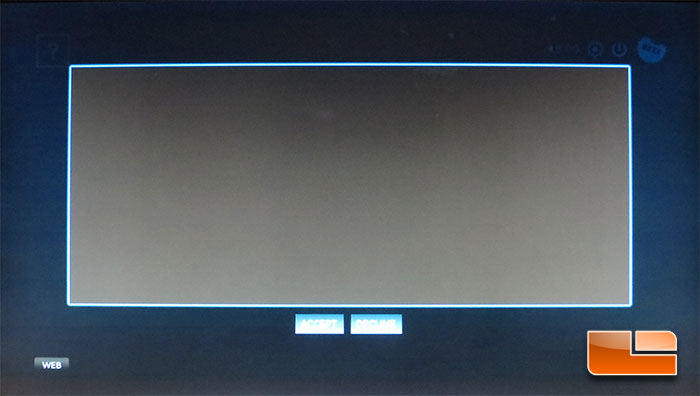
Setting the system up with the SteamOS was remarkably easy, it may have even been easier than setting up a Windows OS. The first step was to tell the GIGABYTE B85M-DS3H to boot of the flash drive that I had the SteamOS extracted to. The only adjustment that I had to make in the GIGABYTE B85M-DS3H UEFI BIOS was to make sure that the flash drive was selected as a boot device. Some motherboards do have protection built into the BIOS that will prevent you from installing any operating systems other than Windows. Secure Boot will prevent somebody from using a Linux Live disc to boot your system. The GIGABYTE B85M-DS3H was set to Other OS by default, but other boards may not be, so if you run into an issue that your aren’t able to start the installation, that’s something to check. Once the system was booting off of the flash drive I had extracted the SteamOS download to, this is the screen that shows up. Being that this is the first time out playing with the SteamOS, I opted for the K.I.S.S. (Keep it Simple Stupid) method of installing and chose the Automated install. Running the automated installation the system made just about all of the choices for me.
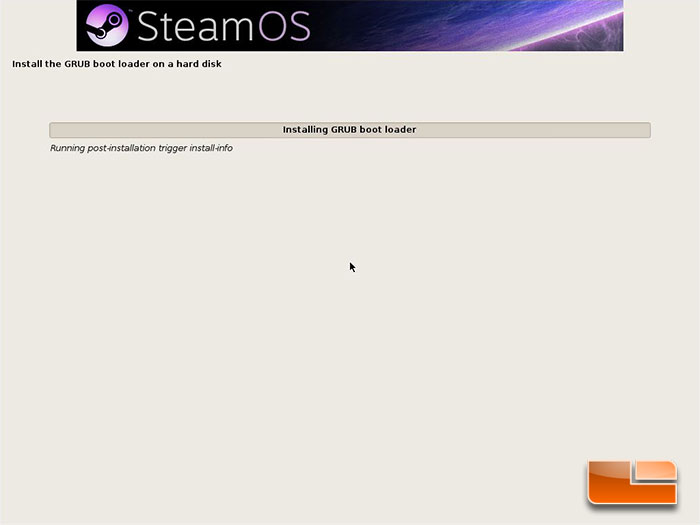
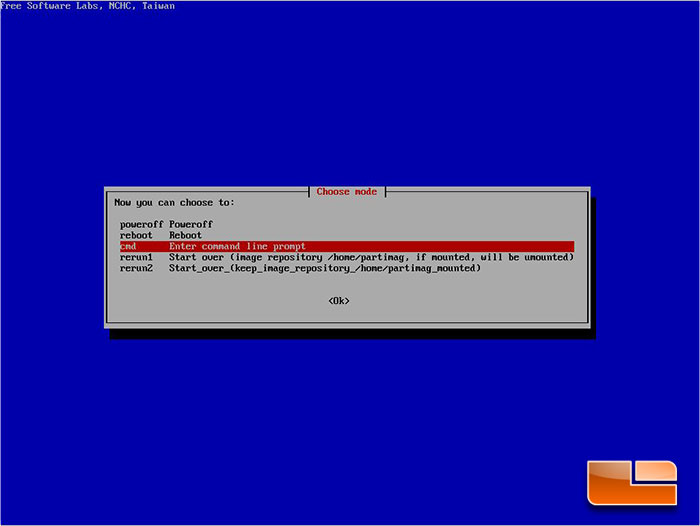
  Eventually the automated installation of the SteamOS did need a little bit of input from me though. The SteamOS installation media gave me the option to Poweroff, Reboot, enter a command line, rerun1, and rerun2. I took a wild guess that I needed to reboot the system, maybe a little more than a wild guess as powering off wouldn’t get me anywhere, don’t know anything about running a command line in Linux, and rerunning things just didn’t seem like it’s what I should do. So maybe it was more of an educated guess, but it turned out to be the right choice!
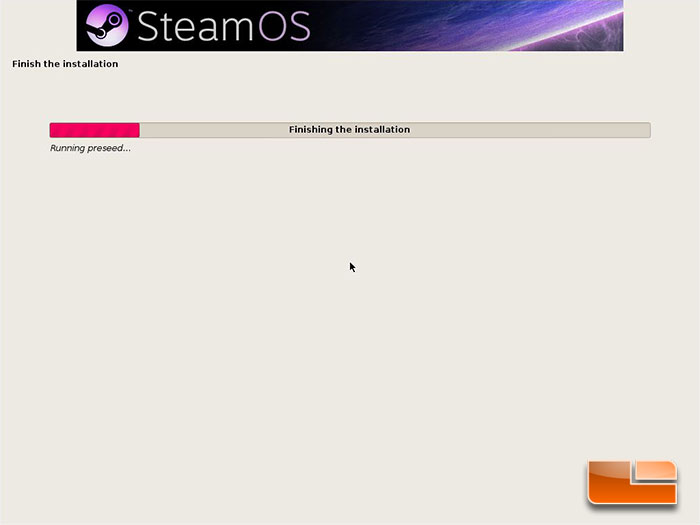
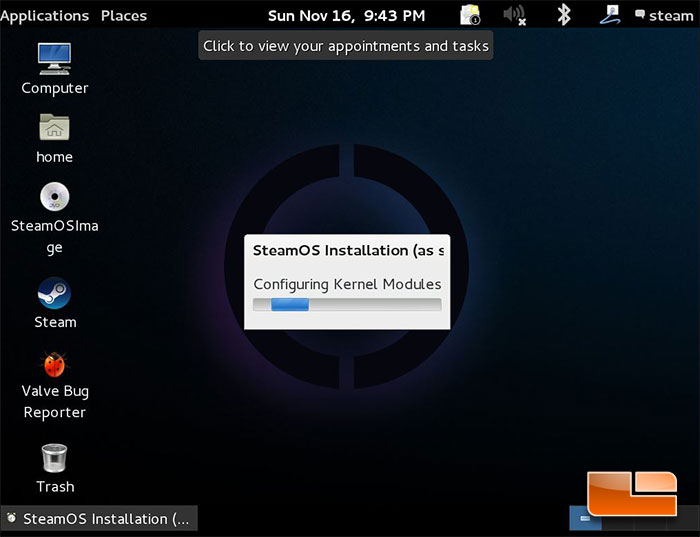
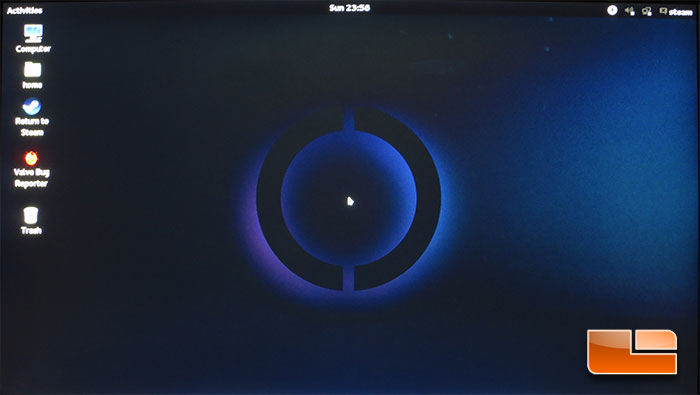
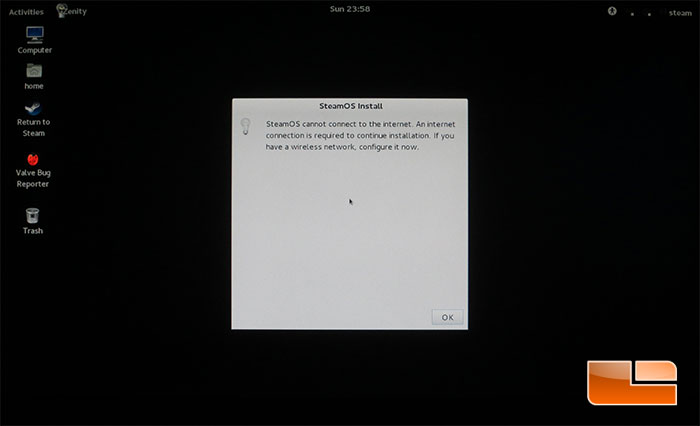
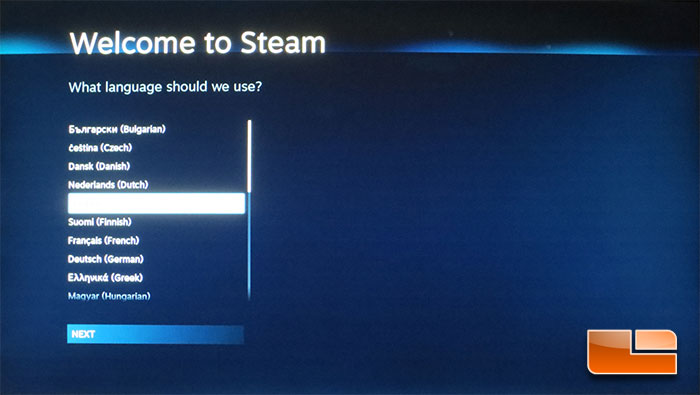
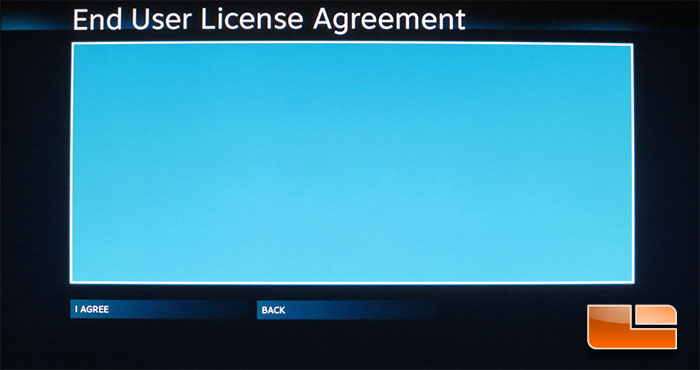
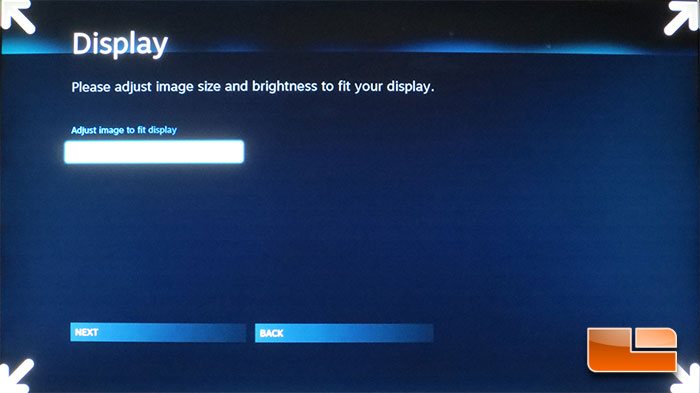
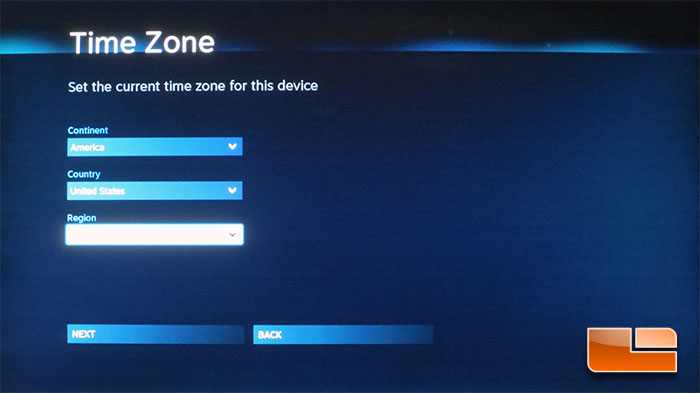
 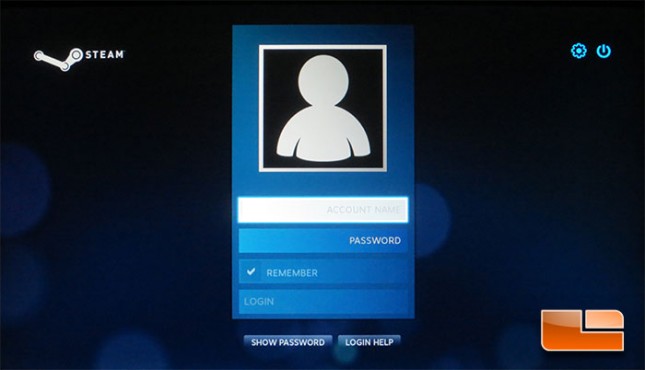 After a couple more choice that I had to make about language, screen adjustment and a couple of updates to Steam, the system was ready to log in! The installation of the SteamOS is pretty quick. From the first screen asking about the install to the point that I’m logging it only took a hair over 23 minutes to complete the setup. Unlike with Windows, this includes all of the updates and drivers. Once the SteamOS is done installing, there’s nothing left to do except install some games!