Building A Gaming PC For Under $400 With SteamOS
SteamOS Steam Box Assembly
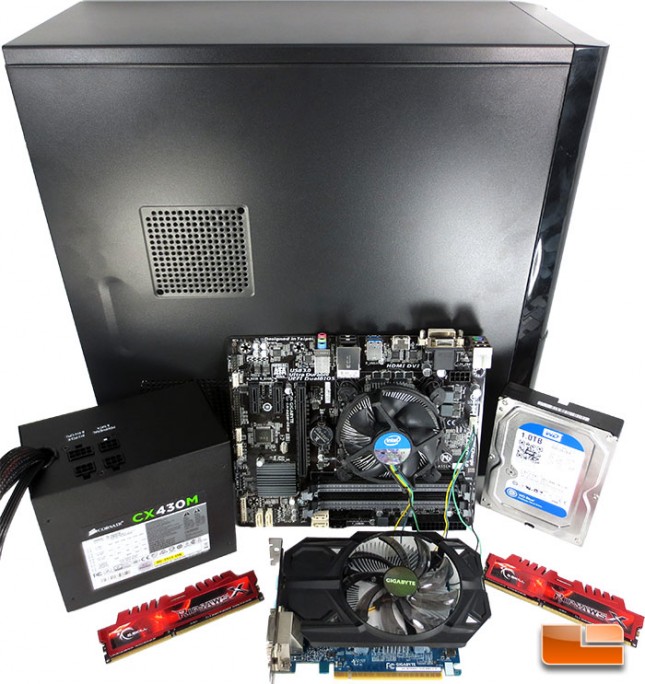
Now that we have taken a look at the parts that we are going to use for our SteamOS system, it’s time to start putting them inside the GIGABYTE GZ-F3HEB chassis.
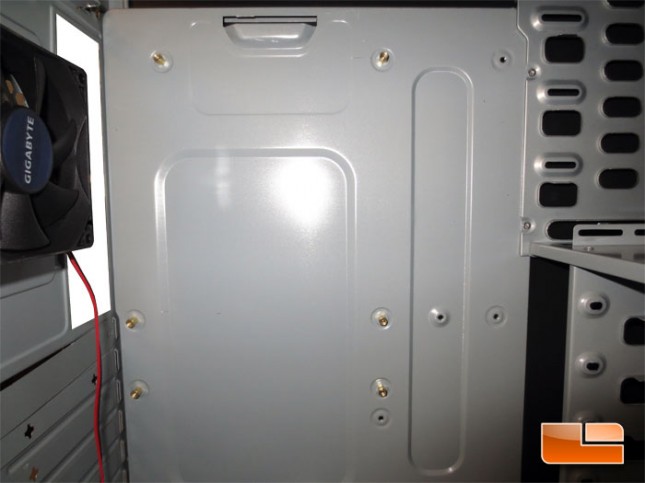
The first step in assembling the Steam Box is to prep the GIGABYTE GZ-F3HEB PC Case for the motherboard. The GZ-F3HEB chassis includes all of the necessary hardware to get it ready. The first step is to install the motherboard standoffs seen above. The most important part now is to make sure that the standoffs that get installed align properly with the holes on the motherboard, if they are in the wrong spot it can cause a short in the motherboard and kill the motherboard.
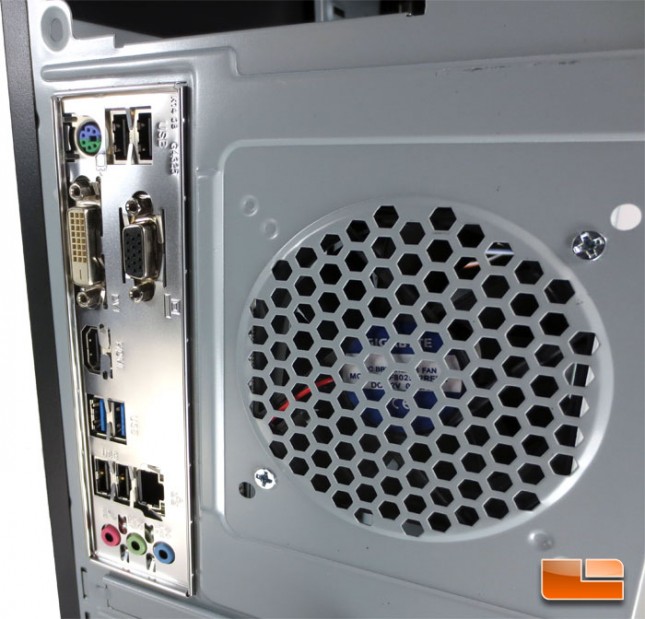
Once the standoffs are all installed into the GIGABYTE GZ-F3HEB PC Case, I installed the I/O shield for the motherboard. The I/O shield snaps into place nice and easy. The GIGABYTE GZ-F3HEB PC Case is a rather low cost case, in the past with some of the low cost cases I’ve used, I’ve had a hard time getting the I/O shield to snap in, the cutout was a little small. There were no issues with the GIGABYTE GZ-F3HEB PC Case and the I/O shield. For only $29.99 the GIGABYTE GZ-F3HEB PC Case is pretty solid so far.
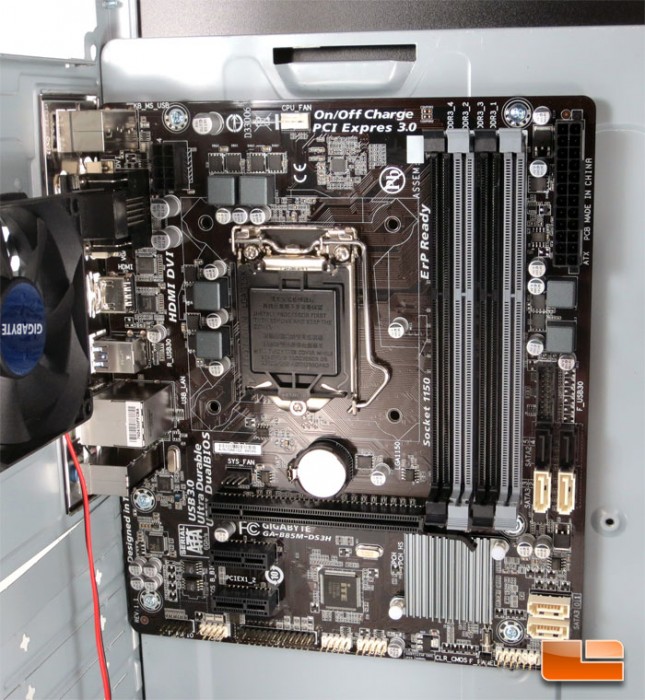
Installing the GIGABYTE B85M-DS3H into the chassis was a breeze. Having the standoffs and I/O shield installed, I was able to line up the holes in the B85M-DS3H PCB with the standoffs and put in the six screws without a hitch.
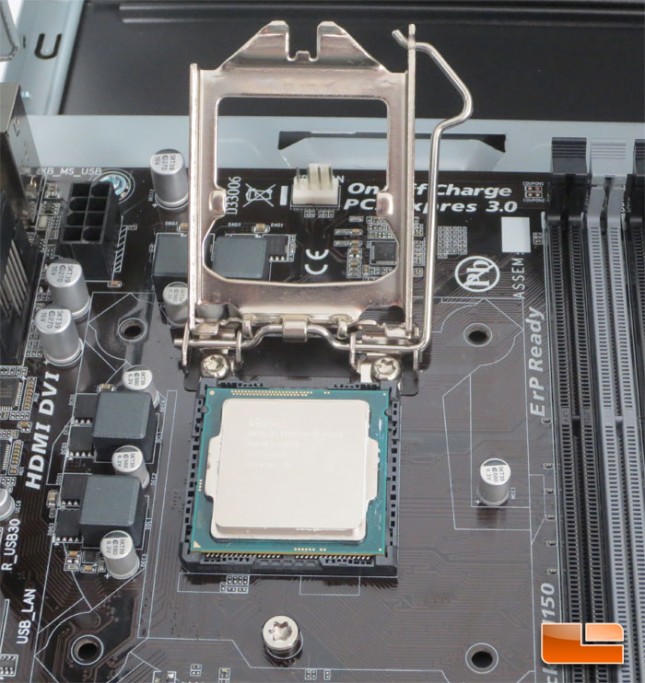
Next up is installing the Intel Pentium G3258 processor. Installing the processor can be a little frightening, if you’re not familiar with it. Though in all honesty it’s probably one of the simplest parts to install in the system. Once the LGA1150 socket is opened up, align the cutouts in the processor to the matching portion of the socket and set the processor in gently. Be careful not to touch the gold contacts as they are fragile and can be easily bent out of location.

Once the processor is in place in the socket, lower the cover and make sure the front catches underneath the screw. Once that catches, lower the lever on the right side and lock it underneath the hook. Now the processor was done, as I said, it’s pretty easy, just a little intimidating if you’ve never done it before.
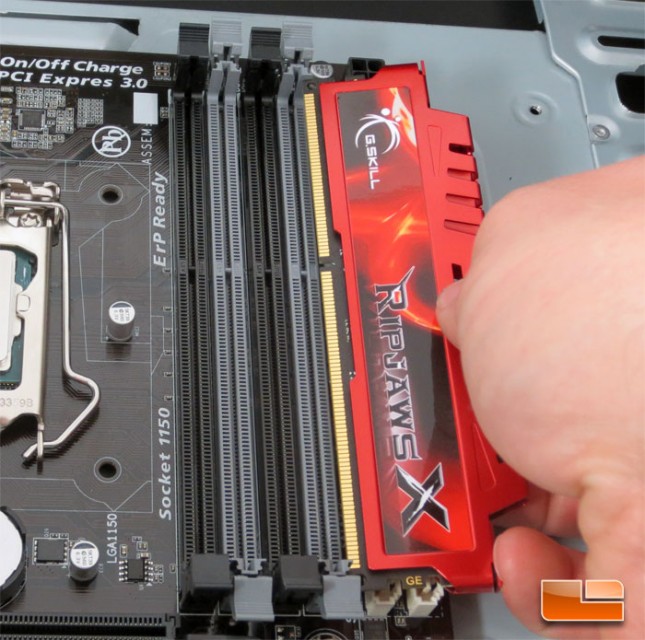
Much like installing the processor, the DDR3 memory modules need to be aligned properly in the DIMM slots. The G.Skill Ripjaws X memory modules (and all DDR3 memory) have a notch in the edge of the PCB that will align with the DIMM slots, it will only go in to the DIMM slot in one direction. Once the module is aligned, and the latches are pulled back, place the memory module into the DIMM. Once it’s in the DIMM slot press it down until the latches snap into place and the G.Skill Ripjaws X memory module is locked into place.
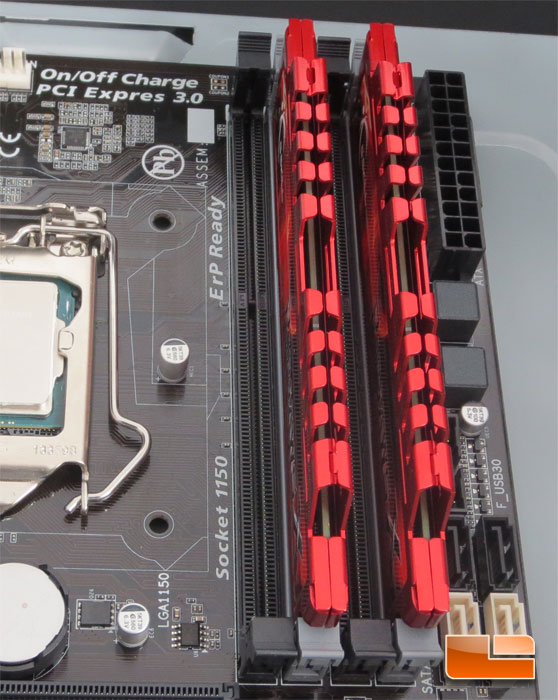
The GIGABYTE B85M-DS3H motherboard will support dual channel memory kits like the Ripjaws X 4GB (F3-12800CL9D-4GBXL) kit that I am using today. GIGABYTE recommends installing them into the DDR3_1 and DDR3_2 DIMM slots for a dual channel configuration.
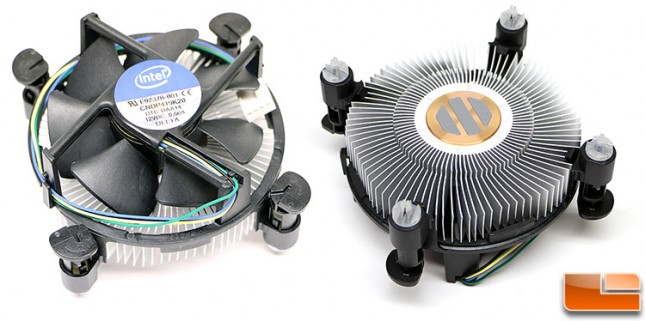
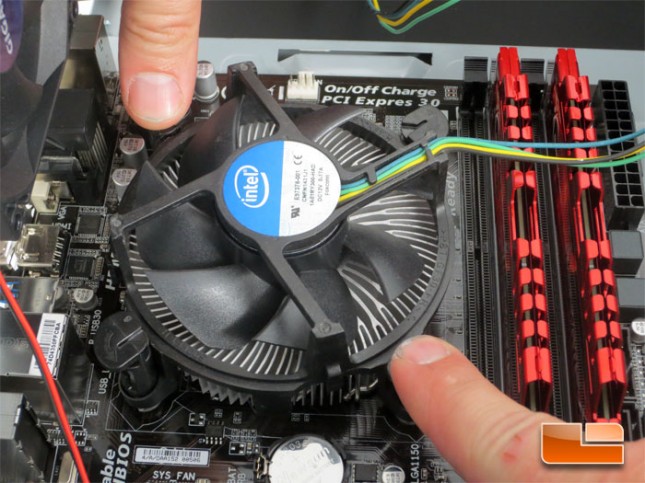
The CPU cooler that comes with the Intel Pentium G3258 isn’t the greatest I’ve ever seen, but it’ll get the job done without an issue. The OEM cooler comes with the thermal paste already installed so there’s no reason to worry about adding any more. Once you’re ready to install the CPU cooler, make sure to surface of the processor is clean and free of any debris. I use a lint free cloth and some 91% Isopropyl alcohol to clean the surface.
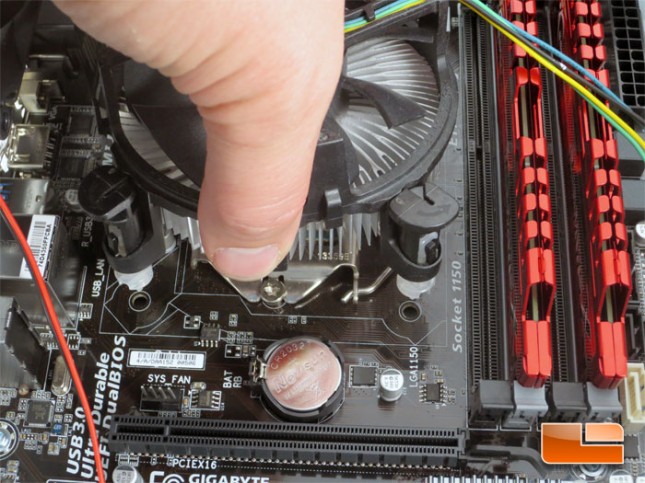
The CPU cooler is just as easy to install as anything else that we’ve done so far. Align the four locks with the four holes surrounding the CPU socket and place it on the CPU.
Once the CPU cooler is aligned, snap the locks down in place. Start with a pair of opposite corners and lock them down at the same time to ensure equal pressure on the surface of the cooler.
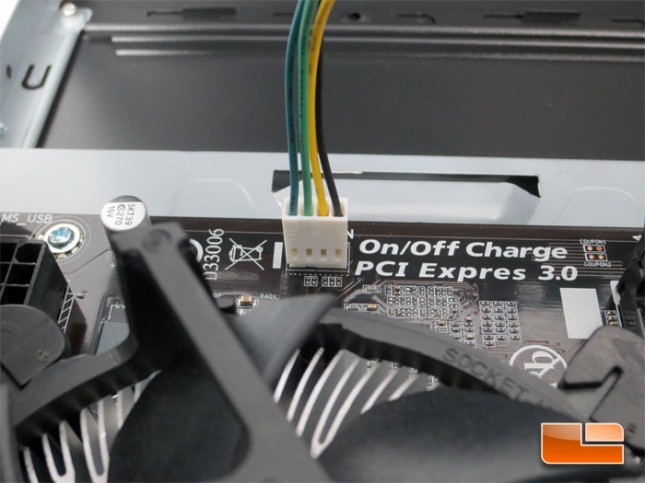
The last step of installing the CPU cooler is to plug the CPU fan in. The OEM cooler features a four pin plug that allows the system to monitor and change the fan speed based on the load and heat being generated by the Intel Pentium G3258 dual core processor.