ASUS Sabertooth Z170 S Motherboard Review
BIOS and Overclocking
The hardware used to test the ASUS Maximus VIII Extreme has been used throughout all of the Intel Z170 motherboards I have tested. We have been able to overclock the Intel i7-6700K to 5.0GHz, and the Kingston Fury DDR4 kit up to 3200MHz, while the average is 4.8GHz for the CPU overclock and 2966MHz when the memory is overclocked. While those have been the highest overclocks we have been able to achieve without going through extreme overclocking steps, the average overclock for this configuration is 4.7GHz on the CPU and 2900MHz on the memory.
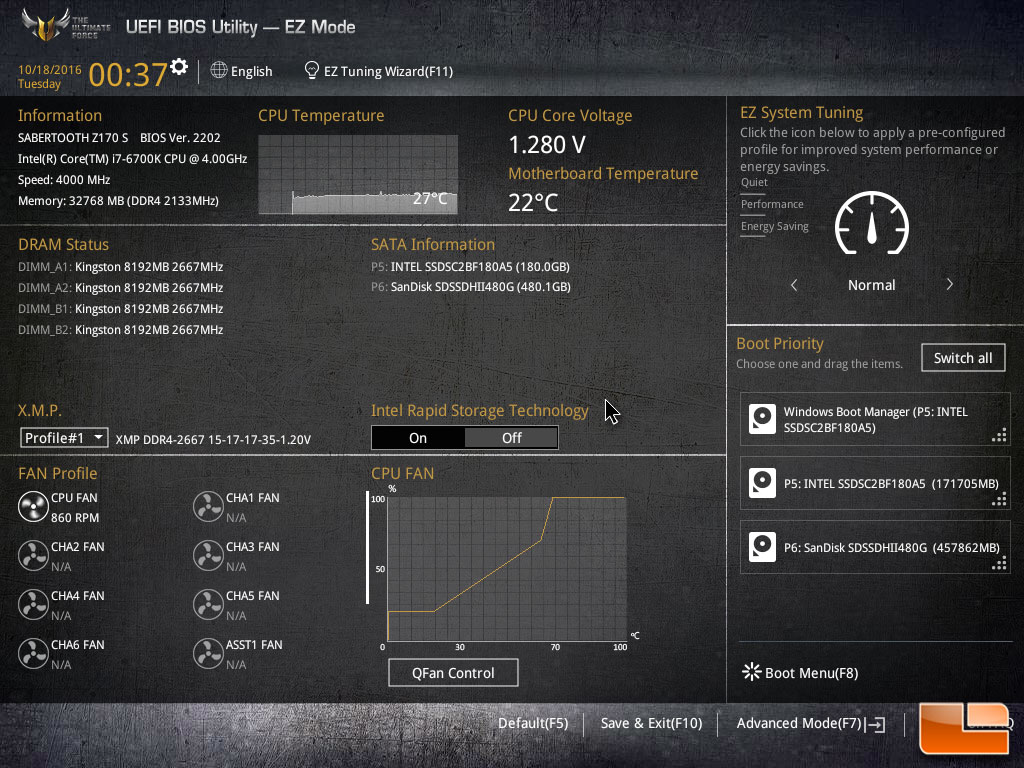
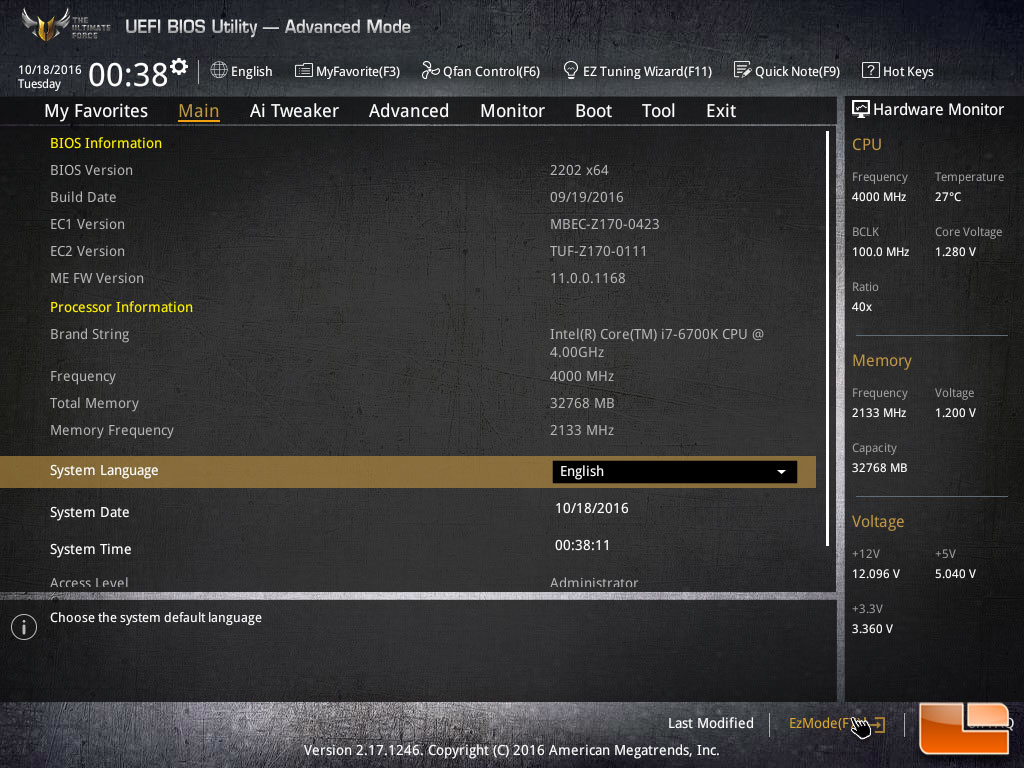
Like most modern UEFI BIOS, the Sabertooth Z170 S has two different modes, depending on user experience and needs. The default BIOS screen is the EZ Mode, here you can select and configure basic options on the Sabertooth Z170 S such as Boot Priority, XMP profile selection, FAN control, and pre-configured system profile. Switching over the Advanced Mode you can get into much more detail settings.
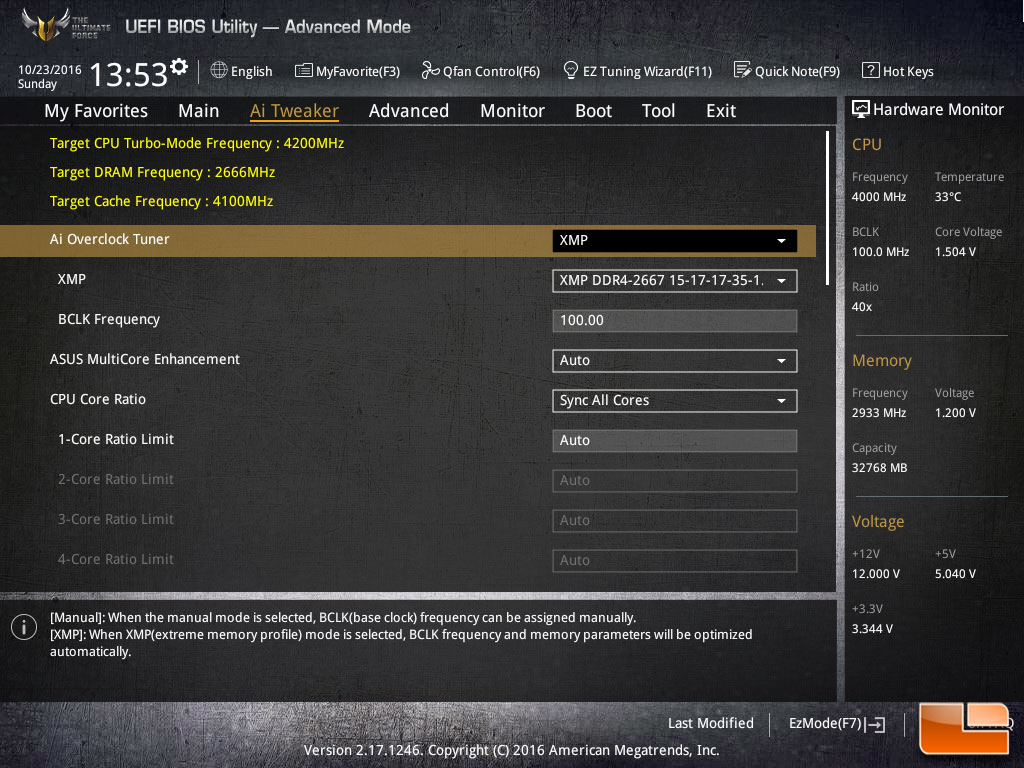
If you are interested in overclocking the CPU and Memory, you will want to turn your attention to the AI Tweaker menu. The CPU Core Ratio is pre-configured to “Sync All Cores”, this makes all the CPU cores have the same ratio. You can set this to allow each core to have different maximum ratios, however for our testing we will leave it at the default. What we will change is the Core ratio, switching it from Auto we can type in a number for the ratio we want. As the default ratio is 40, we will start with that.
Using the XMP setting, the memory was correctly set to 2666MHz with 15-17-17-35 @ 2T. Switching over to manual settings, we can quickly overclock the memory using a drop down menu. The common DDR4 memory speed options are built in, with a maximum speed of 4266MHz. We will use this option to overclock the memory.
Overclocking Results
Starting with a low overclock of 4.4GHz (Ratio set to 44), we will increase the Ratio by one until we are no longer able to get the system to successfully post. At which time, the CPU Voltage will be increased to a maximum of 1.45V. If we are able to successfully boot into Windows, we will run a few tests to verify stability. If the system is unstable, we will lower the CPU Ratio by one until it is stable.
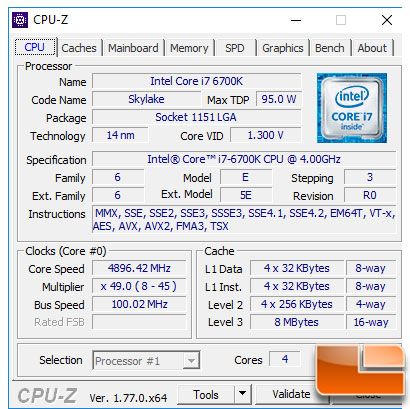
Using our normal process, we were able to get the ASUS Sabertooth Z170 S to boot at 5.0GHz, however it was a little unstable. During various benchmarks the system would freeze; going to 5.1GHz we couldn’t boot into Windows without a BSOD. Reducing the multiplier to 49, 4.9GHz, we were able to successfully run all the benchmarks without any issues.
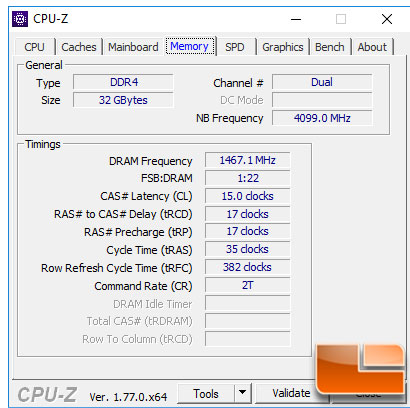
Once we were able to get the CPU overclock stable, we turned our focus to the memory. Starting at 2900MHz, we ran through all the benchmarks until we were unsuccessful. At 3000MHz, we would get random freezes again. So dropping it down to 2966MHz, the system once again became stable enough to complete the benchmark suite. Even at 2966MHz, the rest of the timings remained at 15-17-17-35 @ 2T. Use the BIOS to adjust these and the memory should be able to go beyond 2966MHz.
While were weren’t able to break our record with this hardware on the Sabertooth Z170 S, it still overclocked slightly above our average I have no doubt that if somebody wanted to overclock the Sabertooth Z170 S further, they could accomplish this by doing fine tuning on the overclock settings.