ASUS ROG Maximus X Hero Z370 Motherboard Review
ASUS ROG Maximus X Hero BIOS/UEFI

If you have used an ASUS motherboard in the last four years, you are probably familiar with their BIOS layout. It has not changed much since Z97 and X99. The default setting of “Advanced Mode” is a welcome change, and upon first boot up, you are greeted with the above screen. One thing you will likely want to change on this first screen is ASUS MultiCore Enhancement. Setting it from Auto to Disabled prevents the motherboard from doing any kung fu overclock magic to your CPU and memory. As you can see, the screen grabs were taken during our investigation into overclocking our Intel i7-8700K. Rest assured, the numbers from our review today were completed with no CPU overclocking, including MultiCore Enhancement disabled.
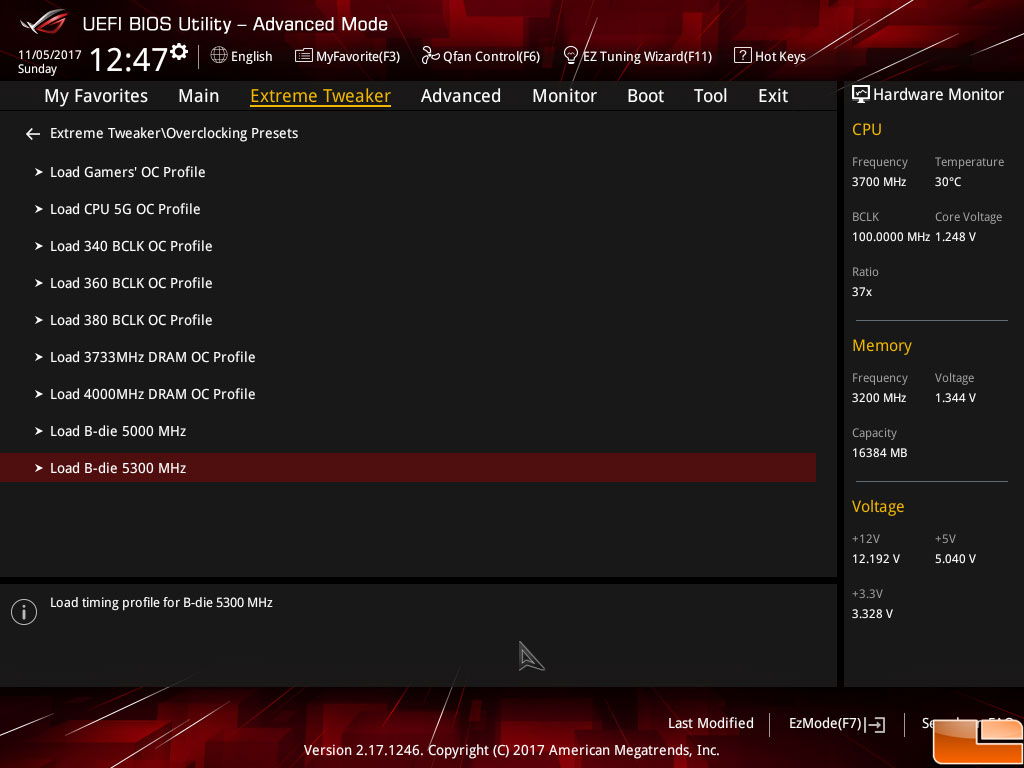
The screen is found in Overclocking Presets and can provide you with some potentially stable CPU and memory tweaks if you have the right combination of memory kit and cooling.
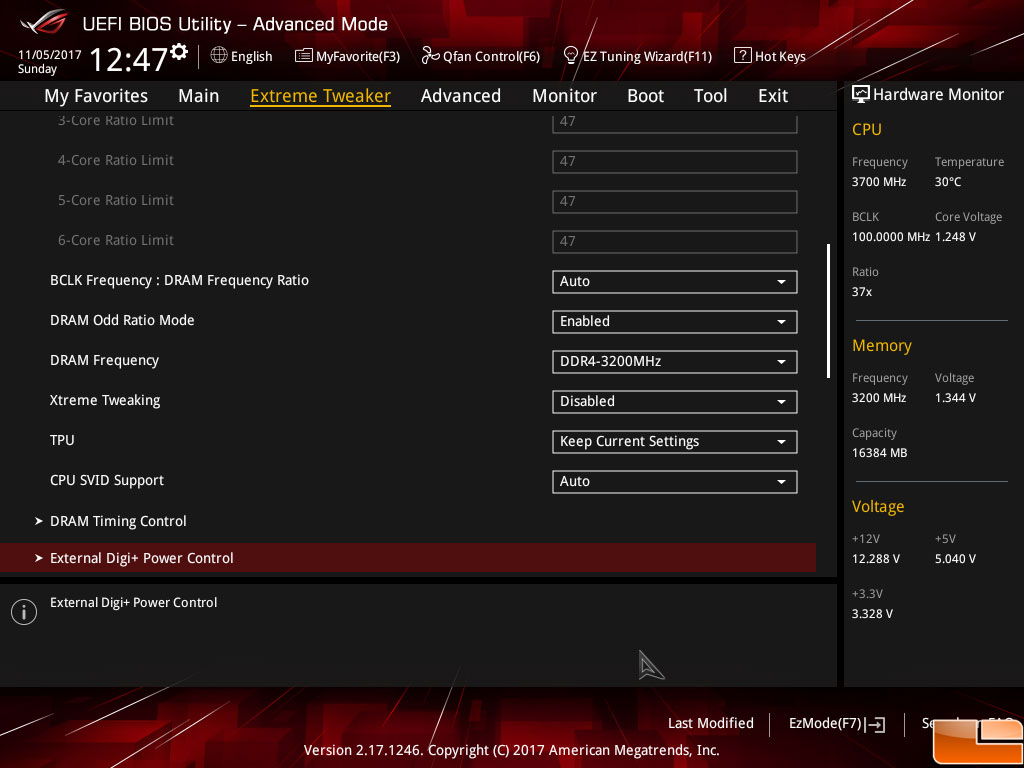
Back to the primary “Extreme Tweaker” page, we can see more familiar settings. Here you can set DRAM ratios, frequency, and enter into DRAM Timing control. We will not be getting into DRAM timing as there are a vast number of options.
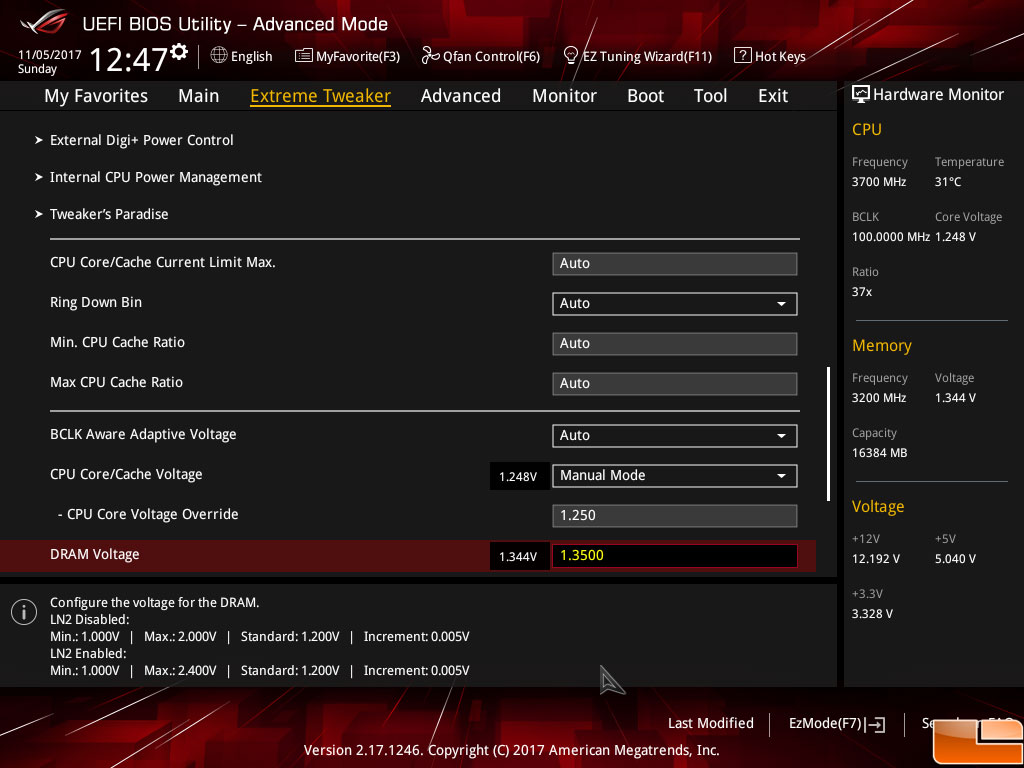
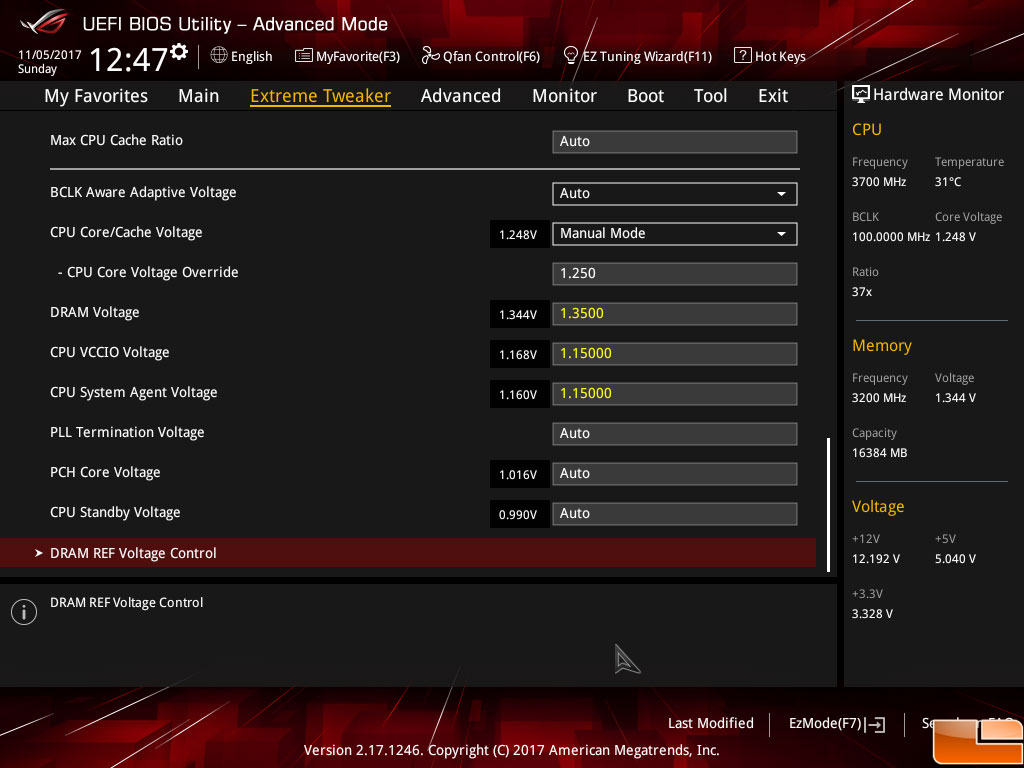
Further down the Tweaker page, we see options for changing voltages for CPU core, cache, and DRAM among others.
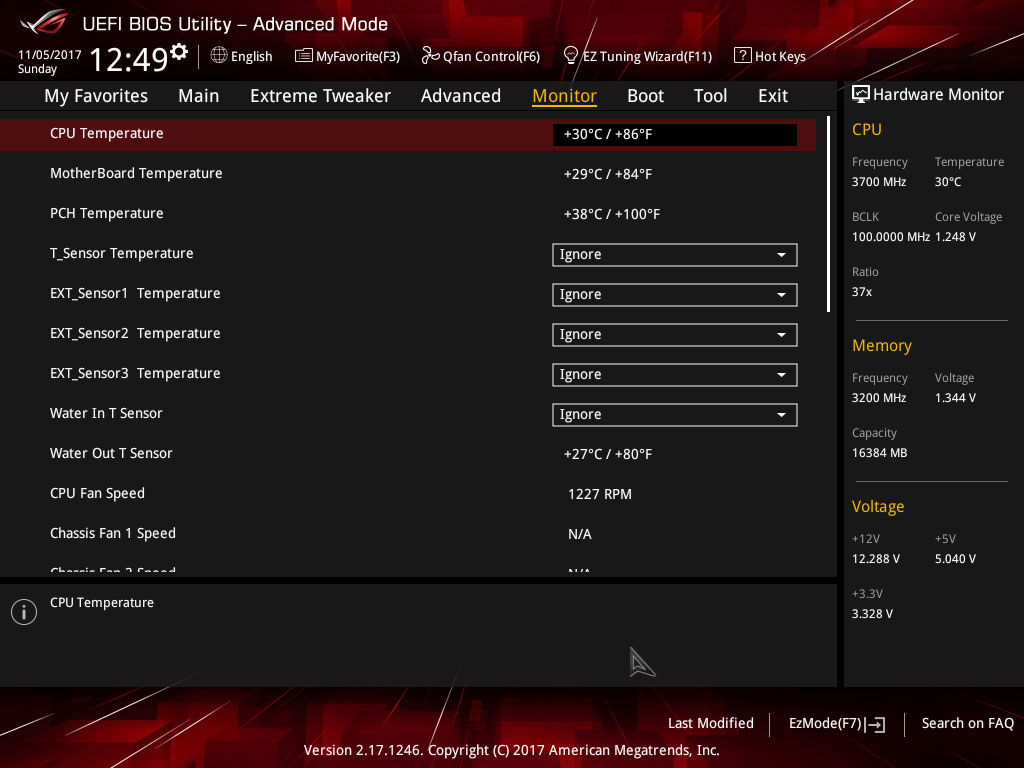
Over to the Monitor page, we get the full read out of temperatures for the on-board sensors. Note that the T_Sensor Temperature is for the probe header located near the bottom right of the motherboard. This is a slight issue that we are following up ASUS on, and that is that despite including three probe headers on the ASUS ROG Maximus X Hero motherboard, the T_Sensor is the only one of which that can be configured for your fans to be triggered from. The W_IN and W_OUT are simply for monitoring in both the UEFI and ASUS FanXpert 4. To add a bit of frustration to the issue, ASUS has added a header for their Fan Card extension board, which you can simply plug in and configure fan speeds based on the probes you would add to that board. The ASUS Fan Card extension is not shipped with the ASUS Maximus X Hero, but can be purchased at Newegg when they haven’t sold out of them! They are in fairly high demand.
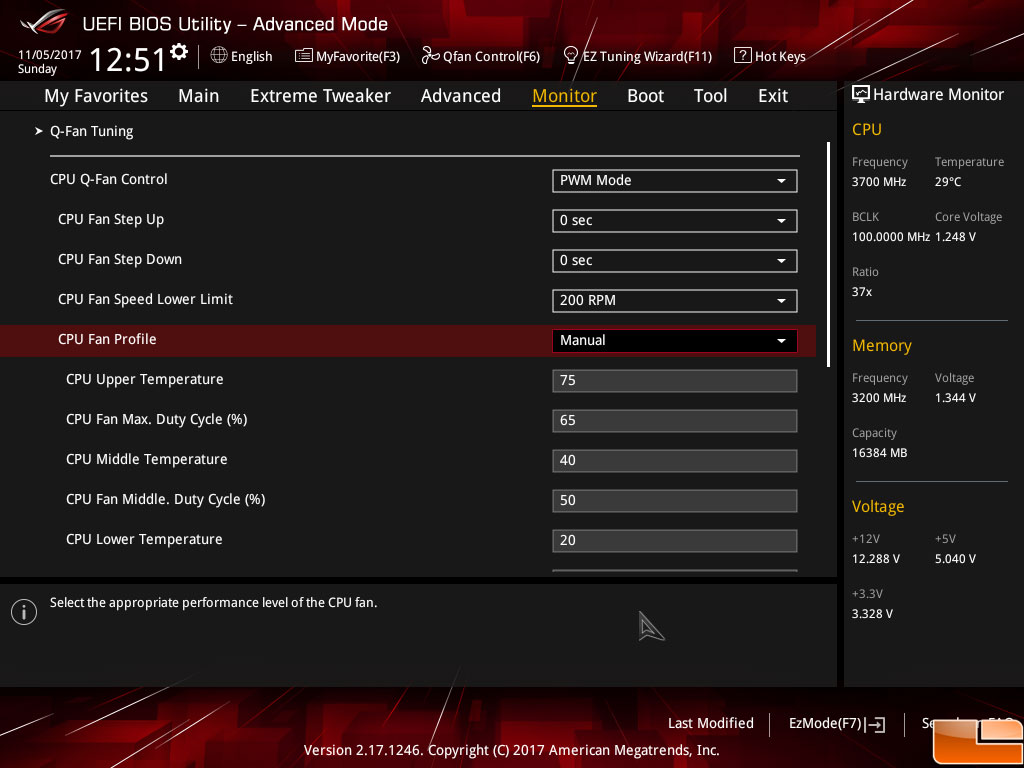
Scrolling all the way down to the bottom will get you to the Q-Fan Tuning page. You can configure fans connected to the CPU or CPU_OPT headers to run on one of the three pre-defined profiles (Silent, Normal, or Turbo) or to set them up manually. As you can see in the screenshot, there are options for changing how quickly fans will spin up and spin down. When dealing with processors like the i7-8700K which can go from cool idle temperatures to 60c in the blink of an eye, configuring your fans manually is almost a must to avoid them annoyingly spinning up and down very quickly.

And our last UEFI BIOS screen shot shows the options for triggering fans connected to the “Chassis” headers. They can be set to respond to one of the 3 onboard sensors, the user added probe (T_sensor), and the 3 sensors you would get from the add on ASUS fan card.