EKWB Predator 240 AIO Liquid CPU Cooler Review
Installing the Predator 240 Liquid CPU Cooler
Forewarning: This section is going to be very brief thanks to EK’s extremely simple installation method.
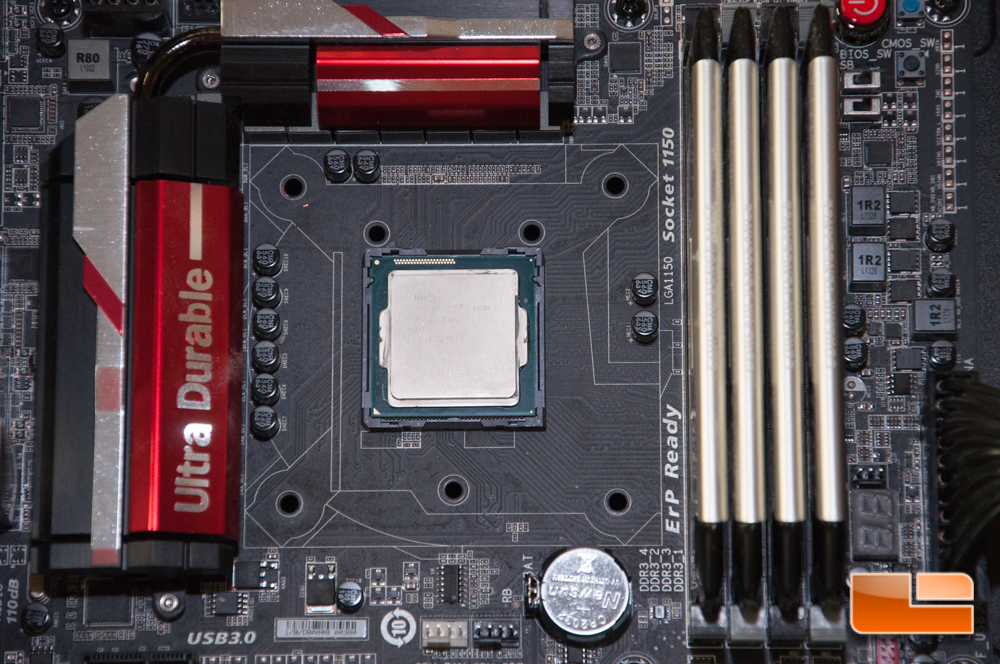
I always start off by cleaning the CPU with a high purity rubbing alcohol to ensure any old paste is removed and any contaminants are gone.
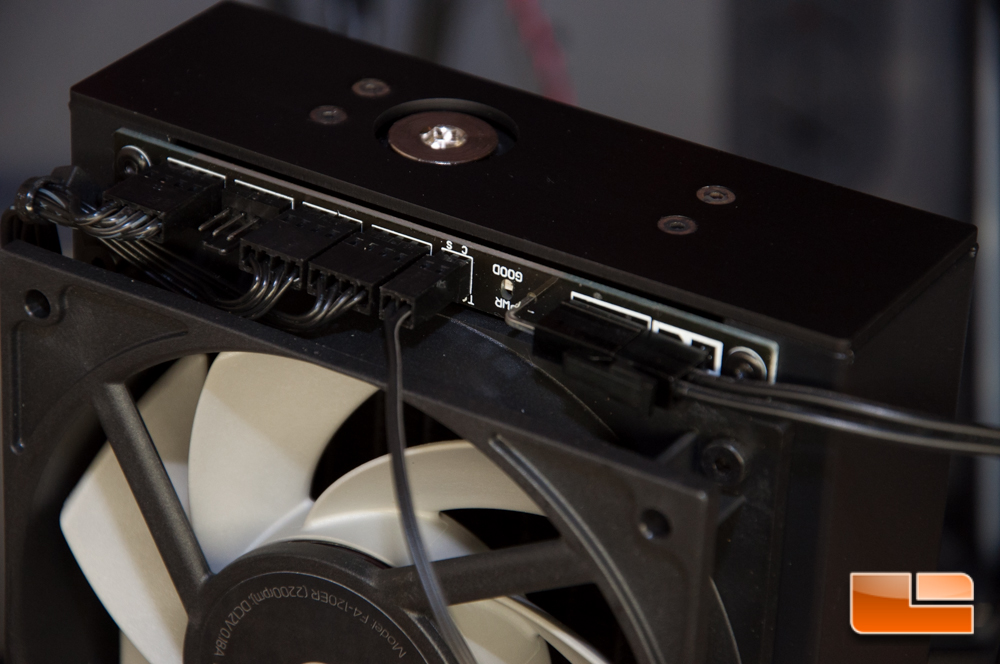
Before I get too involved, I hooked up the power wire (right) and the PWM fan connector that you see dangling in front of the fan. If you don’t do this beforehand, you’ll find yourself removing the cooler just to connect these.
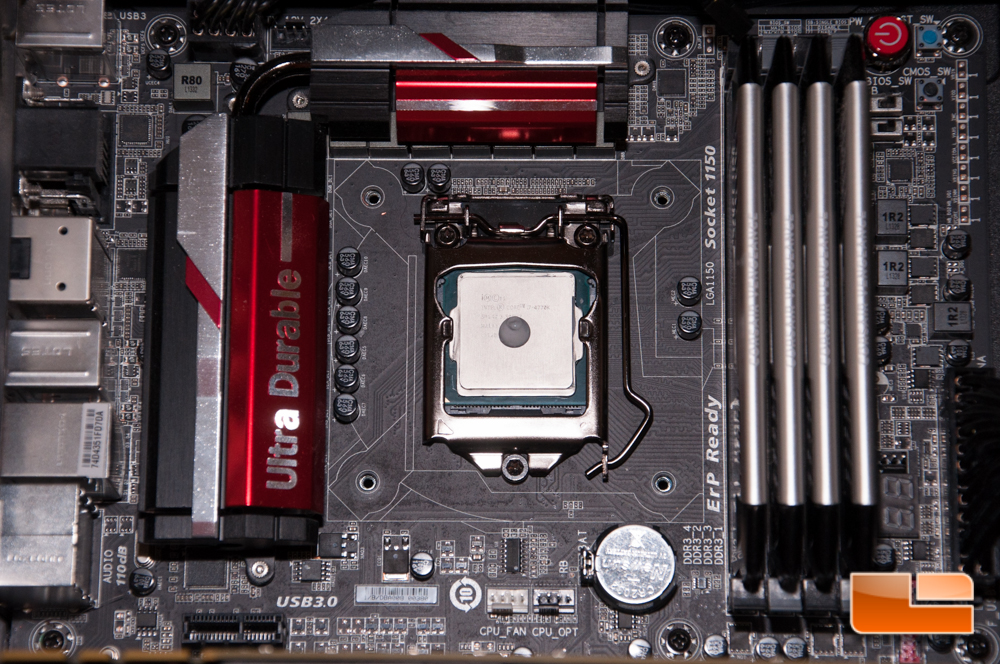
Next I remove the socket’s backplate to prep it for the new Supremacy MX backplate. This is done with the included Torx wrench.
Installing the Supremacy MX backplate is as easy as screwing the stock screws back into place.
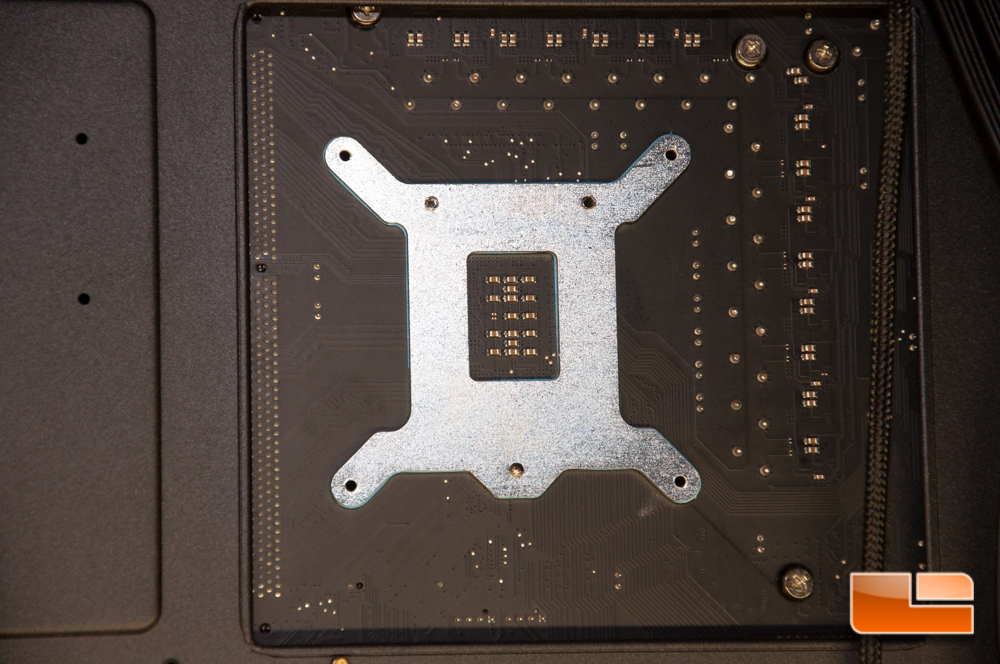
Now I have to be honest, at first I was sighing at having to remove the factory backplate to install a new one. Every other cooler that we’ve reviewed, they have a backplate that just goes over the factory one, so why couldn’t EK? Well, after I thought about it and actually did the install, I’m actually significantly happier with this design method. Sure it’s an extra step, but the agony of installing a waterblock on a ‘set-on-top’ backplate is completely removed. Now instead of having to worry about holding the backplate in place and screw the waterblock down, like many of them are, you are completely free to screw in the EK block with ease. This is an enthusiast product after all.
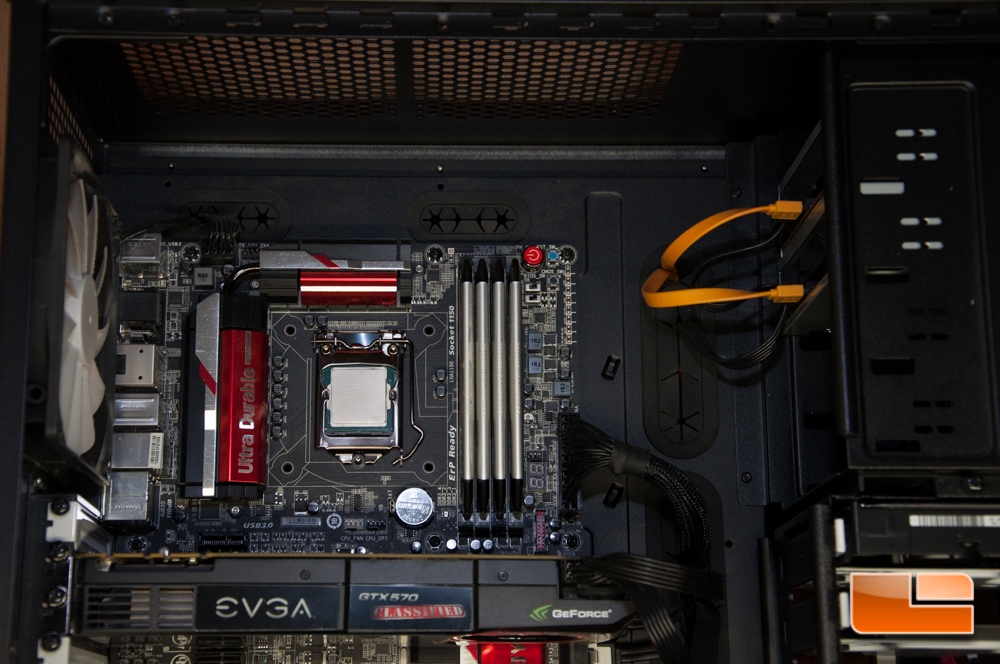
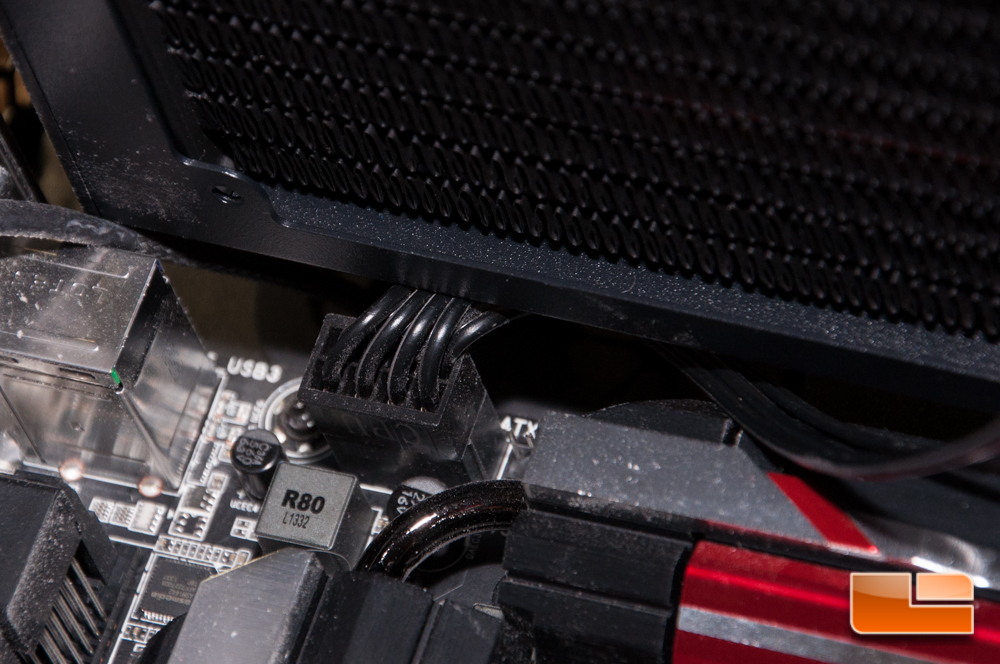
Since this cooler is rather tall, measuring a whopping 68mm with fans installed, you will need to ensure that you have plenty of room in your case. In this review, I’m using the Fractal Design Define XL R2 Chassis, which is very versatile for cooling, but it isn’t perfect. While utilizing the mounting holes closest to the side panel, I still found that the cooler was getting in the way of my 8-pin power connector. Fortunately the wiring had enough give that it slid right past the connector with only a little help. Don’t mind the fan wire on the top left of the picture, as I moved that out of the way when I did the install.
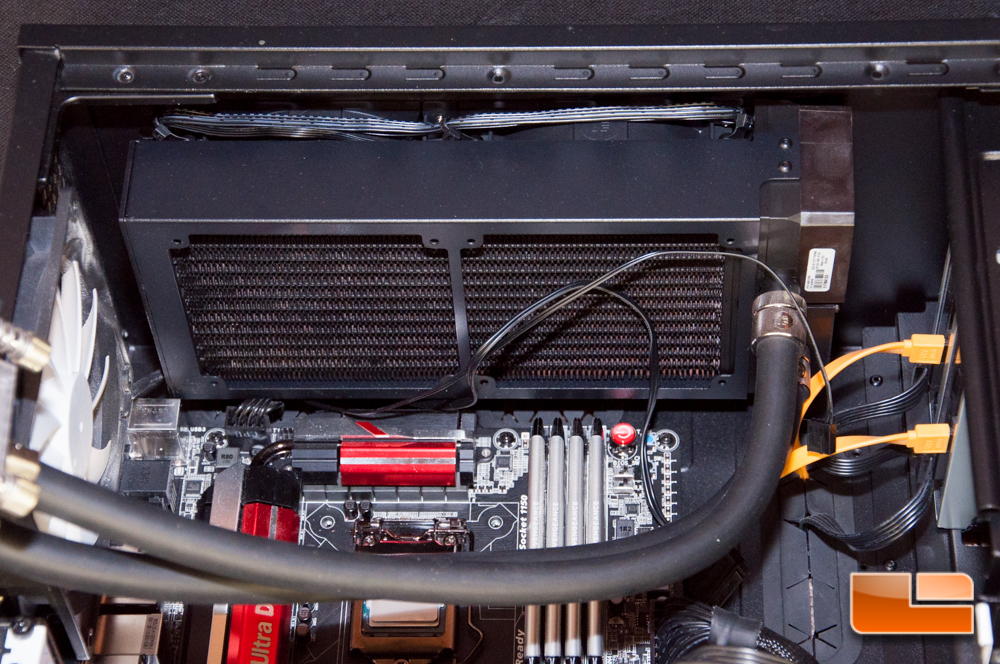
With the radiator installed, you can now see how big it really is.
The second-last step is to apply the TIM. EK recommends the “blob” method or “line” method, in which we’re using the “blob” method. This is the same thing that we’ve done with every other cooler.
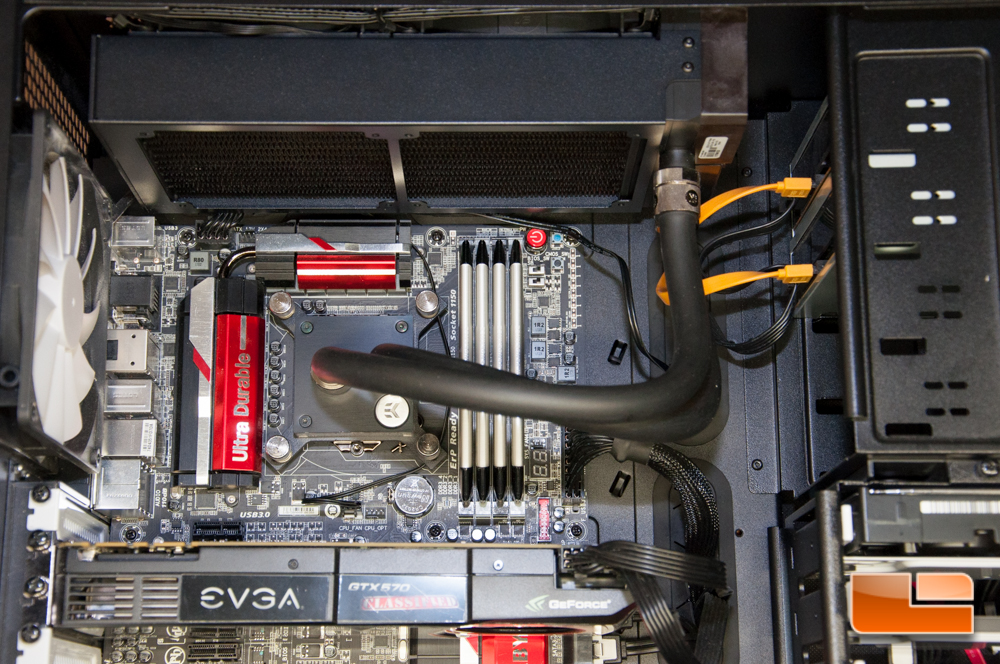
The final step is to screw down the four thumb screws snugly and you’re set! This is the final view of everything connected.
All powered up the cooler is darn near silent in a 74*F room with no load. We’ll have to see if we can hear it under heavy loads from x264 or Prime95, as the fans will spin up.
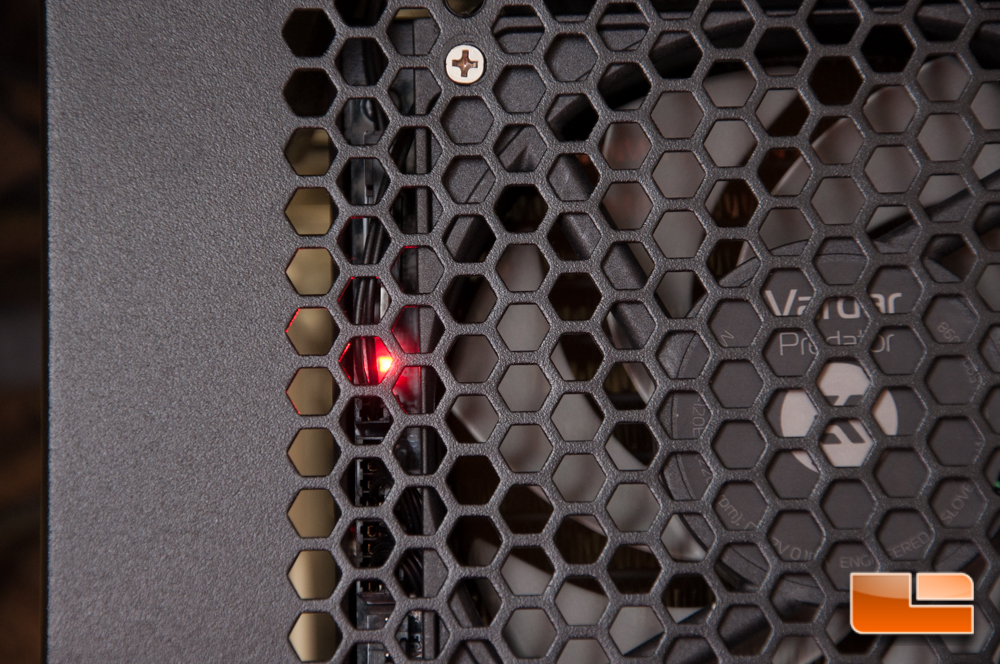
The only thing that I found rather annoying, is the power LED on the fan hub. This LED is a fairly bright red and will probably annoy others as well.
Since we know that everyone is curious with how well the Predator 240 performs, let’s move onto the testing. Well compare it to the various air and liquid CPU coolers that weve tested in the past, see how well it works with an overclock to 4.3GHz on a i7-4770k. Before we get into the tests, click the next page to see what weve got in our system.