Cooler Master Cosmos SE Full Tower Case Review
Hardware Installation Inside The Cosmos SE
When installing hardware inside a case, I always appreciate a lot of room to work with. Some cases feel like you could fit everything up to the kitchen sink inside, while others you can hardly fit the essentials. The Cosmos SE is a Full Tower case, but it is physically smaller than the original Cosmos 1000, so lets take a look and see how easy it was to get everything installed.
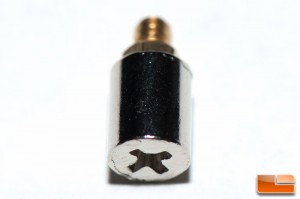
Mounting the standoffs was plenty easy. Cooler Master included a cap that you can drop over the standoff and screw in with a screw driver.
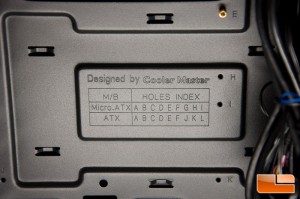
Should you be uncertain where to mount a standoff, each hole is stamped with a letter and Cooler Master has a guide stamped right there on the case.
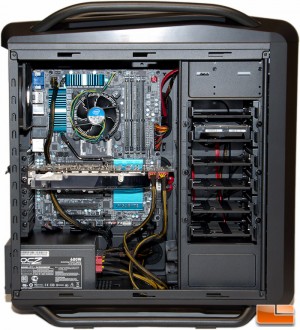
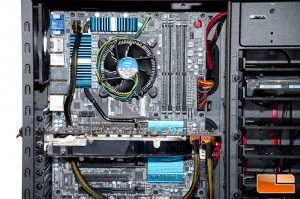
Installing the motherboard and CPU were plenty easy, but its when I went to install the video card that it became an issue. I am using an older video card, the 8800 GTX in this setup, and there wasnt much room. This card is right in the ballpark of a common enthusiast card length and measures right around 275mm, which is why this card is a great comparison. For your reference, the Nvidia GTX 780, 770, and 760 all measure only a few millimeters shorter, at 267mm, while AMD’s 7970 and 7950 come in at 280mm. If I wanted to make installation easier, I could have removed a couple of the HDD trays, but I wanted to avoid doing that.
Heres what these components looked like installed.
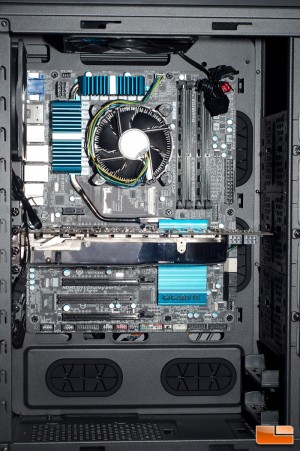
One thing that you need to take note of here is how much the motherboard now covers the grommet holes. This is going to make routing wires behind the motherboard tray quite a bit more difficult.
HDD mounting was very easy thanks to the completely tool-less mounting system. SSDs will need to be screwed to the bracket, but thats not a big deal.
Cooler Master recommends that you take off the PSU bracket and then slide your PSU into place, per the instruction manual, but I found that completely unnecessary. My PSU just slid right into place and fits nice and snug.
Hooking everything up to power was somewhat easy, but at the same time difficult. Trying to get the ATX power connector behind the motherboard tray and hooked up to my motherboard involved twisting the ATX connector severely. My GPU power connectors and the motherboard 8-pin are a PSU fault where the wires are a bit short for cases like this. Also, trying to get my standard SATA connectors in place on the motherboard was a nightmare. There was absolutely no room to work with, but I made it work. I like the cables with a 90-degree bend at the end, but didnt have any handy at this time; I would have to strongly recommend them here, though.
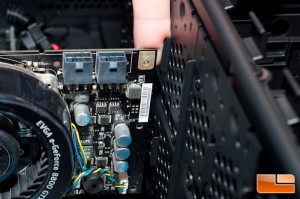
The bump out on right side panel definitely proved to be useful with all of the fan power connectors. These are all 4-pin Molex connectors, unless you choose to remove that extension and hook them all up to the motherboard.
After firing everything up, I noticed the fans are very quiet. The blue LEDs on the fans were a rather nice touch and having the ability to turn them off was even nicer yet.
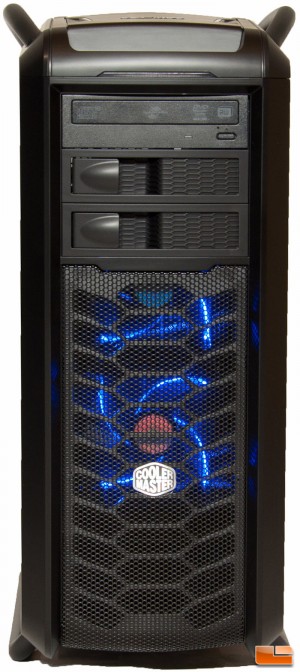
Here’s a shot with the front cover off, exposing the fans.
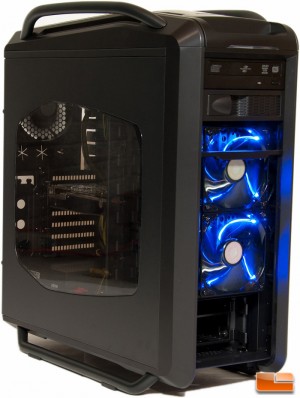
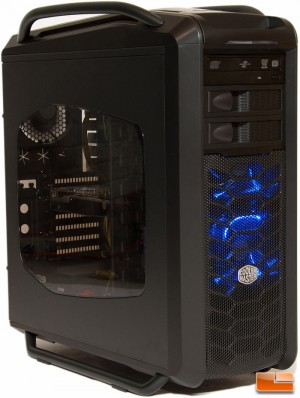
The window on the side of this version definitely helped showcase the hardware inside nicely. I can only imagine how much nicer this would look with some LEDs to illuminate the interior.
This wraps up the hardware installation section, so I am going to wrap up this review with a few final thoughts.