Thermalright TRUE Spirit 140 Direct CPU Cooler Review
Installing the Thermalright TRUE Spirit 140 Direct Cooler
Installing CPU coolers is a task that the end user will want to be relatively simple, with instructions that easy to follow if youre new to this market. In this section, well discuss what was easy or what was challenging with this install alongside the how-to.
First and foremost, I always start with a CPU and cooler that were cleaned with a high purity alcohol. This way we can remove as many contaminants as possible.
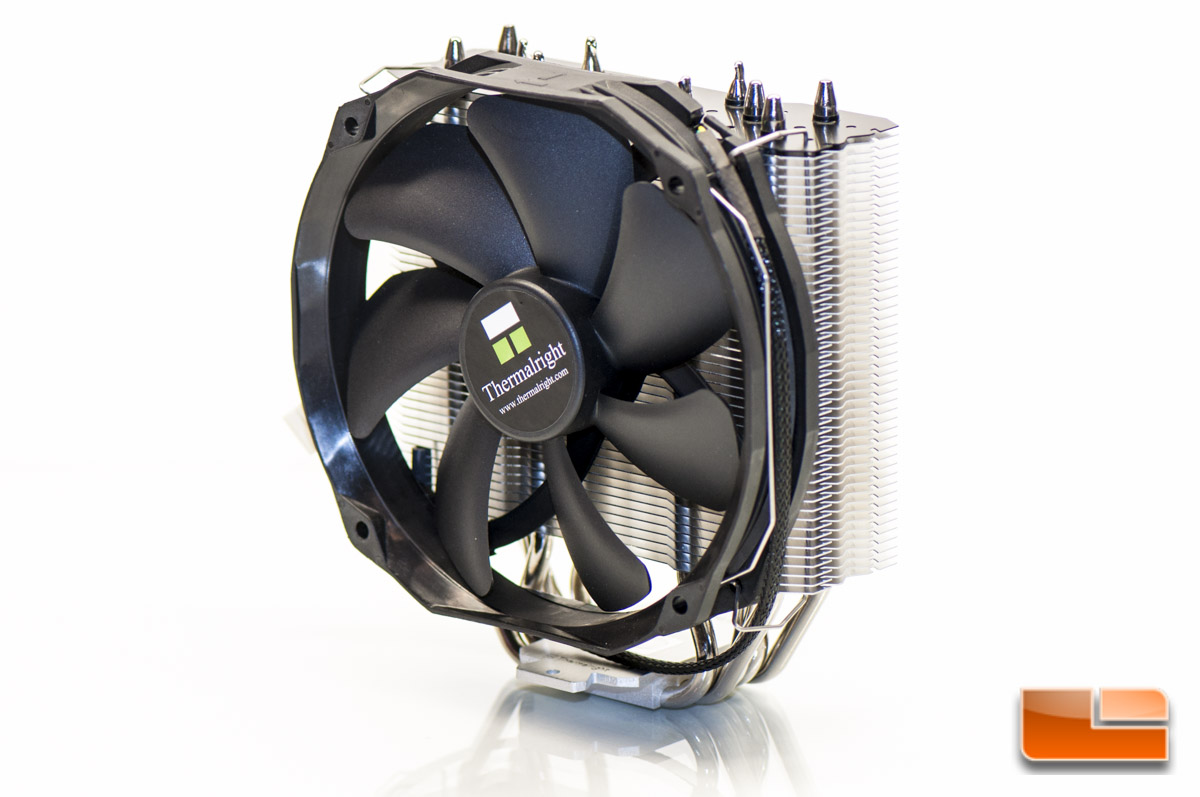
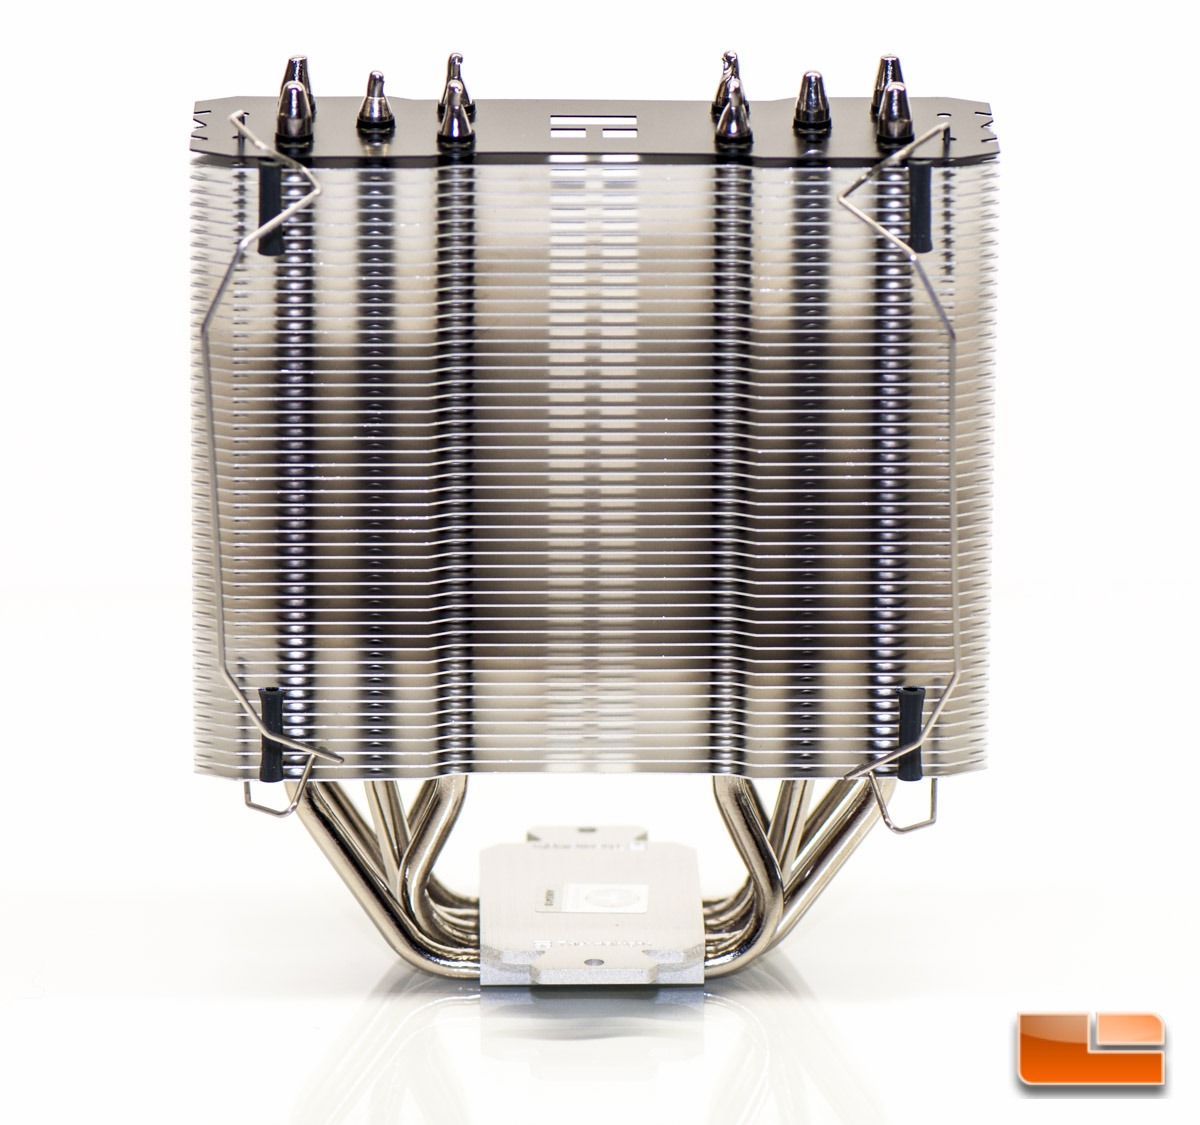
Prior to me doing the install, I like hooking up the fans to the cooler. In the case of this particular cooler, I was unable to, as the single fan would get in the way of the install. So as previously shown, this is what the cooler looks like with the fan installed.
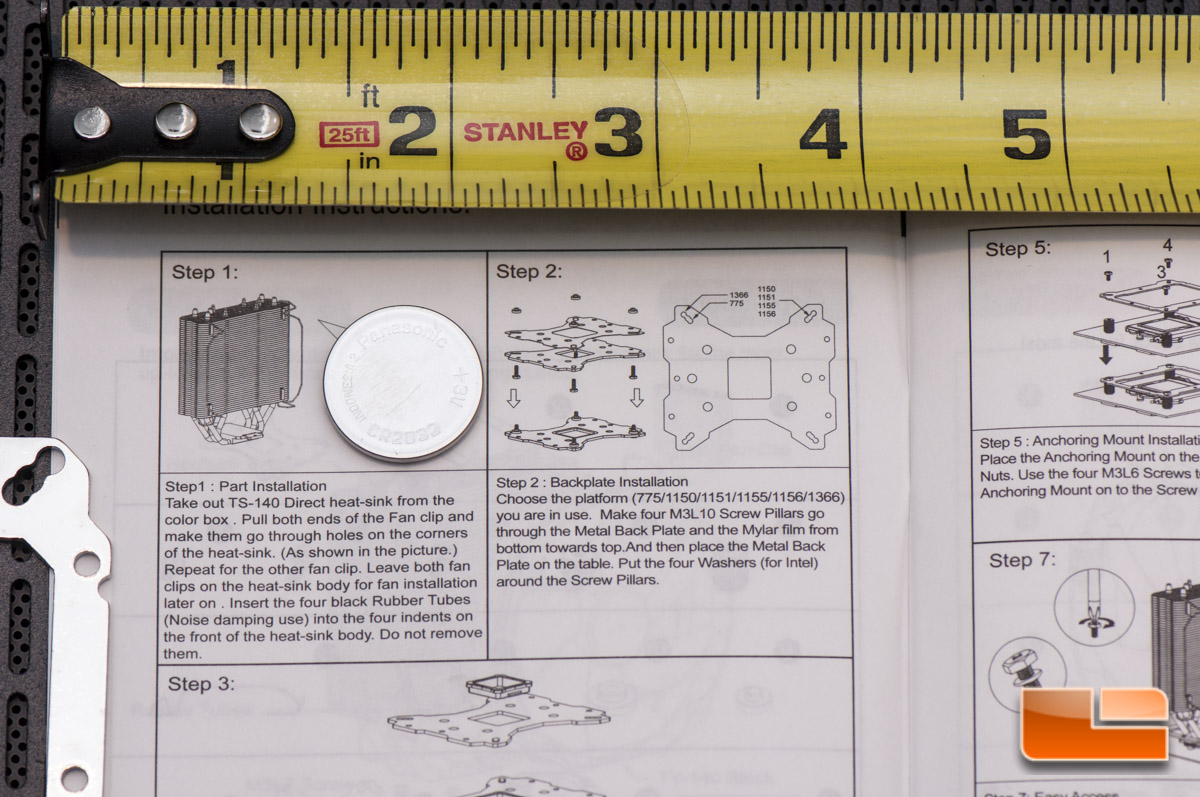
The instructions that are included with the TRUE Spirit 140 Direct are decently laid out, but theyre very difficult to read, as in, too darn small. My vision is actually decent and I can read tiny things without any vision correction devices (glasses, magnifying glasses, etc.), but I ended up snapping a photo with my camera to make sense of some of the pictorials. The verbiage on the page could also be a little clearer, so you dont have to hunt around for what you need on other pages.
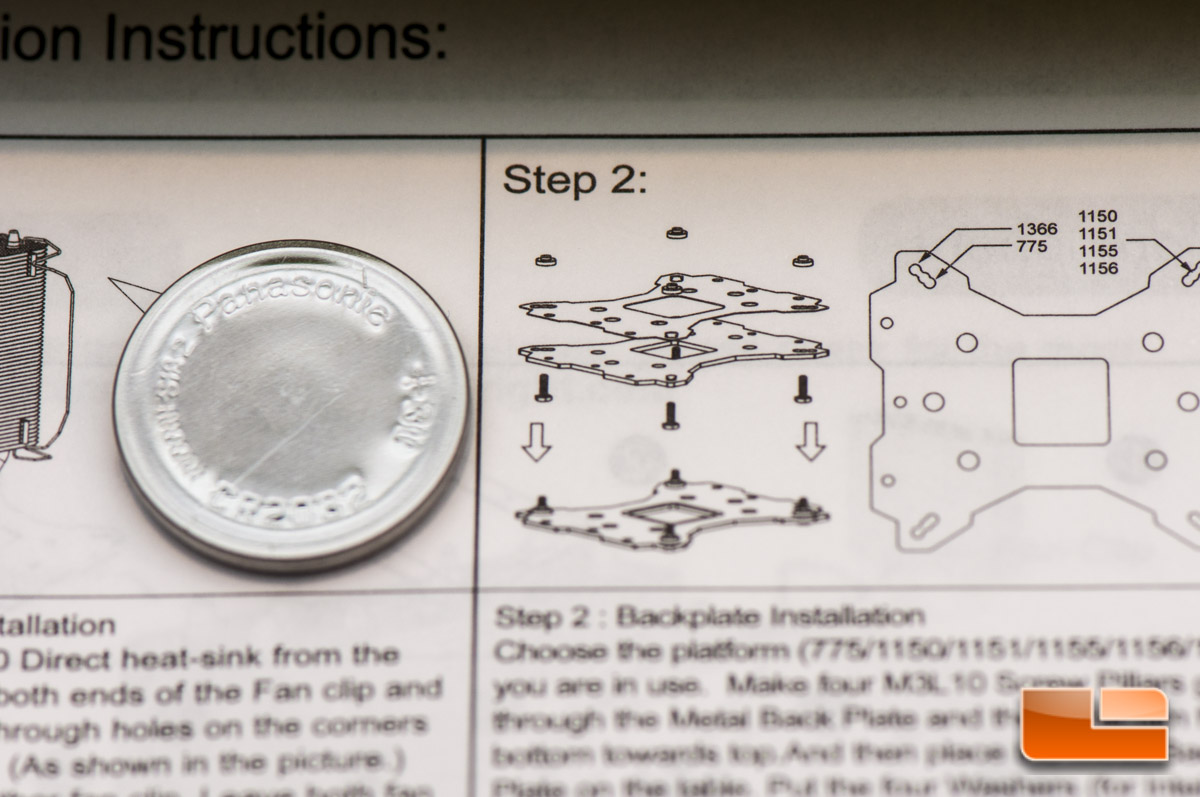
Now, to install the fan, this is where I actually had to scratch my head a little bit. At first I was thinking this fan would install similar to how Noctua does it, but it does not. You need to install a little rubber tube, which acts as an anti-vibration system and also raises the fan off of the cooler just a little bit.
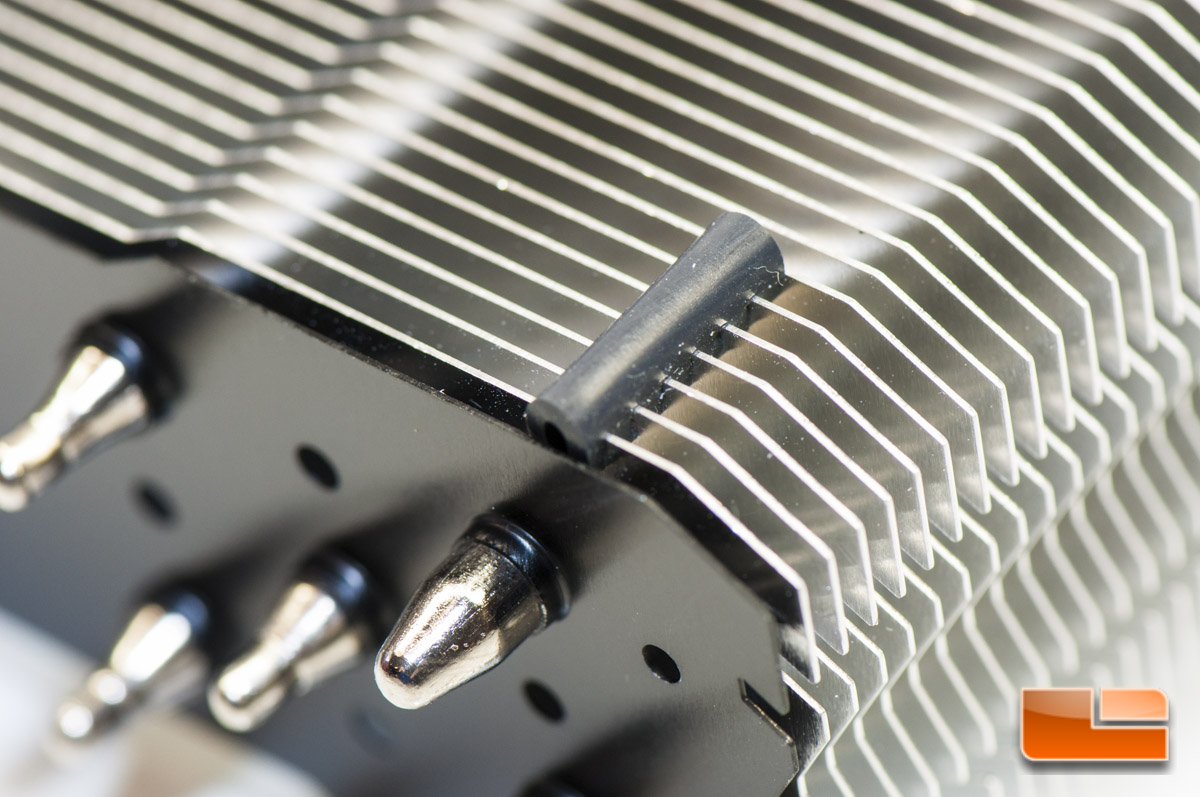
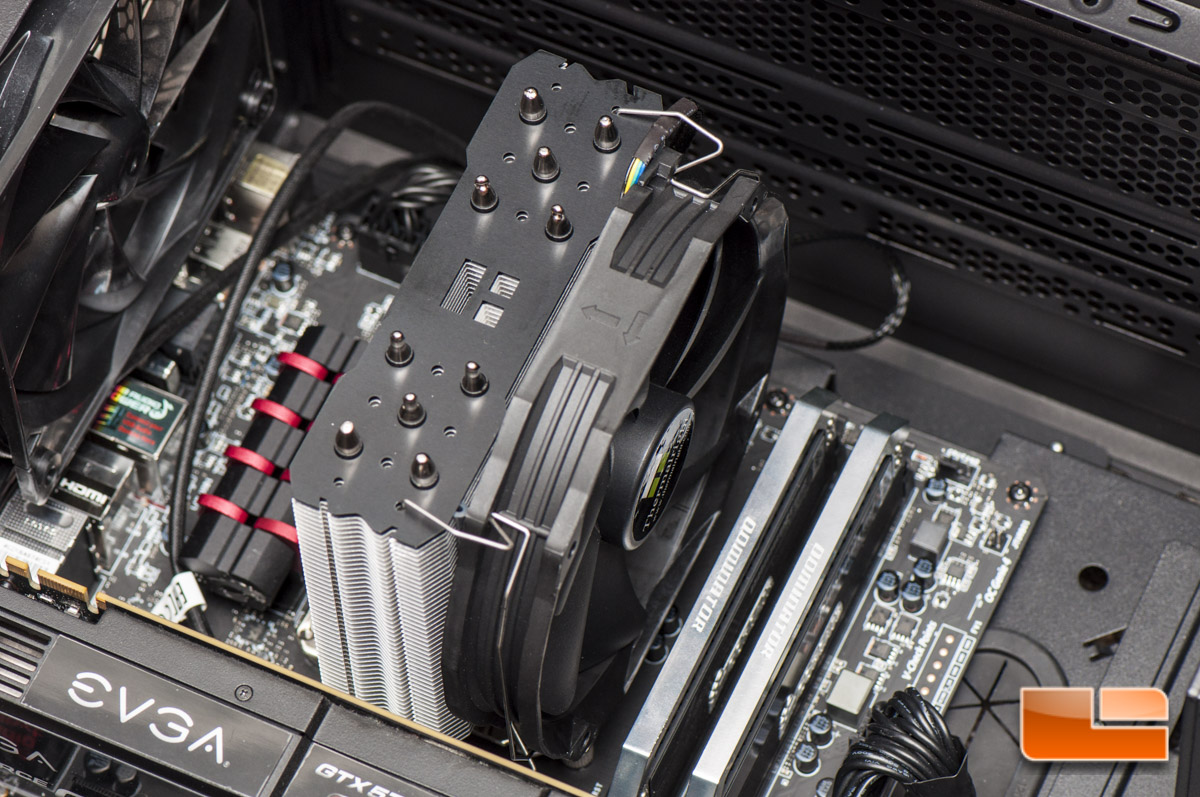
Once you have the tubes installed, you will attach the fan clip to the cooling tower. These just simply get inserted into a hole on the top and bottom of the tower. I felt it necessary to mention, but I somehow managed to cut my thumb on the tower while doing this Youll end up leaving the fan off so you can install the cooler, but refer to the second picture on this page to see what it looks like installed.
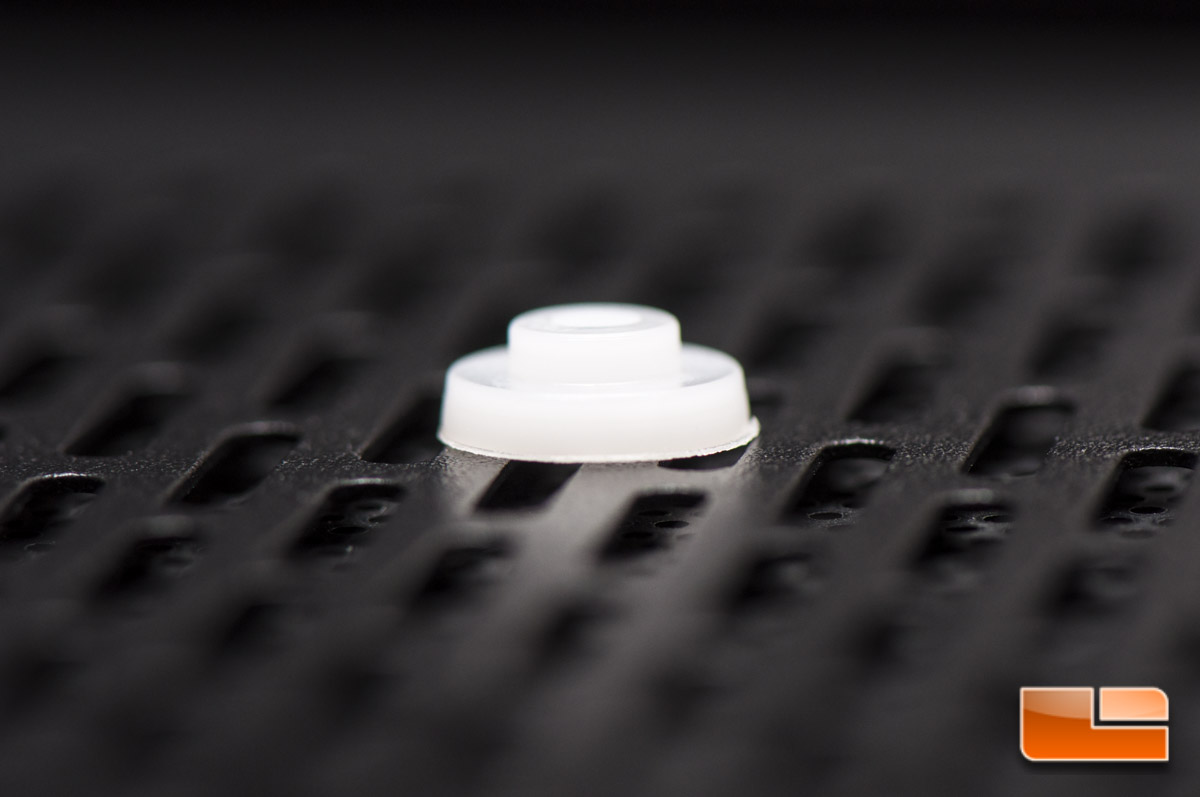
With the fan part aside, you need to prep the back plate. The way the instructions are laid out for this are a little confusing, but once you get that Ah ha moment, youll end up doing a facepalm with how simple it is. You take the metal back plate, set the Mylar film on top, and slip one of the screws through followed by a plastic washer. That washer will hold the screw in place, allowing you to put the back plate in place.
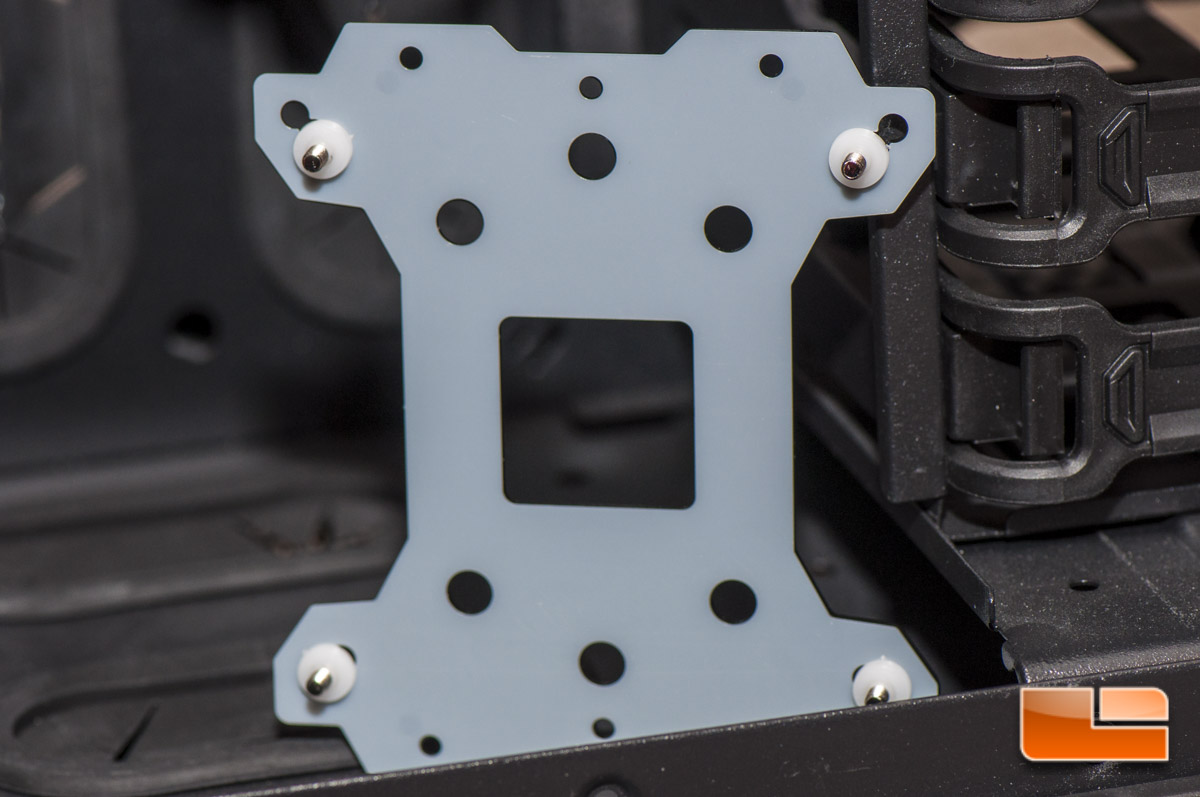
Here is a picture of the AMD washer, which is slightly larger than the Intel one. You just need to make sure you have the skinny part up so it can seat itself into the screw cutout on the motherboard.
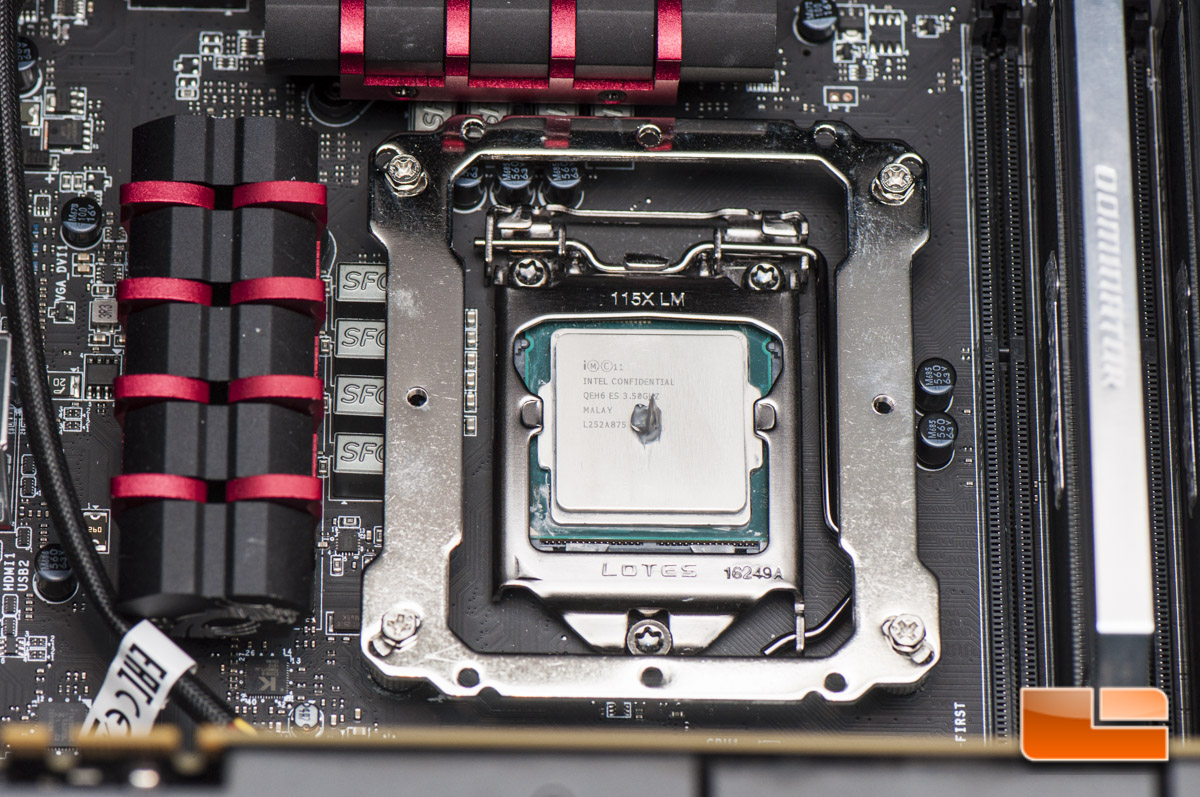
Once youve got the back plate in place, you will then use a screw nut to hold the back plate in place, which when all four are installed, will provide a surface for the cooler mounting bracket.

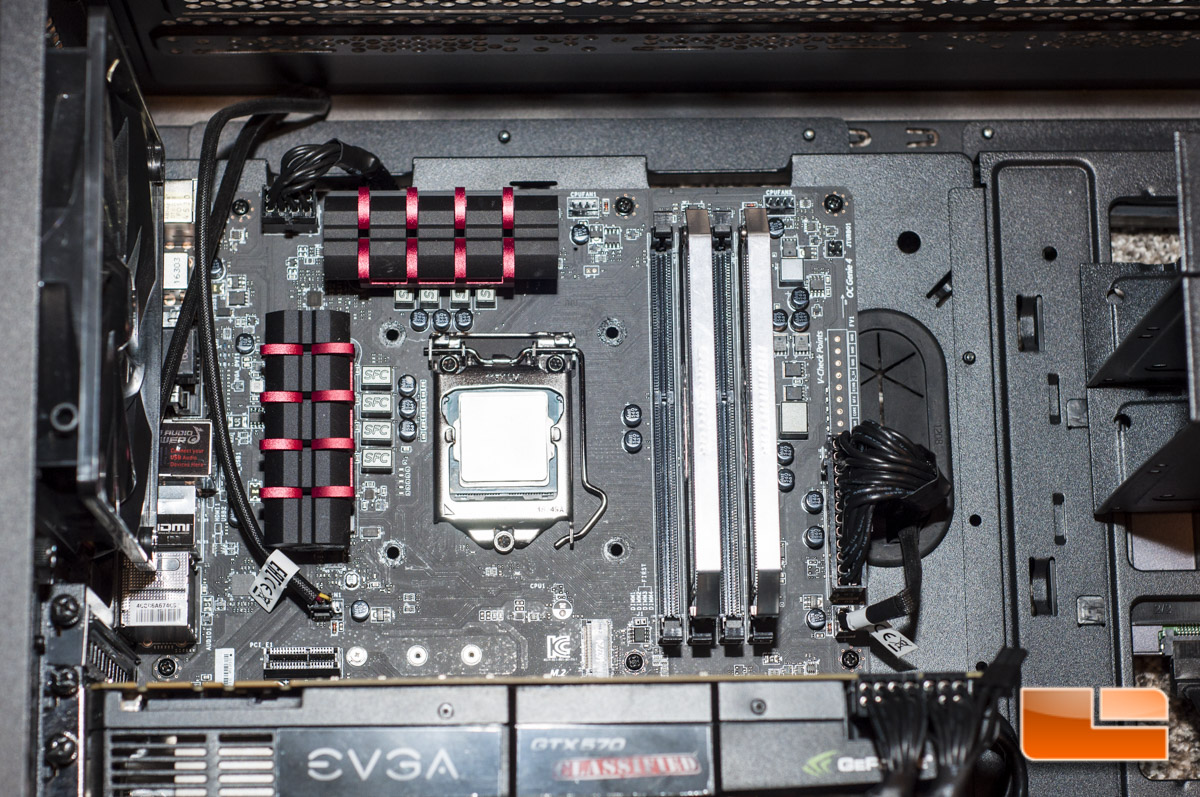
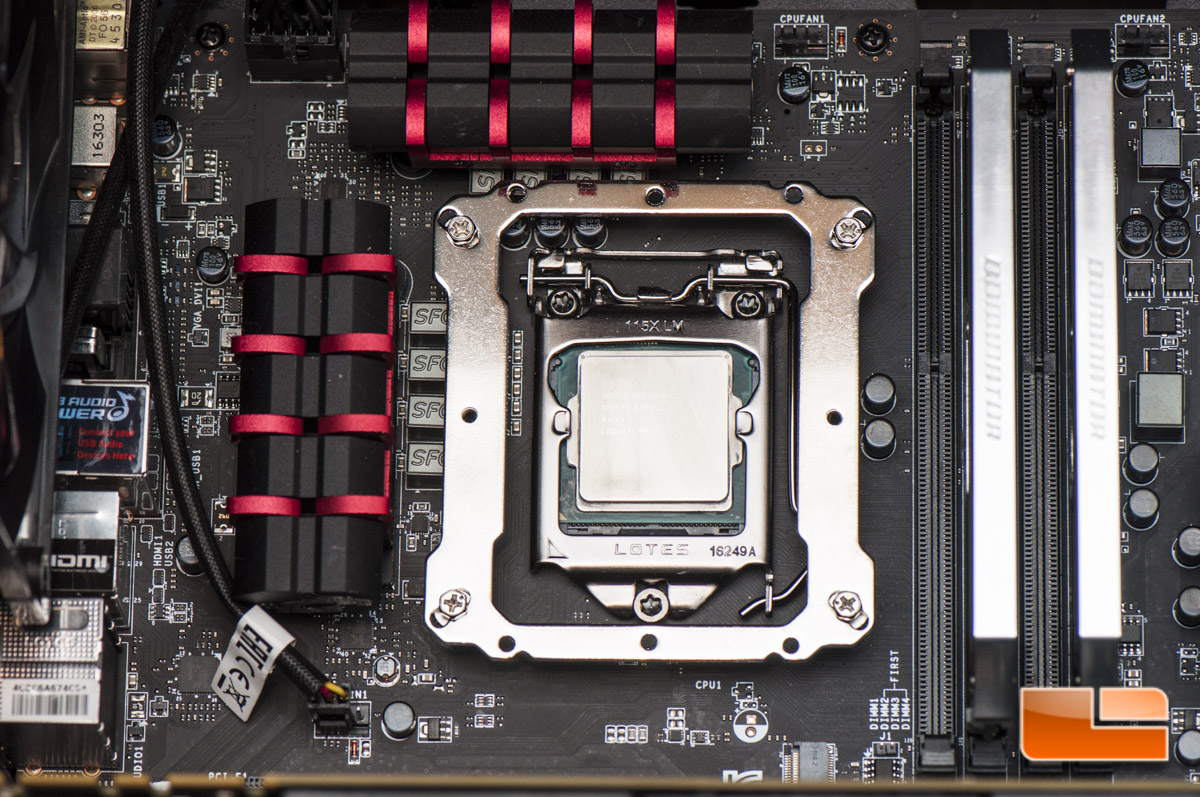
Simply screw the mounting bracket in place in the four corners and youre ready to install the cooler.
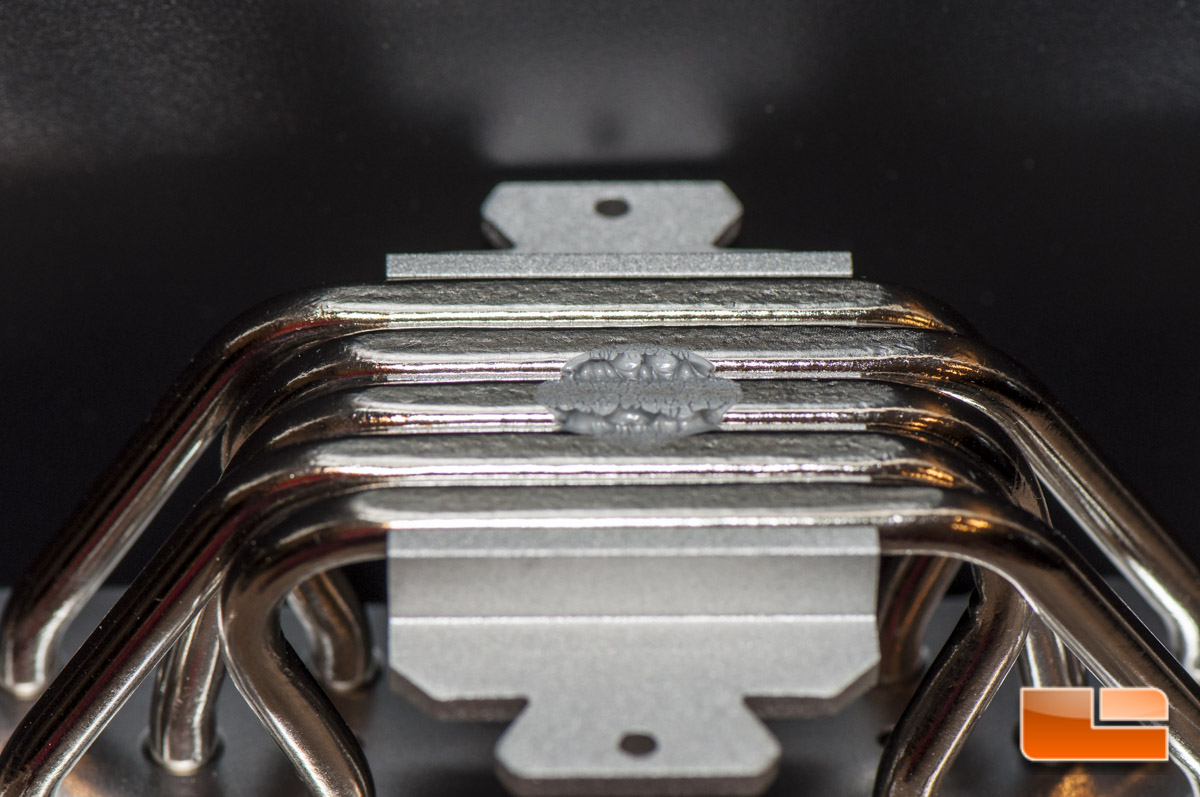
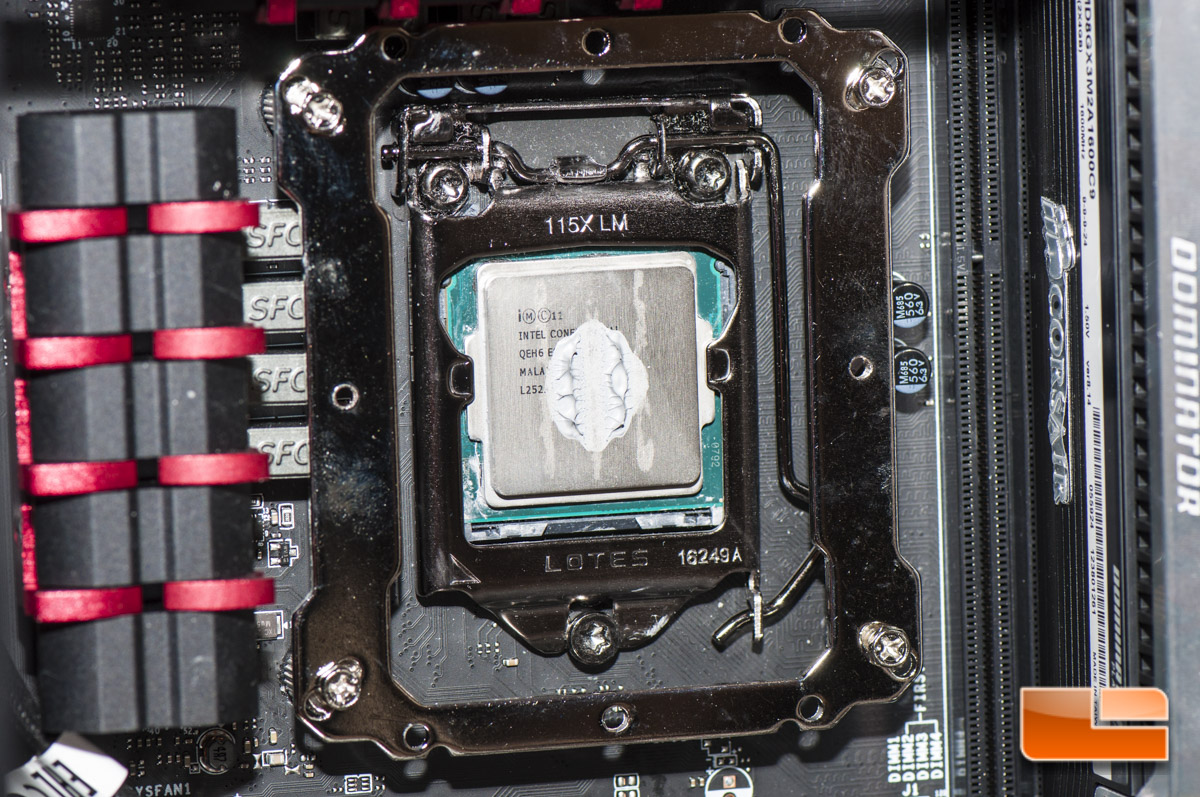
Obviously prior to mounting the cooler, we need to put thermal paste down. Im using the Noctua NT-H1 paste, which requires zero cure time. For this particular cooler, I ended up using at least twice as much as normal. Why? Because the bottom of the cooler actually has grooves, and these grooves will eat up the paste.
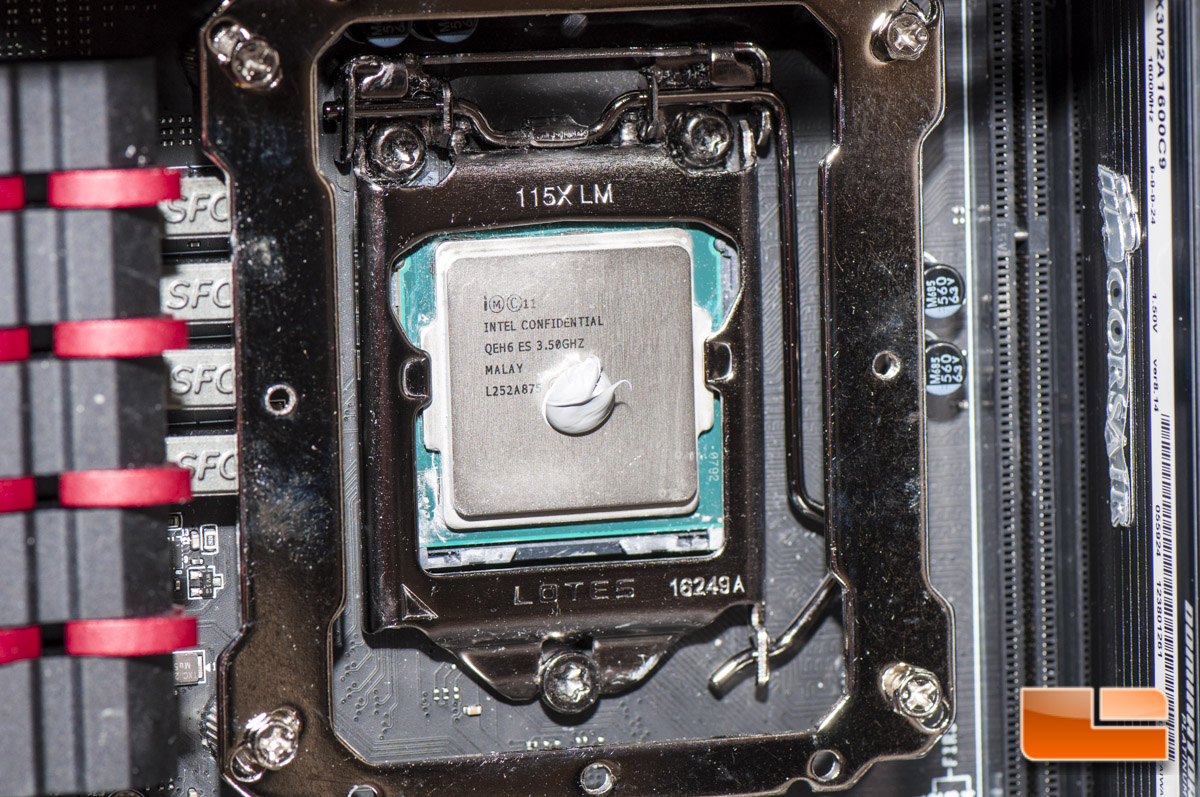
Here is what the paste will look like when using roughly the normal amount for a flat-bottom cooler, which will actually pinch a little extra out the sides. When I pulled it off, you can totally see how much the grooves suck up.
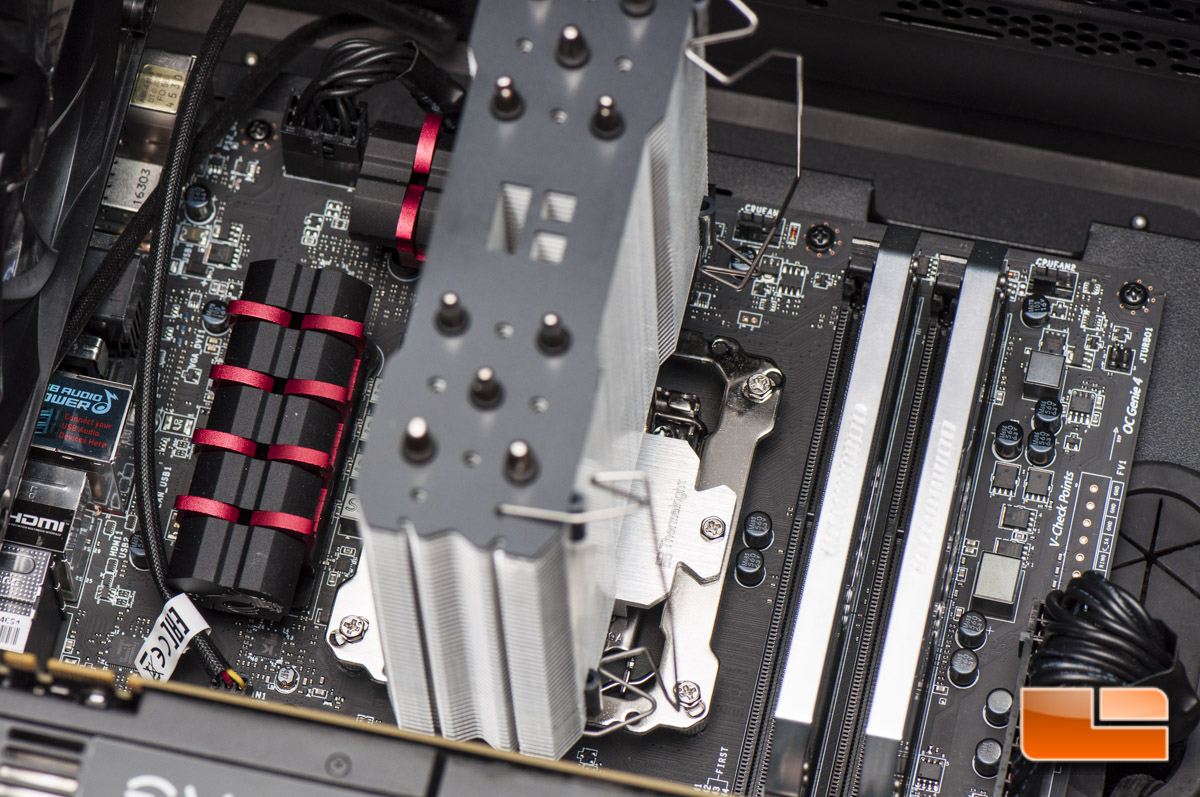
Now I set the cooler in place carefully and positioned it over the two mounting screw points.
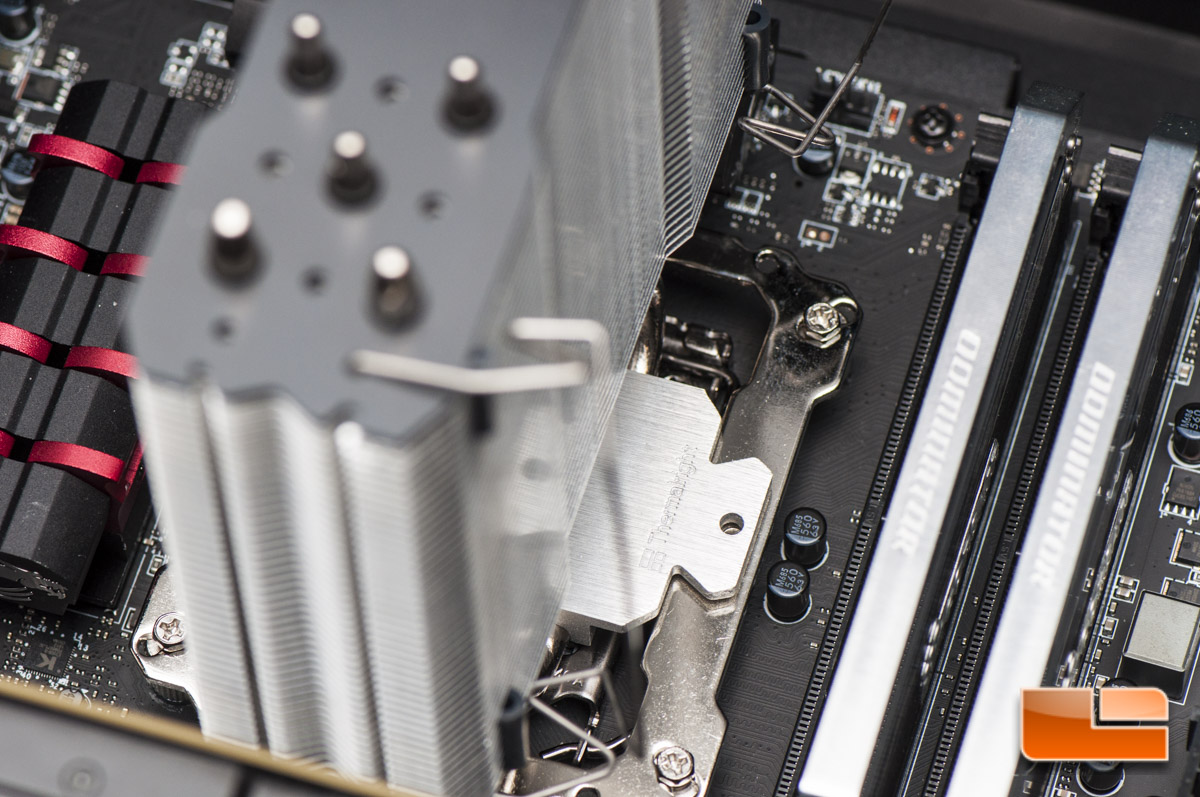
Screw these two points in and youre almost ready to go! Just a side note, while torqueing the screws down, I did a couple twists on each one, back and forth, to apply even pressure. Since these are only two screws holding it down, this is critical. Obviously the last thing you need to do is hook up the fan to your CPU fan header on the motherboard.
Firing up the system, I could not hear the fan at all. Simply amazing!