Thermalright TRUE Spirit 140 Direct CPU Cooler Review
TRUE Spirit 140 Direct Packaging & Quick Look
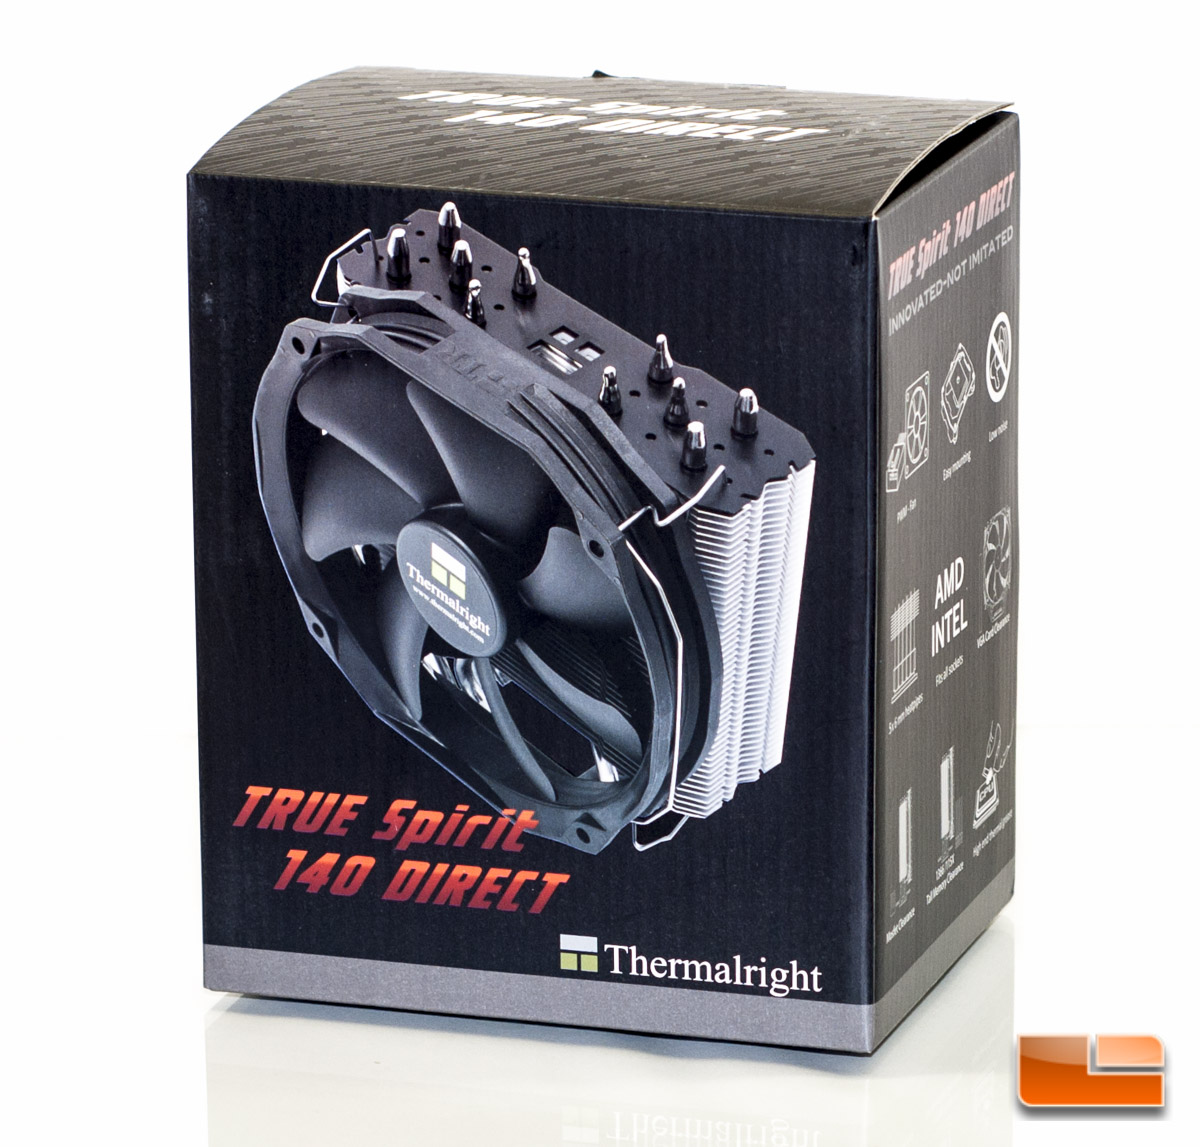
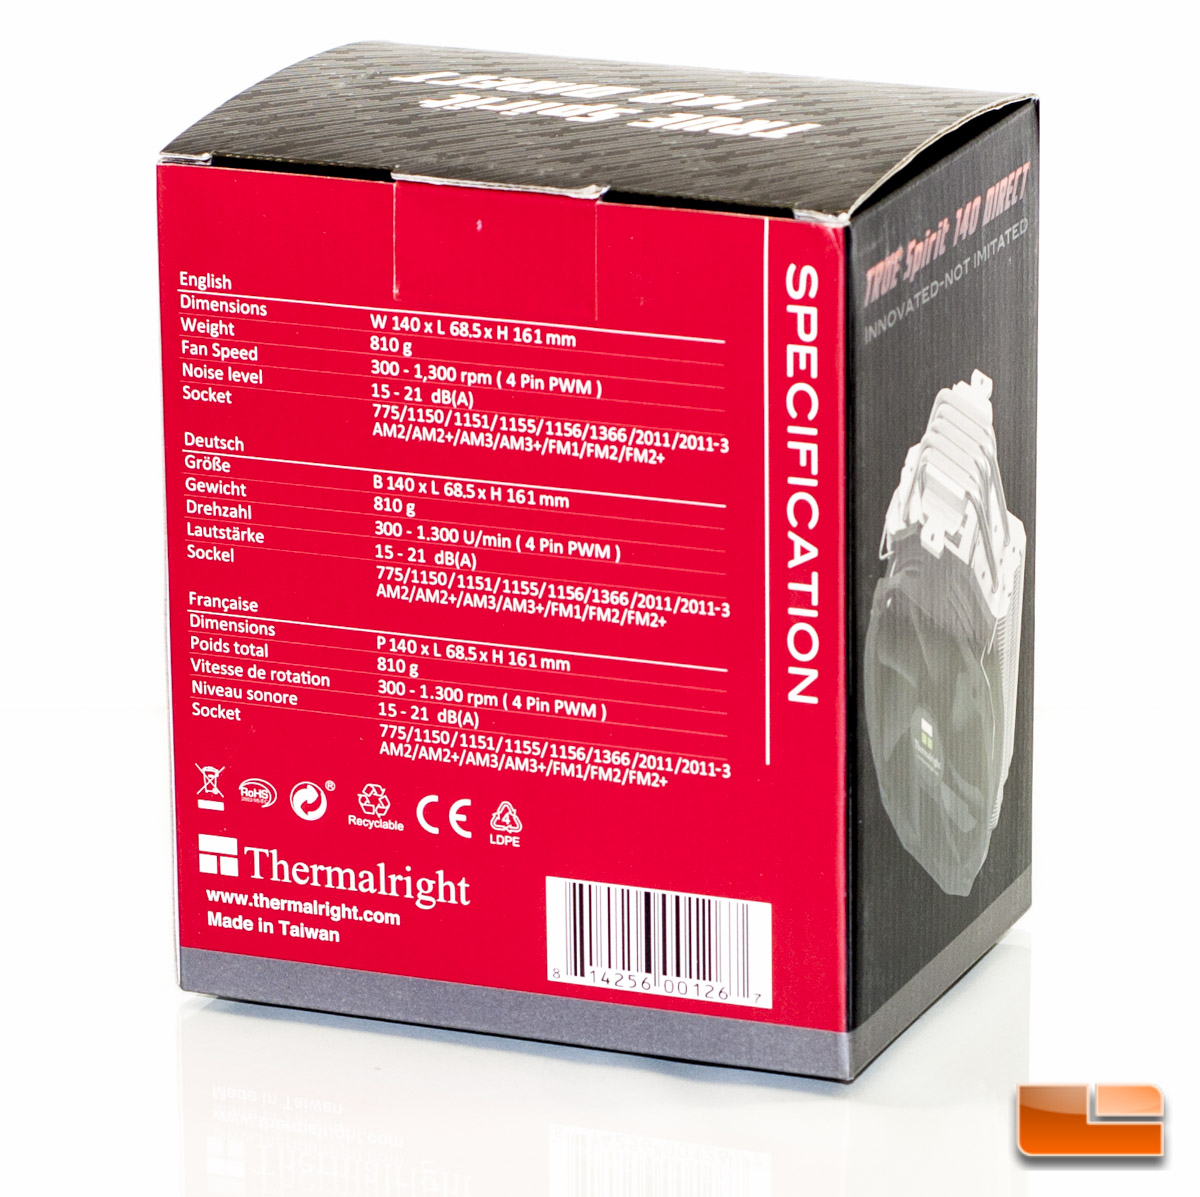
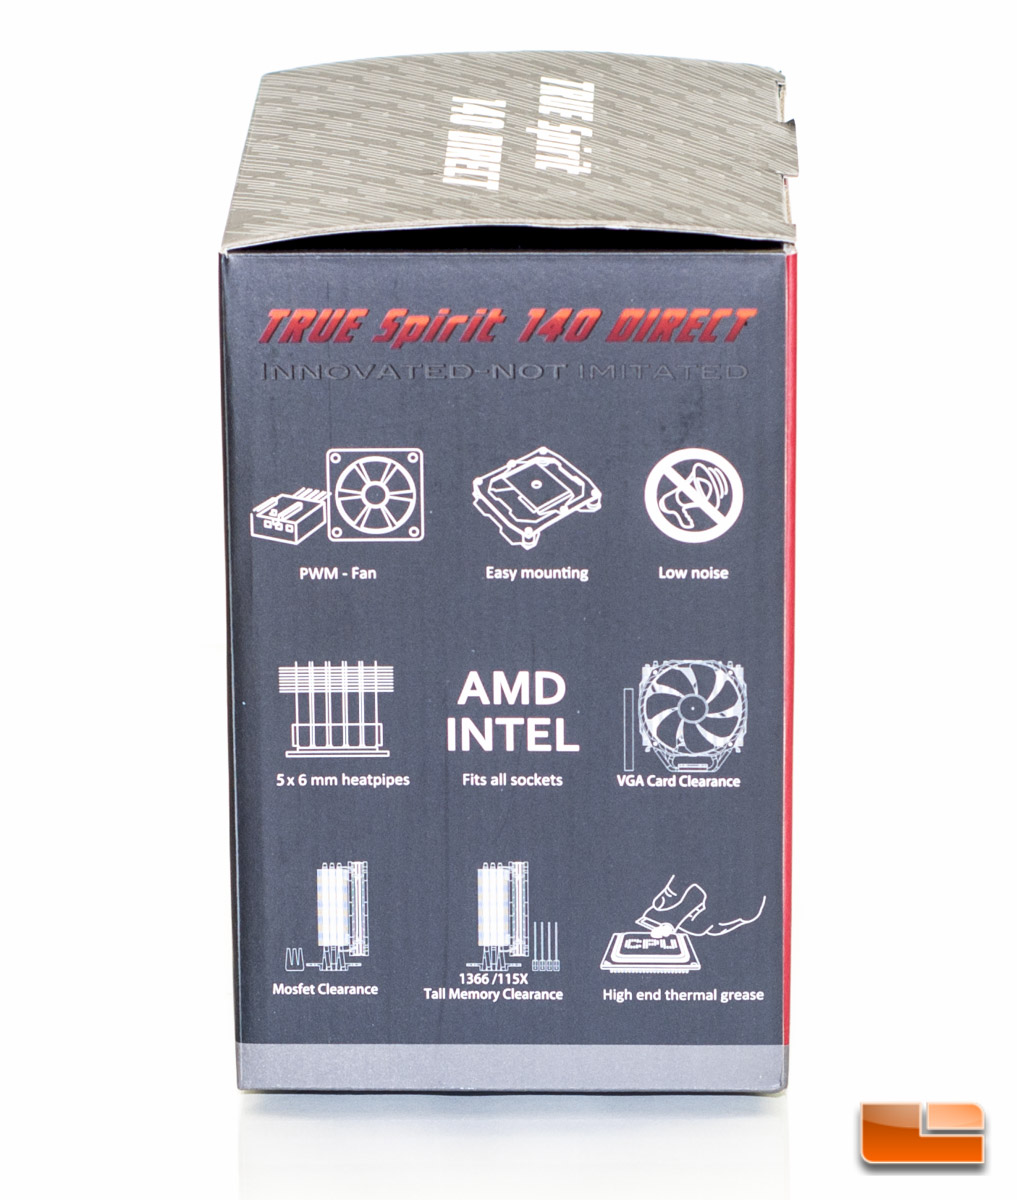
Thermalrights presentation of the TRUE Spirit 140 Direct is actually quite pleasant. On the front and left side we find a picture of the cooler itself. On the right are a couple key elements that make this cooler unique. Finally, on the rear are the technical specifications, all of which you saw on the previous page.
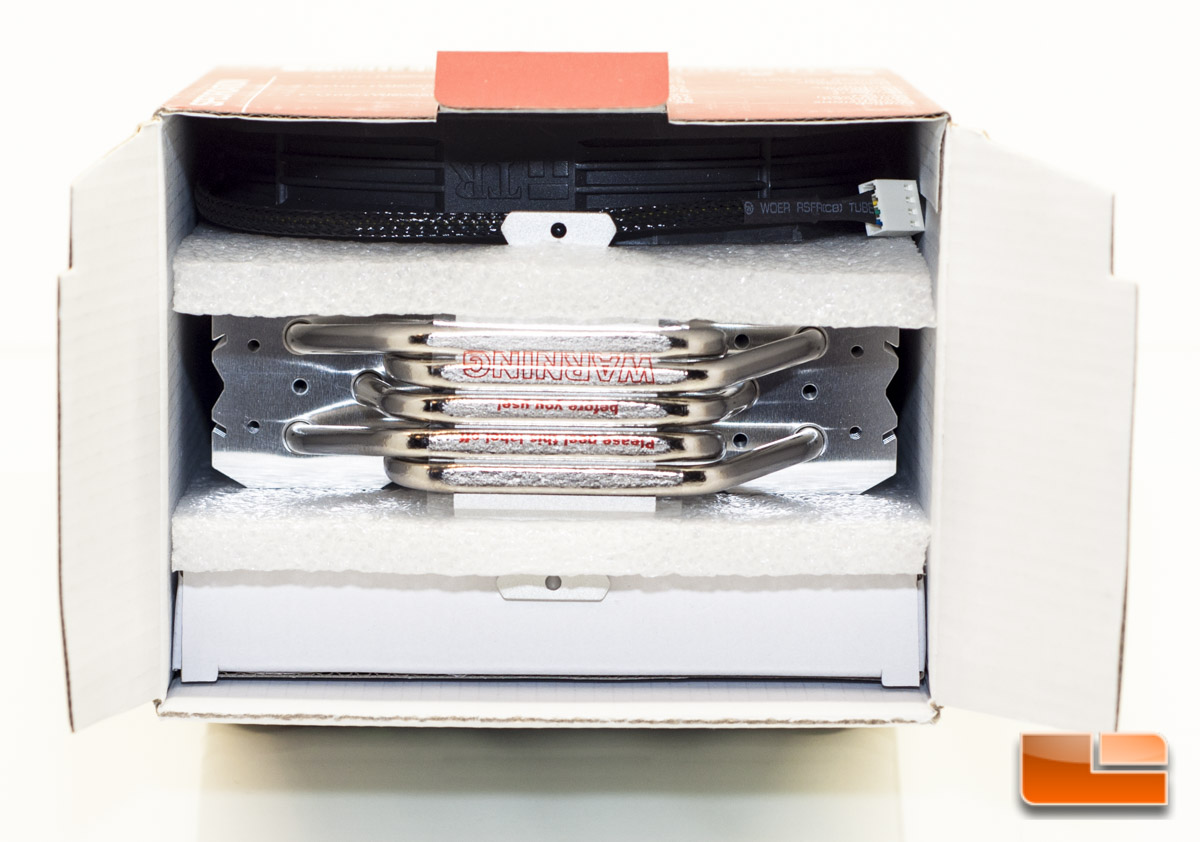
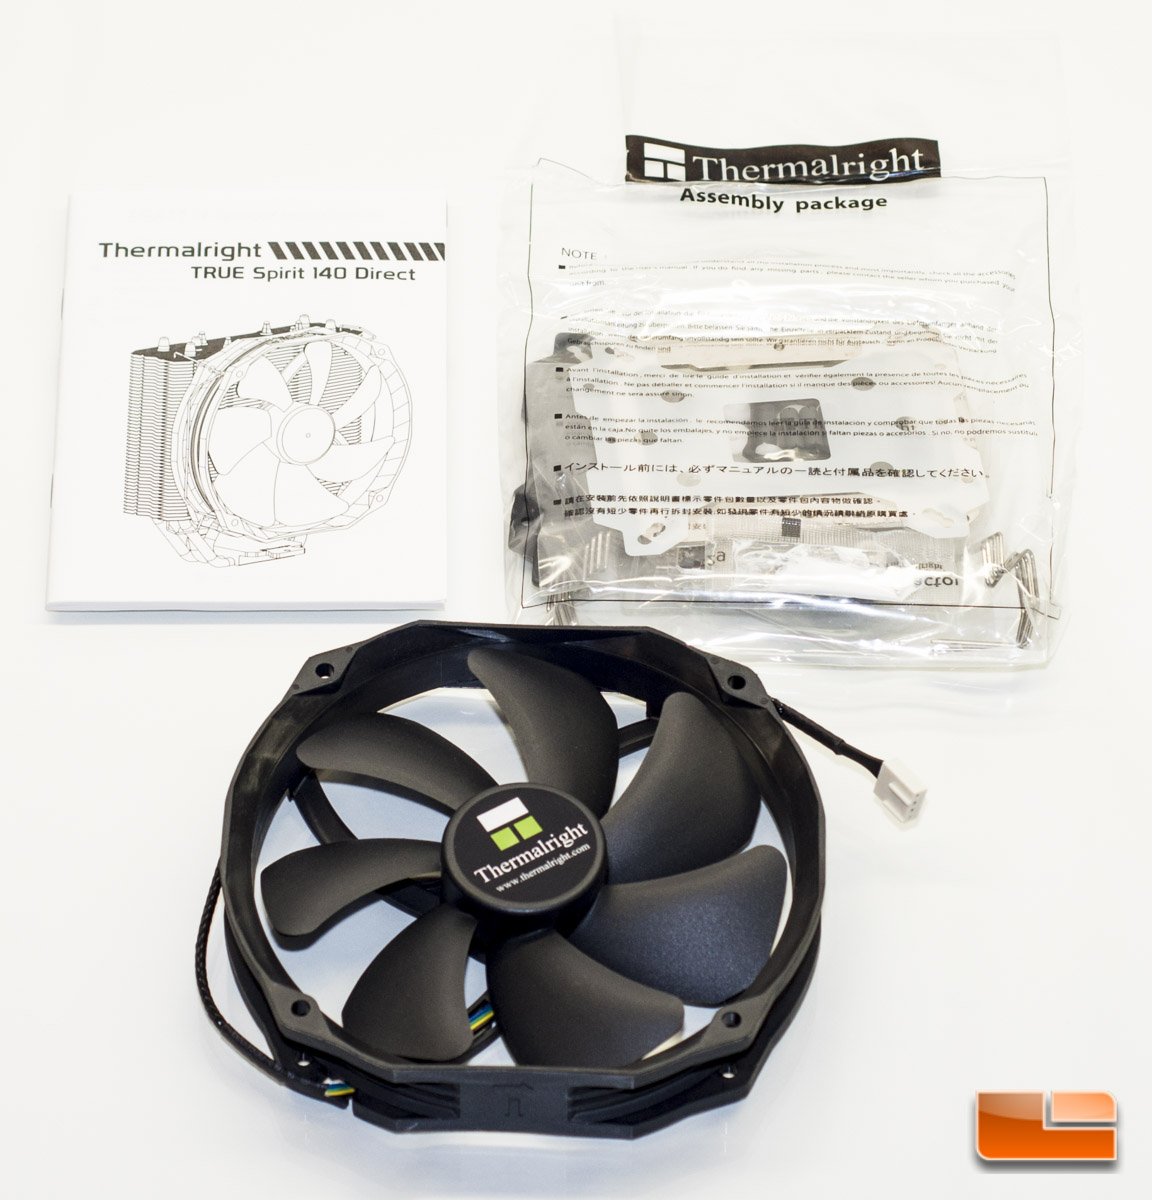
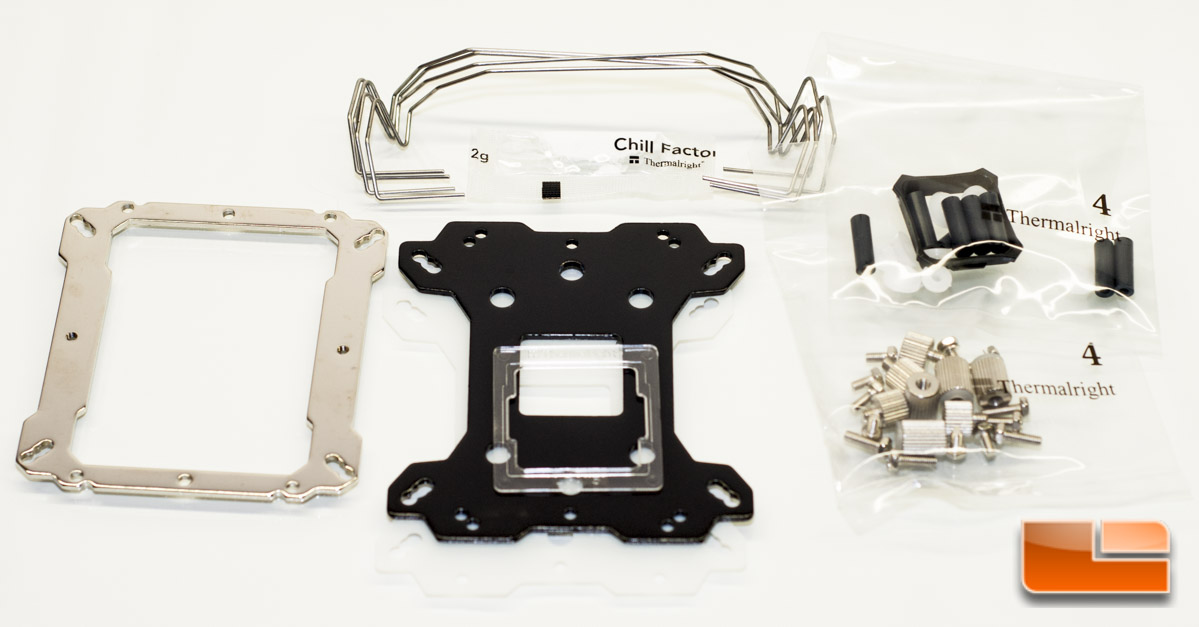
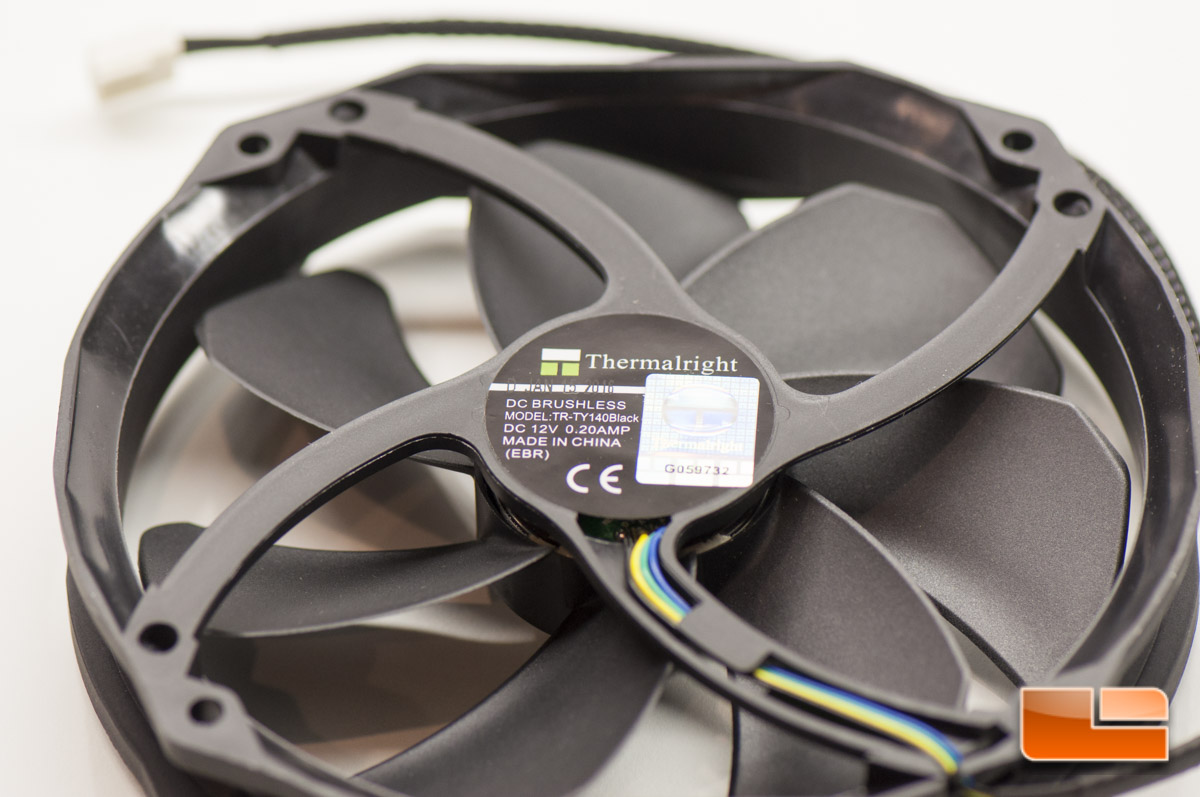
Opening up the box, we find that everything is nicely secured in place. Included inside the box is a single Thermalright TY-140 (140 mm) Black fan, the hardware that youll need to install this on modern Intel and AMD platforms, and also enough hardware to do a two-fan combo if you have another.
My initial impressions pulling the cooler out of the box were that the materials used here are quite nice and feel solid. This kind of puts a higher expectation in my mind for performance, but I do have to keep the cost in mind, too.
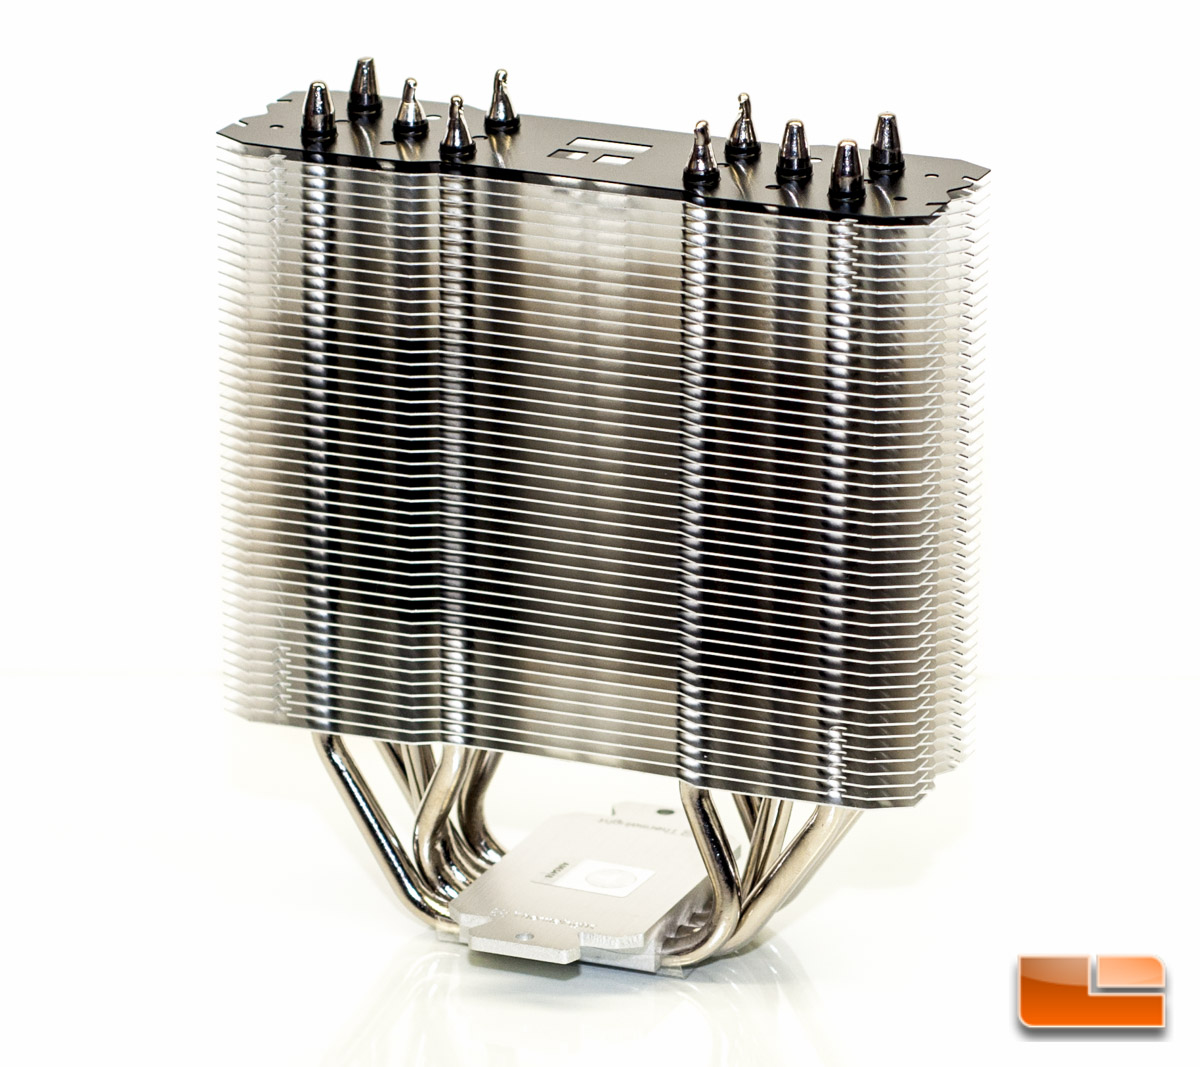
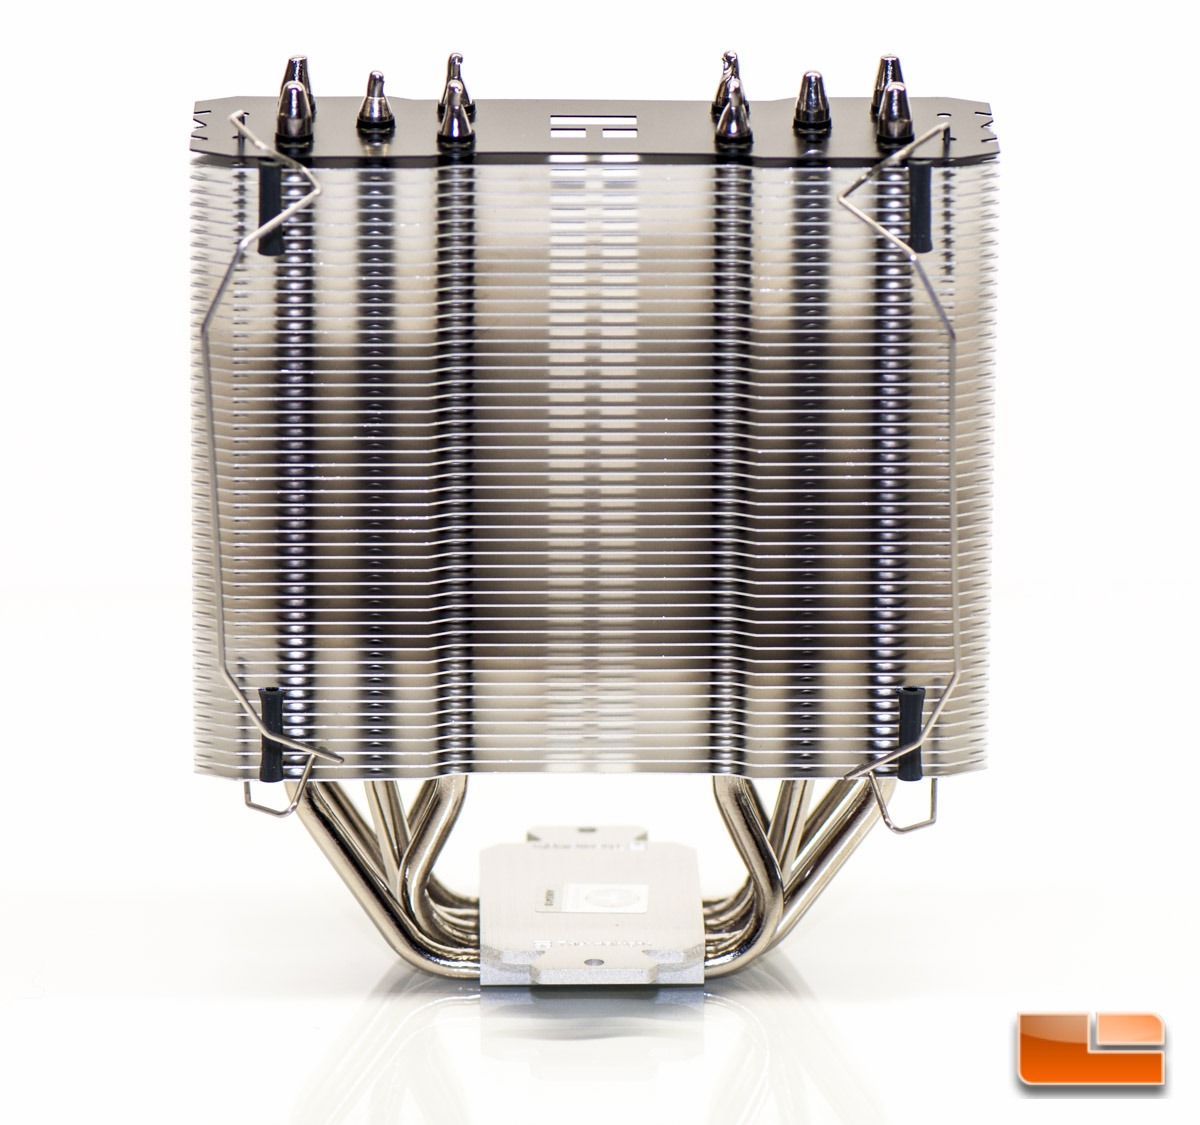
Flipping it to a side profile, you will see just how slim this cooler is a whole 42 mm!
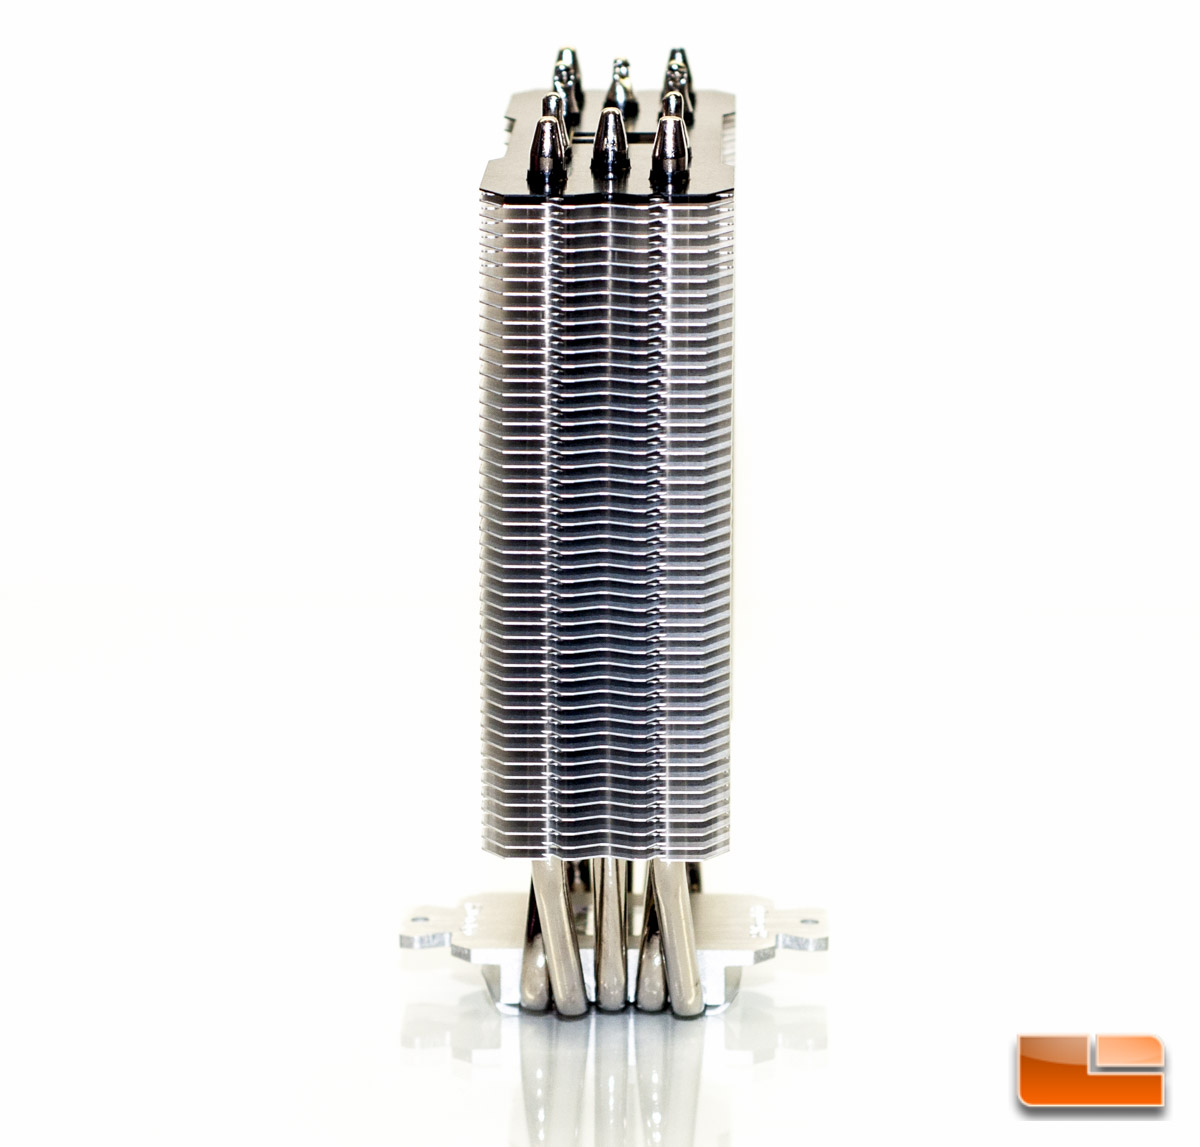
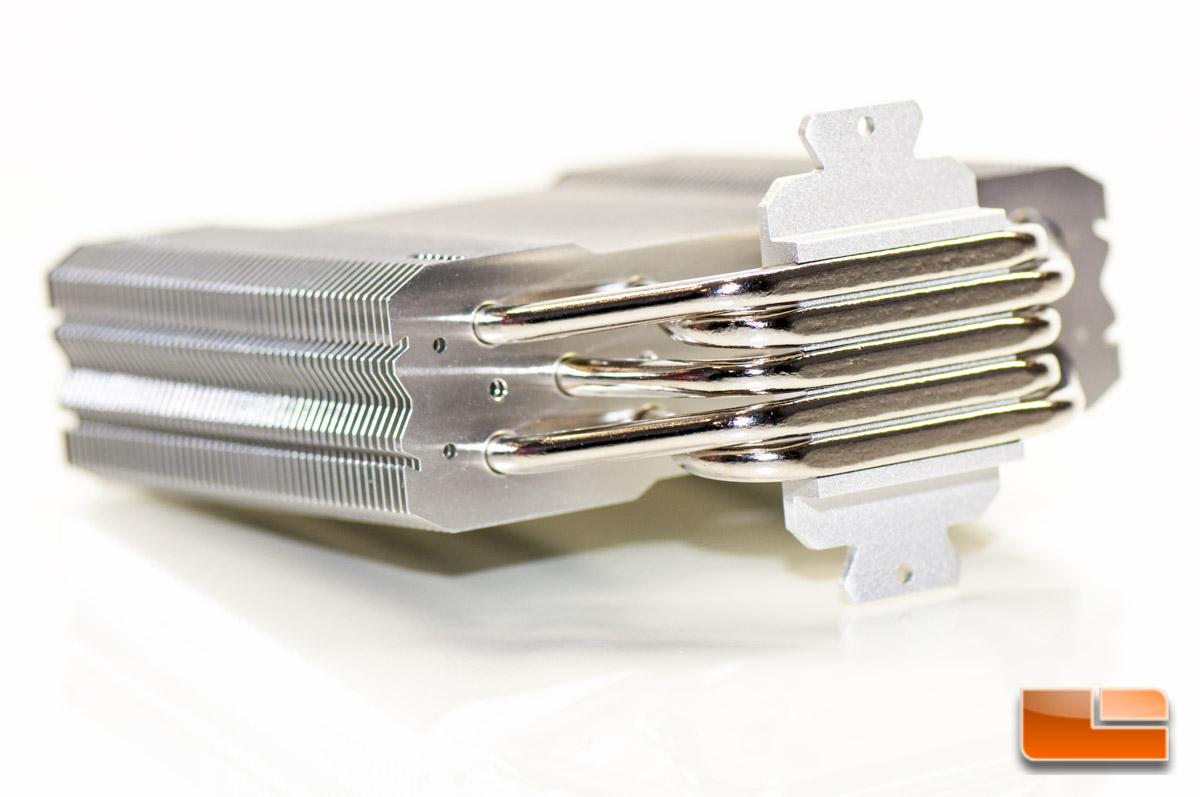
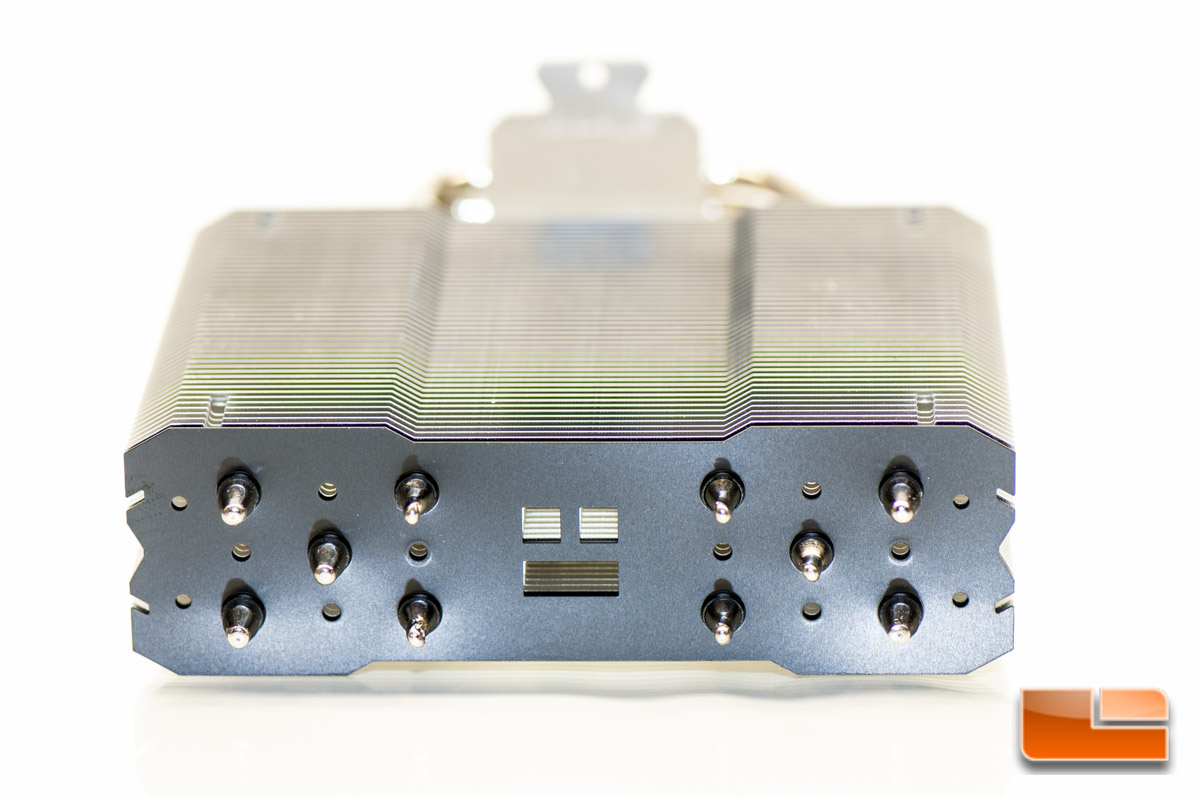
There are five heatpipes that run through this cooler and you will see that theyre directly going to contact the CPUs IHS, hence the name TRUE Spirit 140 Direct.
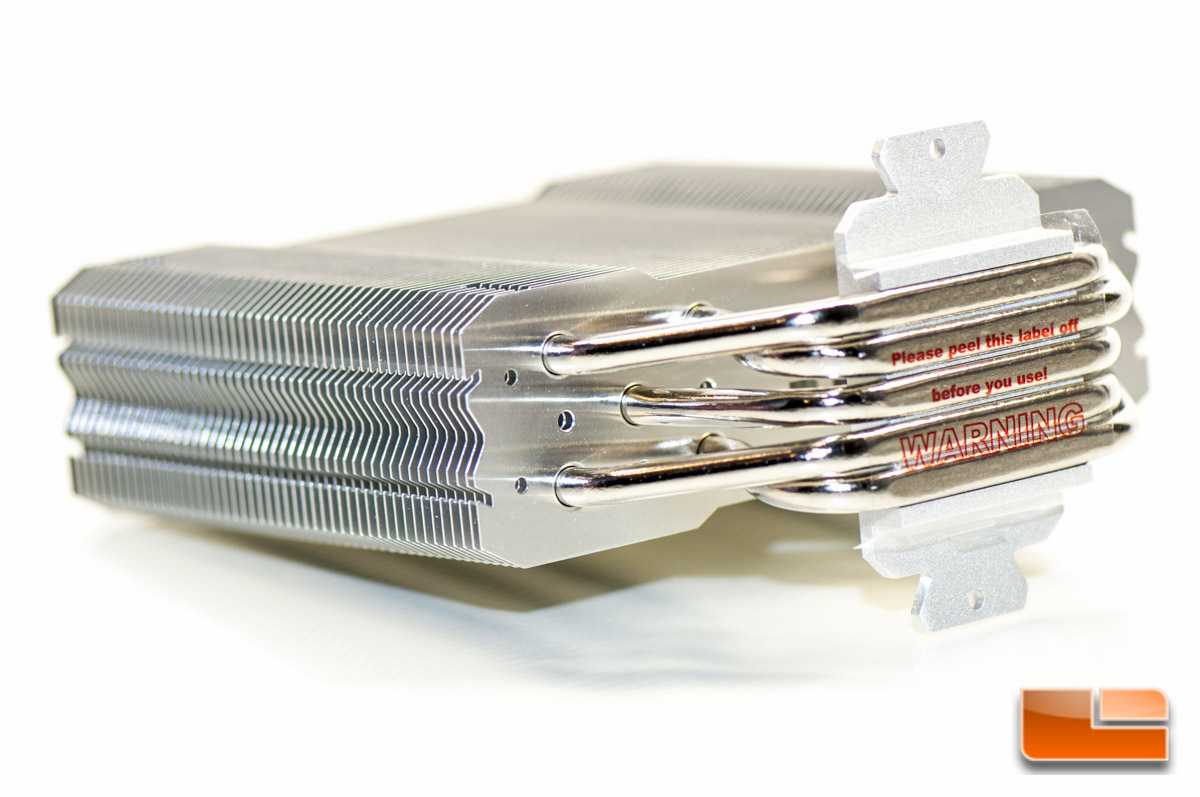
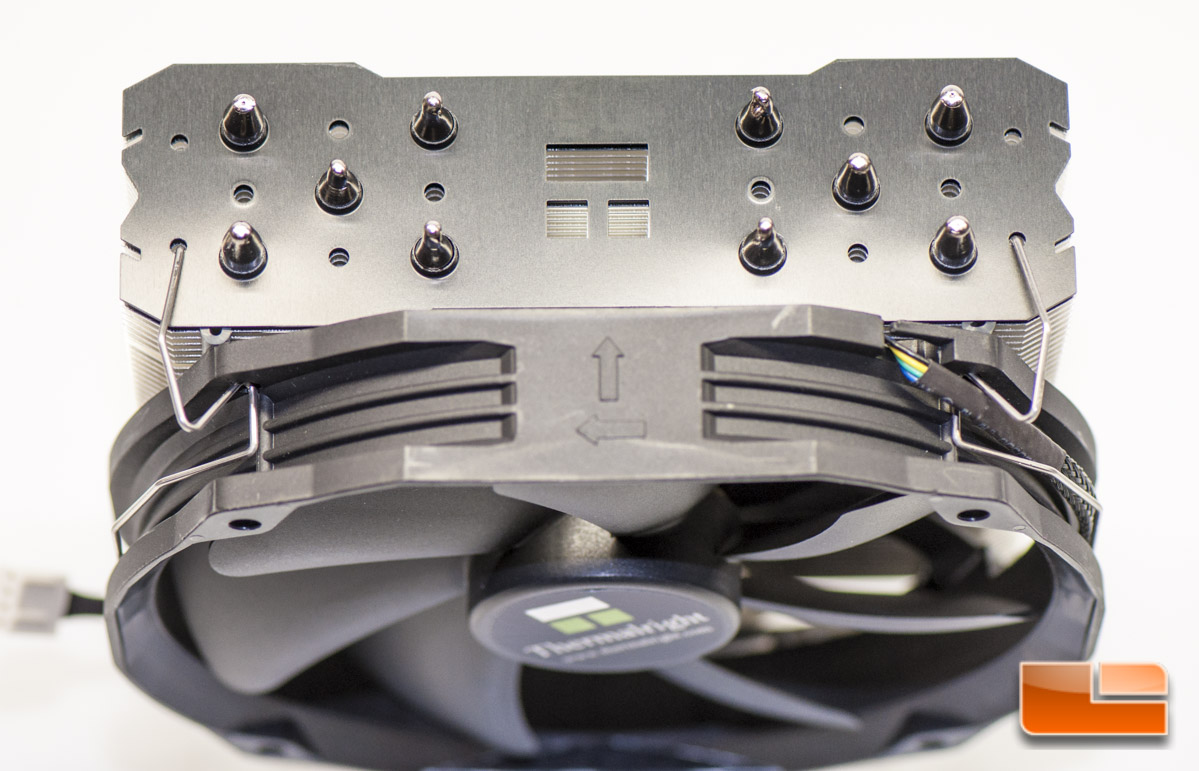
Peeling off the protective sticker we can see a little more. One big thing to point out about these heatpipes is the fact that theyre not contacting each other, rather theyre spaced apart. This unfortunately is lost contact space and will reduce the effectiveness of this cooler. There is at no point in-between the heatpipes that actually contacts the integrated heatsink, which is very disappointing and well find that these grooves actually suck up extra thermal material. Maybe Thermalright has a reason for designing it this way?
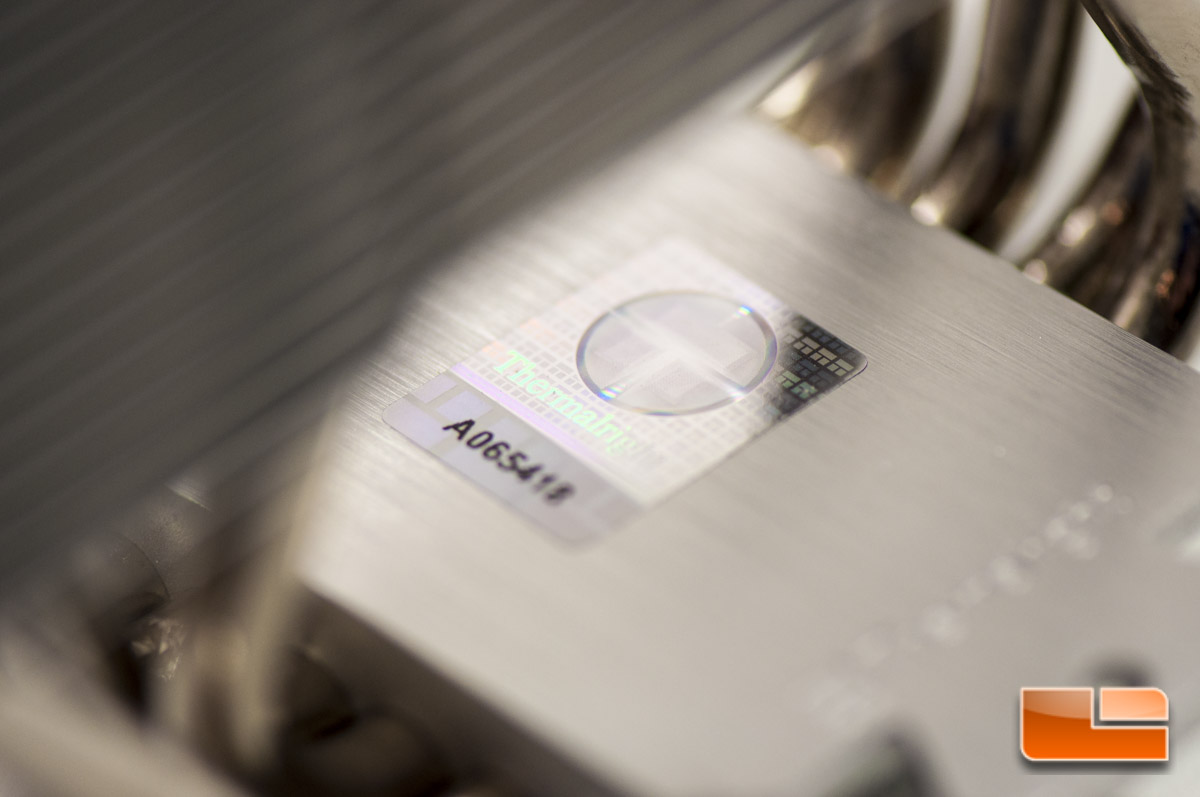
Going to the other side of base you dont find much more than the Thermalright name stamped into the metal and also an authenticity sticker.
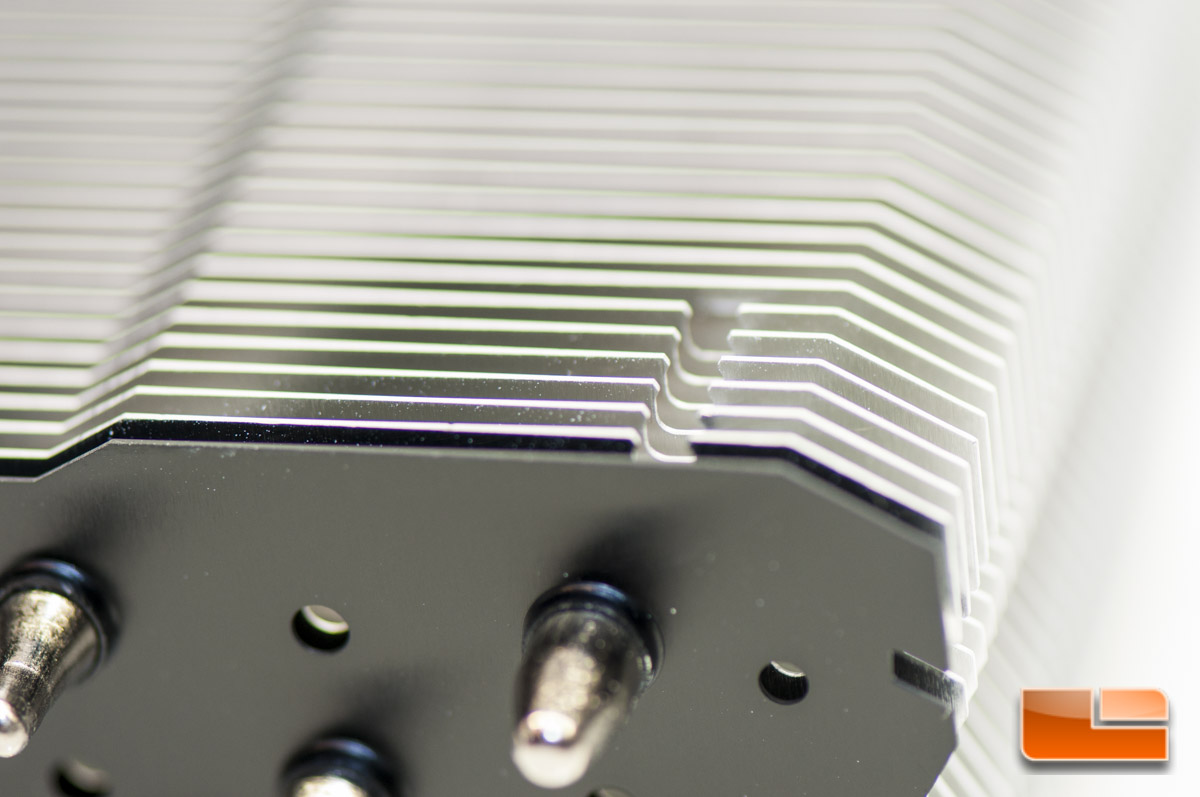
Looking at the top of the cooler you find the typical crimped ends of the heatpipes, which do look nice. The top is capped off with a black colored fin.
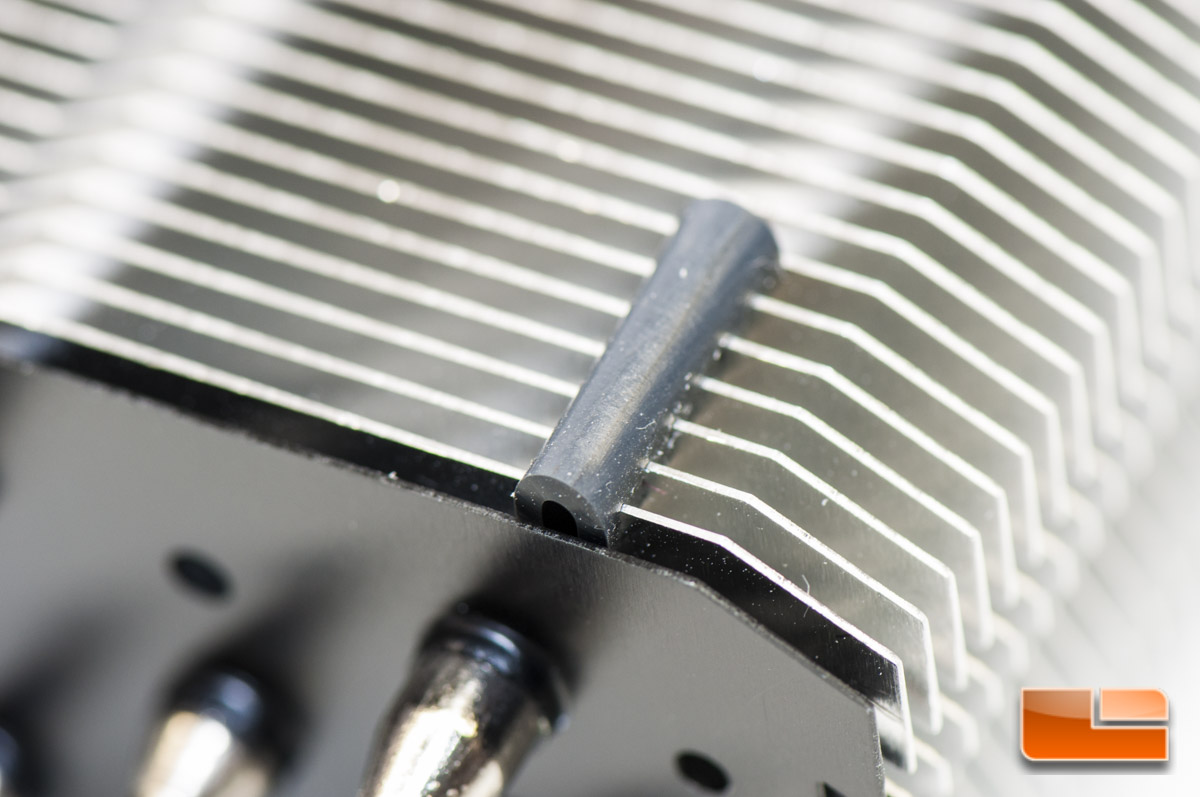
If you pay attention to the corners on the top, youll notice a cutout in the tower. These are the positions for the rubber tubes to be installed. What are the rubber tubes for, you ask? They are utilized for anti-vibration / noise dampening and also end up lifting the fan a little bit off of the cooling tower.
With the rubber tubes installed, this is what it looks like. Quite frankly, these are not too difficult to install for me, but someone with big hands will absolutely throw a fit trying to install them. I would have liked to see these omitted and the fan have an anti-vibration system integrated instead.
I went ahead and installed the fan retention clips afterwards…
With the fan installed, this is a very nice looking and basic cooler.
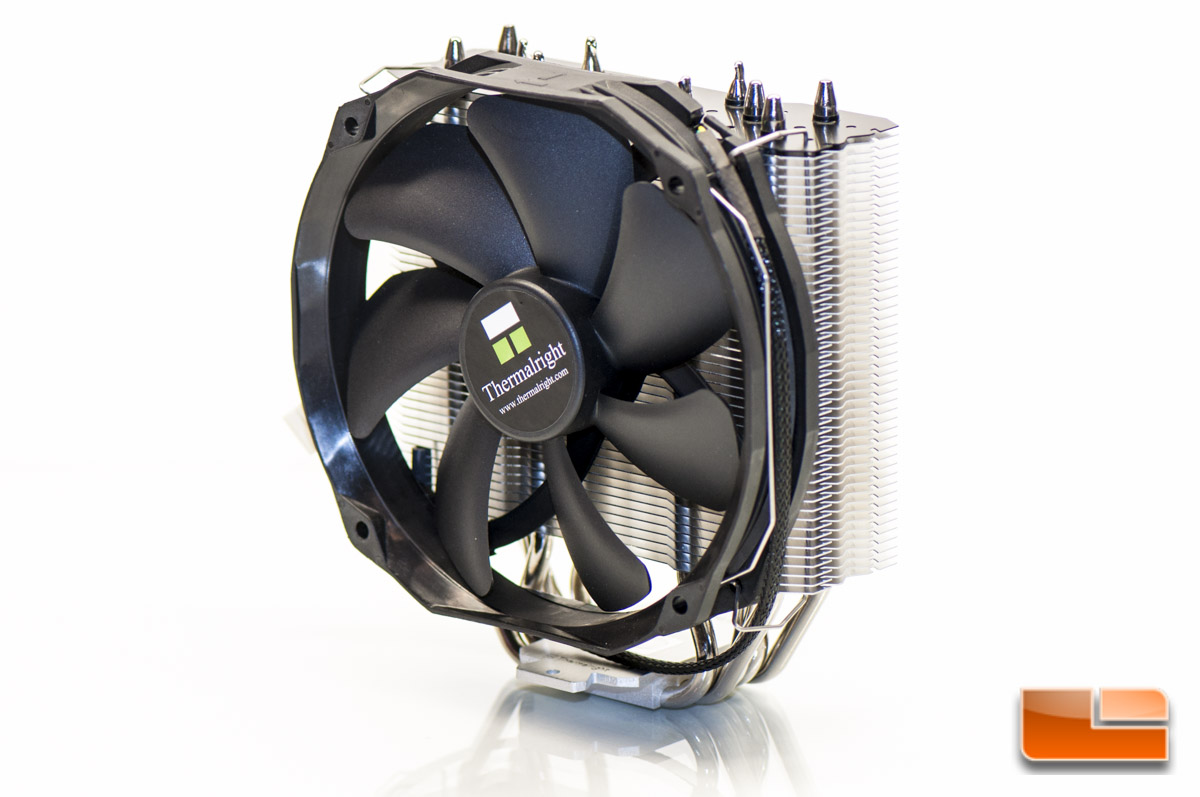
The fan itself isnt much thinner than the cooling tower, which is incredible.
This wraps up the introduction to the cooler and the packaging, so lets move on and see how easy this cooler is to install!