The Koolance Exos-2
Installation
Installation of the Exos-2 is very simple and straight forward. Koolance decided to use compression fittings to connect the tubing to each component in the system, which can be a little frustrating, but overall do the job very well. Coupled with a very nice variety of waterblocks and accessories, Koolance systems should fit any and every need.
Starting with the blocks, I dry mounted each block to its component to check for clearance and measure my hose lengths. First I mounted the CPU block and the chipset block before installing the board as both required mounting hardware behind the motherboard. After installing the board in the case I then assembled the video card and HDD coolers. Both cooling solutions definitely make the components larger, so good planning is needed, especially for those of you using small cases. My video card (X850 XT) was slightly longer and about twice as thick as it had been with the stock cooler. This presented me with a few issues during installation. The NB chipset on DFI’s NF4 SLI-DR board sits very low, if you read the review here, you saw that some video cards tended to rest on the fan housing, so I was worried that the video card cooler and the chipset cooler would cause problems. After seating the video card I realized that there was no problem with clearance, but that routing the tubing would be a little tight.
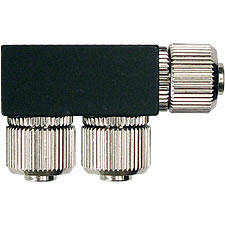
While the CPU cooler and external chassis use 3/8 inch ID tubing, all other blocks use a 1/4 inch ID tubing and fittings. to mate the CPU block to other coolers, Koolance uses 3/8 to 1/4 hose splitters. Having four different waterblocks I used two hose splitters to distribute the water flow between two different loops.

Water flows into the CPU block from the pump where I split the tubing into two 1/4 inch loops, the first going to the chipset cooler, the second to the video card and finally the HDD cooler, from here both loops went back into another hose splitter into a 3/8 inch tube that circulated the coolant back into the externally mounted radiator.
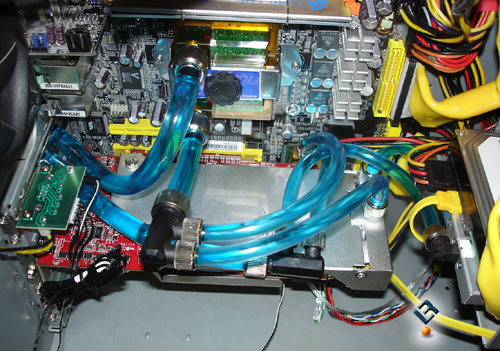
Even with space being limited, the Koolance blocks worked extremely well, the HDD block has rotating heads that add flexibility to the installation, allowing you to use a variety of configurations.
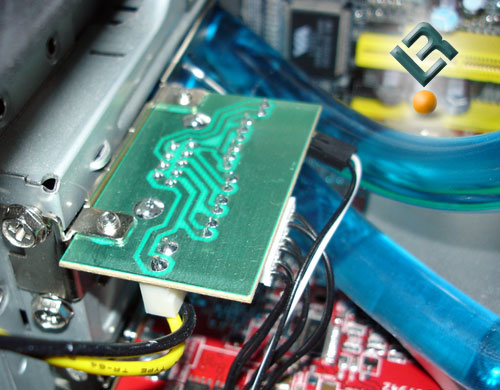
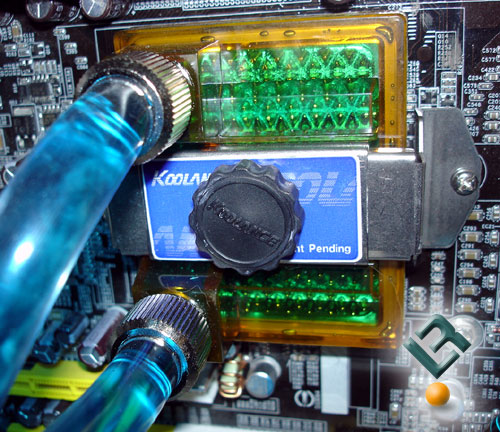
After mounting the blocks I installed the PCI slot adapter included with the system which holds the 3/8 inch tubing, a controller plug that links the external box to a controller board, which in turn is connected to a set of three probes for monitoring different temperatures. The probes included are the garden variety temp sensors most should be familiar with. I am not a big fan of these probes as they simply can’t be trusted to give an accurate temperature reading, and are more of a hassle than they are worth to install. I’d love to see companies like Koolance implement a system where the temperature sensors are actually built into the block somehow, removing the possibility of mounting a water block poorly, as well as giving a more accurate temperature reading. Maybe an even better solution would be to find a way to simply do away with the probes and have a software monitor use the boards temperature sensors to control the cooling systems fans.

Once the blocks were all mounted, and my hoses were cut and installed, I opened up the included packet of Koolance cooling solution and filled the system’s reservoir. I want to point out here that Koolance highly recommends their users to run their system away from your hardware as to avoid damage and injury in case of leakage. In my case time was a little limited, and after installing the system I felt extremely comfortable in my work as well as Koolances’s components. After filling the reservoir completely, I turned on my system in very short cycles, as to not run the pumps dry and to purge all of the air. The included 700cc coolant packet, a mix of distilled water, monoethylene glycol, and a anti-foaming solution, combined with a blue dye filled the system perfectly.

All in all, the entire installation took me about an hour from very start to finish. I found the installation painless and instructions to be very clear and easy to follow.
Comments are closed.