Spire CoolGate 2011 CPU Cooler Review
Installing the Spire Coolgate 2011

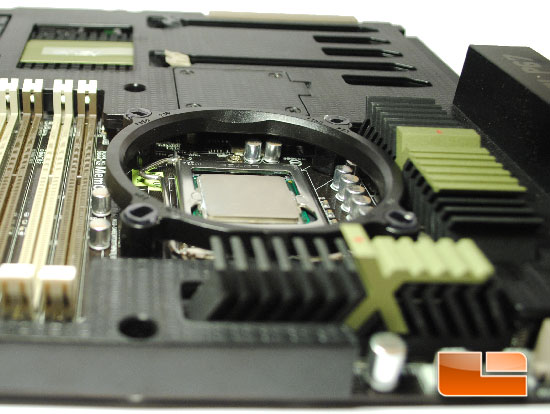
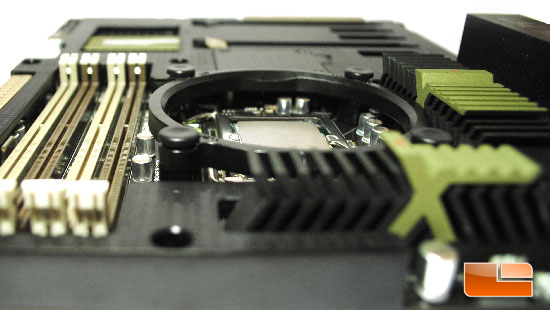
To install the Spire Coolgate 2011, you first need to pick the appropriate socket mounting hardware. In my case, I am installing into an Intel LGA 1155 socket so I chose the LGA 775/1156 bracket. In case you didnt know the mounting system for LGA 1156 and LGA 1155 are the exact same.

The second step is rather simple; you simply take the appropriate pushpin for your socket and press it into the mounting bracket. You cant force the wrong pushpin in the wrong bracket, so if you have to force the pin in, check to ensure you have the correct one.

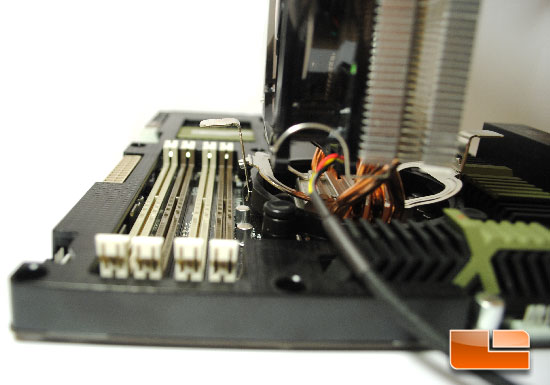
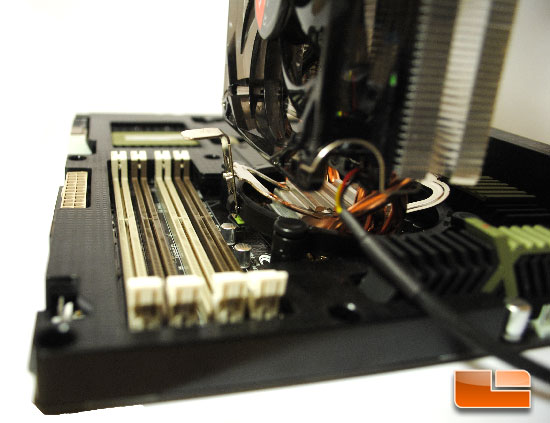
The last and final step is as simple as pushing the clips on the base of the cooler over the notches on the mounting bracket. If youre using this in an AMD system, you dont have to do anything except remove your stock cooler and clip this on just like your stock cooler attached.

Here is a better angle for you to see exactly how the mounting clips attach to the mounting bracket. Its an extremely simple mounting system which is designed to simplify the installation procedure. With this mounting system, if youre going from the stock cooler you dont even have to remove your motherboard from the computer to install this cooler.

Comments are closed.