be quiet! Shadow Rock LP CPU Cooler Review
Installing the Shadow Rock LP CPU Cooler
You can either choose to install the fan beforehand and use the included wrench to tighten the screws, or you can opt to leave it off and install the cooler the easy way. With the fan installed, it will be covering up the slot that is above the mounting plate’s screws. Taking the fan off exposes the entire slot, making for a much simpler install. In the below photo, the slot is the cutout on the left side. For this install, I will do the fan last.
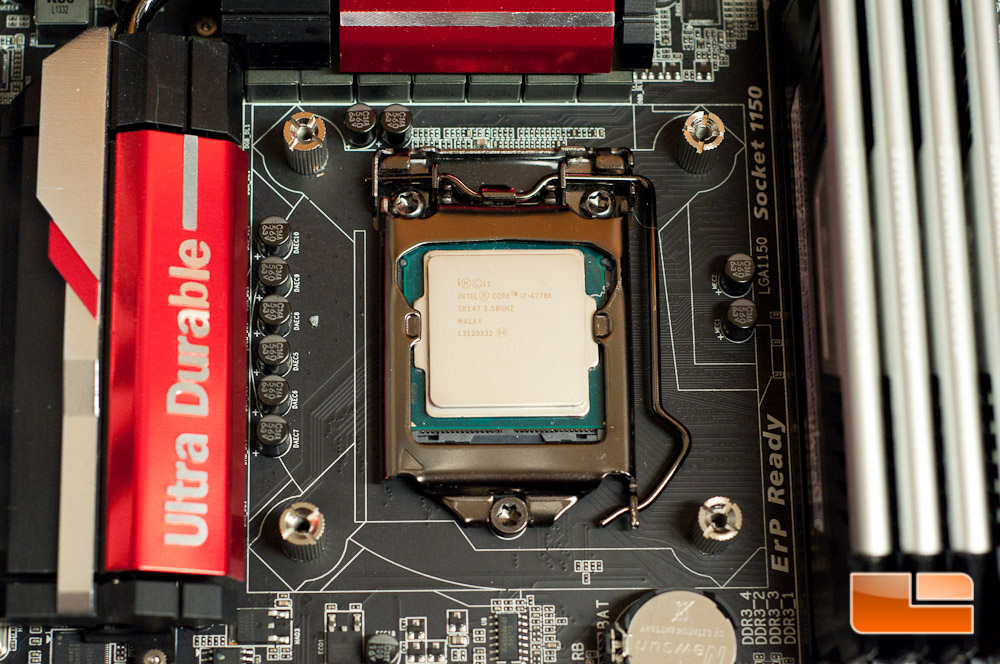
Before we get started, it’s always best to clean off the CPU with rubbing alcohol for the best results.
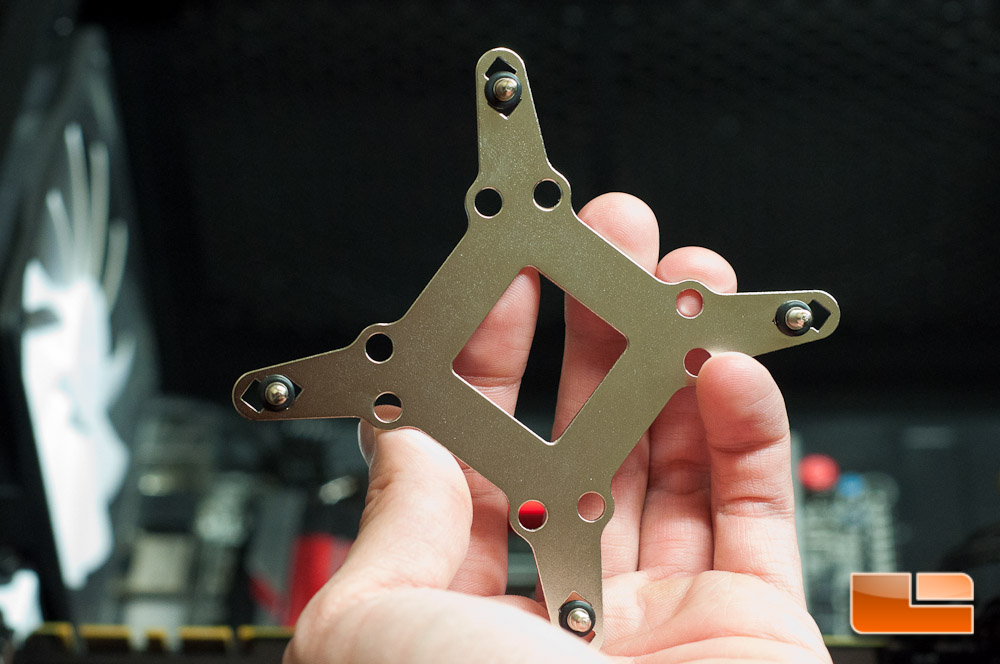
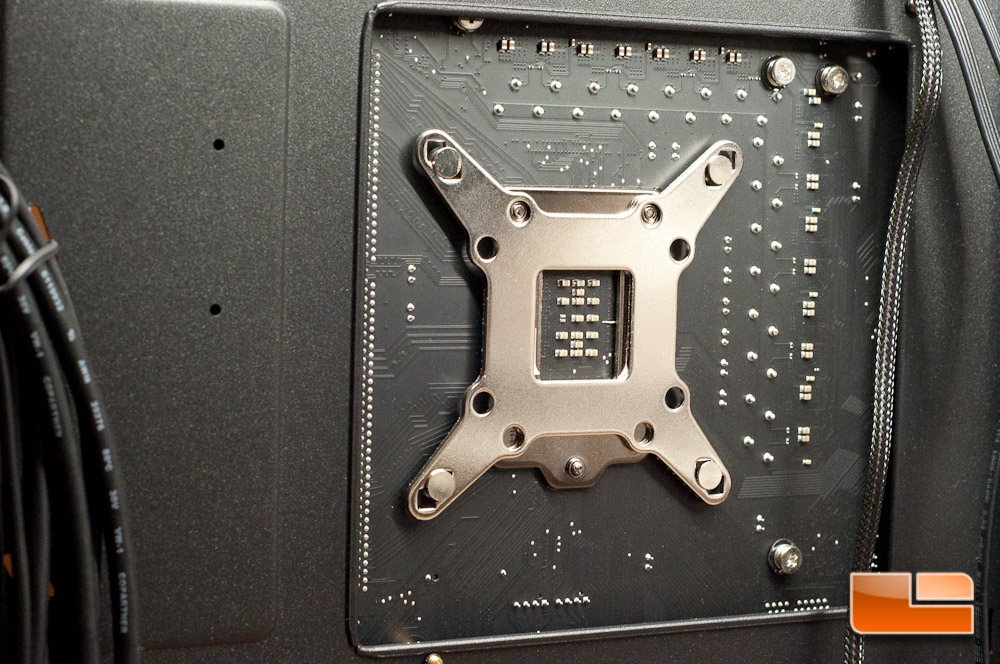
First off I put together the backplate, which was quite easy. You will slide a total of four standoffs through the backplate for your particular socket, which in my case the 1150 socket is the middle notch. Once you have the standoff in place, you simply roll the rubber o-ring on top to lock the standoff in place.
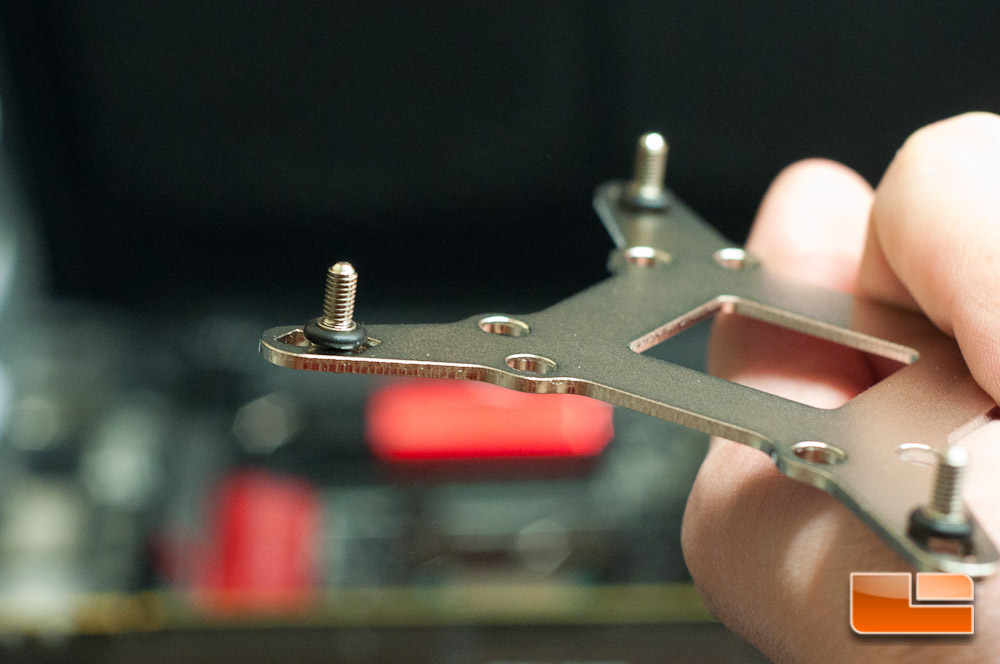
Next up you’ll place the backplate in place and screw in the nuts by hand, finishing tightening them with a screw driver if necessary.
Here’s the backplate installed on the rear.
Next you can attach the mounting brackets with the included screws. These were very easy to install.
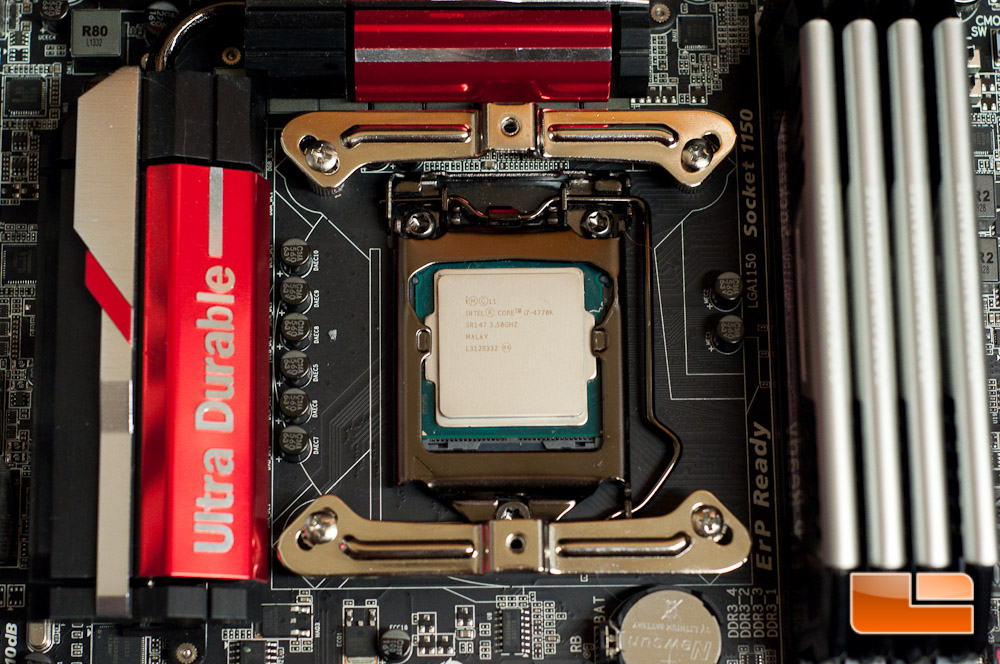
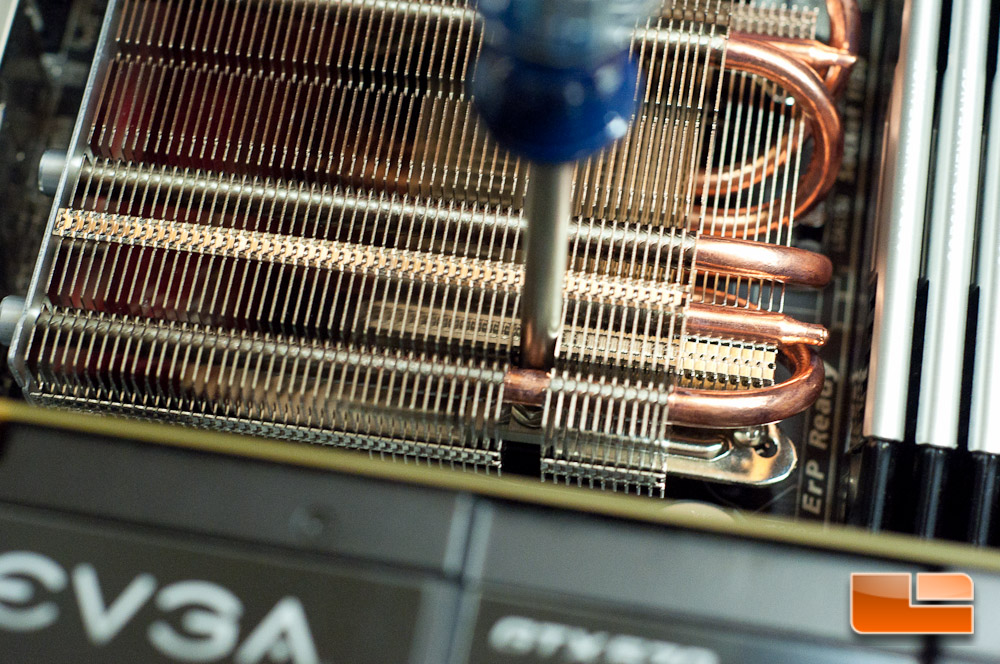
Before you can drop the cooler into place, you will need to slide the mounting bridge into place. The notches on the bridge help it stay secure and also allow for a very easy install thanks to the notches at the screw ends. These notches will fit in the humps that the mounting brackets have on them.
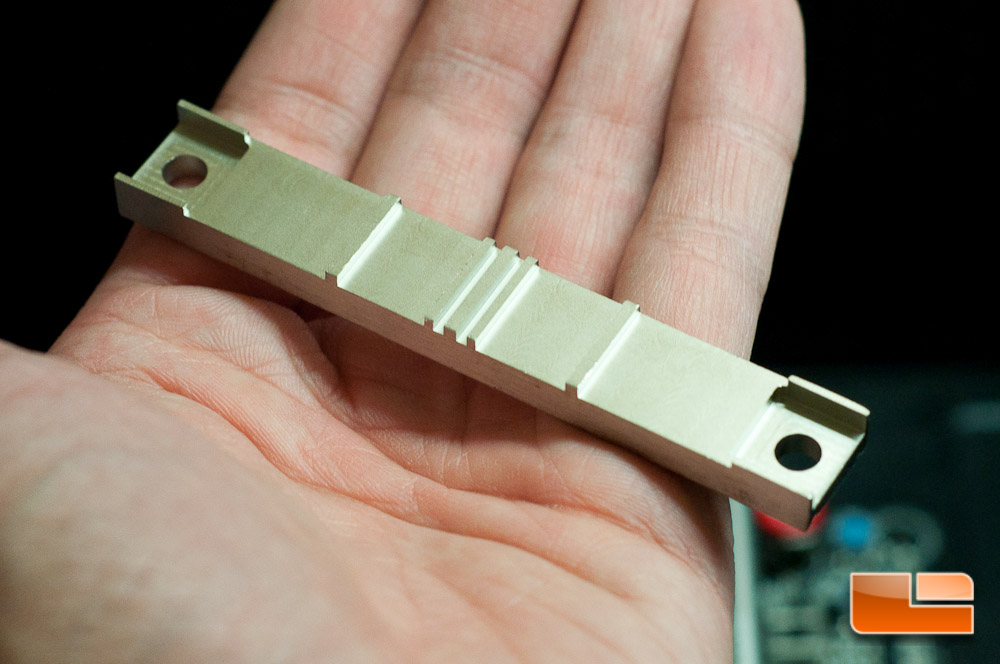
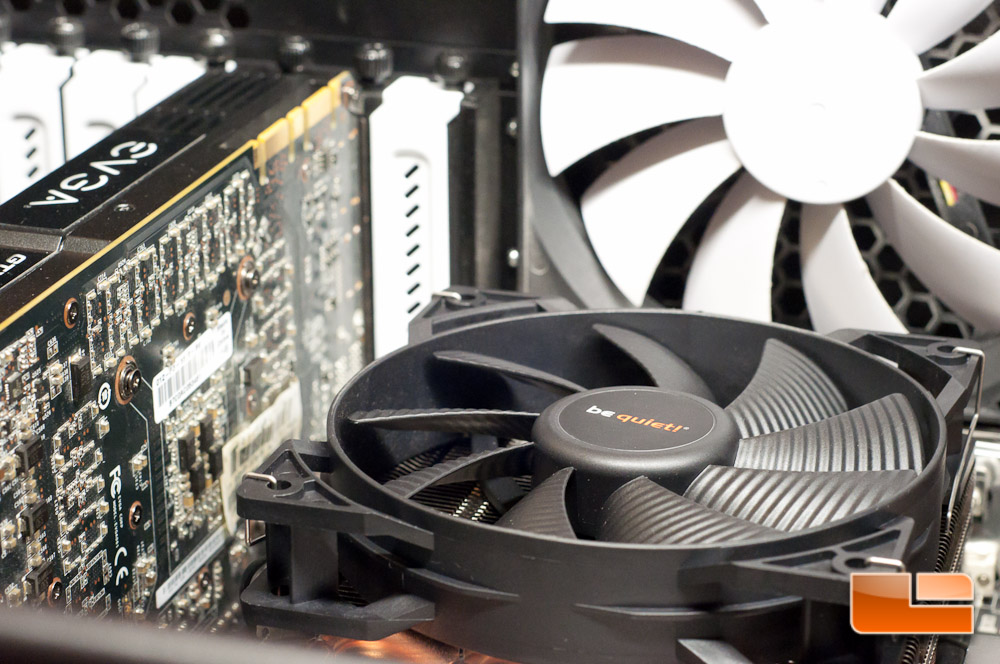
As previously mentioned, I strongly recommend installing the fan last so you can utilize the cutout on the cooler for securing the screws on the bridge. This made my life and install a lot easier!
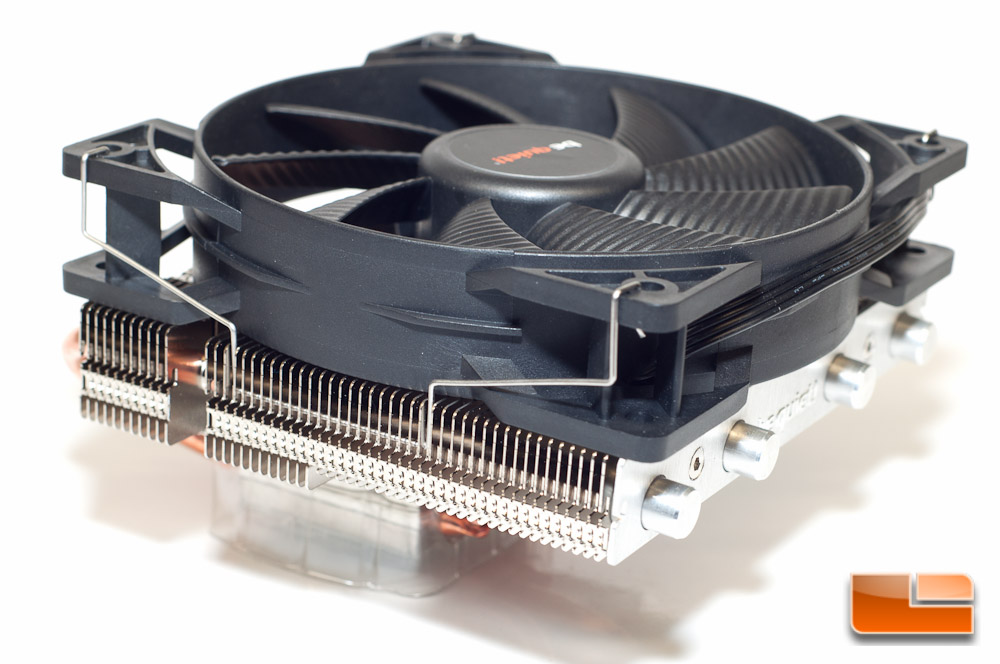
Securing the fan is easy thanks to the fan clip, making the install tool-free.
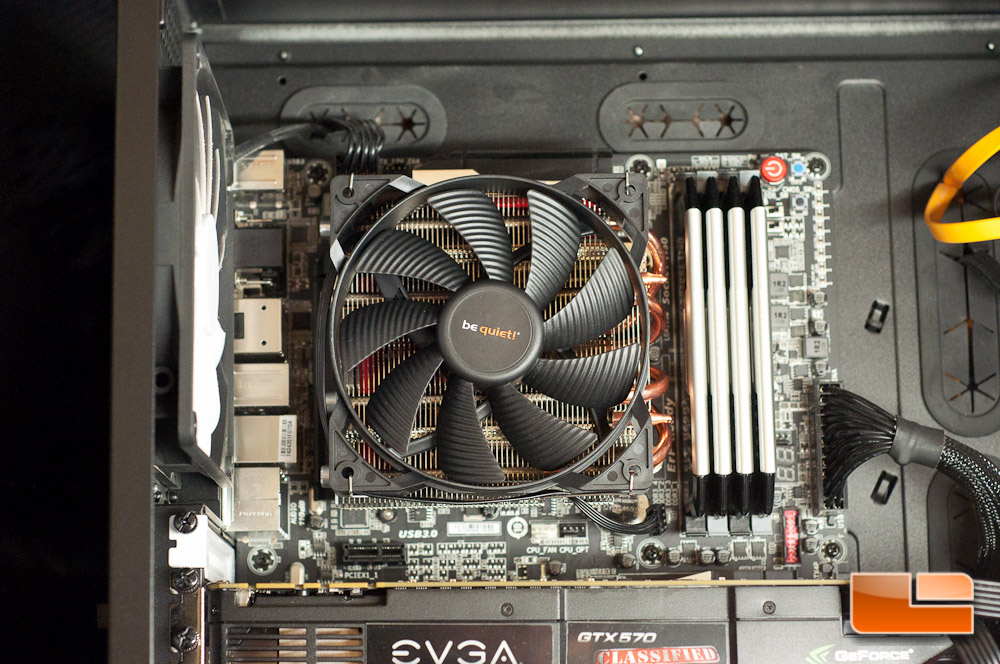
Here’s the cooler installed with the fan mounted, and all that is left to do is install that 4-pin PWM fan connector. I’ll utilize the CPU_FAN header for this one.
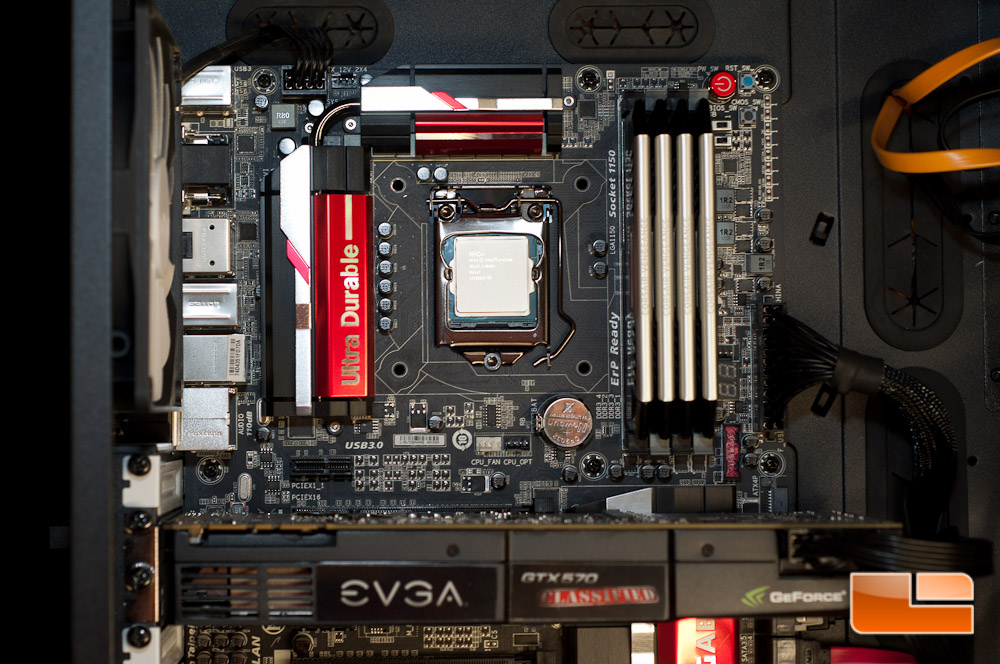
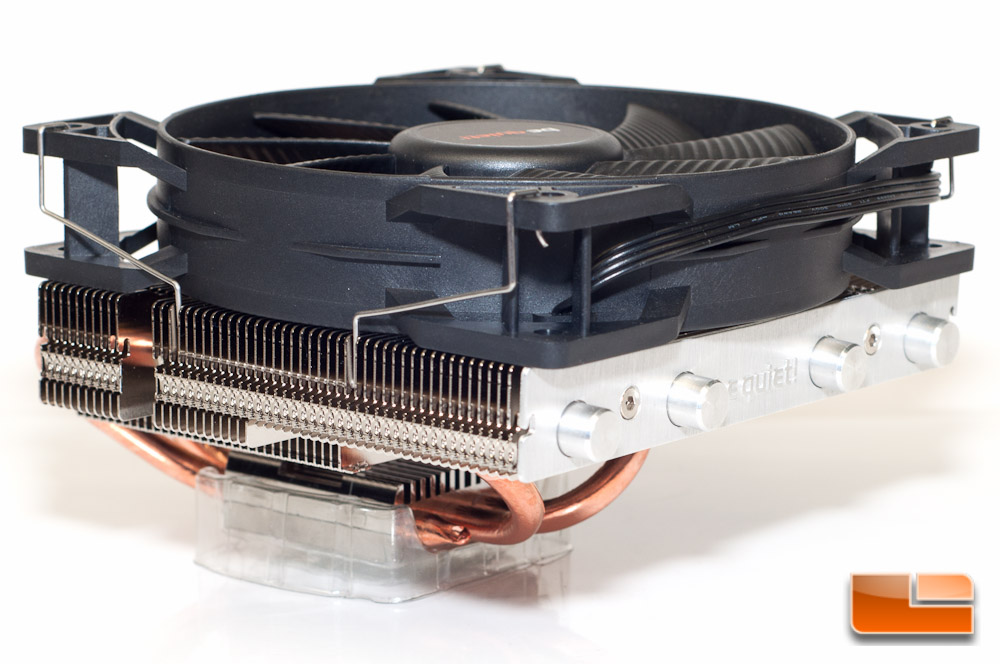
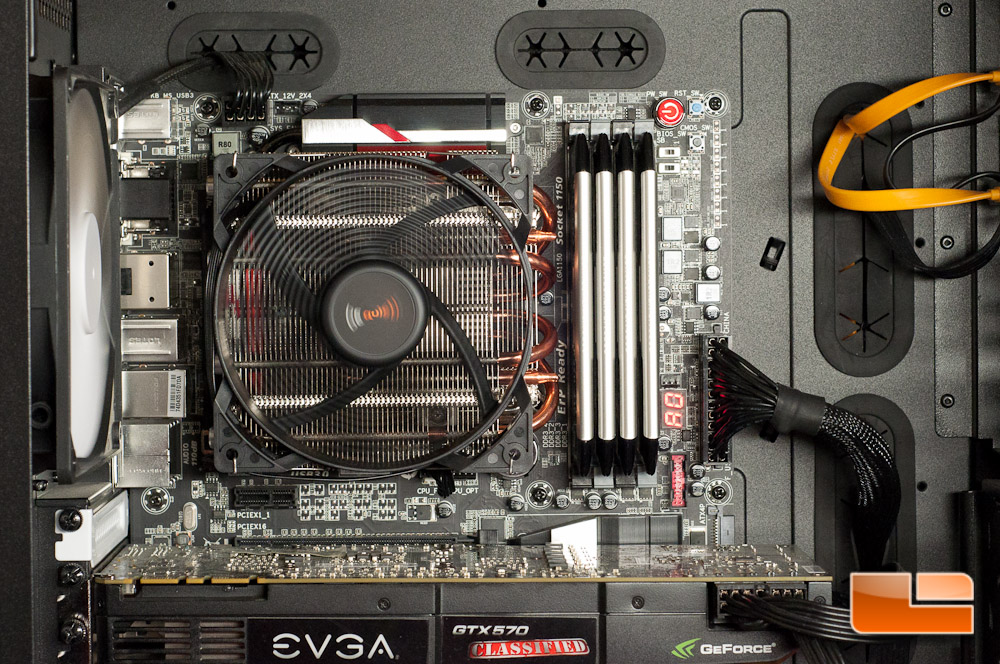
Here’s a couple shots that should hopefully help you understand how low this cooler is. The overhanging end can either hang over your MOSFET or RAM, depending on the size RAM you are using. I would just recommend going over the MOSFET heatsink, if possible, so you can easily change out RAM if needed.
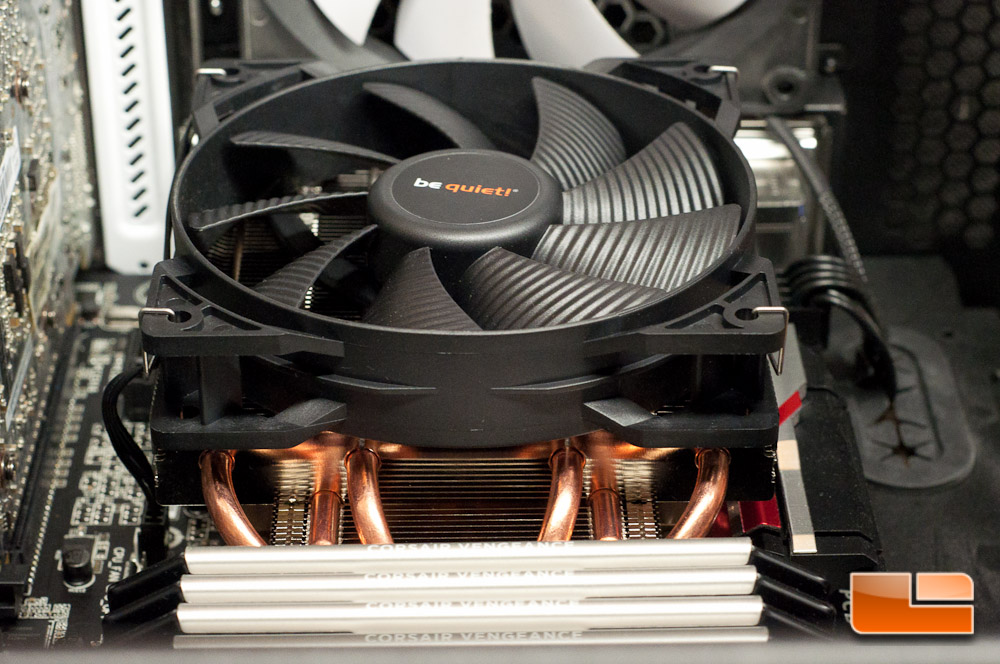
Here it is all installed and running. The fan is extremely quiet, as expected.
Since we know that everyone is curious with how the Shadow Rock LP performs, let’s move onto the testing. Well compare it to the various air and liquid CPU coolers that weve tested in the past, see how well it works with an overclock to 4.3GHz on a i7-4770k. Before we get into the tests, click the next page to see what weve got in our system.