Phanteks Enthoo Luxe Full-Tower Case Review
Enthoo Luxe Hardware Installation
Whilte installing the system components in the Enthoo Luxe no major flaws stood out. If you have built a system before, there is nothing here that is dramatically different; the only difference would be needing to remove the power supply cover. The motherboard standoffs are pre-installed to make things easier. Cable management is just as easy since Phanteks has pre-installed the velcro straps on the back of the motherboard tray. While a standard ATX motherboard was installed here, it will accept up to an E-ATX motherboard. Which means it will also accept long graphics cards up to 347mm (13.6in) without removing any of the hard drive cages. If you remove the cages, that extends the graphics card length up to 472mm (18.58in). For cooling, liquid cooling is becoming very popular, up to a 420mm radiator can be installed, or if air cooling is preferred a CPU cooler up to 193mm (7.59in) can be installed.
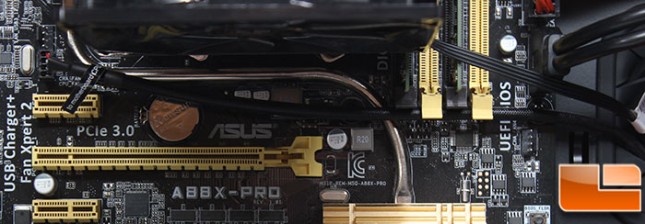
When I took a look at the low cost Enthoo Pro, the only bit of concern I had was with the length of the cable for the fan controller. Sadly, the same concern is on the Enthoo Luxe. The PWM cable connects to the CPU fan header on the motherboard, out of the various motherboards I have, there seems to be three or four locations the CPU fan header is located. On the ASUS A88X-Pro motherboard, it happens to be to the lower left of the CPU. The cable for the controller cant reach if you go over the top edge of the motherboard, and barely reaches if you go through the cable management holes in the motherboard tray.
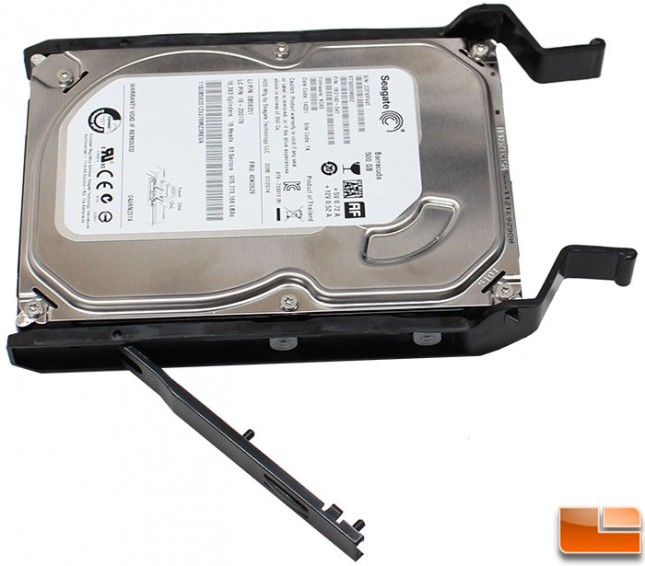
3.5 hard drives slide into the tray without any issues, on the bottom of the tray are two guides that go into the screw holes on the bottom of the drive. This makes sure the drive is in the right place for the side locks to close without any issues. If you would prefer to install 2.5″ drives, you can use holes in the base of the tray to install 2.5″ drives with screws.
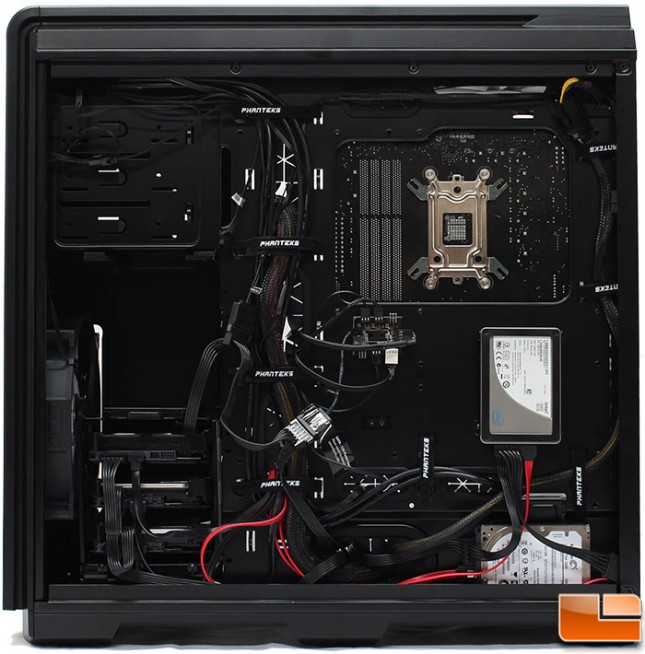
Both of the 3.5″ drive bays can be removed with just a couple of thumbscrews on the back side. The hole in the motherboard tray to access the back of the motherboard to install aftermarket CPU coolers appears to be sufficiently large to support most motherboards. Cable management is easy to do with the pre-installed velcro ties. If there is a need for additional cable ties, Phanteks has included two additional velcro ties and several zip ties. There are locations on the back of the motherboard tray to use these if necessary.
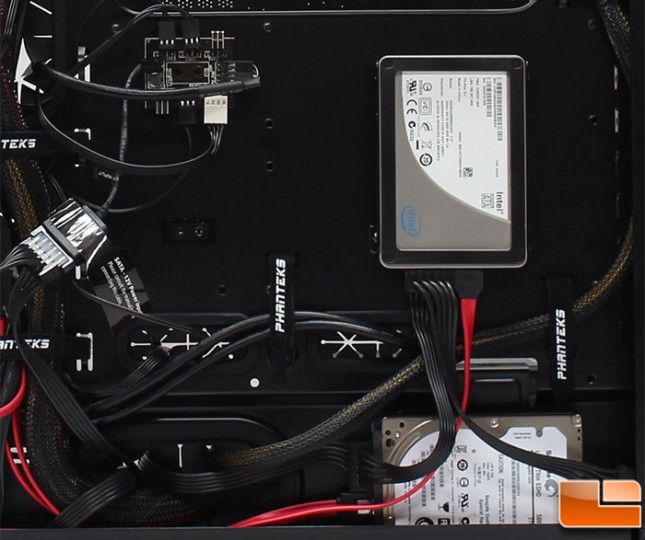
On the back of the motherboard tray is the PWM Fan Hub and the two hidden 2.5″ drive trays. Here we opted to install both an SSD and a standard 2.5″ mechanical hard drive; both can be used in either location. The 2.5″ drives connect to the trays with screws, and then lock into place on the anti-vibration washers.
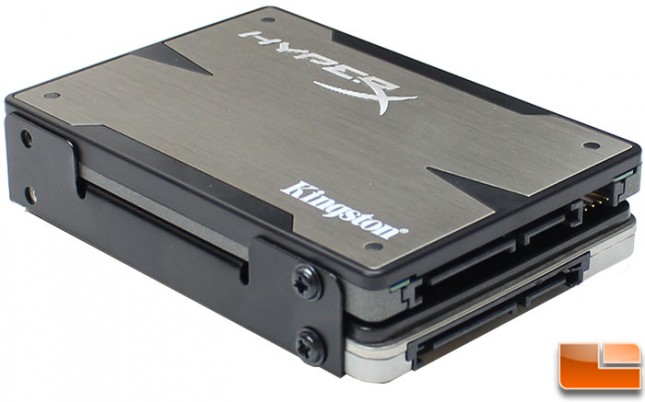
One of the optional accessories that Phanteks has made available is a two in 1 SSD bracket. This can replace the two brackets that is included on the Enthoo Luxe and take the possible two 2.5″ drive install to four 2.5″ drives! One thing to note, is that Phanteks lists this as being compatible only with the Primo.
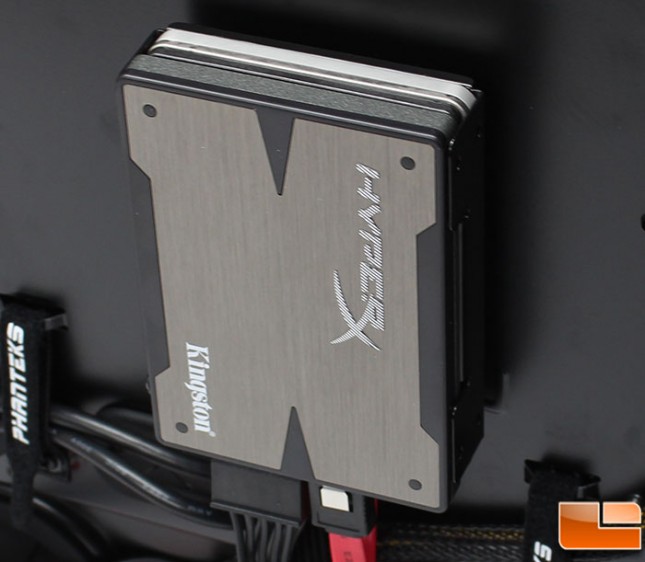
Since we have the Two in 1 SSD bracket, we went ahead and installed it in the Luxe and replaced the back panel. It fits without any issues, the back panel goes into place without having to push it. So while Phanteks doesn’t list this as being compatible with the Luxe, we did not have any problems installing it on the Luxe.
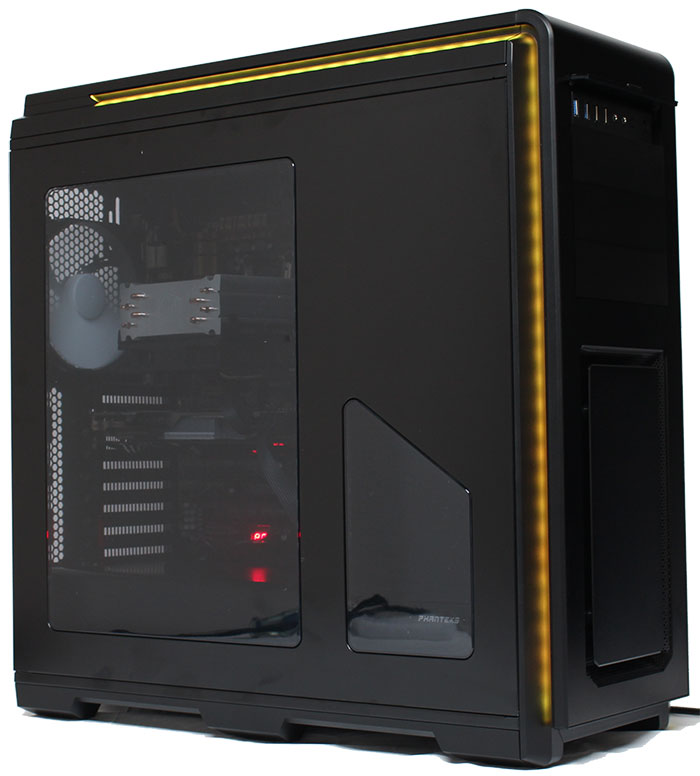

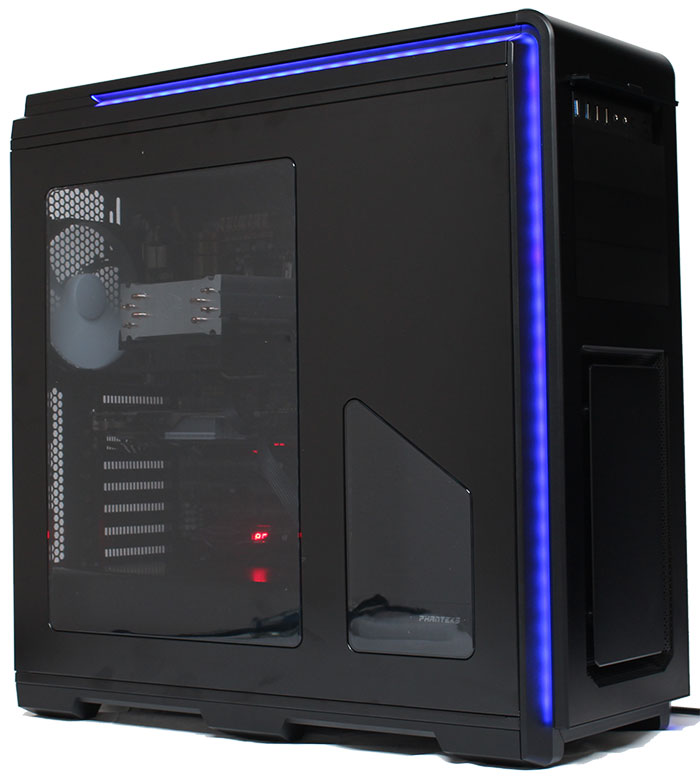
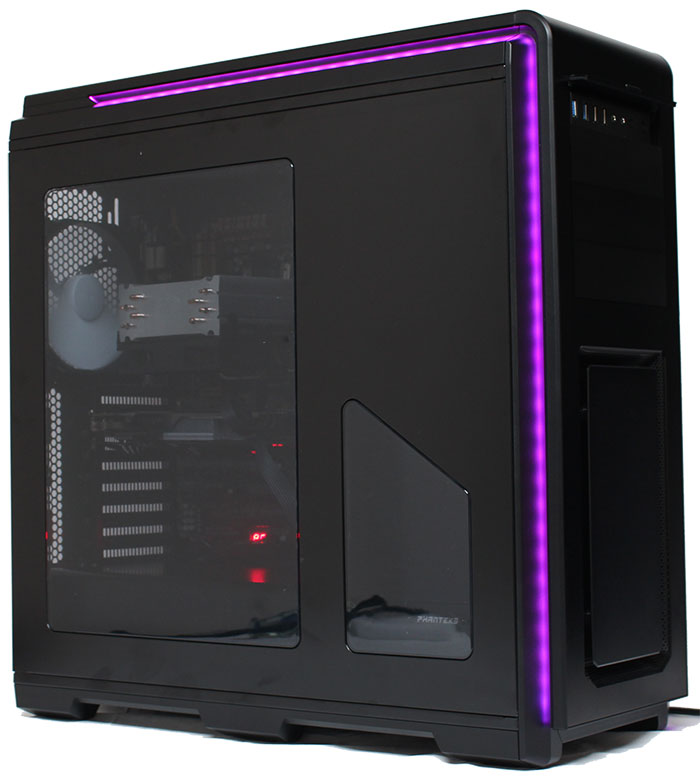
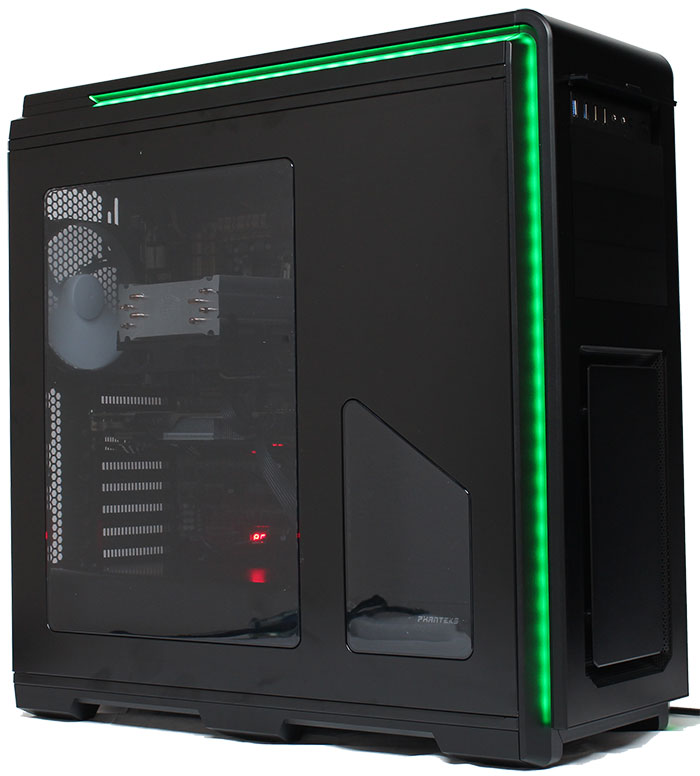
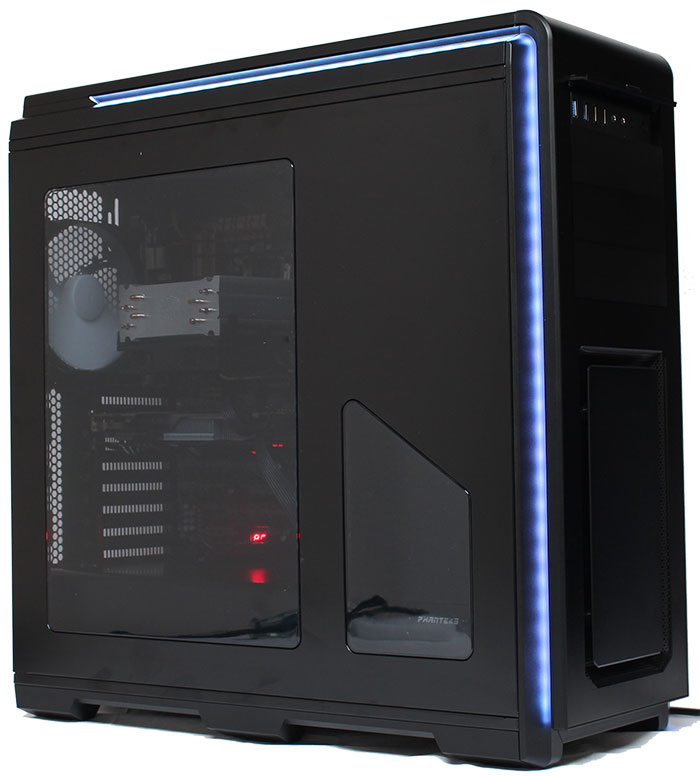
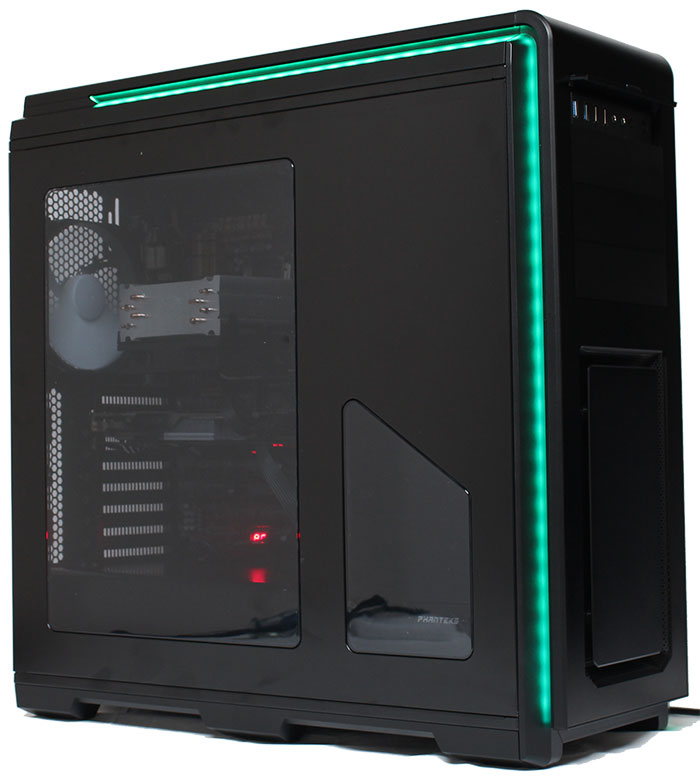
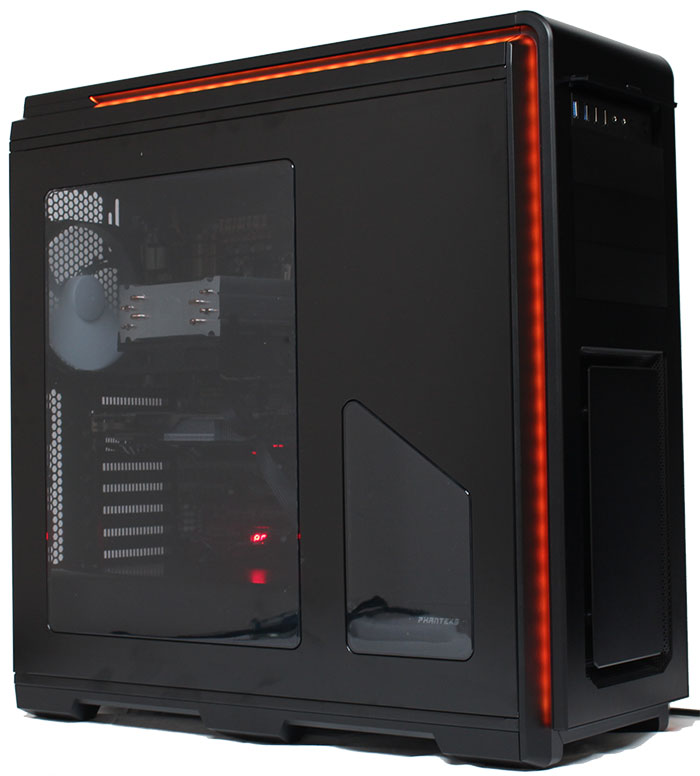
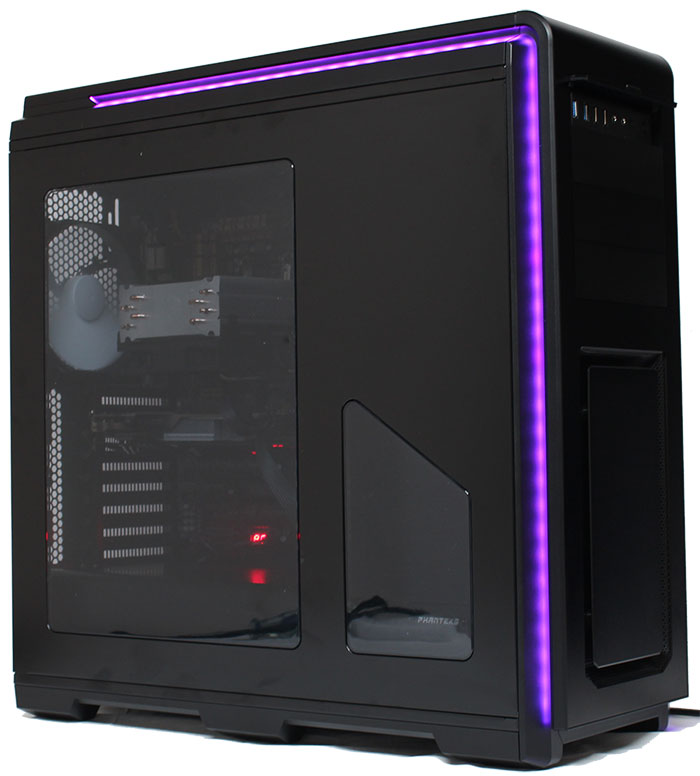
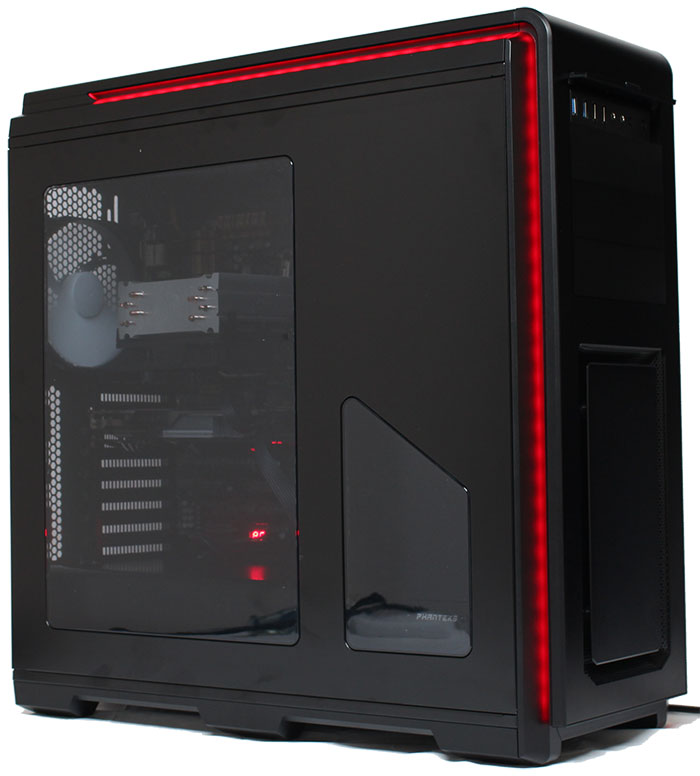
When we took a look at the hidden front panel I/O, one of the buttons was a Light Controller. As the button is pressed it cycles through the various colors that the Phanteks Enthoo Luxe lights up in. While these pictures show just one side of the case, the lights are actually on both sides. Also, if you connect the optional LED strip, the integrated Light Controller will control that as well.
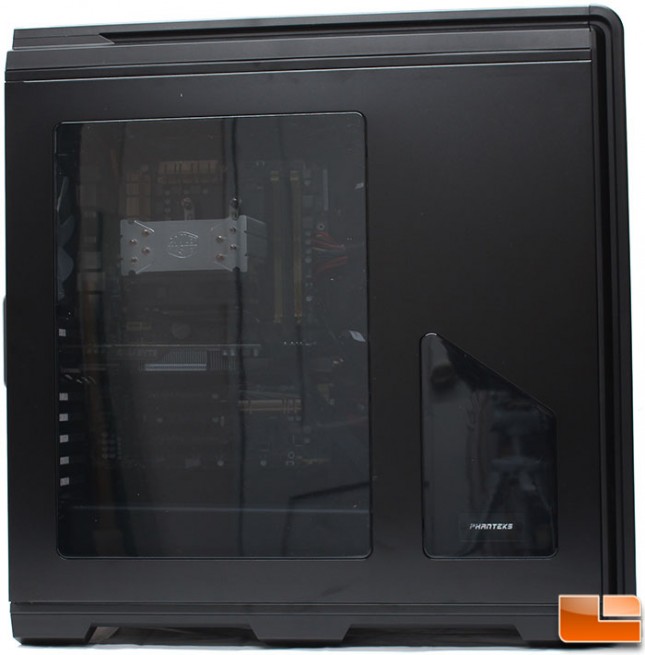
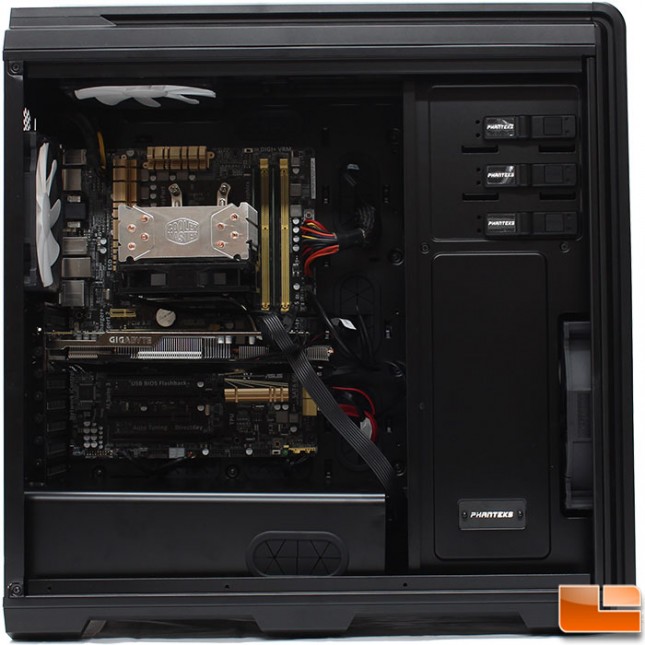
One last look at the completed build through the side panel window before we move on to looking at various optional accessories available. Through the window you get a full view of the motherboard and the video card. The power supply is covered, and there is no view of the hard drives, as they are behind the metal panel inside the case.