NZXT Kraken X40 & X60 CPU Water Cooler Reviews
Installing The x40 and x60 Kraken CPU Coolers
Both of these Kraken liquid CPU coolers will be installed on an Intel Core-i7 4770k with a GIGABYTE Z87X-UD4H motherboard, and I will show you how easy it is to install. I am also going to be using a Fractal Design Define XL R2 case, which should work perfectly for both of these kits.
We start off by laying our system on its side. To prep your system for install, make sure that your CPU is clean of any old thermal paste and other debris. Make sure you use rubbing alcohol with the highest purity that you can find, and also ensure that youre using a lint-free cloth.
The very first thing you need to do, is prep the backplate by putting the metal inserts into place. These again will have the appropriate numbers on them for what socket youre using, so you know where you have to put the insert. You can also prep this by putting a double sided pad on, but for me, I would rather not do that.

Should you be using a socket 2011 board, you will not need to worry about the backplate as there are a special set of screws to mount directly into the boards CPU socket studs.
Here’s a snapshot of the bracket from the interior, which shows the studs poking through the mounting holes.

The mounting screws are held in place with two plastic inserts that go on the retention ring. This particular prep work is tedious, but it isnt difficult by any means. Follow the directions for your CPU socket type.

Before doing any mounting, I would highly recommend putting the retention ring and clip in place, along with the mounting screws. This will save you some of the annoyance that you might get when trying to do this inside your system with the radiator mounted. Here’s what it looks like when it’s finished.

Here is one more shot:

Following the NZXT instructions that were included with both Kraken coolers for radiator mounting, the picture for mounting these coolers in your case is a pull configuration. This entails you to set the fans in place and then mount the radiator under them. Basically what you can do here is, put a fan where you will be mounting your cooler and stick a screw through the top two holes. This will hold the fan(s) in place while you grab the radiator to mount. Finding the screw holes is plenty easy, since the radiator and fans are the same size. Essentially its a bit more of a hassle getting the pull fans installed than it would be to start off with a push only setup.

Once thats installed, you can now screw the block into place. This is made super easy by the thumb screws and I found that I did not need to use any tools to tighten this more. The screws will stop in place with your fingers alone. If you have a cramped board, the screws do have a Phillips screw head.

Hooking up to the connections is made plenty easy. NZXT included a nice and long USB cable that I was able to route the wire behind my motherboard tray and come out by a USB header. With this USB cable in place, we are now interfaced with the Kraken Control software.
The 3-pin power cable can be hooked up to any 4-pin fan header, while the fans themselves hook up to the respective attached cable. For additional power when you hook up four fans, the Kraken x60 has a SATA power connector. Here is the x60 all hooked up!

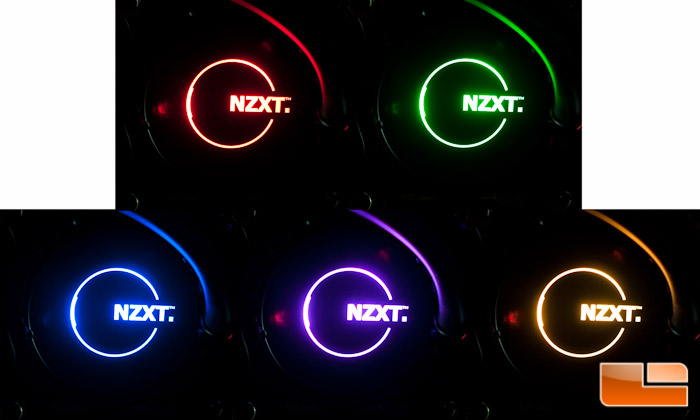
Finally, firing up my system, we can see the various colors that the NZXT logo can light up to. You can simply change the color on-the-fly with the Kraken Control software, or it can change colors if the temperature gets too high. This is very cool eye candy! Below are a few that you can choose from in the full pallet of colors.
That wraps up the installation of the Kraken Series coolers, so lets take a quick look at the Kraken Control software and see how it works with the Haswell platform.