In-Win GRone Full Tower Chassis Review
Installing Hardware into the GRone
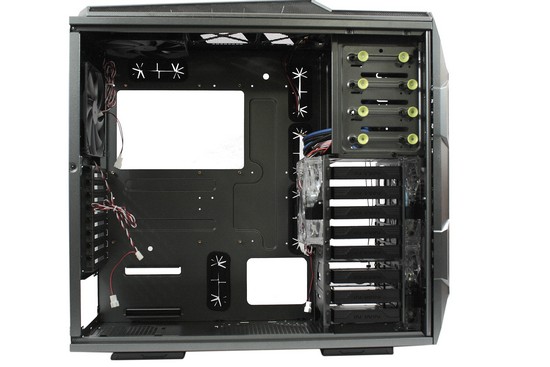
Time for me to install my computer components into the GRone chassis, first things first is for me to install all of the motherboard tray standoffs in their correct mounting holes.
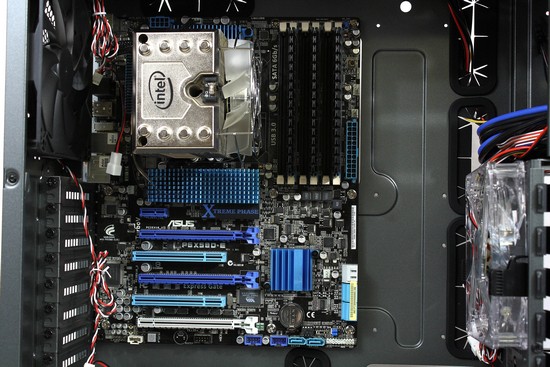
I got the motherboard installed into the GRone chassis and my first thoughts are, The GRone chassis makes my ASUS X58 Deluxe motherboard look tiny.

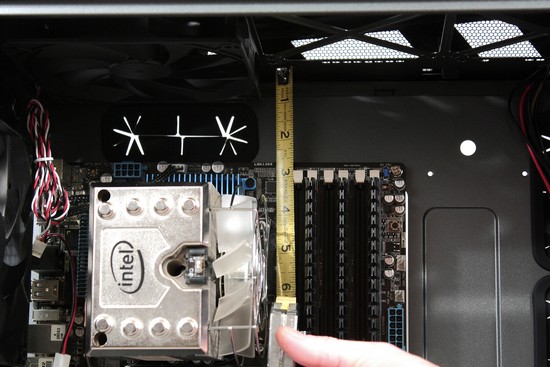
A quick measurement of the upper area above the motherboard.
To install the 3.5 HDD into the HDD carriers is pretty simple, we align one side of the HDD to the included HDD silencing pins, then careful bend the opposite side of the HDD carrier to fit it over the HDD completely. It appears that the pins are slightly out of alignment, but once I got the HDD installed the pins did properly align themselves to the HDD.
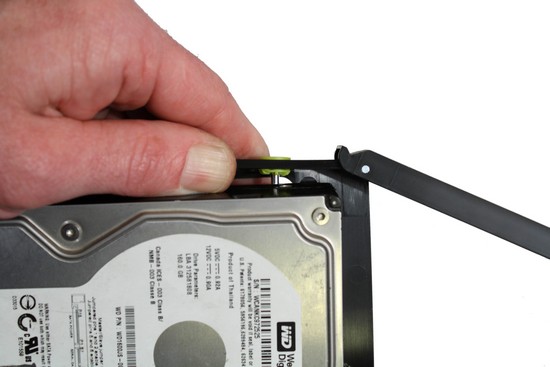
In-Win includes an extra mounting hole for those of us who wishes to fully secure the HDD to the carrier.
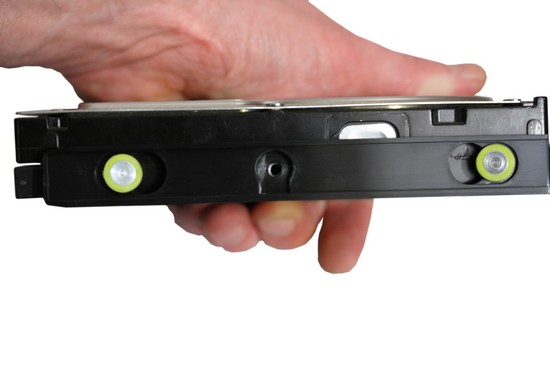
To install the smaller 2.5 drives we need to remove 1 3.5 HDD pin.
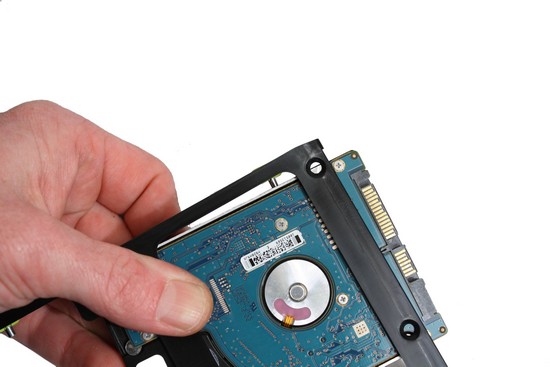
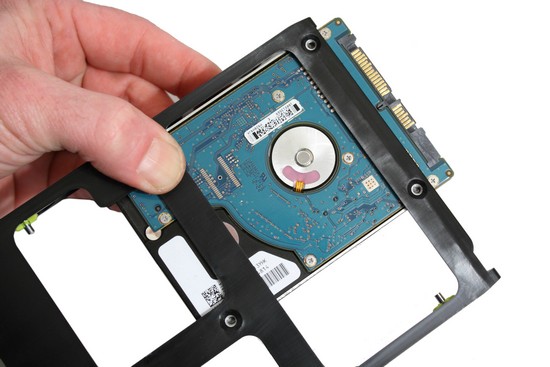
Once we remove that single pin we now can fully secure the smaller 2.5 HDD/SSDs to the HDD carriers.
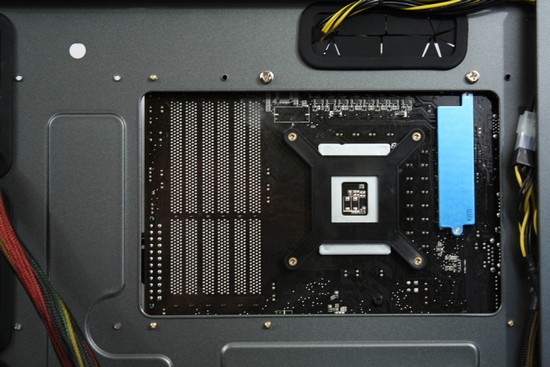
What the back side of the motherboard tray looks like once I gotten all of the hardware installed into the GRone chassis.
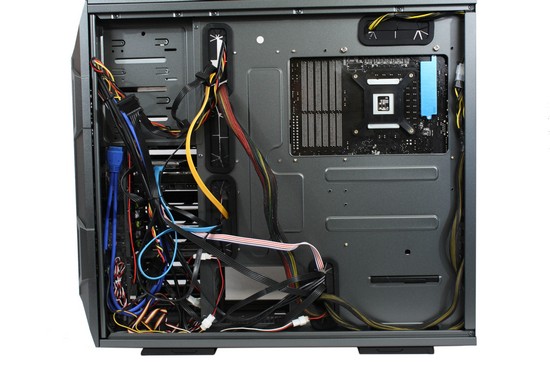
Looking at the CPU cutout, and yes this cut out is plenty of large enough to handle a great variety of different motherboards.
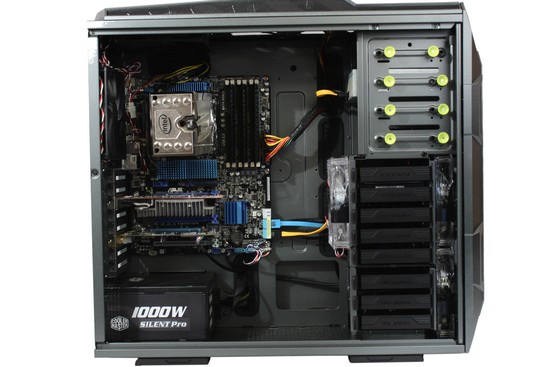
What the interior of the GRone looks like once everything is installed, I will have to say that is one clean looking computer. The side panels of the GRone do not slide and lock into place, they instead swing out. This makes buttoning up this chassis a lot easier and effortlessly.
What the GRone all assembled and rip raring and ready to go.

Comments are closed.