Gigabyte BRIX S BXi5H-5200 PC Kit Review
Installing DDR3L Memory and Storage into the BRIX
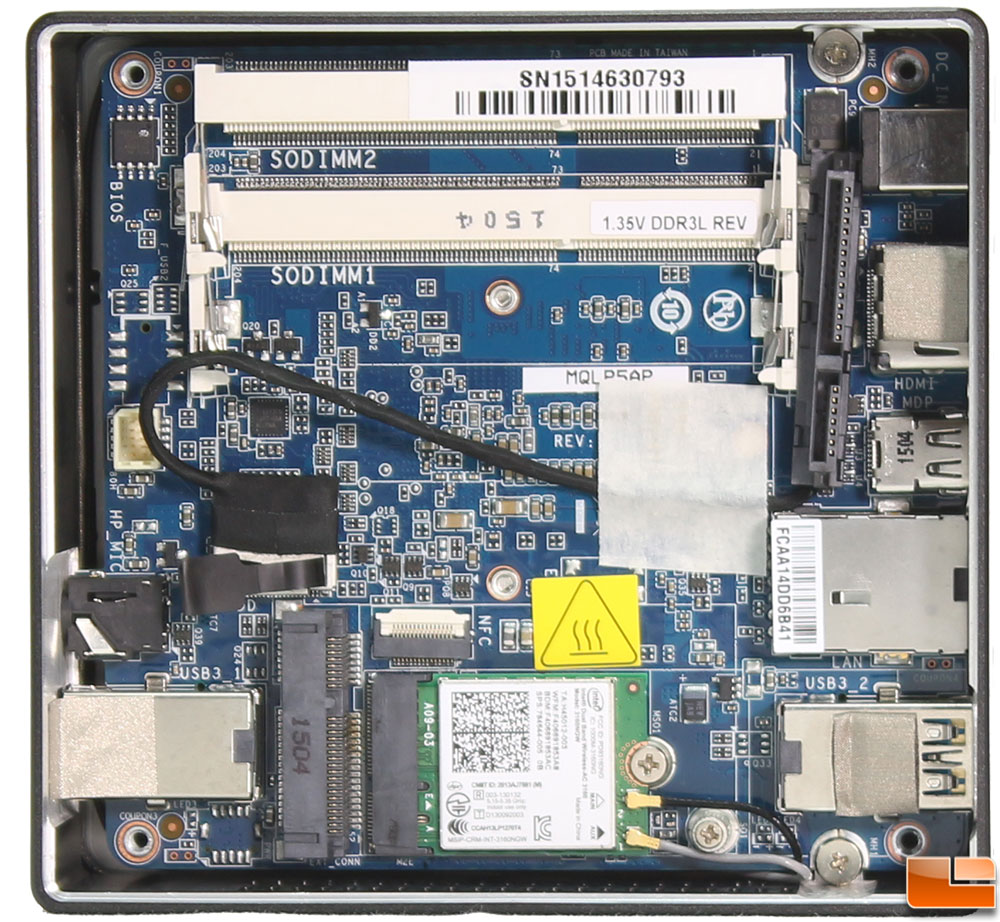
Opening the BRIX is done by removing four Philips screws on the bottom. Once those are removed the cover can be removed and we can see the interior. Everything that a user should need access to is readily available. However, should you want to remove the board, it is held in place with two additional screws.

Installing a 2.5″ drive on the cover could be a little easier, however Gigabyte has done a good job at keeping it simple. The 2.5″ drive bracket is secured to the bottom plate with two screws. You can remove the bracket or simply attach the integrated SATA cable to your drive and then put the four screws into the sides, securing the drive to the bracket. Removing the bracket would make securing the drive to the frame easier, however it wasn’t necessary.
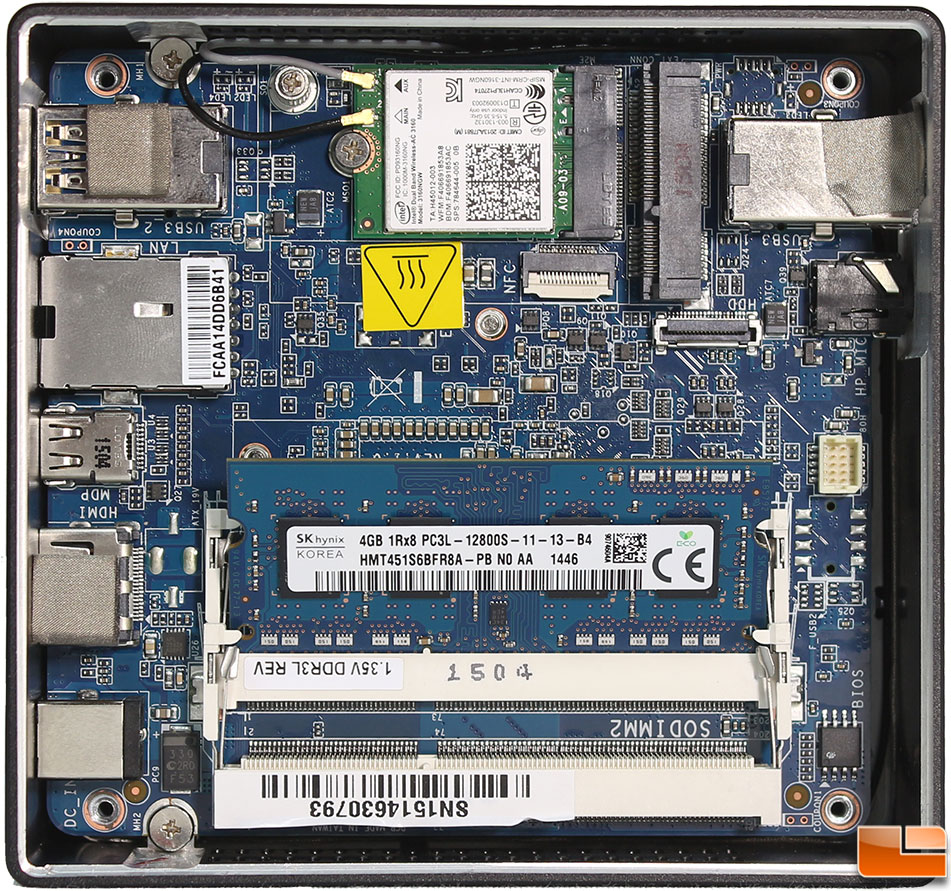
Installing memory into the Gigabyte BRIX couldn’t have been easier. The SK Hynix DDR3L modules slide into each of the SO-DIMM slots at an angle and then laid flat. When they’re laid flat, they get clipped into place. While I do not have a mSATA drive available to install into the BRIX, it installs in a very similar manner, with a screw to secure it rather than clips.
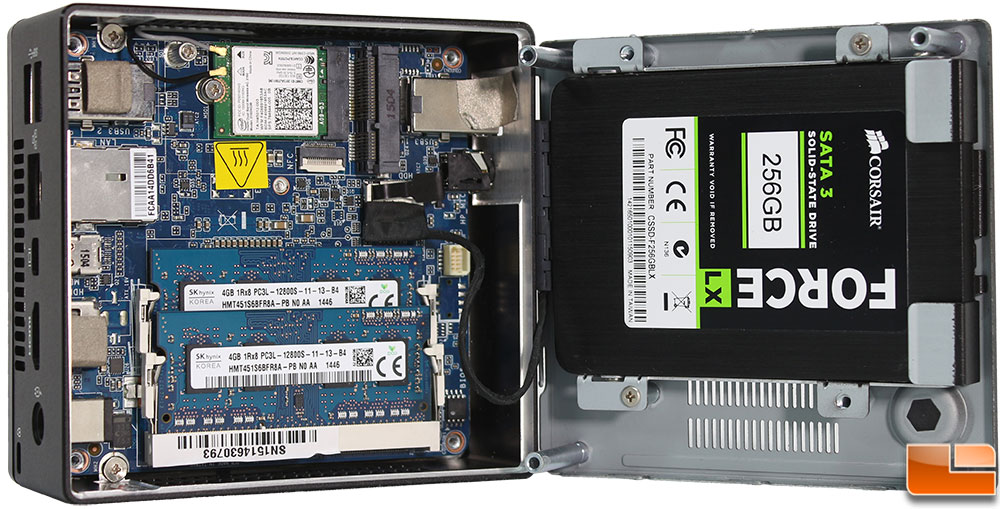
With the memory and storage installed, you have completed the assembly of the BRIX. Replace the bottom cover, secure it with the four Philips screws and you are ready to turn it on to proceed with installing your operating system.
As with most new motherboards, there are always a couple of drivers missing from the base Windows 8.1 installation. The most important is the Wireless NIC or the Ethernet NIC driver, both of which can be downloaded from Gigabyte’s website here.