Gigabyte Aorus AX370-Gaming 5 Motherboard Review
UEFI Overview
As we have said several times already, the Gigabyte Aorus AX370-Gaming 5 motherboard is quite similar to Gigabyte’s other gaming motherboards. This is also the case for the UEFI screens, this isn’t a bad thing, it makes it easy to know where to find specific features you want. For most, you will only need to know a few of the menu options to get the most out of the system
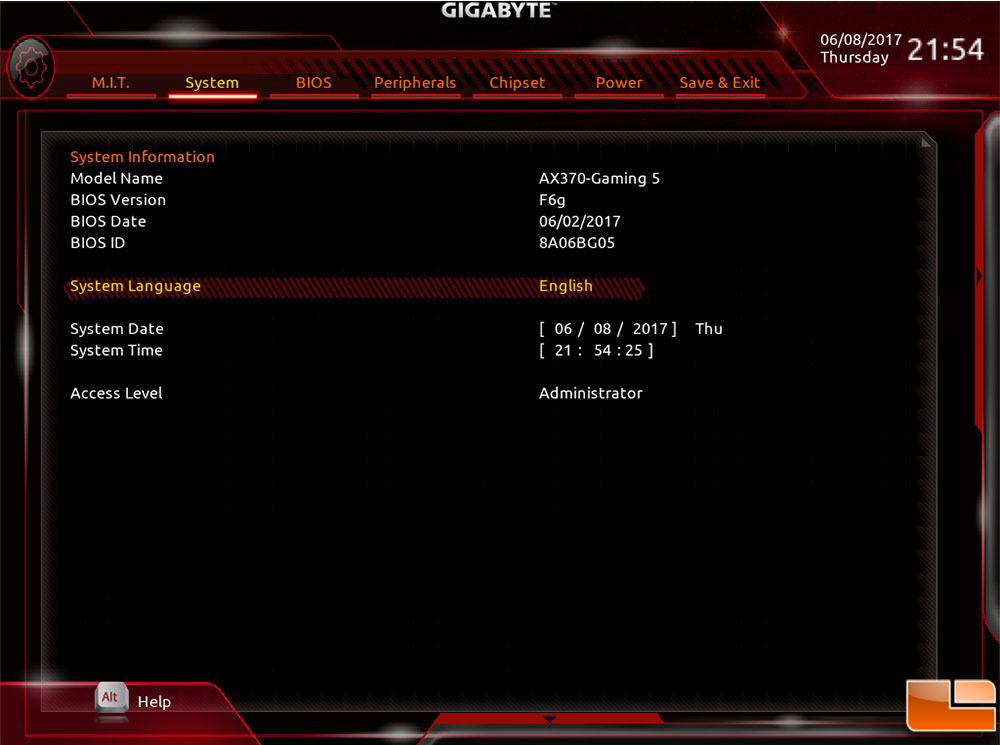
There are two UEFI modes, the classic view provides the most options for customization. The system screen is the first one you get to see, which provides just a quick overview of the motherboard, specifically giving you a place to find the model, and BIOS information. Here you can also change the date and time if you have a need.
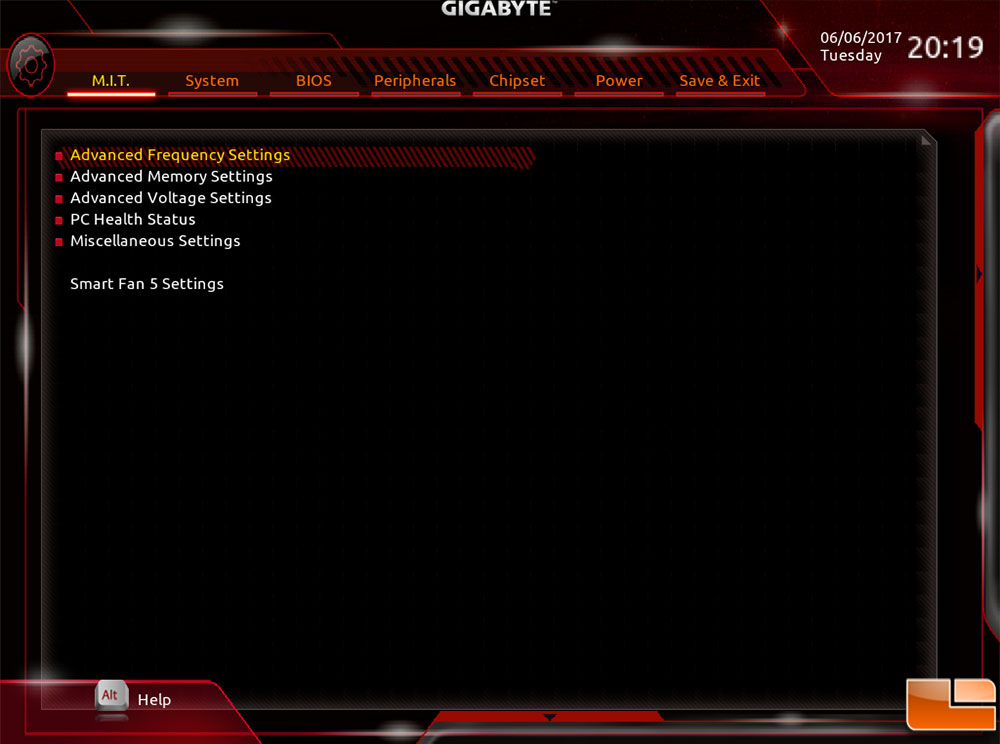
Probably the most frequently used menu option in the UEFI will be the M.I.T. menu, here you will find the options to overclock the CPU and memory, along with adjusting the voltage, checking the overall system health and a few other little options.

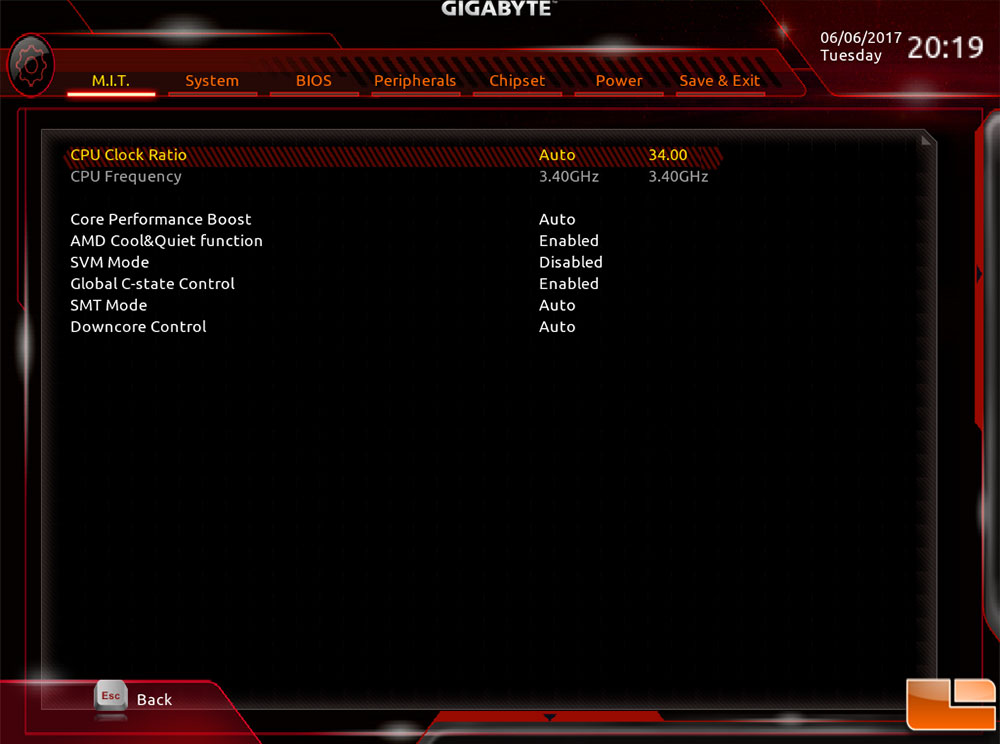
The Advanced Frequency Settings, is a quick one stop shop to doing some simple overclocking. The CPU Clock Ratio can be easily adjusted, allowing you to doing a very quick and easy overclock. The memory can also be quickly overclocked here, or you can enable the XMP profiles. There is a sub-menu here, the Advanced CPU Core Settings, this allows for enabling or disabling several CPU features such as the AMD Cool&Quiet, Core Performance Boost (shut down un-needed CPU cores, providing a boost to CPU clock speeds), SVM Mode (Secure Virtual Machine – similar to Intel-VT), Global C-state control (allows idle cores to remain at C-state to use less power), SMT Mode (Simultaneous Multi-Threading, similar to Intel HyperThreading) and Downcore Control (disable CPU cores).
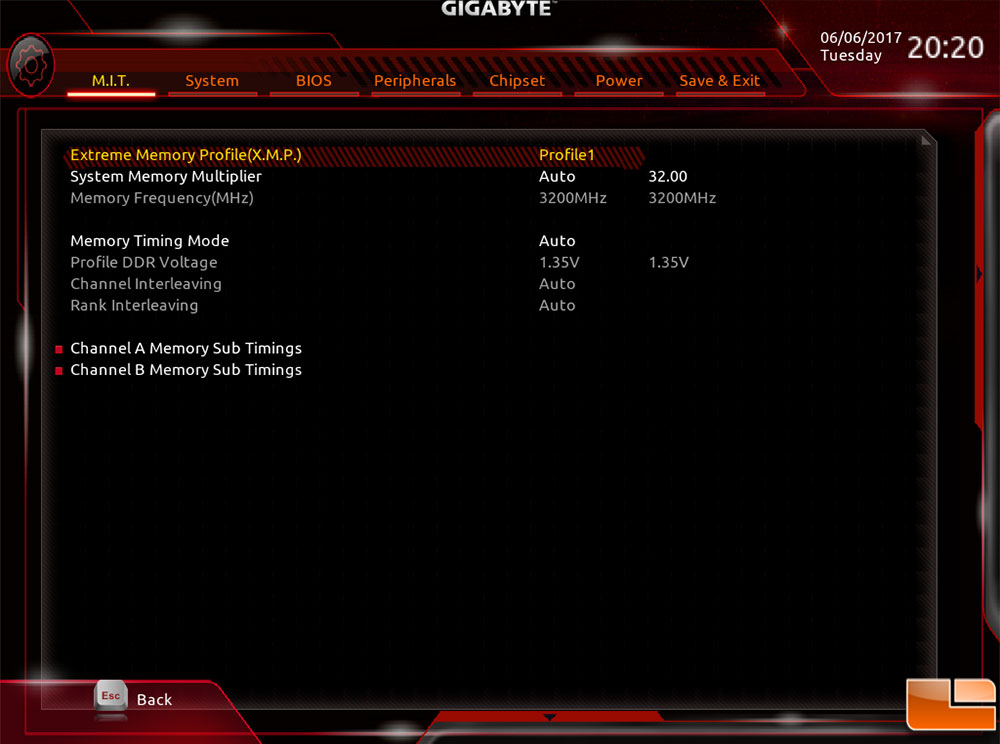
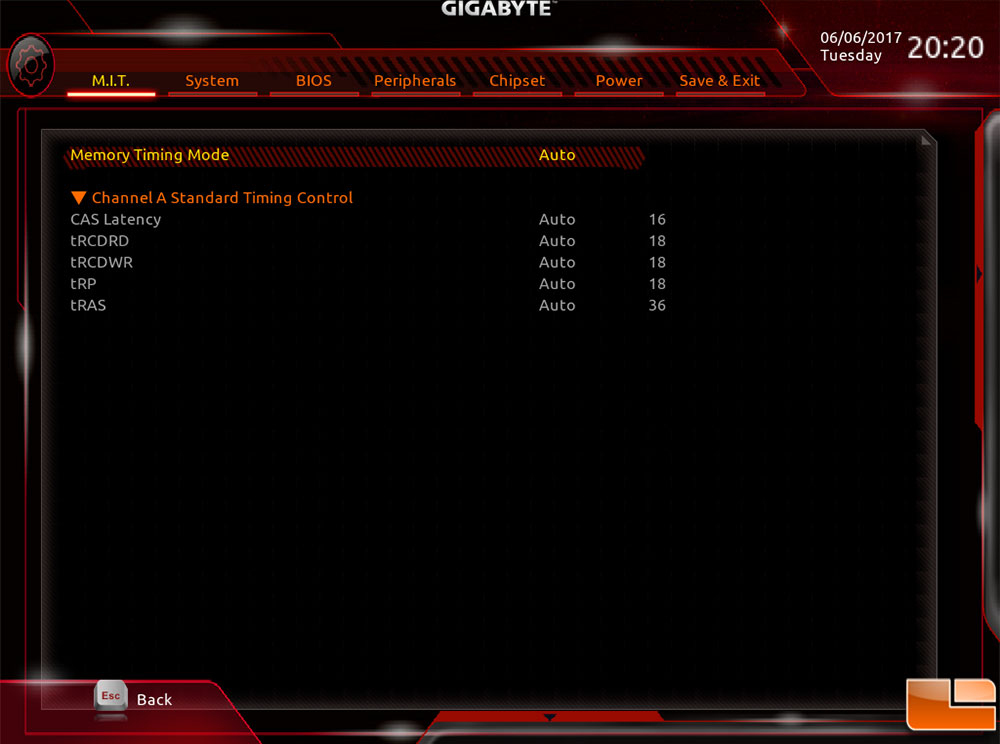
If you want to do some fine tuning on the memory, you’ll find this in the Advanced Memory Settings menu. Within the Memory Sub Timings sub-menu you can adjust the individual timings.
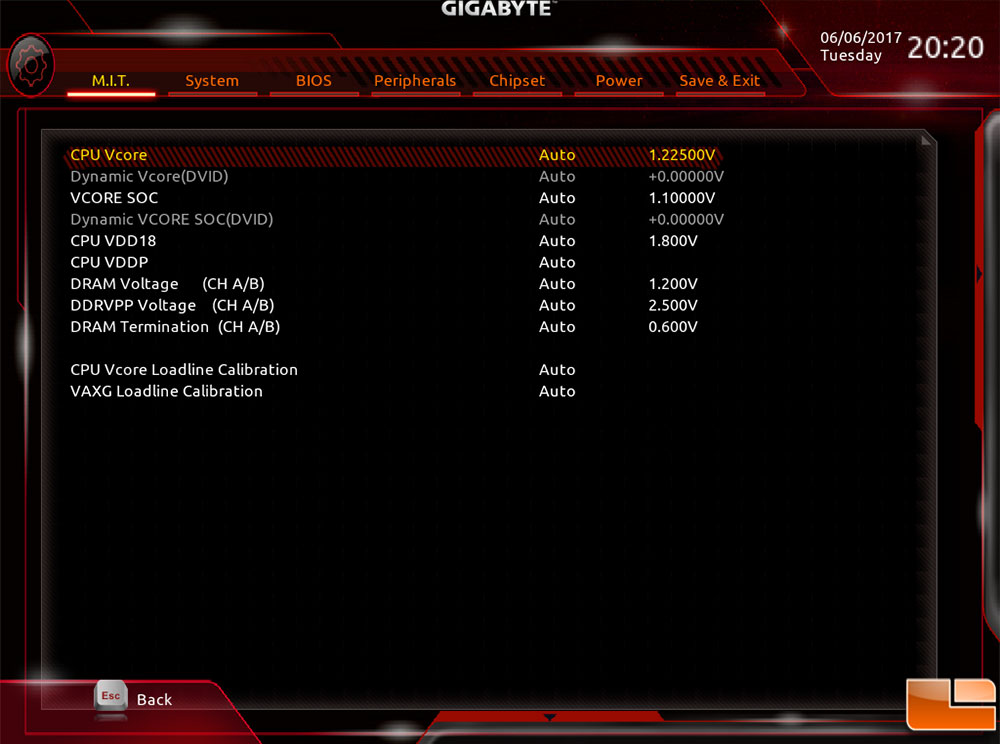
Once you are done with doing simple overclocking, if you want to push the system a little further you might have to adjust the voltages. This is easily done in the Advanced Voltage Settings menu. Here you can adjust the CPU and DRAM voltages, we will adjust the CPU voltage once we hit our overclock limit going to a maximum of 1.45V.
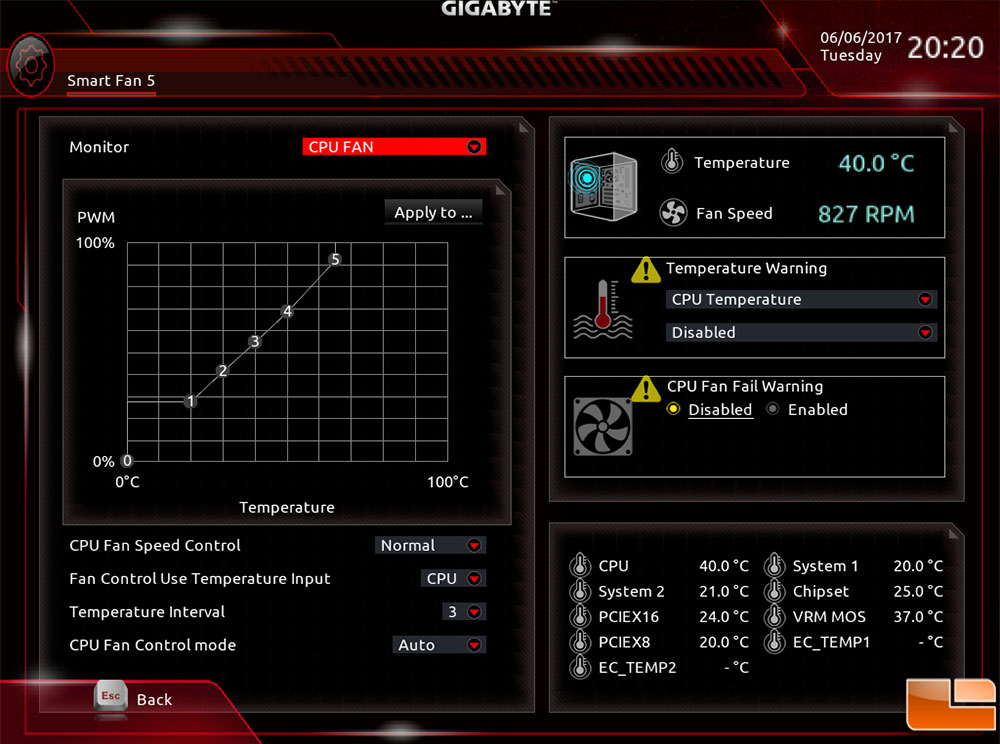
Within the UEFI there are a few useful tools, Smart Fan 5 is useful to adjust the performance of the fans to your specific needs. You can select each individual header, and set the specific fan speed or temperature mode. This kind of fine tuning of the fans can make it easy to get a very quiet system, or if you prefer to keep it cooler, ramp up the fan speeds to keep it as cool as possible.
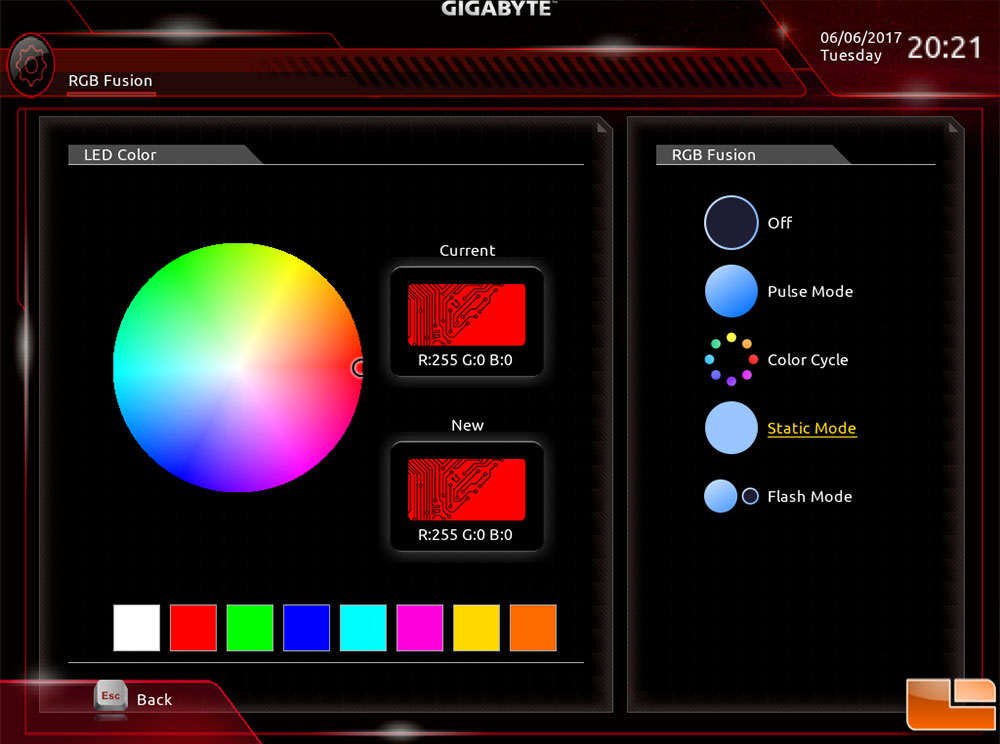
The RGB functions on the motherboard can be adjusted either within Windows or in the UEFI with the RGB Fusion tool. The UEFI implementation is much more limited in what you can adjust, but it does provide a nice interface to make some quick adjustments. The color wheel provides a pallet of 16.8 million colors, which can be assigned to a specific mode.

The other UEFI mode is the Easy Mode, here you can’t do the fine tuning like you can within the Advanced / Classic mode, but for the average user, you can adjust a lot of the key features. The memory XMP setting can be selected, booth order can be adjusted, and even overclocking can be done with the EZ OC tool.