Corsair Spec-04 Tempered Glass Mid-Tower Case Review
Building a System and Final Thoughts
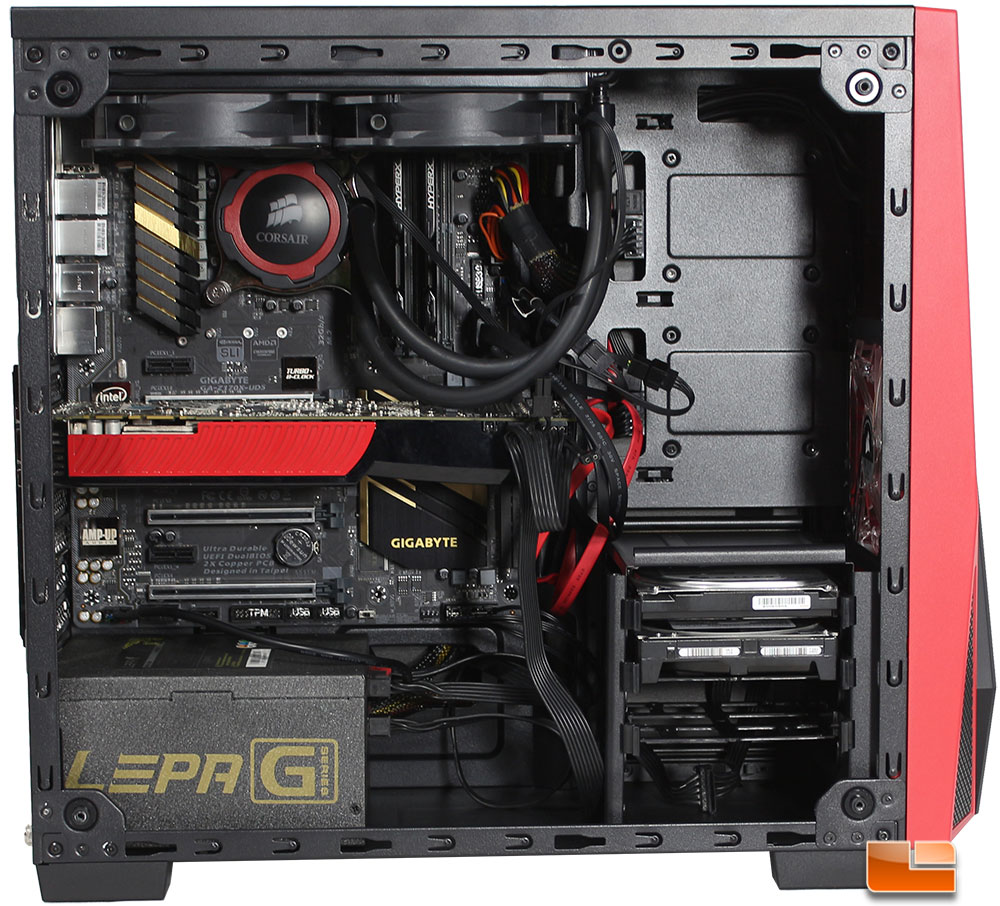
Building the system inside the Spec-04 Tempered Glass went exactly as planned, there were no major surprises with the standard build. The center standoff having the guide stud made installing the motherboard as simple as could be. A few things did catch my attention however. For the 8-pin Auxillary power connector, the motherboard covers up the hole in the tray to route the power cable, the cable was long enough to reach from the cable management hole at the front of the motherboard though. Installing the SSD’s on the back of the tray leaves a fairly large amount of space being under utilized, this would be a good place to install a small 120mm AIO liquid cooler.
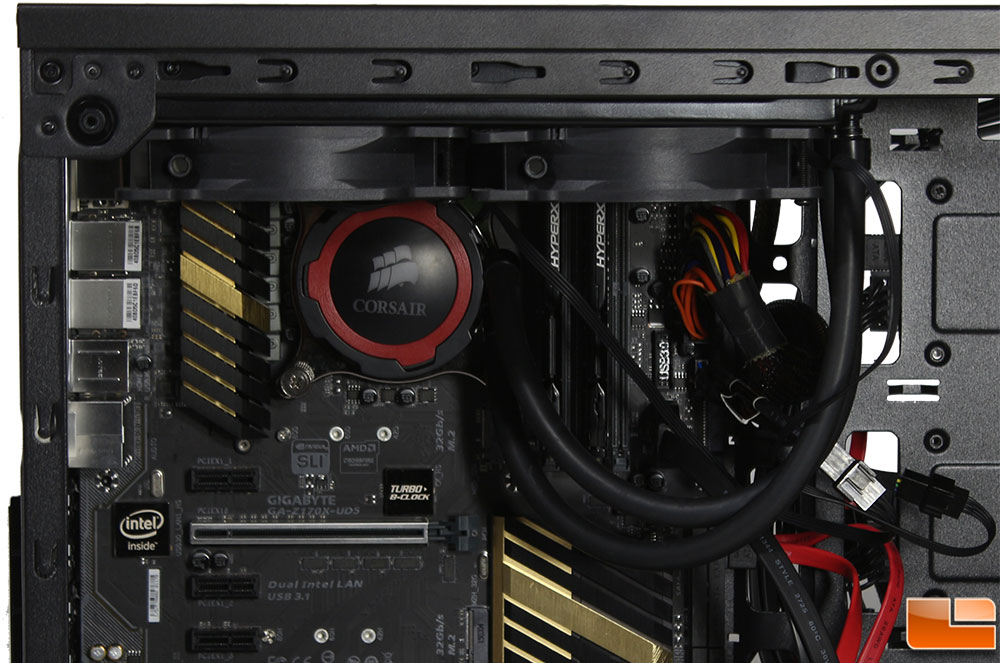
Looking at the case as I was building it, I thought there was not real reason why a 240mm radiator wouldn’t fit at the top of the case. If two 120mm fans will fit, then surely an AIO Liquid cooler would as well. Technically, it does; however there are a few things to be aware of if you decide to do this. First, space is very tight, you will want to plan out your install carefully. For example, if you look at the memory you’ll see that the fans (and actually the radiator) is covering part of the memory. Next, the fans are also covering part of the CPU block. Not to mention some of the motherboard fan headers and other features are covered by the fans and radiator. The downside to this, is if you have to replace the memory or refresh the thermal paste on the CPU, you’ll have to remove some if not all of the AIO Liquid cooler. A 120mm radiator on the back of the case would fit much nicer.
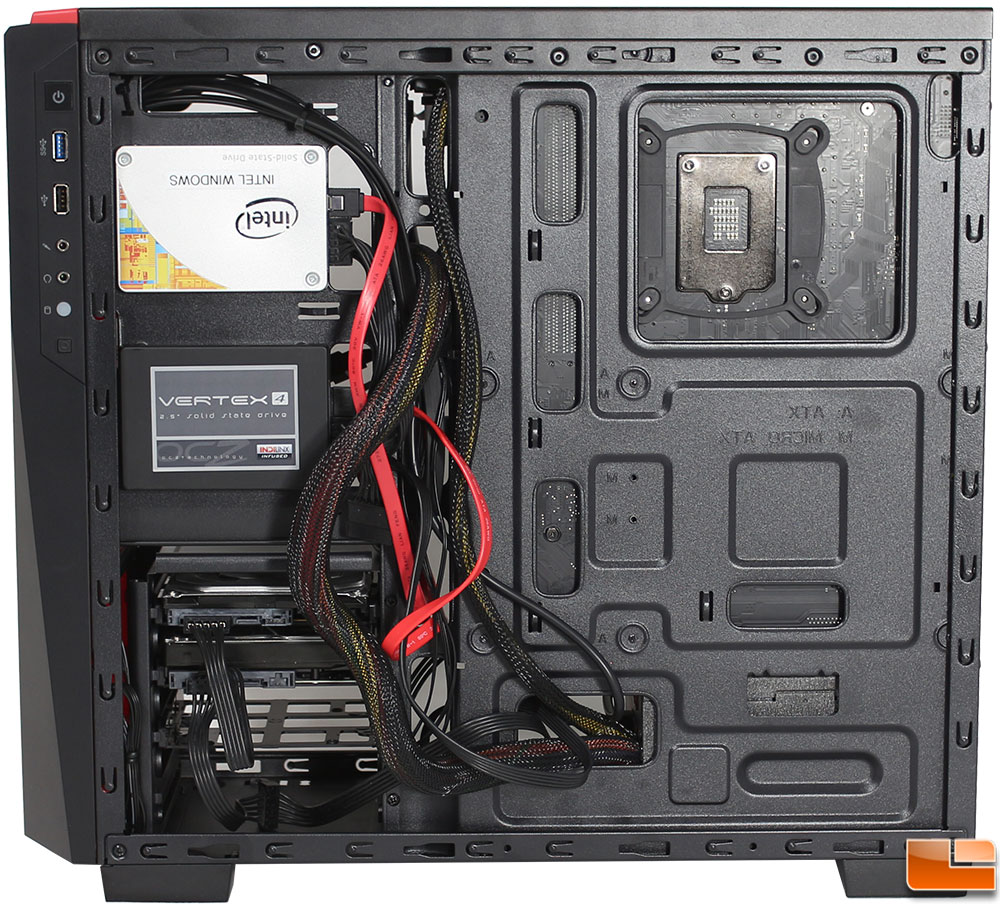
Turning to the back side, as you can see I have done nothing to route cables; for this test build I wanted to let the cables fall where they wanted. Some of the cables could be routed to the tie down locations and make it much neater. However with a solid back panel many people will not be too concerned about the cables. Even with the cables left to hang freely, the back panel was able to slide into place without any issues, thanks to the raised section on the panel. The two SSD’s that were installed on this side are sharing the SATA power cable, and a straight SATA data cable was used; a 90 degree cable would work, but then the cable would immediately come onto the motherboard side. One small issue about the holes in the motherboard tray, specifically for the CPU cooler backplate, I was barely able to squeeze the AIO backplate into place, had it been any larger or thicker it wouldn’t have fit without taking the motherboard off.