Corsair Spec-04 Tempered Glass Mid-Tower Case Review
Corsair Spec-04 Exterior Overview
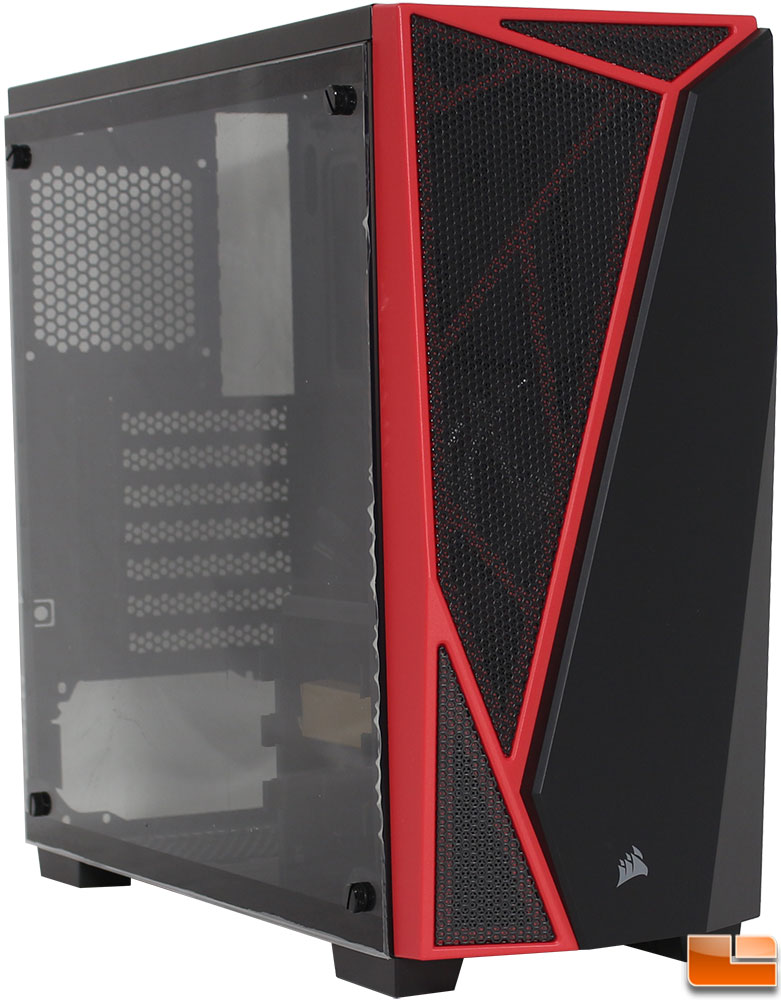
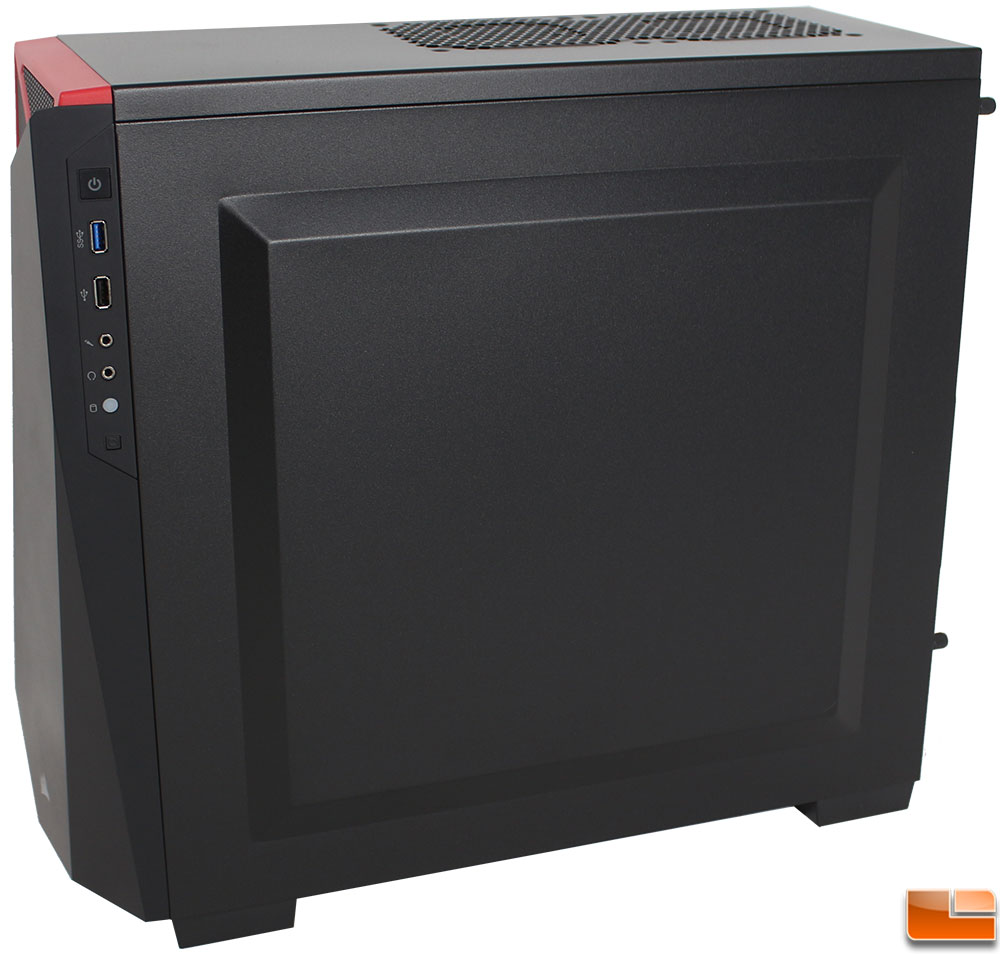
If you have seen the Corsair Spec-04 before, then this will look very familiar. The overall color scheme of the Spec-04 Tempered Glass is black, with red highlights on the front bezel. While the case is meant to be for budget systems, the design and finish on the Spec-04 would meet the expectations of Corsair’s fans. Corsair is well known to build quality products, and the Spec-04 Tempered Glass holds this reputation high. While the original Spec-04 was offered in multiple color schemes, the Tempered Glass edition is only currently available in this black/red color scheme.
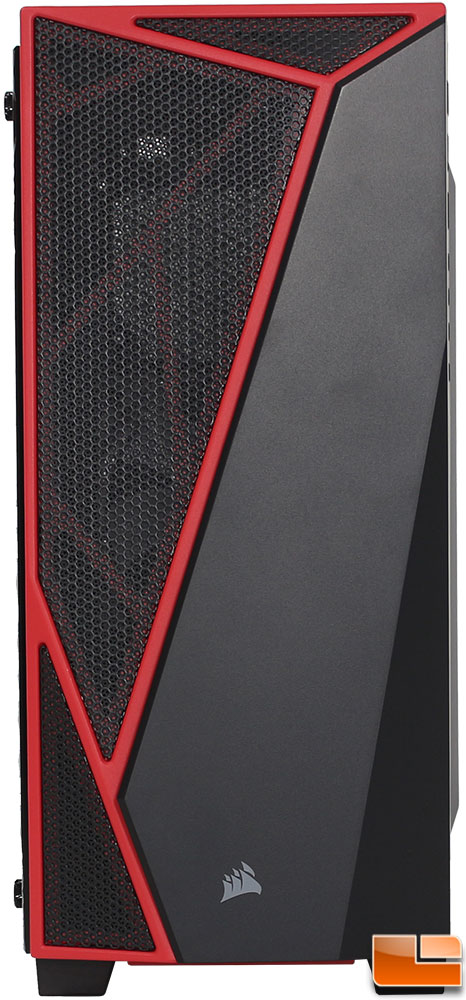
Looking at the front of the case, about half the front cover is vented, while the rest is solid. The vented section allows for air to enter the case with the assistance of case fans. The front has an angular design, with several different angles giving it a unique touch.
Like most cases that have a solid tempered glass side panel, the panel on the Spec-04 is held in place with four thumbscrews in the corners. To protect it during shipment, there is a layer of plastic on it that has not been removed yet.
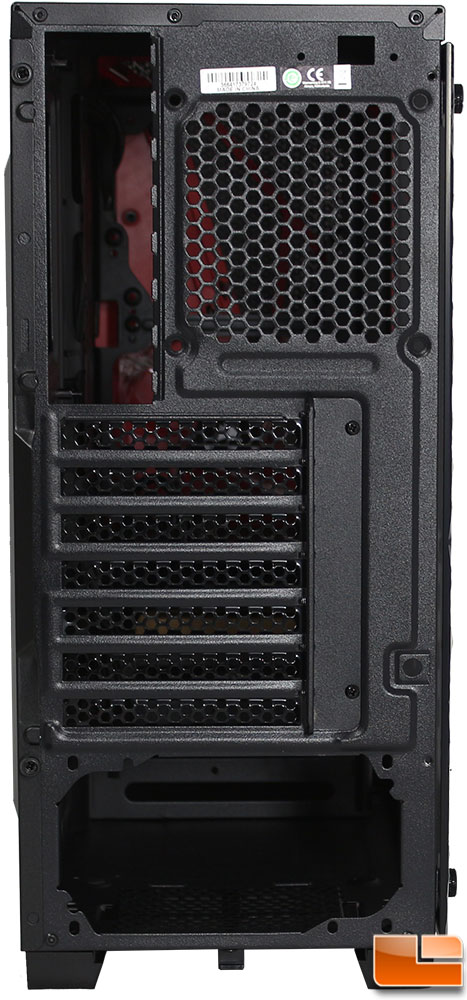
The back panel of the case doesn’t have any features that jump out at me. We find the usual suspects, starting at the top there is a rear exhaust for a 120mm fan (not included), and the motherboard I/O key. In the middle of the case is the seven expansion port covers which are vented for airflow. These are secured to the case on the outside, and to help keep them secure, there is a simple bracket that is held in place with two additional screws. At the very bottom is the standard power supply cutout.

Bottom mounted power supply typically has the fan on the bottom to take in fresh air, as such a filter is necessary to keep it clean and operating correctly. The Spec-04 has a rear removable filter whieh will make it easier to keep clean.
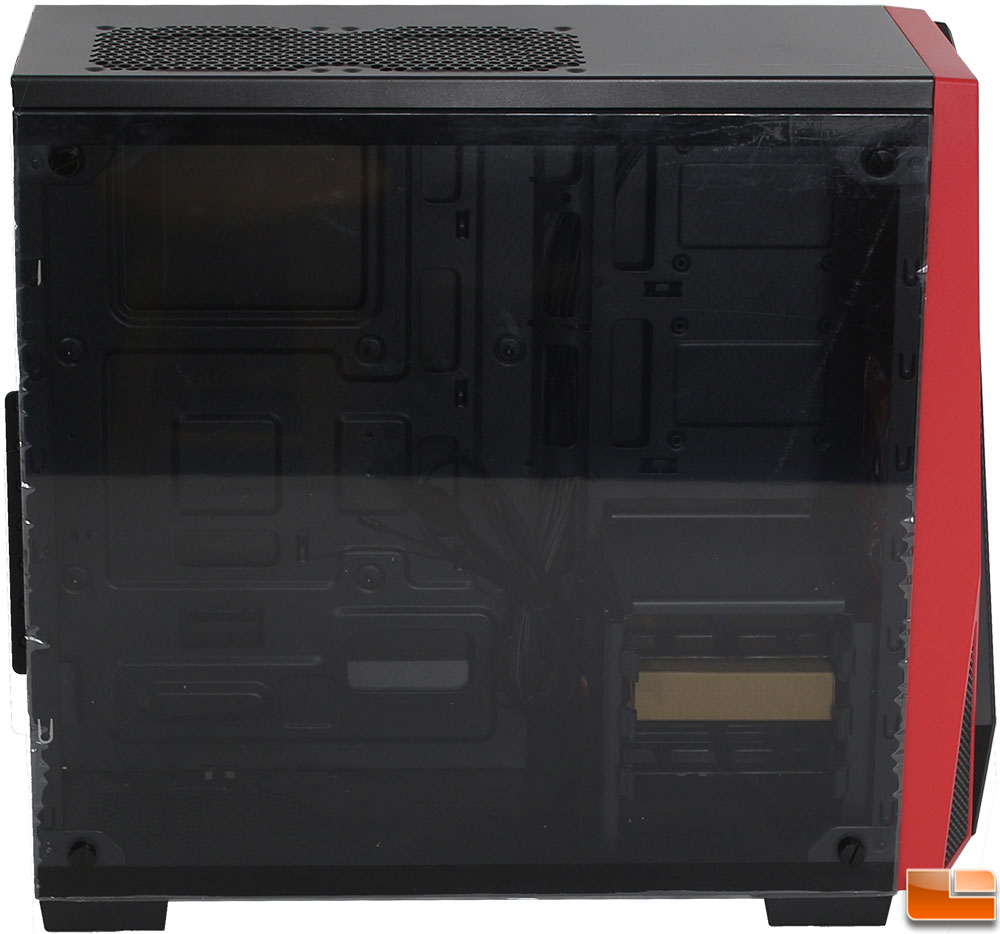
Usually back side panels are just a plain sheet of metal, Corsair has opted to provide a raised area on this side of the case. It’s a nice change from plain, flat, boring side panels. Plus it does provide an added benefit of making more space inside the case for cable management.
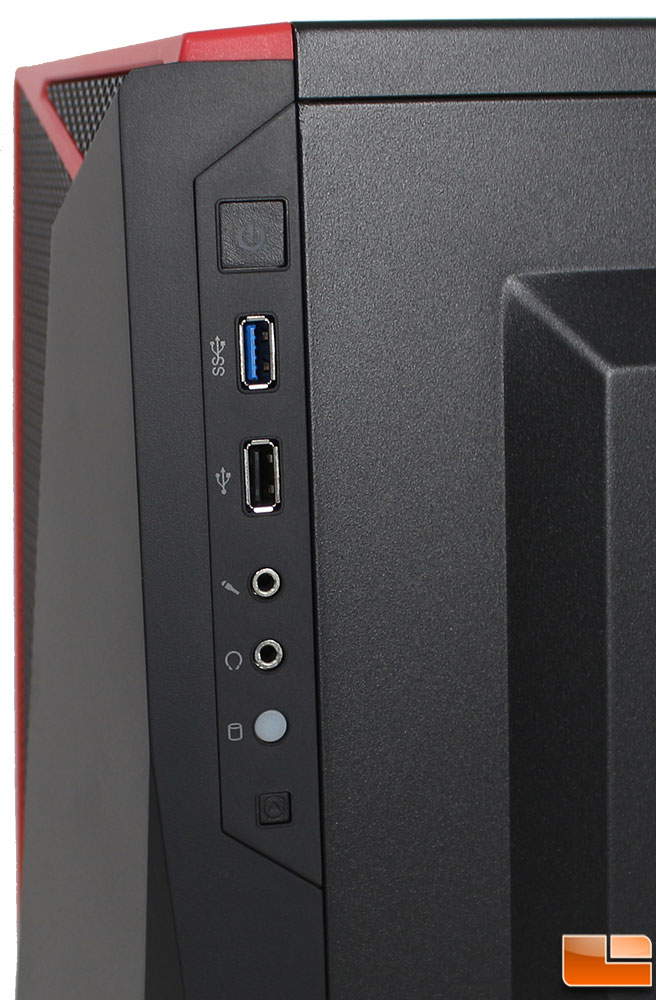
The front I/O cluster is commonly found on the top of the case, or the front panel. For the Spec-04, Corsair has moved it to the back side panel on the right side. It includes the standard items, power button, 1x SuperSpeed USB 3.1 Gen 1, USB 2.0, Microphone, Headphone, HDD activity indicator, and a reset button. While Corsair did include two USB ports, I always find it odd when companies provide one USB 3.1 Gen 1 port, when the internal header is always designed to support two ports.
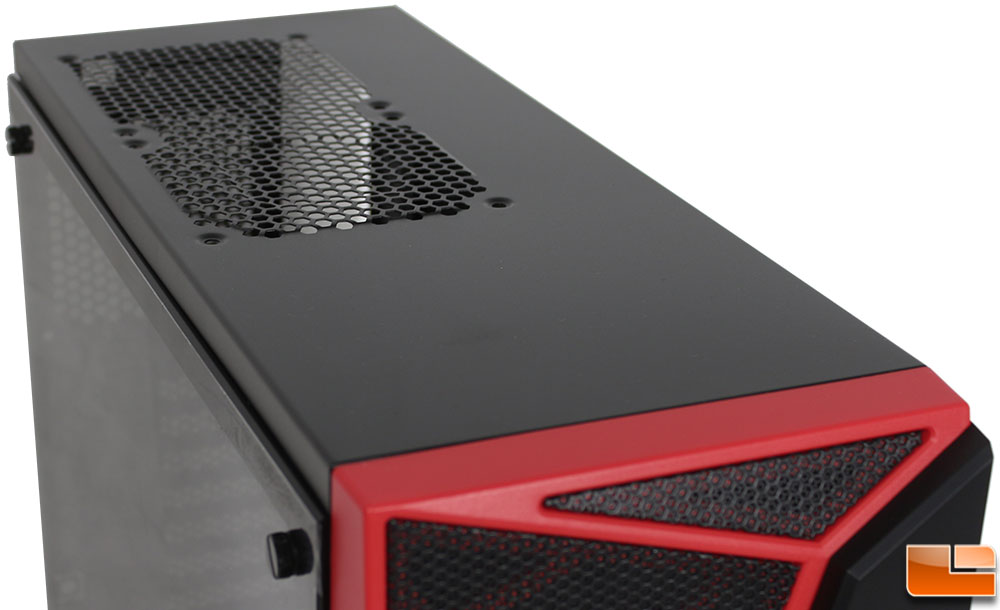
The top panel of the case is partially solid; towards the back of the case there are vents to install two 120mm fans. There is no filter installed, so if you want to install fans here, it is best that they be exhaust fans, perhaps on an AIO Liquid Cooler.
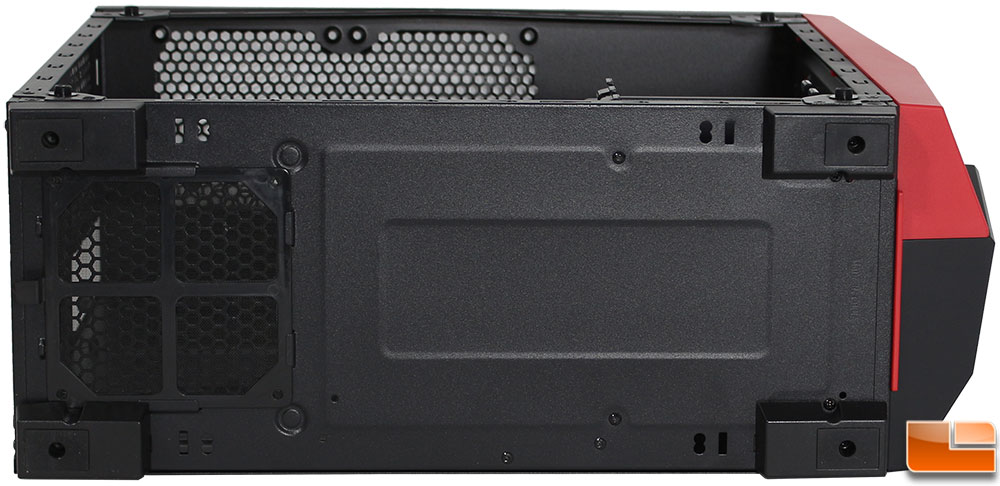
Nothing too exciting to see on the bottom panel, we already knew there was a power supply intake filter. The four feet have little rubber pads to help keep it from sliding around on some surfaces, and the feet raise the case off the surface close to 3/4 of an inch. The front panel, we see there is no opening on the bottom, meaning that the front of the case is the only way for the front intake fans to get air, which is required to go through the filter.
Let’s move on and remove the side panels to get a good look at the interior.