Corsair Spec-04 Tempered Glass Mid-Tower Case Review
Corsair Spec-04 Internal Review
The Tempered Glass side panel is removed with four thumbscrews; the mounts for the tempered glass panel are rubber coated to both protect the tempered glass and reduce vibration noise. Once the thumbscrews are removed we can poke around at the interior of the Spec-04.
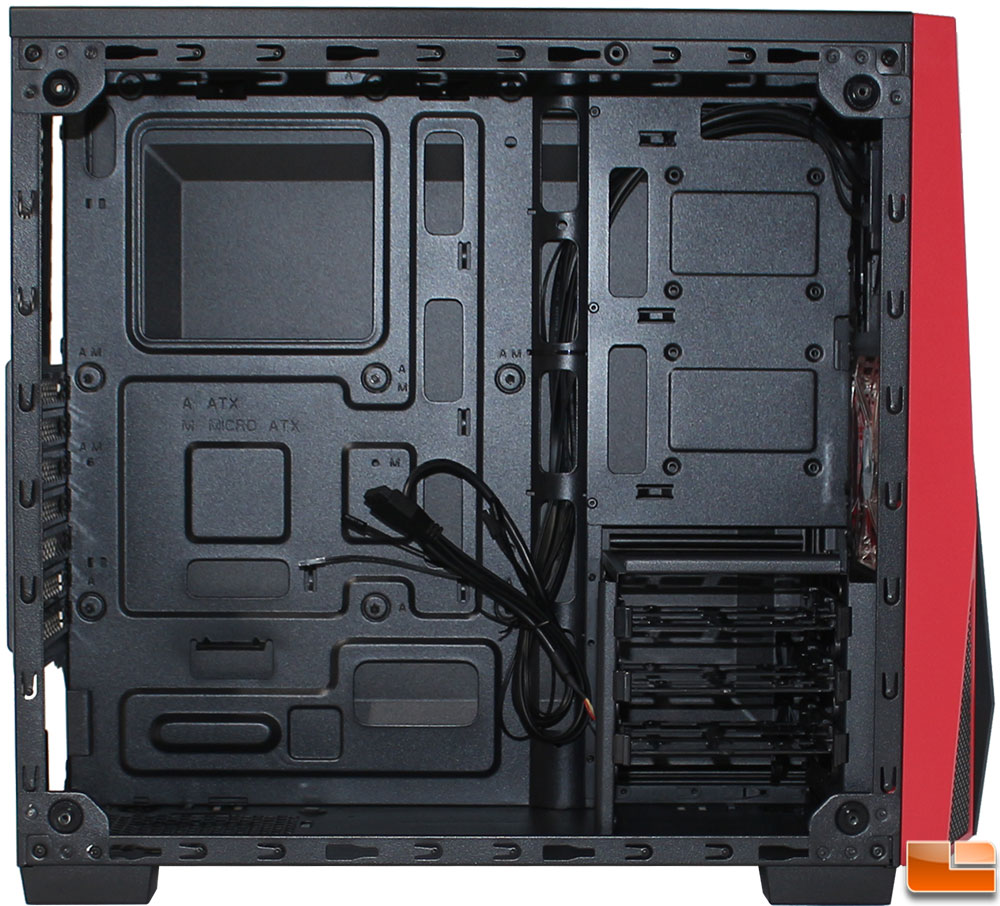
A large portion of the case is empty, with only the 3.5″ drive cage in the lower front. Looking at the motherboard tray, we can see that there is a slight raised section at the front, that allows for some additional room behind the tray, but also lets the main cable management holes to have a slightly angular design. Speaking of the cable management holes, Corsair has made sure there are plenty no matter which size of motherboard you select; in fact there are fourteen holes to route your cables through. The motherboard tray itself has the motherboard standoffs preinstalled, and the holes are marked depending on the size of motherboard you are using (ATX or mATX). In addition, Corsair has pre-installed the motherboard standoffs, which includes one that acts as a guide in the middle.
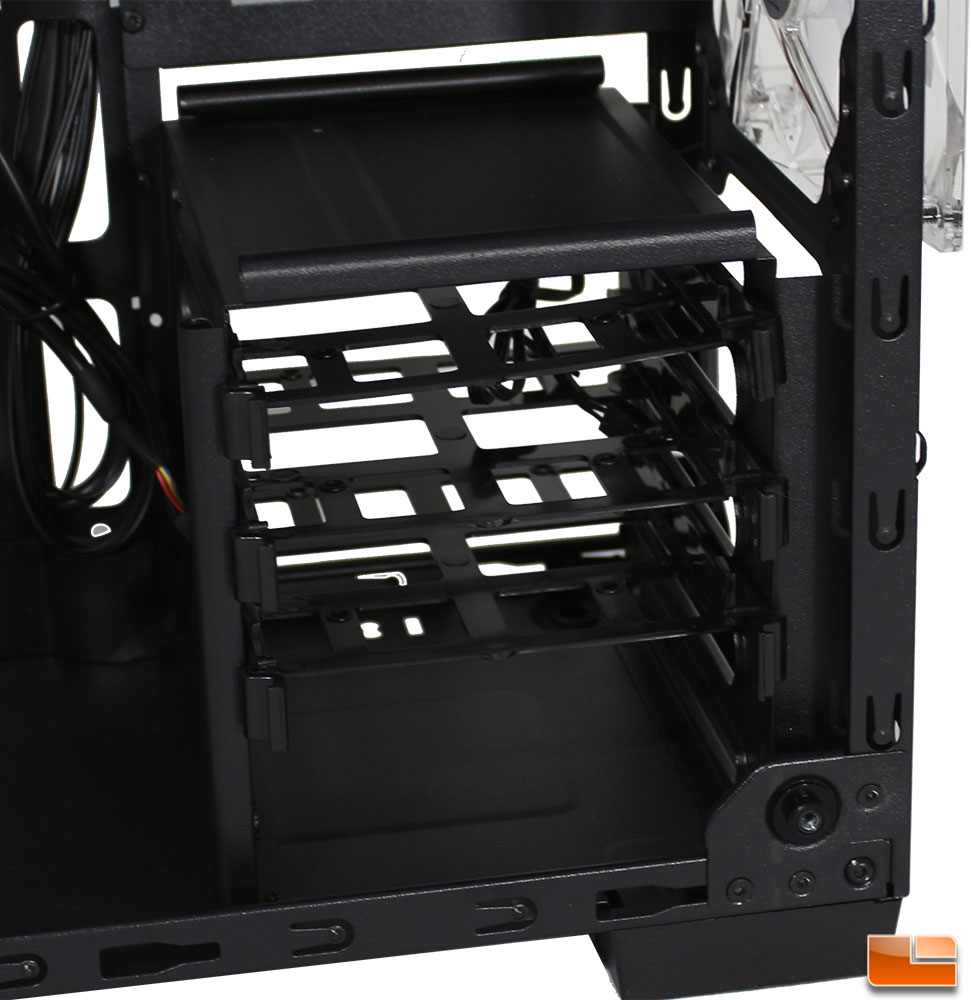
The front 3.5″ drive cage holds up to three 2.5″ or 3.5″ drives. It uses a tried and true 3.5″ drive tray to secure the drives to the cage. The bottom tray is raised up, which provides some space beneath the cage for cables or airflow.
If you do not have need of the drive cage, and prefer to not have it in the case you can remove it. There are six screws holding in front drive cage (4 on bottom, 2 on back), remove these screws and the cage comes right out. With the drive cage out, there is now room for at least a 2×140 AIO radiator, possibly even able to fit a 3×120 radiator (although the cables at the top might be a little tight. Of course now you loose the capability of using 3.5″ hard drives.
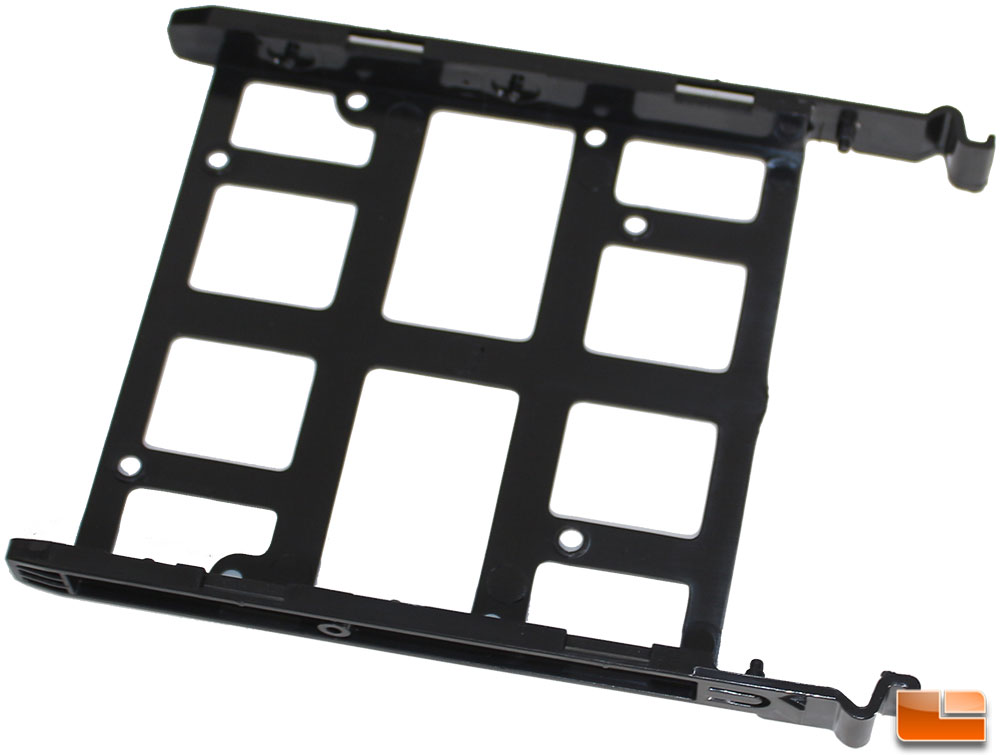
The 3.5″ drive trays are a very familiar design, it has been used for many years and is well known to be easy to use. One small change I noticed here is that there are three pegs on the side for the 3.5″ hard drive holes, usually there are only two. If you want to install 2.5″ drives on the tray, there are four screw holes on the tray to secure your 2.5″ drive to the tray.

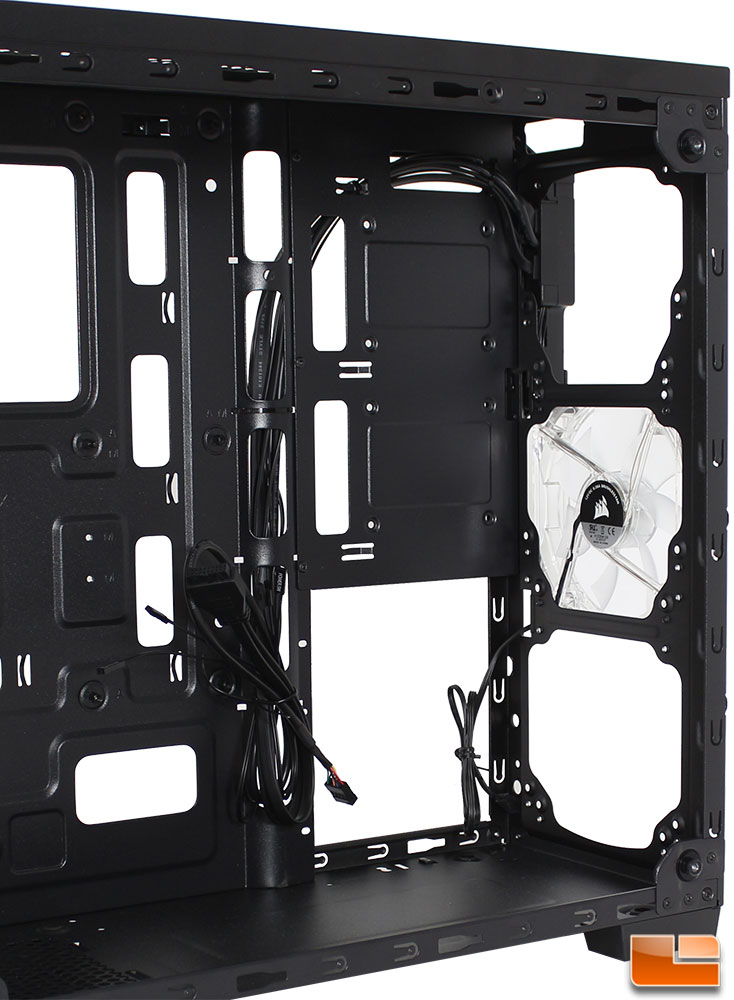
Turning our attention to the back of the motherboard tray, we get another view of the cable management holes. Between the main area of the motherboard tray and the back panel, there isn’t a lot of room for cables about 1/4 inch. The front section there is a little more room as the area is raised from the motherboard tray. It will be interesting to see how easily you can route the cables. To secure the cables, Corsair has cut our fourteen cable tie locations, this should be plenty to route the cables and keep them secured.
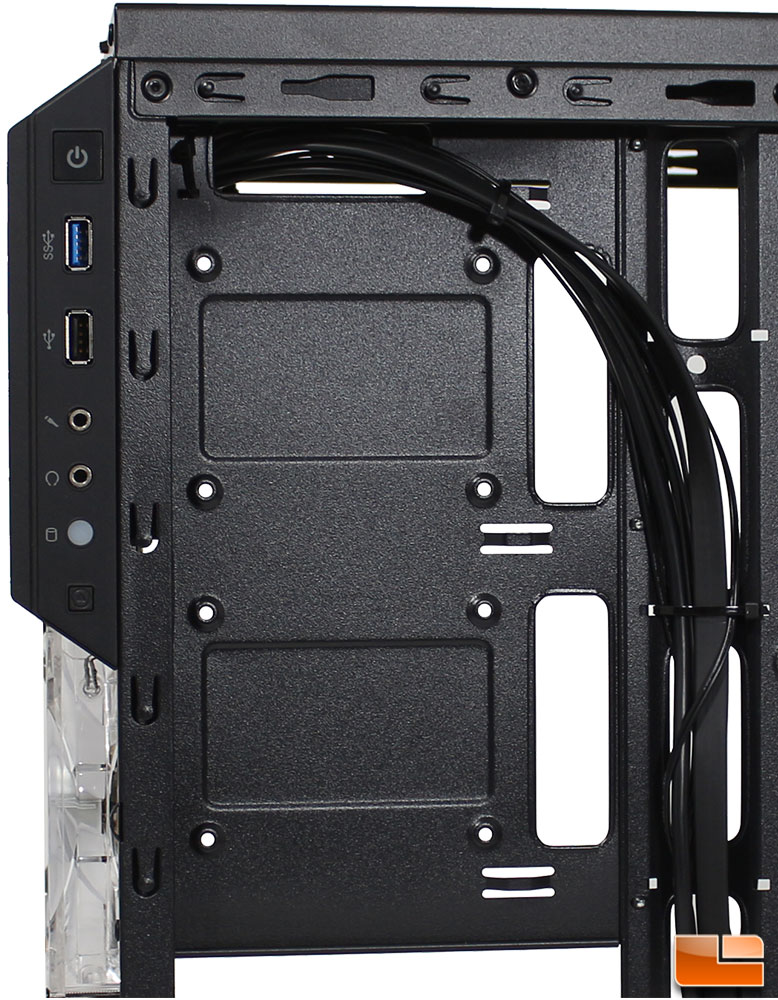
If you install your drives in the drive cage, then you might not need to use the two additional 2.5″ drive install locations on the back of the motherboard tray. Here you can install your 2.5″ drives with the connections facing the cable management holes, making cables easier to connect. With the drive tray and these two spots, you can install up to five drives of various sizes.
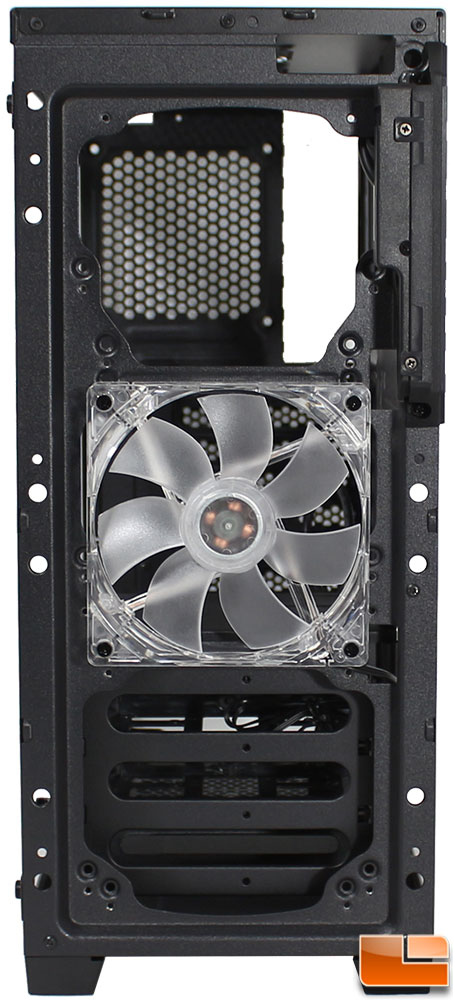
The front cover removes from the case with a little difficulty, it is held in place with clips on the inside of the case. Typically you can pull the cover and the push clips will release. While you do the same for the Spec-04, there is a little handle at the bottom of the front cover, and is fairly flush with the case making it a little difficult, but not impossible. With the cover removed we find the single front intake fan. There is space below and above to install additional intake 120mm fans. This is where those four long fan screws will come in handy; keep in mind that Corsair provided four long fan screws, and to install two additional 120mm fans you’ll need a total of eight long fan screws.
Now that we know the potential of the Corsair Spec-04 Tempered Glass, let’s build a system and see how it comes together.