Corsair Obsidian 750D Full Tower Case Review
Hardware Installation Inside The Obsidian 750D
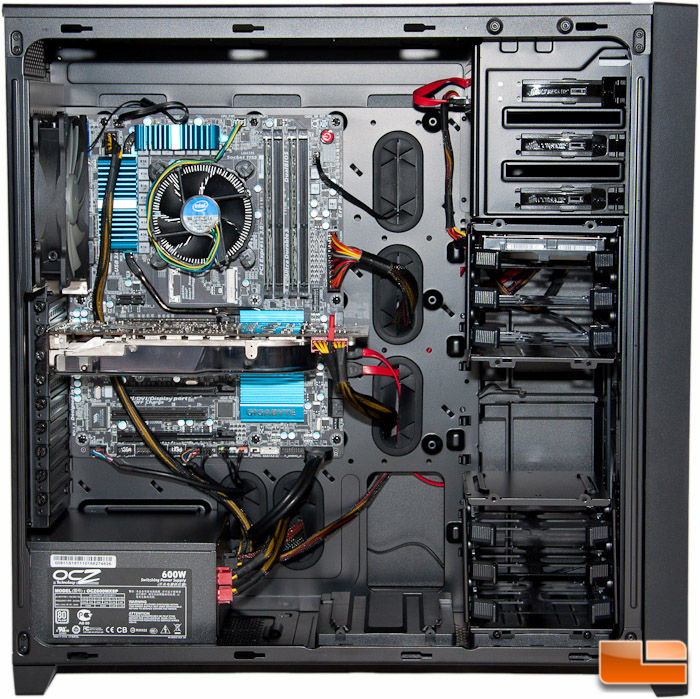
Ive always been a huge fan of large cases like Corsairs 750D, so Im happy to see all of the room inside. Im going to take a look and see how easy installing a common basic setup is with this case. The hardware used is pretty basic, so Im going to see if there are any flaws that a common user may run into when installing inside this case. Take it like someone just wanted a case upgrade for future build out and wanted to drop their current hardware inside.
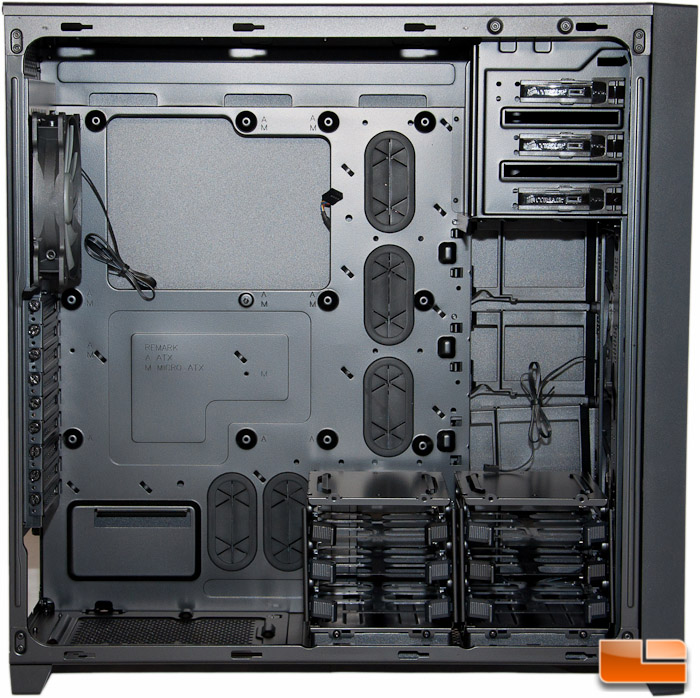
So this is what the clean slate looks like. There appears to be a ton of room to work with here, so lets drop our ATX motherboard inside.
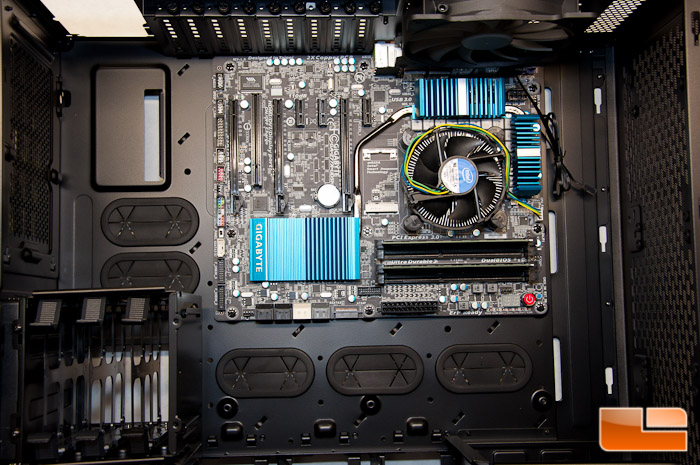
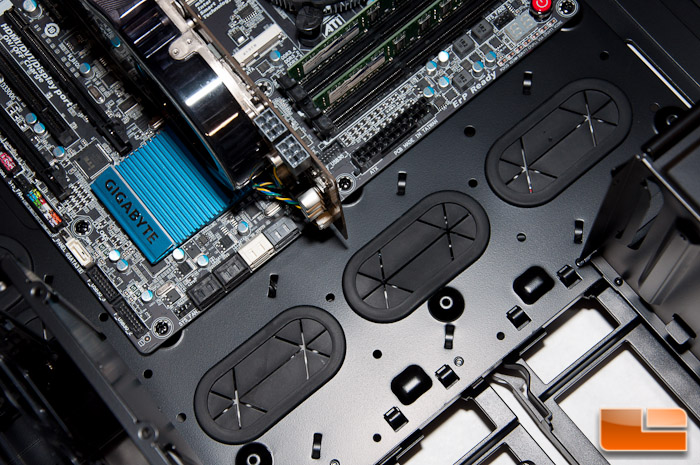
I was a huge fan of the guide pin and the molded in standoffs for the motherboard. This made installation a breeze. I was even very happy to see the enormous amounts of space inside to make component installation and cable routing extremely easy.
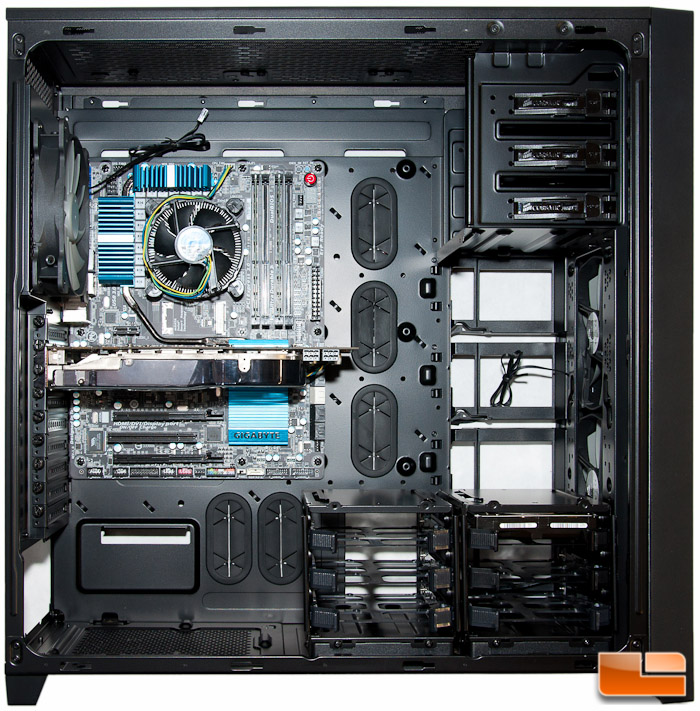
Once I dropped my video card in, which measures approximately 275mm, which is right in the ballpark of current generation cards. There was more than enough room to drop a much larger card in here, and even more if you were to ensure one of the HDD cages wasnt in the way.
In the following picture, I was thinking about keeping the HDD cages in their default location, but in the end I ended up moving them. I decided Id rather keep the amount of power cables used to a minimum by keeping my single HDD close to the ODD.
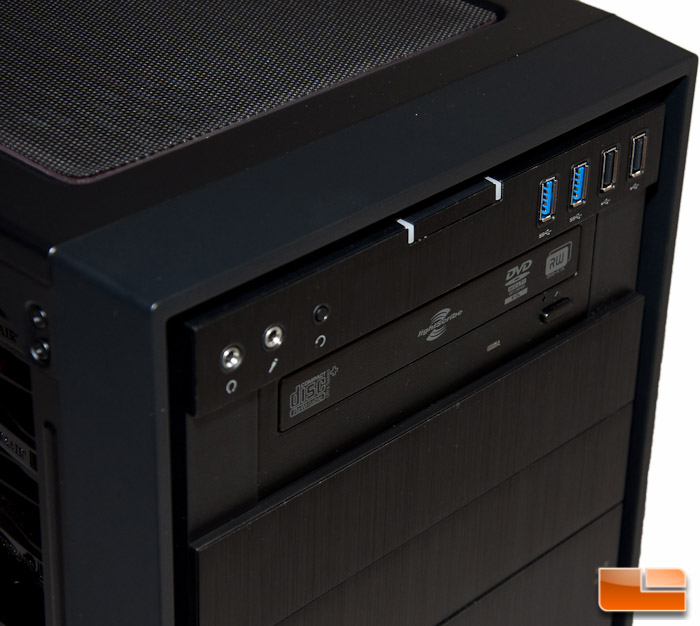
Installing my ODD was a snap with the tool-less option that Corsair has in place here. The only thing that looked odd is how the ODD sits against the face. The filler helps keep everything even and flush, but once removed, you end up having a gap here. It looks funny, but it isnt hurting anyone.
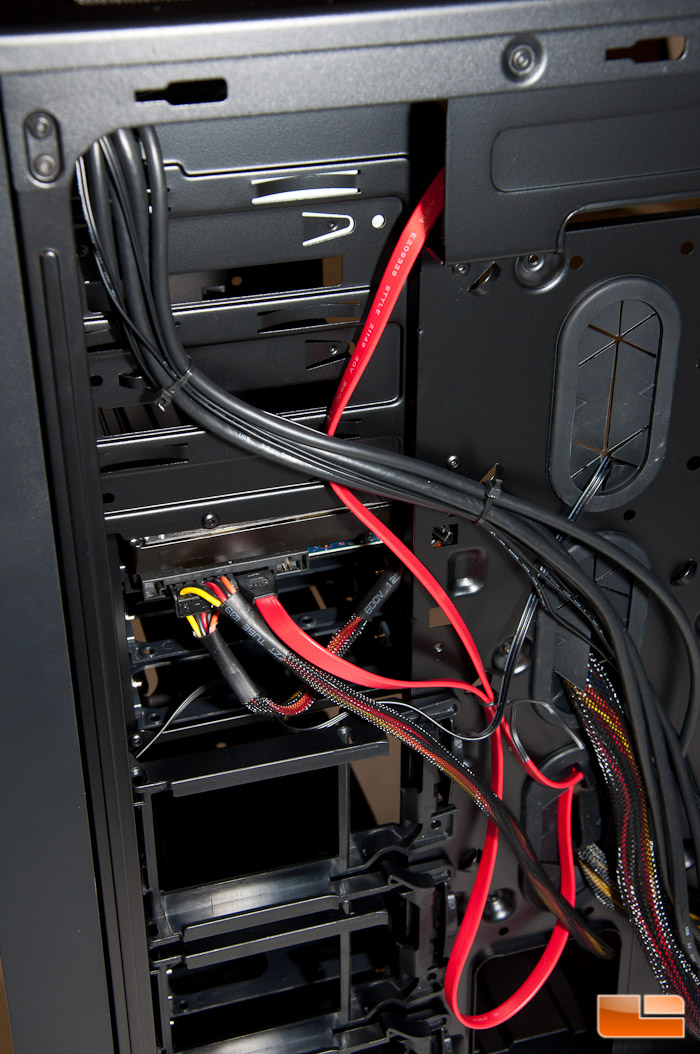
Dropping in the PSU and routing my cables was very easy with the amount of room inside, plus the wire pass-thru holes that were strategically placed.
On the back side of the HDD, I ended up having to remove one of the SSD cages to make my connections possible. The power and SATA cables both stuck out too far to keep this cage in place. A 90 degree SATA cable would have only helped a bit, but then you have the power cable to contend with. Its a minor flaw in my eyes.
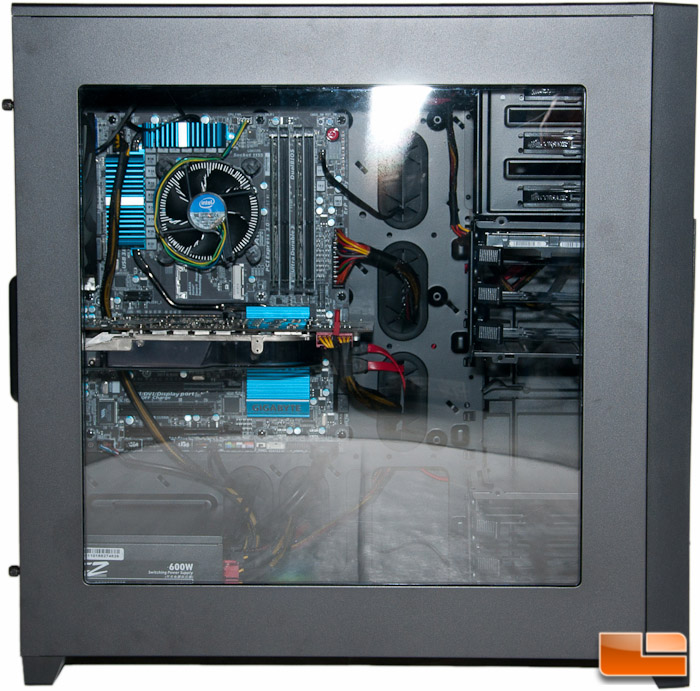
Putting the side panels back in place is pretty easy. They have a tongue and groove point that is at the front of the case and the rear screws on with thumb screws. One thing that I noticed thats strange here is the top and bottom dont latch at all, rather they sit freely. Thats kind of a cheap way to do it.
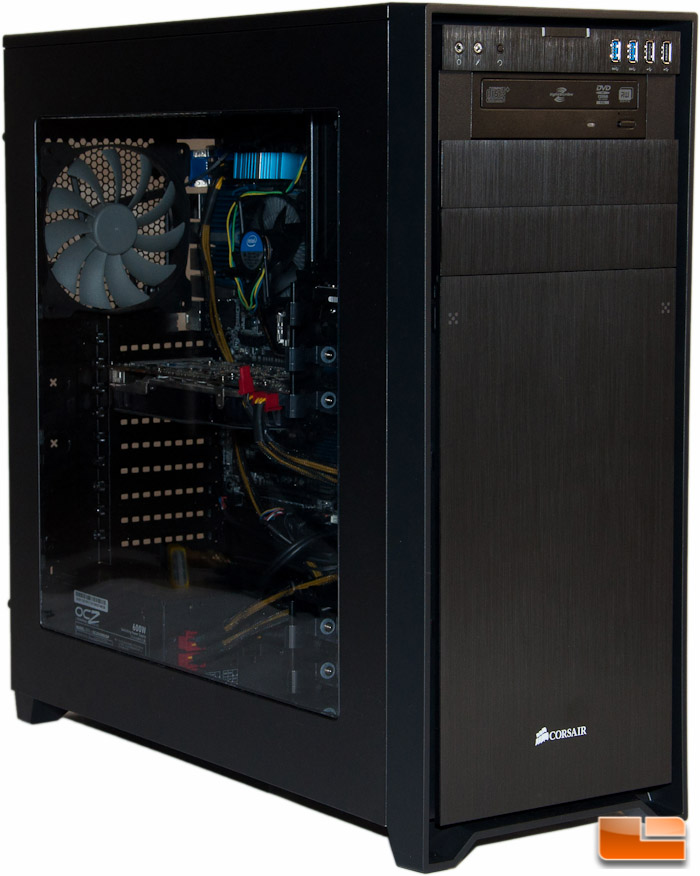
Showcasing your hardware inside was definitely made nice with the large side window.
Firing up the system the fans are fairly quiet. The power button is lit up with a white LED, though I couldnt get it to capture in my pictures.
This wraps up the bulk of the Corsair Obsidian 750D review, so lets get some final words in and conclude this review.