Corsair Obsidian 750D Full Tower Case Review
Obsidian 750D Exterior Impressions
Ripping off the protective plastic on the front and side window, we can now see the true beauty of this case. The Obsidian 750D is a very simplistic and elegant design, while trying to make everything functional.
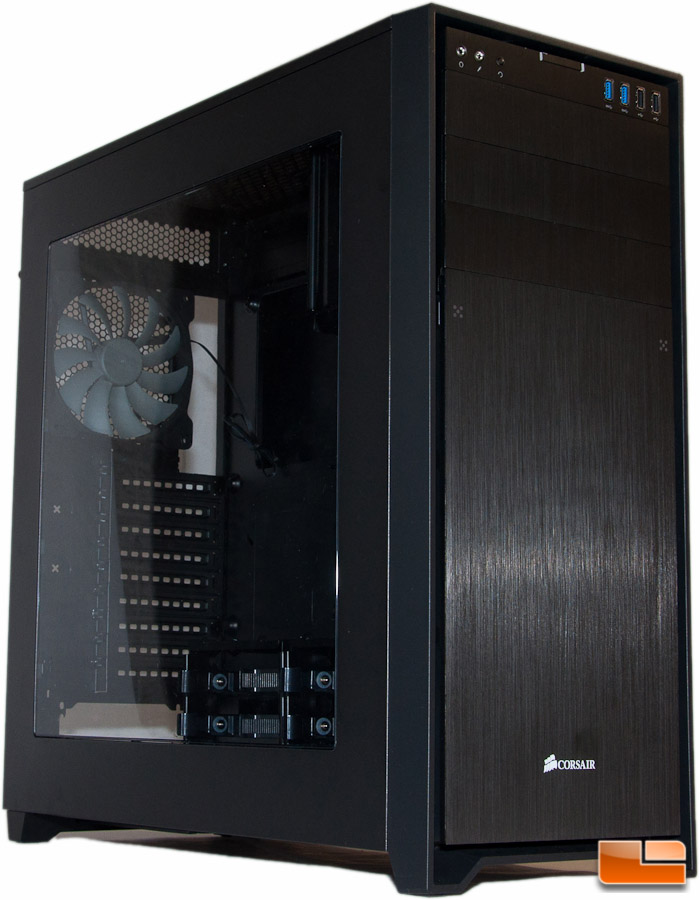
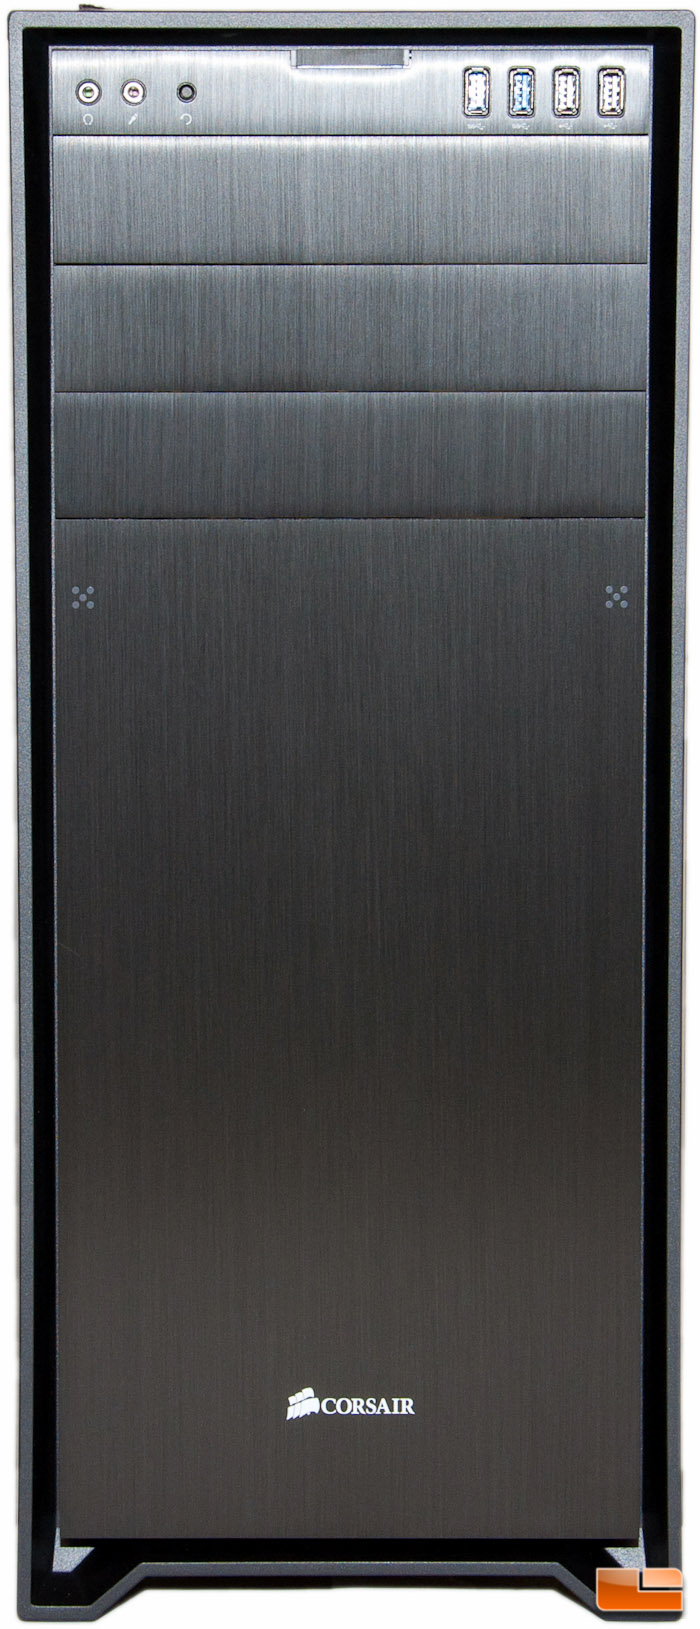
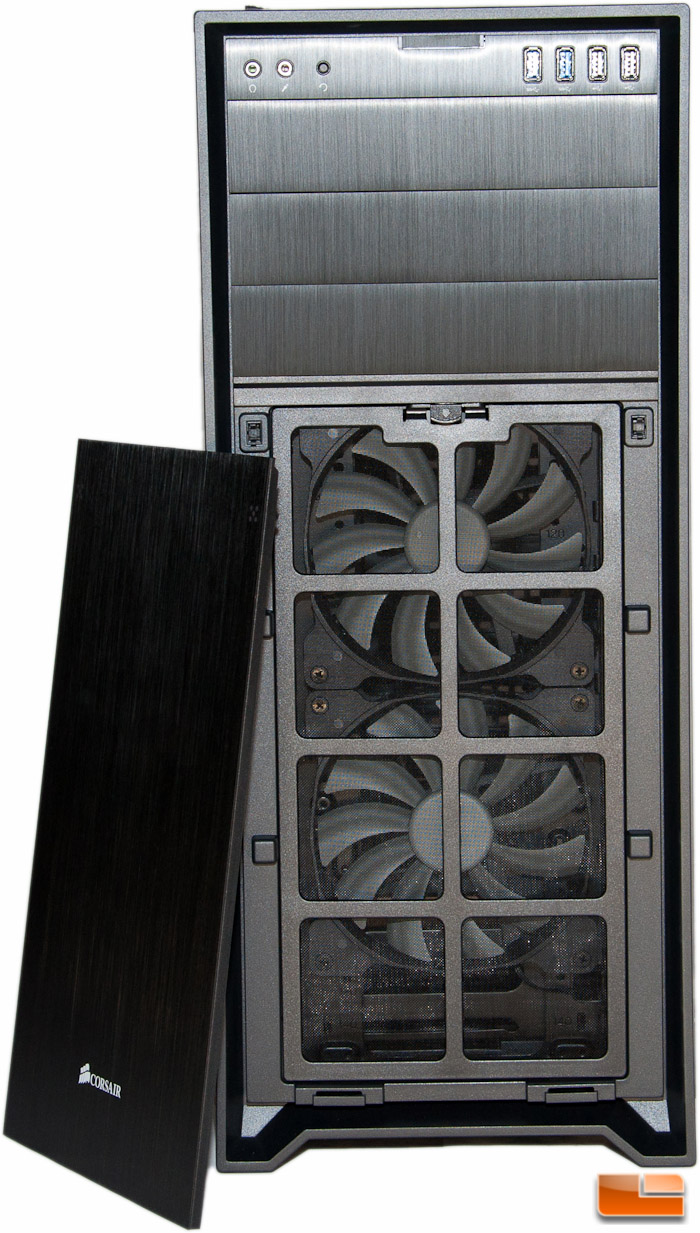
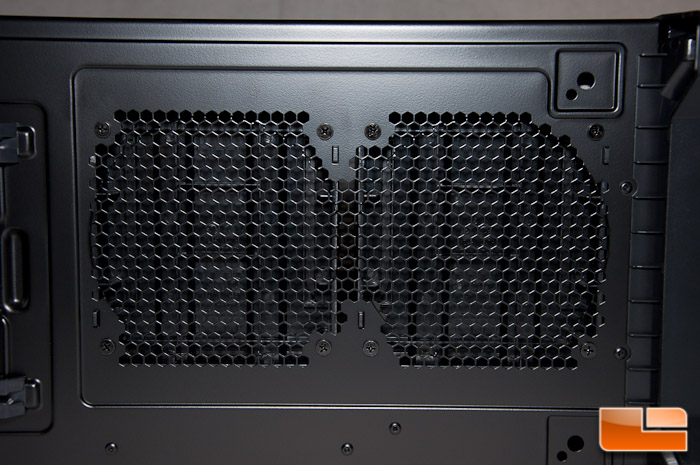
Starting off with the front of the case is where you find the gorgeous brushed aluminum panels. At the very top is the front I/O panel. The 5.25 bay fillers feature this look, and below that is a large panel that bumps out and reveals two 140mm intake fans. There is plenty of room on the side of the brushed aluminum to pull in air. Its a nice and well thought out gap that doesnt detract from the look of the case.
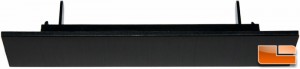
Here is a shot of the 5.25″ bay filler itself, so you understand how it is held into place.
Taking a closer look at the I/O panel, and moving left to right, the 750D has a headphone and microphone jack, reset button, power button, 2x USB 3.0 ports, and 2x USB 2.0 ports. With the reset button, youll notice that it is very small, and it is actually flush with the panel. This feels like a horrible design flaw should you need to hit it. I end up having to try and get my finger positioned just right to hit it.
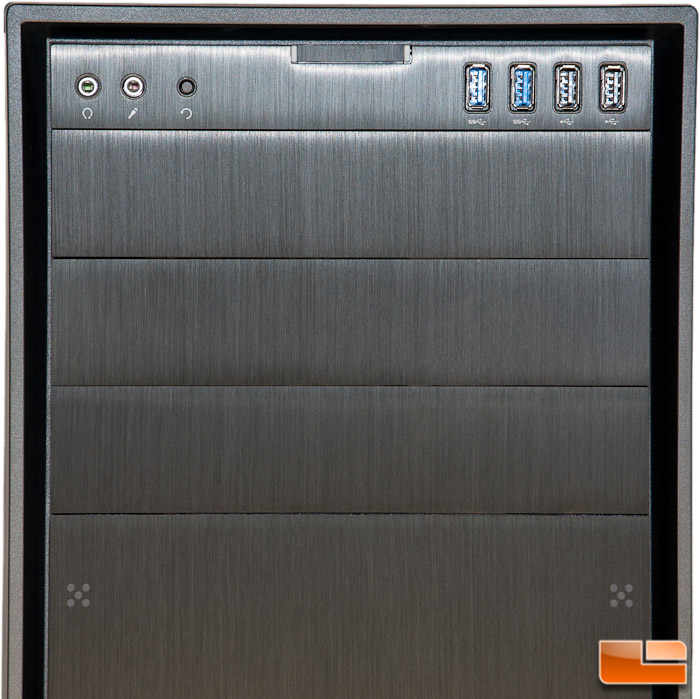
The cover that hides two fans behind is it very easy to remove. There are two points that depicted with 5 dots, just like a 5 on dice. You can see these on the bottom of the above picture.
Gently press these and you can fully remove the cover.
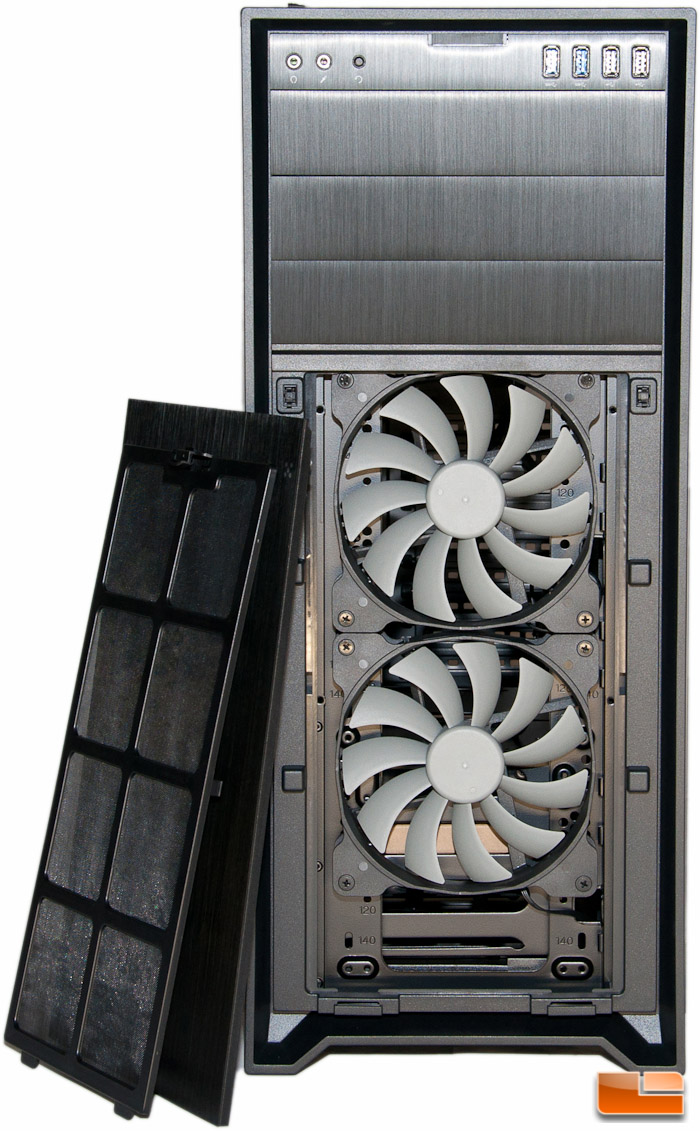
Behind that cover is also an easily removed filter for your fans. Just pull down on the top of it and it comes out.
Jumping over to the left side of the case is where we have a nice squared off window. This Plexiglas window is plenty large enough to showcase your hardware inside, so make sure you button up the interior and not make it look like a disaster! You can also notice on the left side the side panel has a nice grip point, making removal easy.
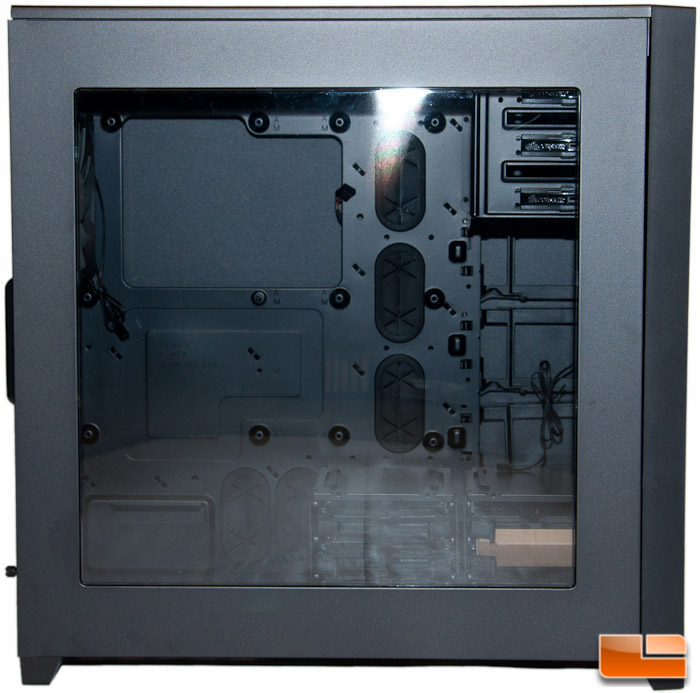
If youre looking closely enough at the above picture, you will notice that there is a thumb screw missing for removing the side panel (at the top). I later found this screw inside the case, wedged in one of the SSD trays.
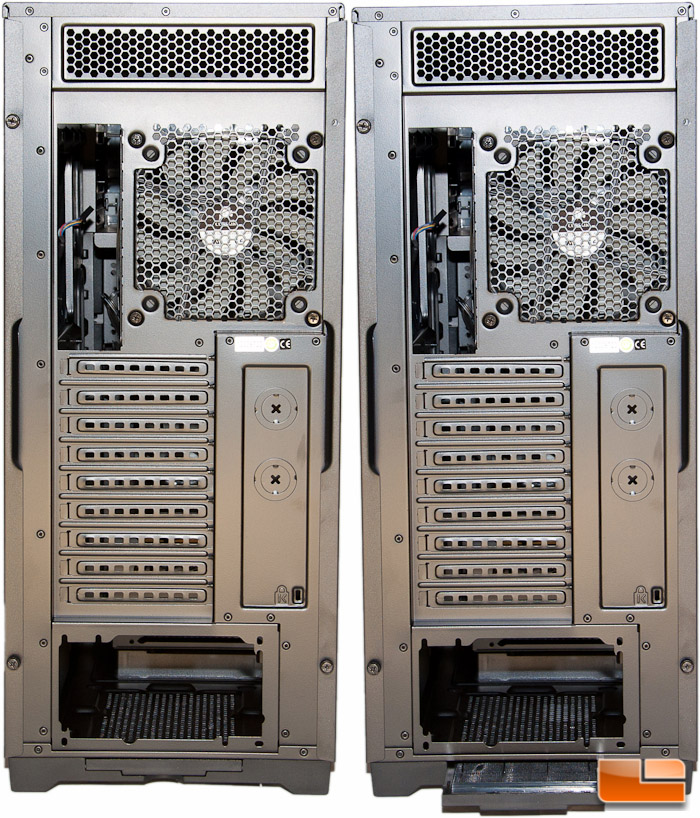
Moving to the rear of the case, there is room for nine expansion slots. This means that Tri-SLI or Crossfire will be easy to accomplish inside this case. There is room for external water cooling, though these are holes you have to poke out metal fillers. With so many internal sealed kits on the market, plus room for a 360mm radiator, I dont think youll find a need to use these. There is a single 140mm exhaust fan visible here and the PSU is a traditional bottom mount.
The bottom filter slides out the rear, which is what Im showing on the right side.
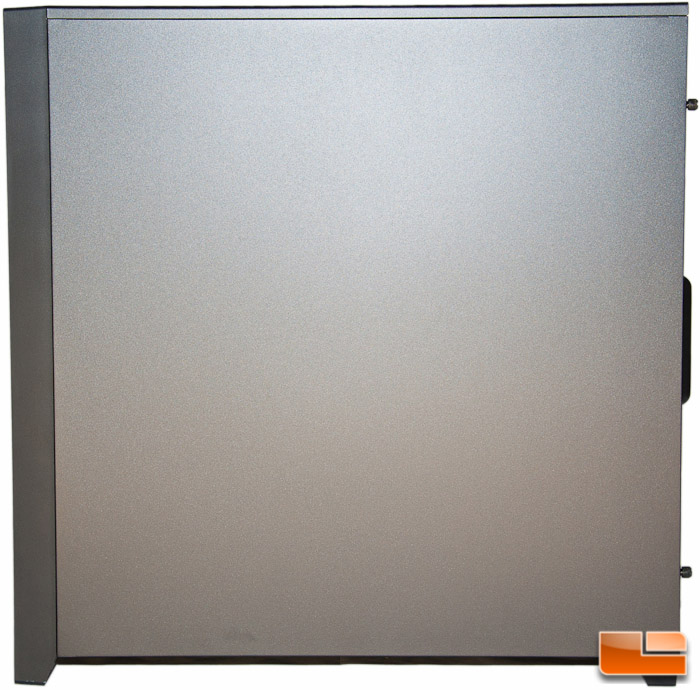
On the right side of the case is a whole lot of nothing. Its just a nice plain side. I must say, the thickness of the steel is a little thinner than Id like to see as the panels can flex a bit.
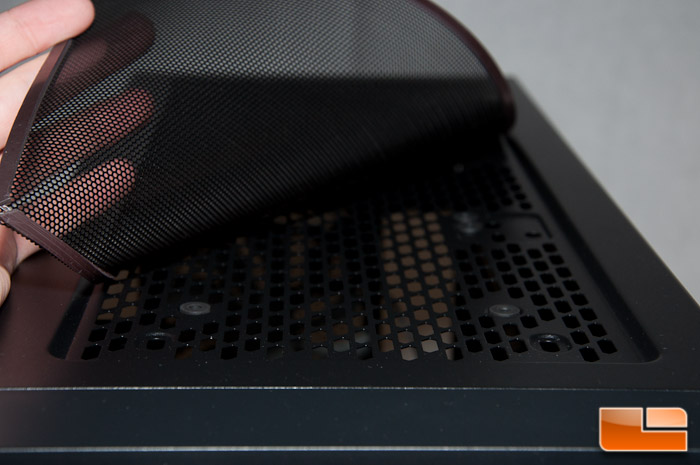
Hopping up top there isnt much to see here either, but this is your first view of the top mount cooling potential. Whats nice up here is the fact that Corsair has this section filtered. This is something you dont find on every case. What I like even more is this filter is magnetic. It is a little tough to remove if you have bigger fingers, so a point to lift it up would have been nice. The edges of the filter are pretty rough, too, but not enough to cut your fingers up. The bottom half of the below picture is with the filter flipped up slightly.

Heres another view of the filter.
Dropping down to the bottom of the case is where a single filter is placed, which will filter the air for your PSU. As you can see in the below picture, this filter pulls out from the rear.
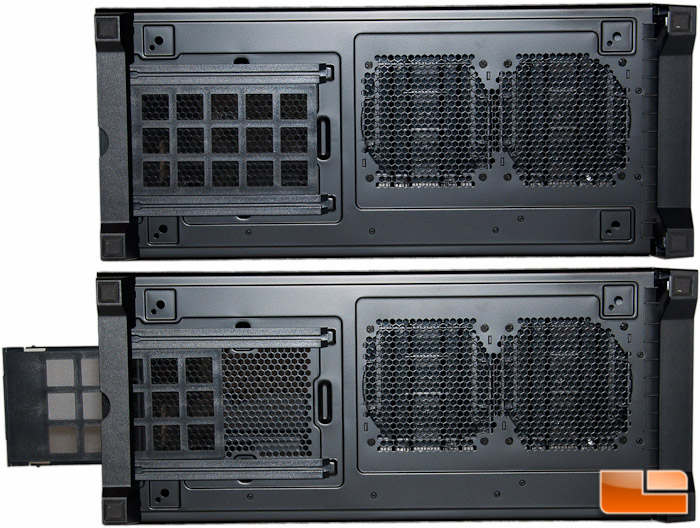
To the right of the filter is where more fans or a radiator could potentially be mounted, inside of course. By default, this is where the hard drive cages are located. You can fully remove them by taking out four screws. Part of me would have liked to see this filtered as well, but at the same token there isnt any active cooling here from the factory. It is notched where it could accept a filter like the top one, but again nothing was included.
That wraps up the exterior of the case. Lets move on and see what the interior has to offer.