Building A Gaming PC For Under $400 With SteamOS
SteamOS Steam Box Assembly Continued
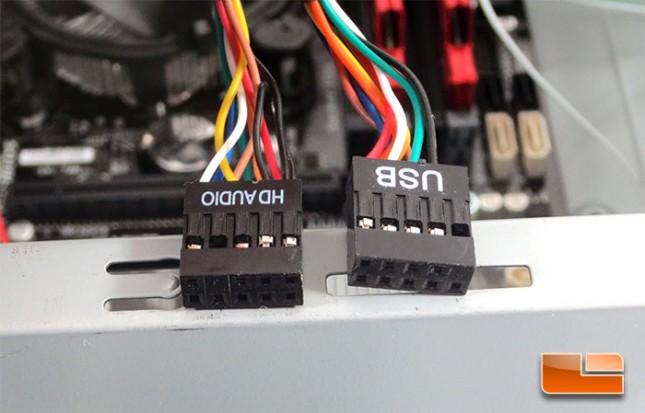
Wiring the system is probably my least favorite part of a system build. Unfortunately it’s a necessary evil! Starting out with the case wiring, the first two cable I grabbed were the front panel audio and USB 2.0. These cables are the easiest to plug in, they each only go one way, it’s just a matter of finding the appropriate header on the GIGABYTE B85M-DS3H.

The remaining wires from the GIGABYTE GZ-F3HEB PC Case are for the HDD LED, Reset Switch, Power Switch, and the Power LED. Each of these get plugged into the front panel header on the motherboard.
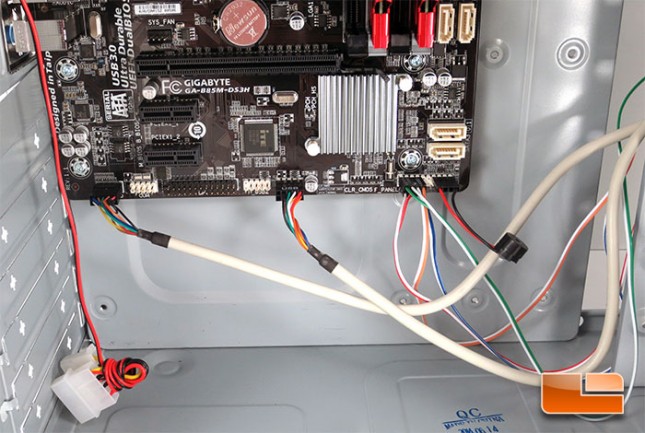
Once all of the wires are plugged in there are only a couple of steps left before I can fire up the system and start playing with the SteamOS.
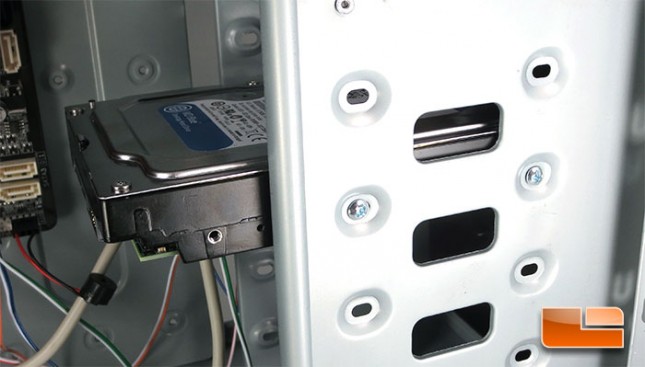
Since we are building a SteamOS gaming rig, storage is going to be paramount. The GIGABYTE GZ-F3HEB PC Case has plenty of spots for 3.5″ hard drives, but I will only need one for the time being. The Western Digital 1TB Blue hard drive mounts into the drive cage with a couple of screws on either side.
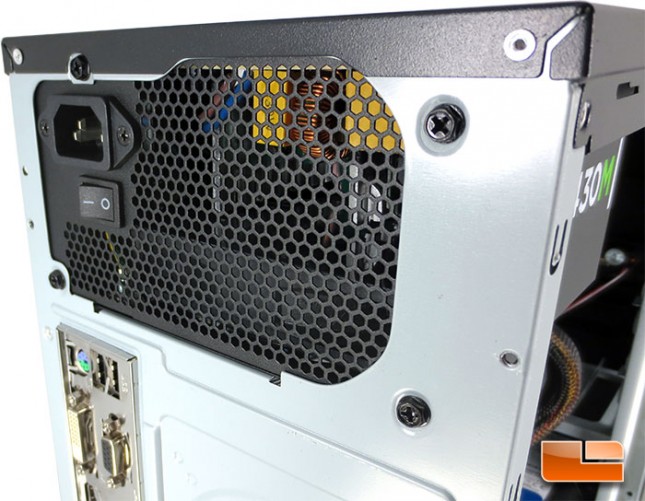
The Corsair CX430M modular power supply simply mounts in the chassis with the four screws provided by Corsair. The GIGABYTE GZ-F3HEB chassis only allows the power supply to be mounted in one direction so make sure you align the screws before putting it in place.
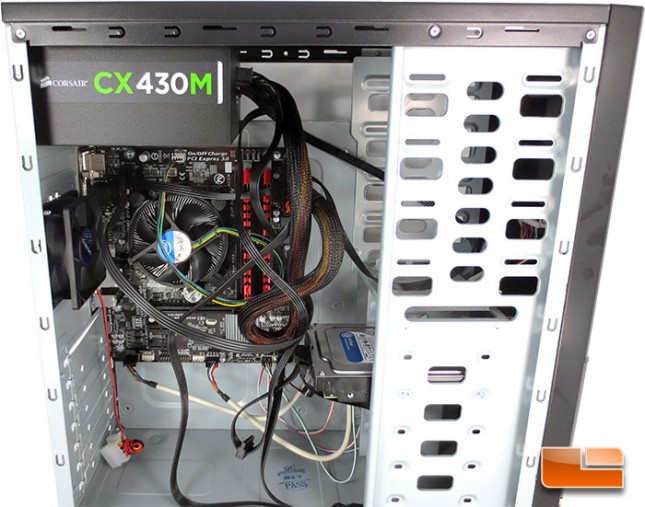
The cables from the Corsair CX430M make the system look like a bit of a rats nest without a little bit of cable management. Now that I’ve seen where the wires need to be routed to, I can finish putting the parts in, though all that’s left is the graphics card. Once all of the parts are installed, I will be able to clean up the wiring a touch, though there isn’t a great deal of wires to deal with since were aren’t using a ton of hardware on this build.
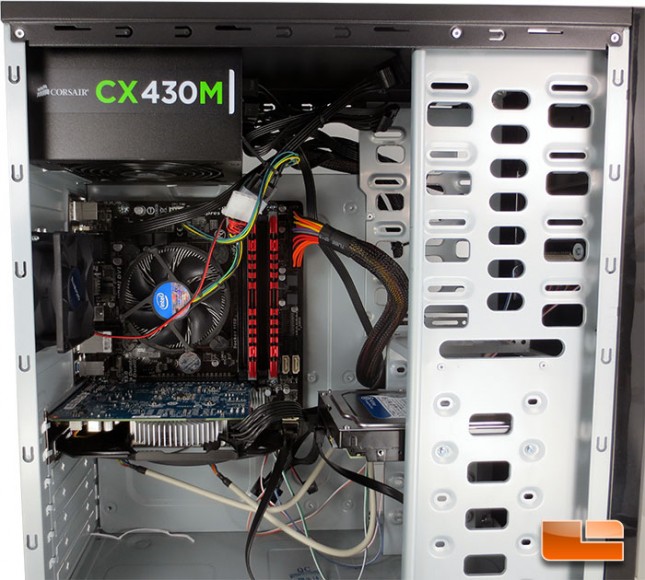
Installing the graphics card almost gave me an issue that I didn’t plan for. The Western Digital 1TB Blue hard drive location would have blocked the GIGABYTE GeForce GTX750OC 2GB if it were much longer. Fortunately the card is only a hair over seven inches so there was plenty of room between it and the hard drive.
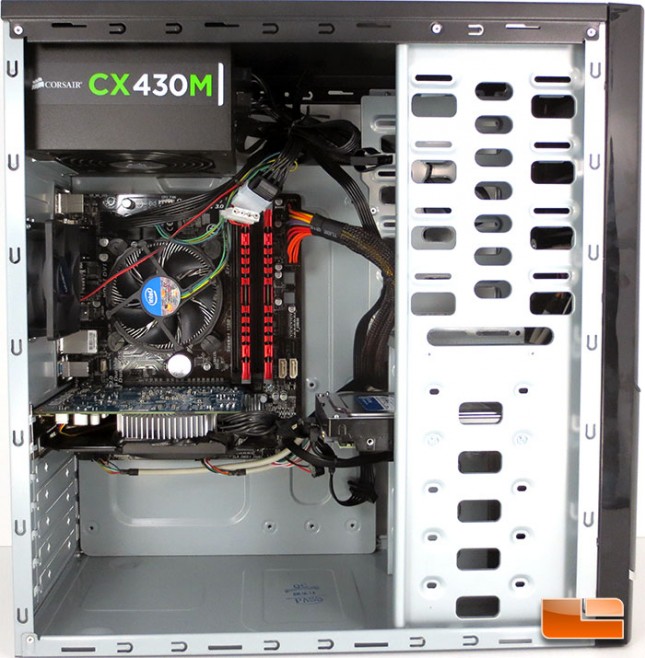
Taking just a few minutes to clean up the wires can really make a huge difference in the way the system looks inside the chassis. Since the Corsair CX430M power supply is modular, there are no extra wires hanging around that need to be hidden from sight. The system looks nice and clean inside, that gives the components plenty of room to breathe and stay cool during those long hours of gaming!