ASUS P8P67 and P8P67 Deluxe Intel Sandy Bridge Motherboard Review
ASUS P8P67 Deluxe and P8P67 EFI BIOS
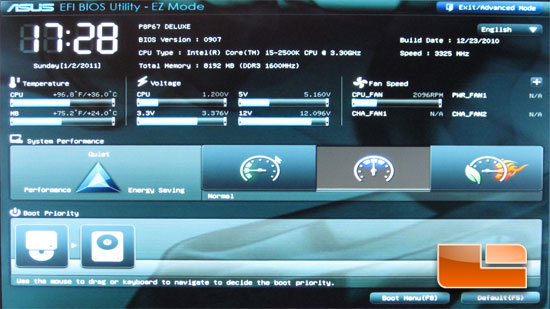
As you can see above the ASUS P8P67 Series has moved away from the traditional BIOS and into a BIOS with a graphic interface. It did take a bit of getting used to, but once I did it was great to use. The EFI BIOS in the ASUS P8P67 and the ASUS P8P67 Deluxe are very similar. Instead of essentially having the same series of photos twice we are going to take a look at the BIOS images from the ASUS P8P67 Deluxe and, when needed, we will drop in a shot of the ASUS P8P67 BIOS to point out the differences. The first shot of the BIOS that we have above is the screen that your system will initially boot into. This is the EZ mode. Here we can see several of our system voltages, temperatures and fan speeds. We can also make some adjustments to the system’s performance. The system performance in the middle of the page has three options that you can select from. The left side of the three options will enable the power saving features, the center option is normal operation, and the right side is the optimal mode. The optimal mode will run the auto tuner and oc your system for you! The bottom section is the boot priority. Here you can drag and drop the drives into the order you want your system to boot from them.
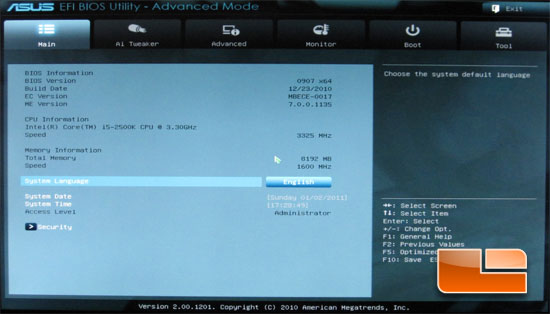
This is the main page of the ASUS EFI BIOS Advanced section. Here you can set the system language, date, time and security privileges.
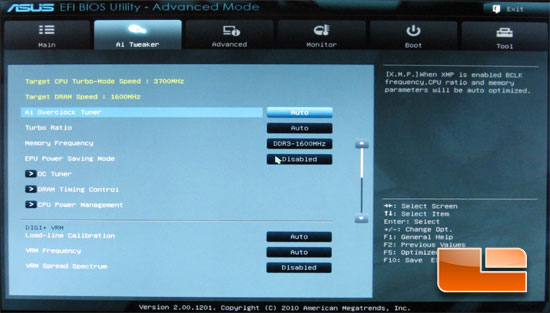
The AI Tweaker has all of the options previously found on ASUS motherboards. This is the page that makes all of your overclocking dreams come true.
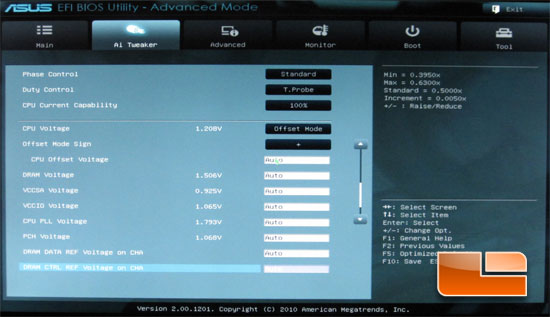
Here we have our adjustments for the system voltages. When overclocking most of these can be left on auto.
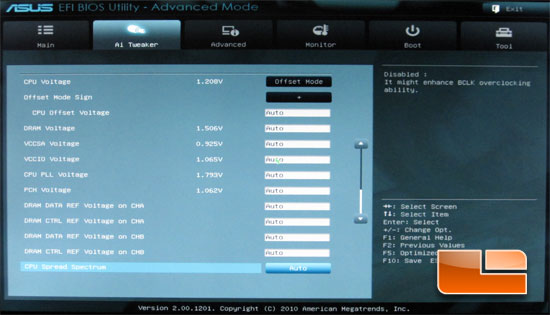
The options for the DRAM DATA Ref Voltage is only available on our ASUS P8P67 Deluxe and not our ASUS P8P67.
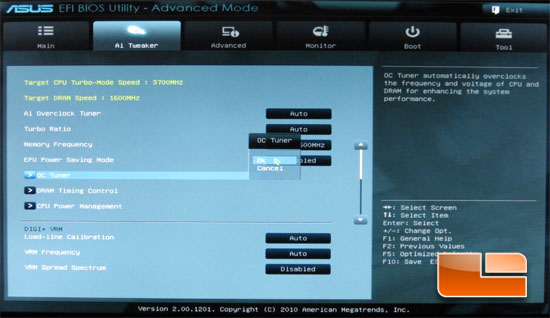
The OC tuner works exactly as you see above. Click Ok and you are off to having a finely tuned CPU! The system will shut down once you hit Ok; it will run through some stability tests and you are ready to rock. We will be giving this a go when we get to the overclocking section of this article.
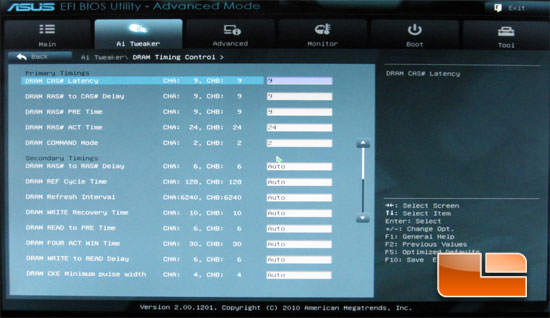
Here we can see all of the memory timing options available on the ASUS P8P67 series. Both the ASUS P8P67 and the Deluxe version have the same page.
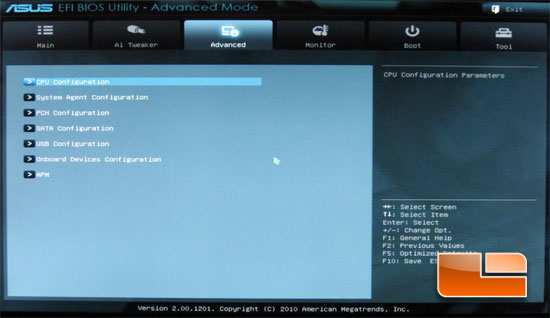
The Advanced tab will give you access to the several sub-pages including, CPU Configuration, SATA Configuration, USB Configuration, Onboard Devices Configuration.
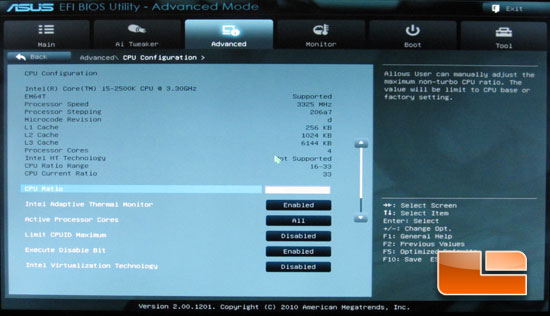
The CPU configuration page of the ASUS P8P67 series BIOS allow you to enable and disable various technologies of the CPU.
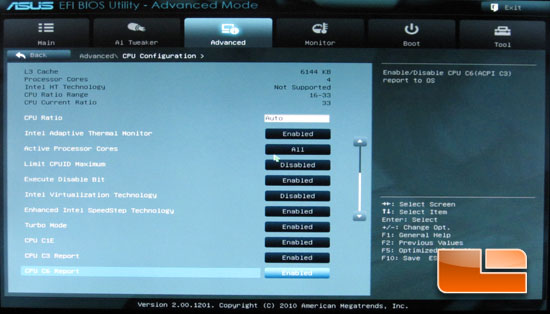
Just a few more options on the CPU Configuration sub-page.
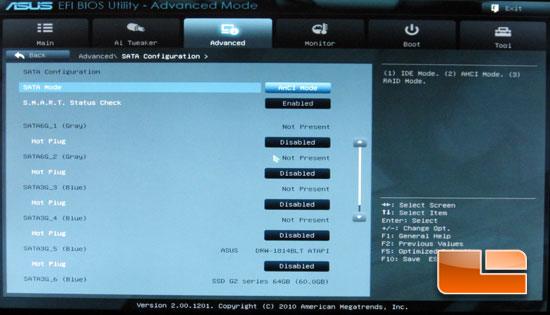
The SATA Configuration sub-page allows you to see what drive you have plugged into which port and configure the mode you are running the drives in.
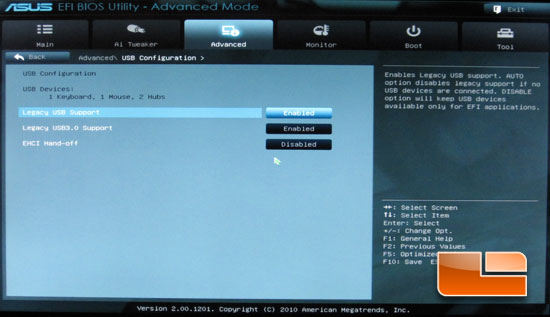
The USB Configuration sub-page allows you to enable or disable the legacy USB support on the USB2 and the USB3.
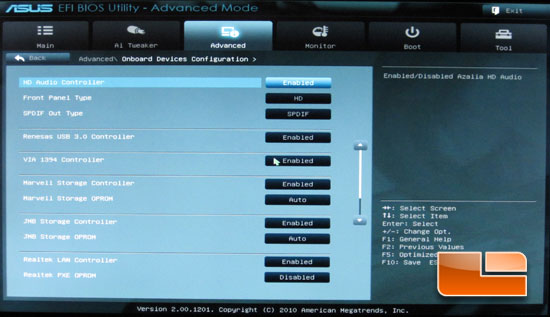
Under the onboard devices configuration we can enable or disable any of the onboard devices such as the Realtek Audio Codec, Marvell storage controller, and various others.
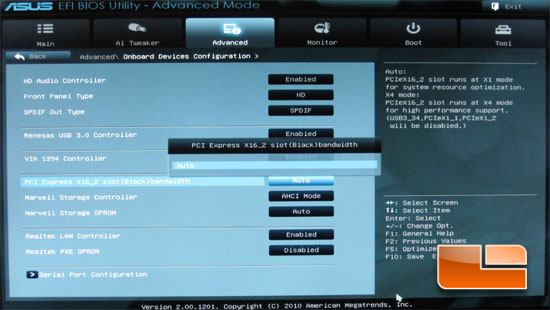
This shot is out of the ASUS P8P67 EFI BIOS. In order to run CrossFireX you need to switch the PCI Express X16_2 slot bandwidth off of auto and manually set it to X4. If you can read the notes on the side, you can see that enabling the x4 mode will disable PCIeX1_1, PCIeX1_2, and USB3 three and four (front panel).
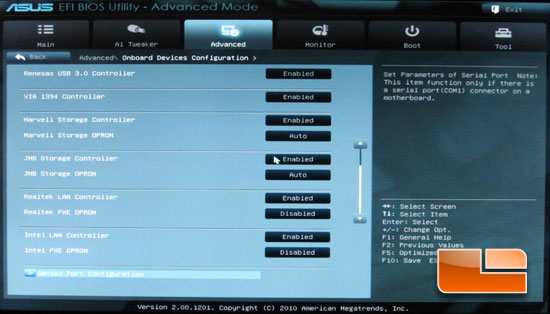
The ASUS P8P67 is lacking the Intel LAN controller option since that board is only running a single Realtek 8111E Gigabit LAN controller.
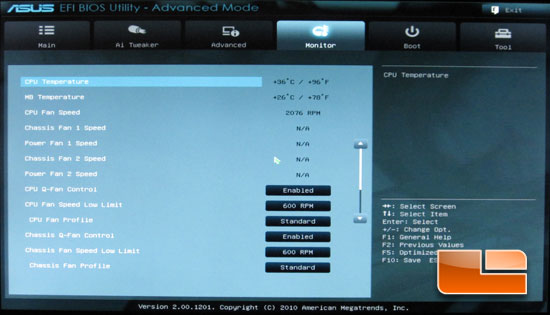
The Monitor tab is a personal favorite page of mine. It has saved my hardware from overheating several times on the first boot of a new system. ASUS has also placed all of the fan control options here. The CPU Fan minimum can be set as low as 200RPM and you can place a maximum speed of 20% to 100%. For example, if you set the CPU upper temperature at 60 degrees Celsius and the CPU Fan maximum duty cycle at 40%, once the CPU hits the 60 degrees Celsius the fan will run at 40% until the CPU hits 75 degrees Celsius where the fan will operate at 100%.
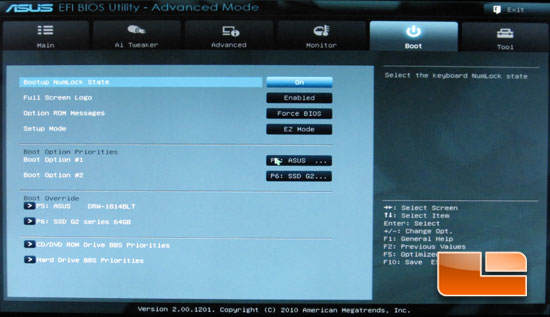
Above we have our boot options. We can also set which page the BIOS will boot into, ether the EZ mode page or into the Advanced main page.
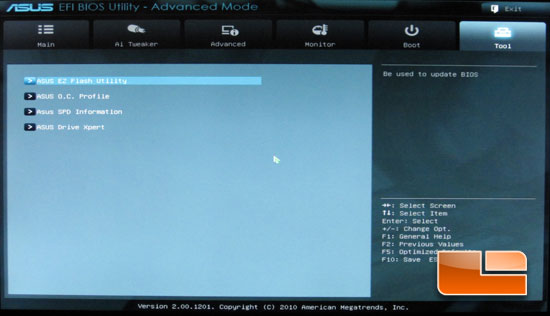
Within the Tools tab we have the ASUS EZ Flash utility, ASUS OC profile, and the ASUS SPD Information on the ASUS P8P67 and the ASUS P8P67 Deluxe. The ASUS P8P67 Deluxe also has ASUS Drive Xpert. When it comes to the ASUS OC Profile the ASUS P8P67 and the ASUS P8P67 Deluxe have a total of eight profile save slots.
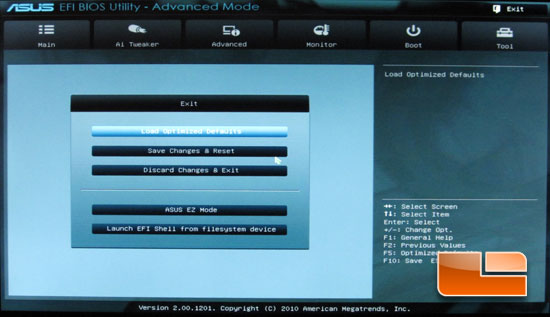
Last, but certainly not least: the Exit page. Here we can load the optimized defaults, save and exit, discard and exit, re-enter the ASUS EZ mode, or launch an EFI Shell for filesystem device.
Now that we have taken a good look at the new ASUS EFI BIOS let’s take a peek at the entire system that we will be using today!

Comments are closed.