Thermaltake Core X5 Cube Chassis Review
Thermaltake Core X5 Build
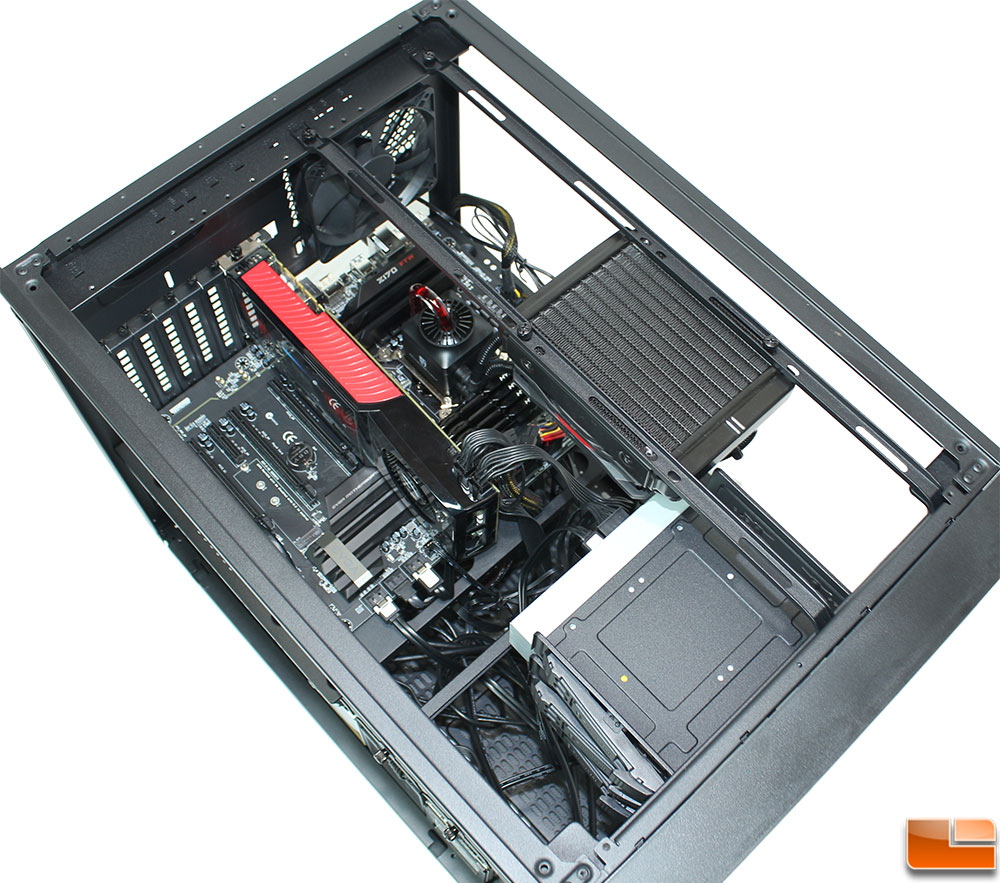
If you have installed a motherboard before, there are no surprises when installing a motherboard inside the Thermaltake Core X5. As the motherboard tray is removable, if you do not install your CPU cooler prior to installing the motherboard, you have the option of removing the tray to install the cooler. Thermaltake has pre-installed the necessary standoffs for a standard ATX motherboard. For other sizes, the standoffs can be moved, and three long standoffs are provided for E-ATX motherboards. Within the Core X5, there are many options for installing a liquid cooler. While I opted to install the small Deep Cool Captain 120mm AIO liquid cooler in the Core X5, however you can install up to 360mm at the Front, Top, Bottom and Sides; or at the rear of the case up to a 140mm radiator. I went ahead and installed the radiator and fan at the top of the case. If air cooling is more to your liking, you can install a CPU cooler that is up to 230mm in height!
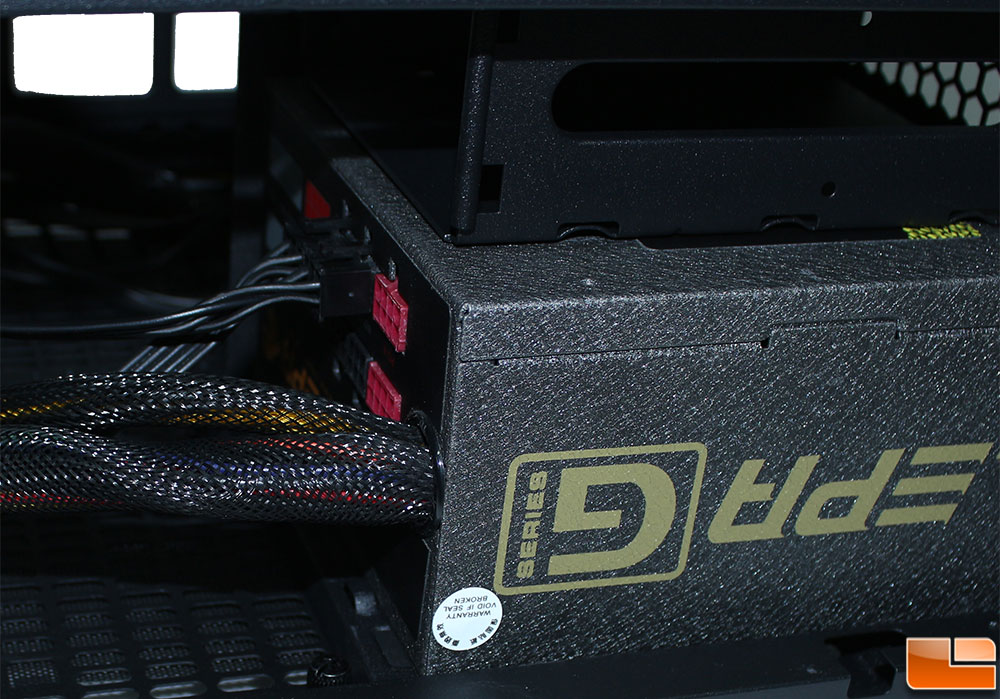
While installing the power supply, I found that there is a removable support bracket that needs to be adjusted a little for the power supply. Not only does it get secured to the case by the common four screws on the back, but the support bracket also acts as a retainer. On the support bracket are two spots that press against the power supply to provide it a little additional security. The bracket can be moved and adjusted by two thumbscrews; it was in the perfect spot for a standard ATX power supply; however with the 3.5″ drive chassis right above the power supply, I had to remove the bracket, install the power supply, and slide the bracket under the back side.
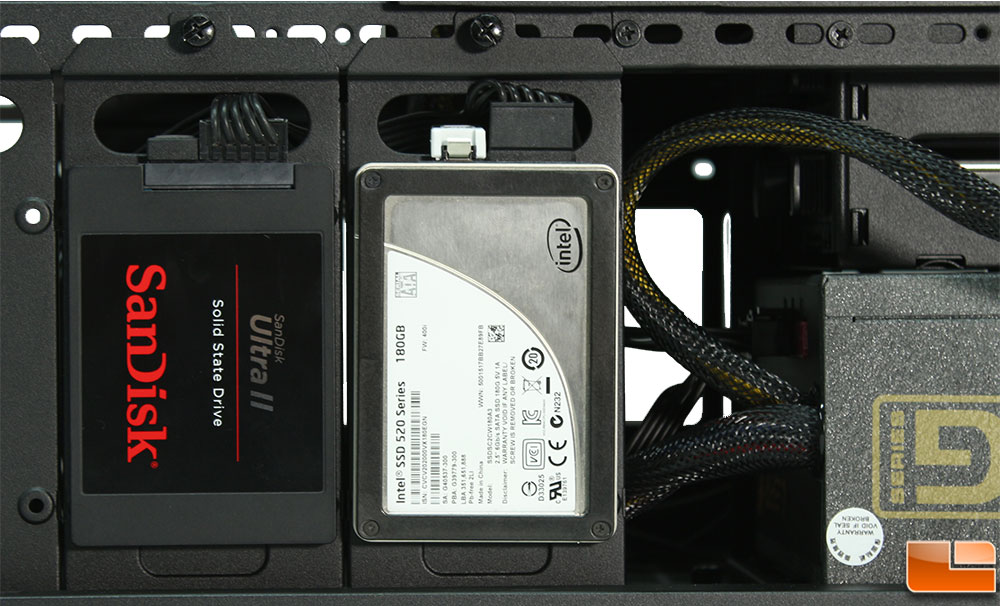
When installing the drives, depending on your configuration, the drive cables will need to be thought out. A mixture of right angle and straight SATA connection cables are necessary. For example, the 2.5″ drive trays need the right angle SATA cables, while the 3.5″ drives (particularly those above the power supply) could use both straight and right angle SATA cables. Installing the power cables also were a little challenging, using the connectors in the middle of the cable was easy, needing to use the straight power connector at the end of the cable posed a bit of a challenge, and I would be concerned over long term stress on the cable and connector.
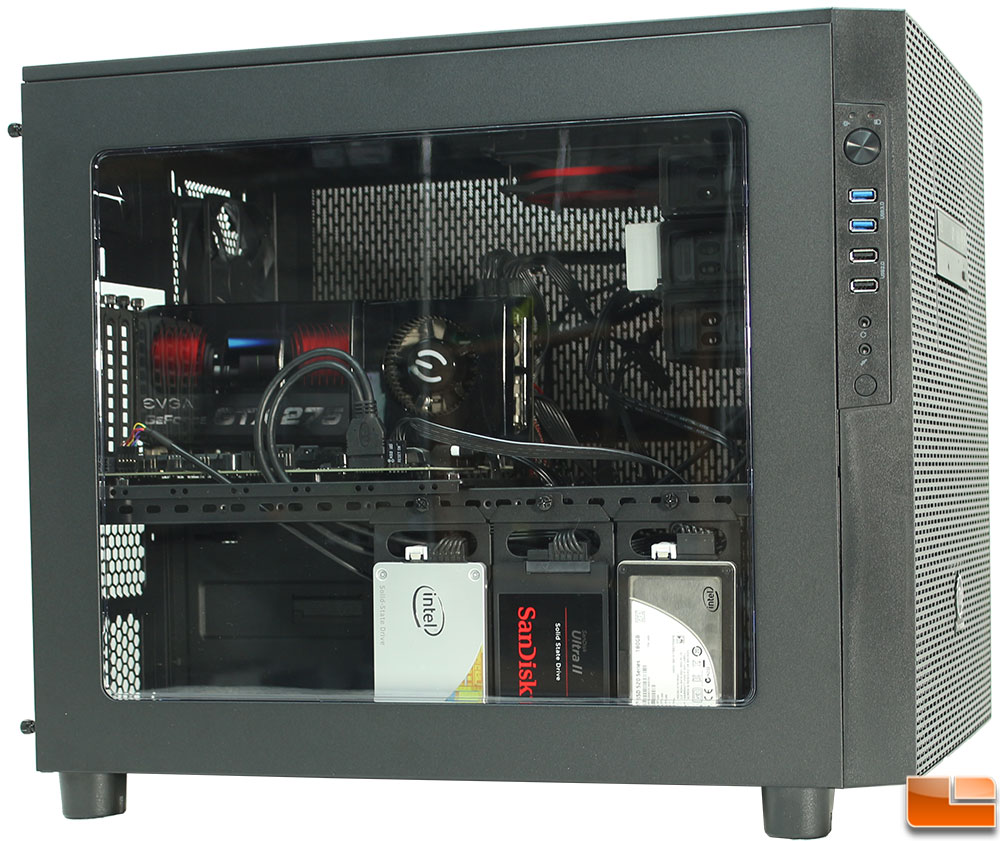
To finish the build, I decided to go ahead move the 2.5″ SSD trays and remove the 360mm AIO Liquid Cooler bracket. The 3.5″ drive cage that gets installed on this side against the power supply housing, it would have been nice if you could have it flipped to show the hard drives in the space left. Instead you can’t see that it’s installed as the back/bottom of the drive cage is visible through the window.
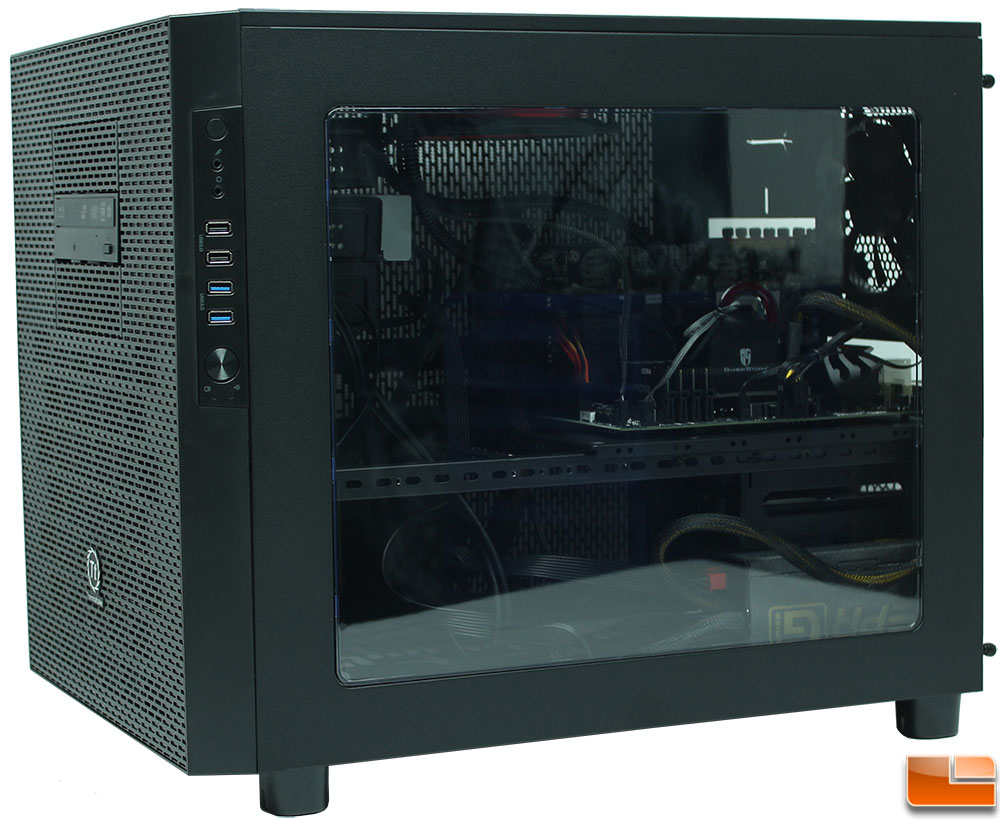
Switching the front I/O panel is very easy to do, two screws on each side, and you can remove the panel along with the attached cables. You will want to do this prior to finishing the build, as the cables are attached to the I/O panel so they need to come out of the case as well. One little difference when swapping the I/O panel, on this side, it is upside down from the other. The window and solid side panels can also be swapped, nothing to that. I had already moved the 2.5″ SSD trays to the other side, however I could have left them over here to show off the SSD’s through the window.