Thermaltake Core X5 Cube Chassis Review
Thermaltake Core X5 Interior
To take a closer look at the internal components of the Core X5, we have removed the exterior panels. Here we can see the basic front intake 120mm fan which is rated for 1,000RPM at 16dBA.
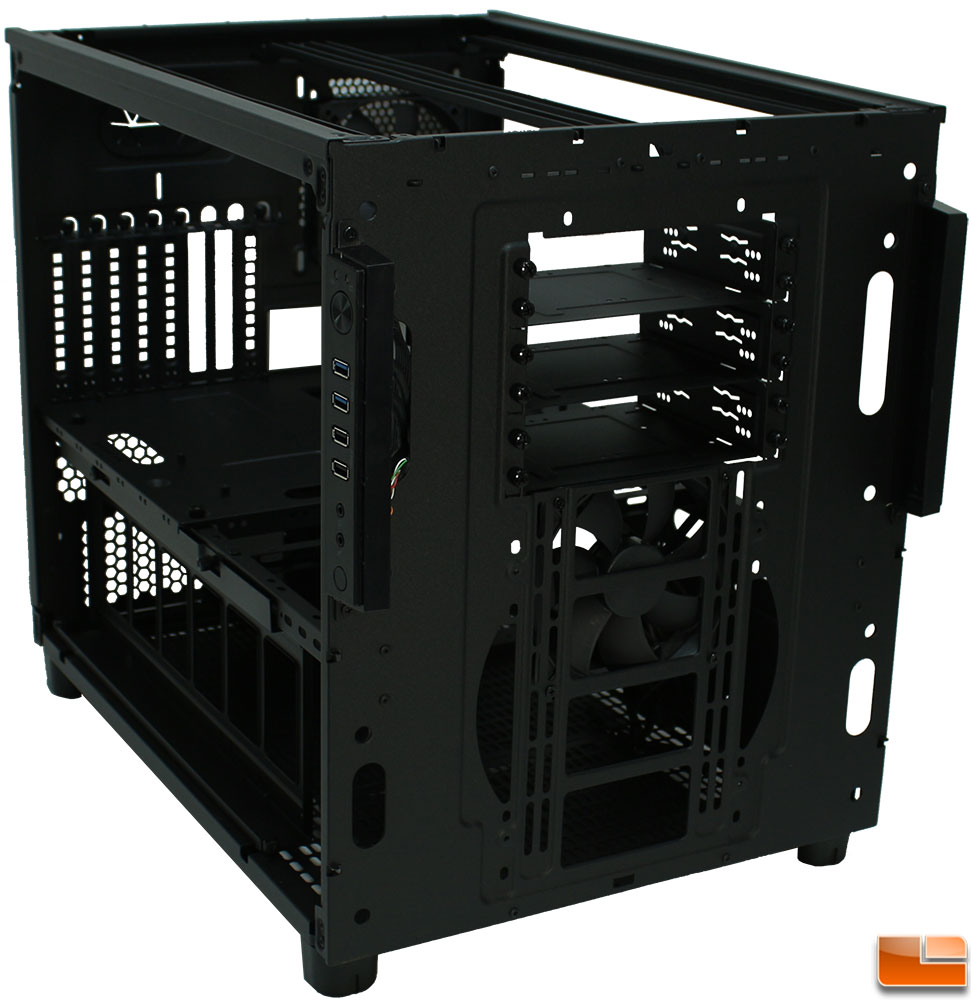
My first impression when looking at the side of the case, is that there seems to be a large amount of room inside the chassis to work in it. Of course that is what you expect from a cube chassis that supports up to an E-ATX motherboard. It’s like building a system in a Full (or larger) Tower case; plenty of room for your components. Here we can start to see some of the customization options, four thumbscrews is all that holds the AIO support bracket in place is easily removable and swapped to the other side; of course the power supply has to be moved to an alternate location to install the AIO bracket on the other side. The 5.25″ device bays are tool-less which as we will find, is very common throughout the Core X5.
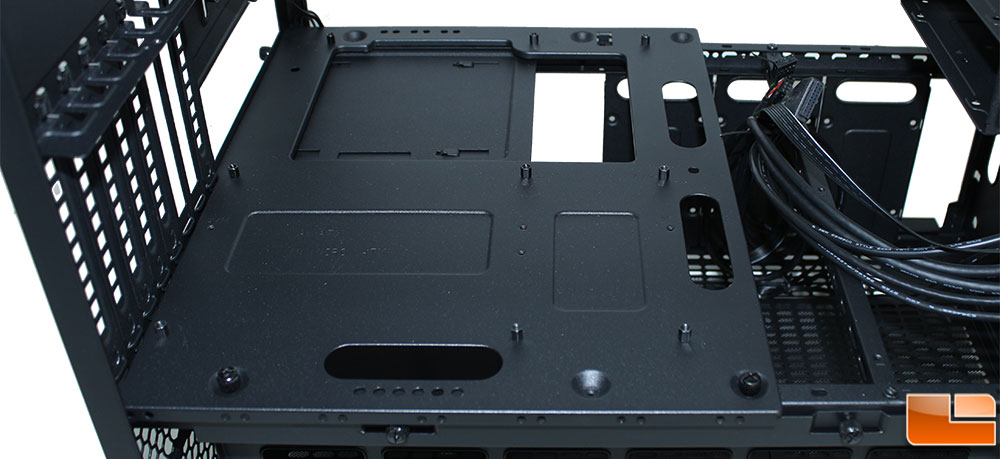
The motherboard tray comes with standoffs pre-installed, and has an oversize hole for installing CPU cooler support brackets after attaching the motherboard to the tray. Speaking of the motheboard tray, it is held in place with four thumbscrews (two inside, and two on back), and one screw on back side making it easily removable..
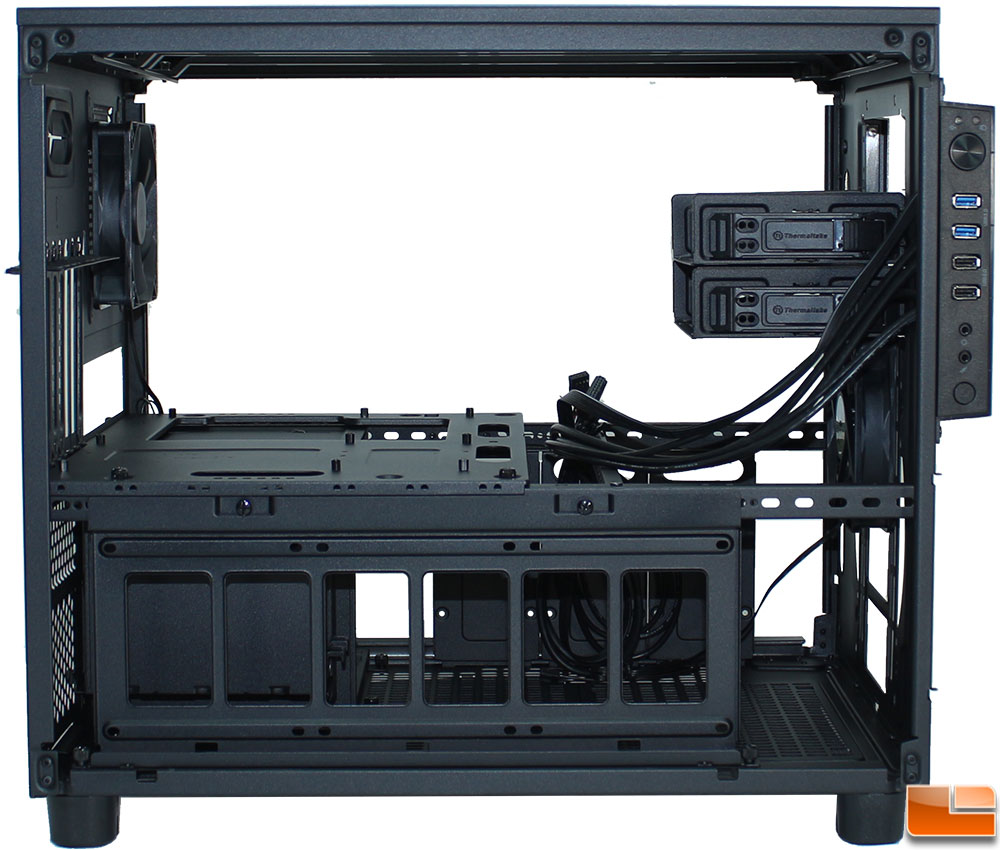
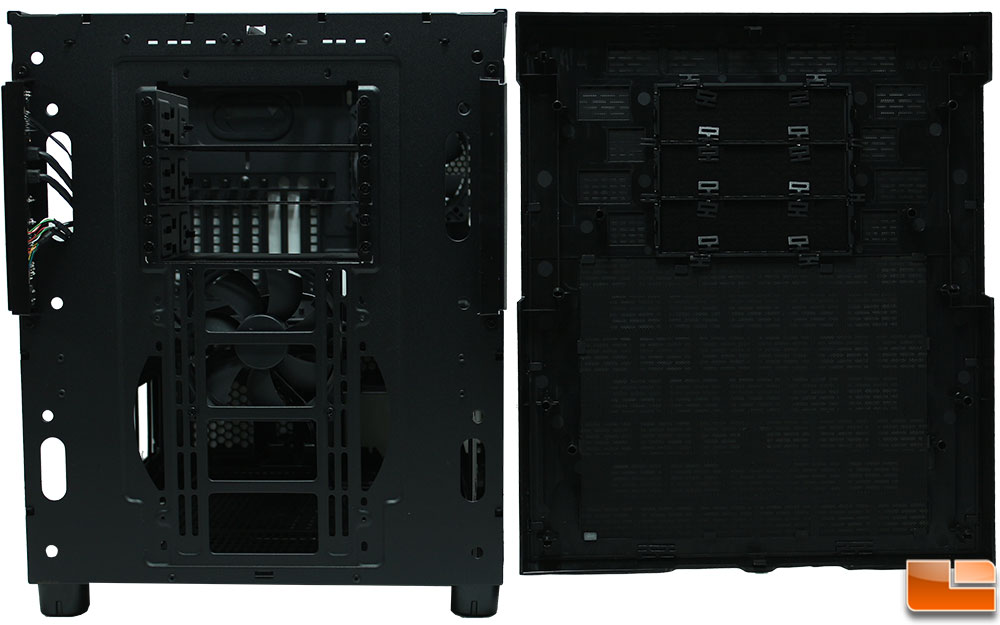
On the opposite side we can get a view of one of the 3.5″ drive cages, the three 2.5″ drive trays and the default power supply location which has a support bracket with rubber feet to reduce vibration. Each of these options can be moved to the other side of the case if desired.
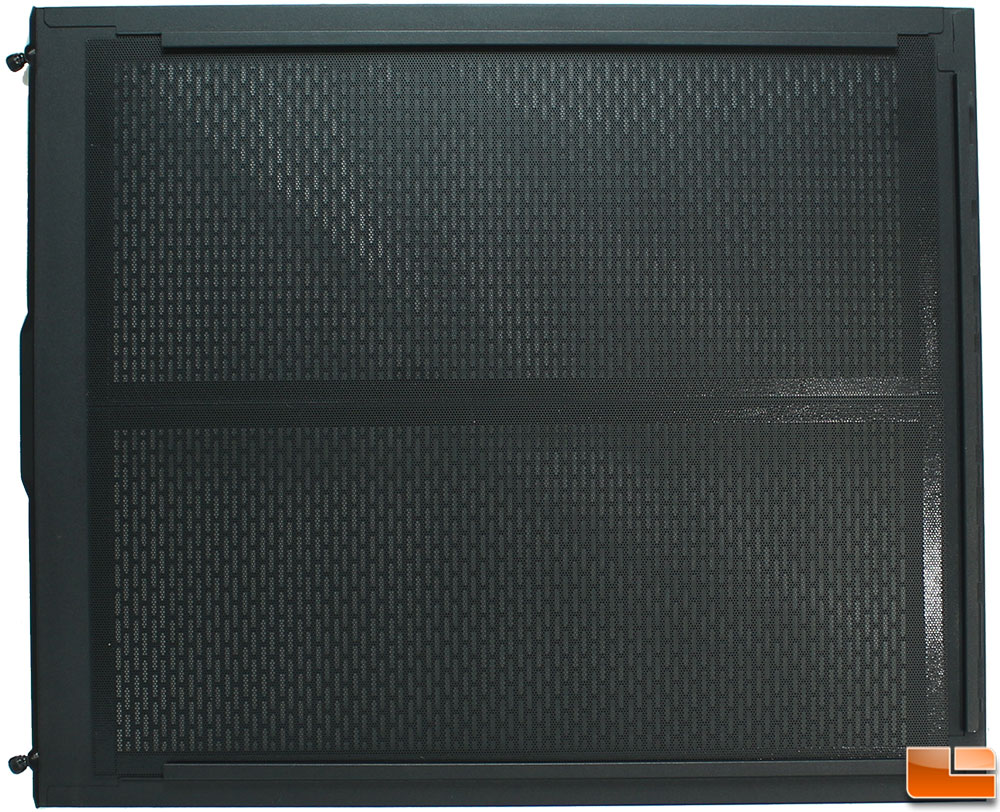
On the inside of the back side panel we find that there are two removable magnetic mesh filters.
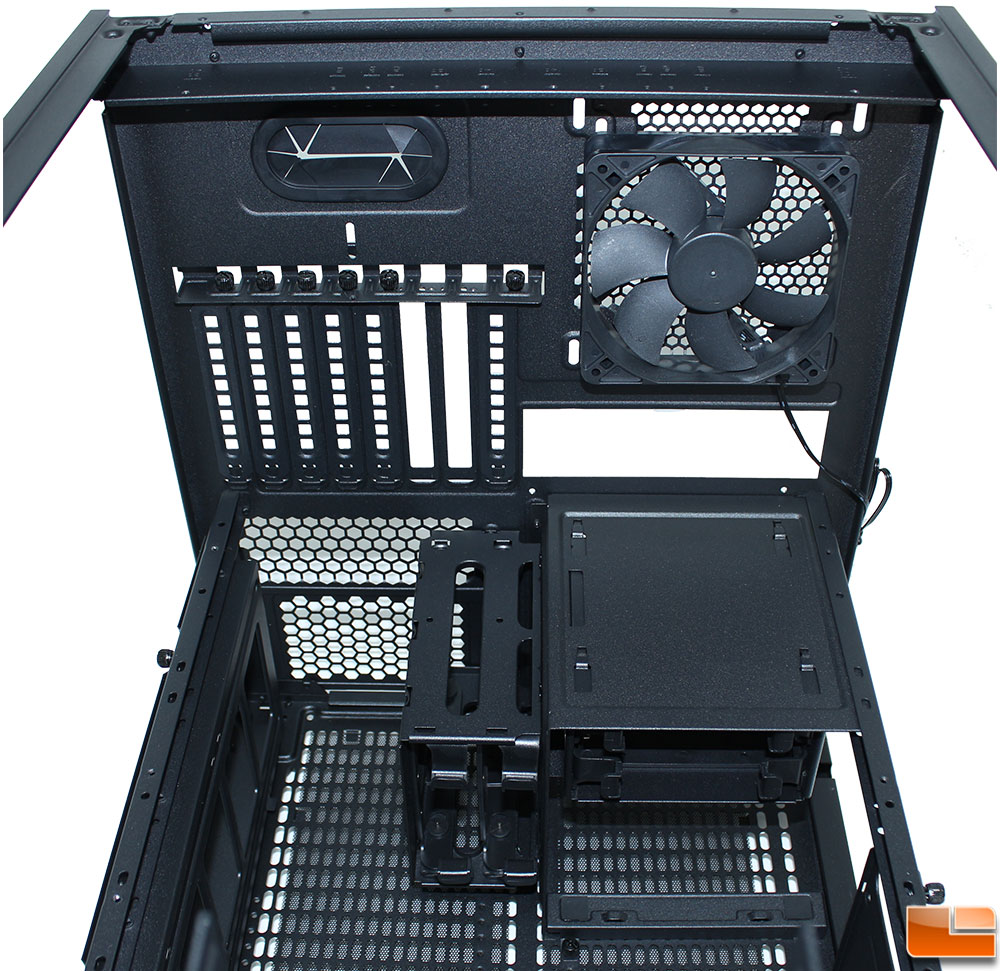
With the motherboard tray removed, we can take a look at the bottom section of the case and the back panel. The back panel doesn’t provide any real surprises; eight standard expansion slots, an included 120mm fan (replaceable with up to a 140mm), extra cable management / liquid cooler hole and the required motherboard rear I/O slot. On the bottom section, we find the two 3.5″ drive cages, and the power supply slot which can be swapped to the other side of desired.
The front panel is removed from the case by pulling from the bottom; it comes off without any difficulty, but remains in place securely. There are three 5.25″ device bays, which are removable if you want to use that space to install a large radiator; which will support up to a 360mm. The front panel has a plastic mesh to help keep larger particles out of the case, the bottom half is removable, however it uses some slots to hold it in place which while functional, I would prefer a filter that snaps in more securely and is easier to clean without removing the front panel.
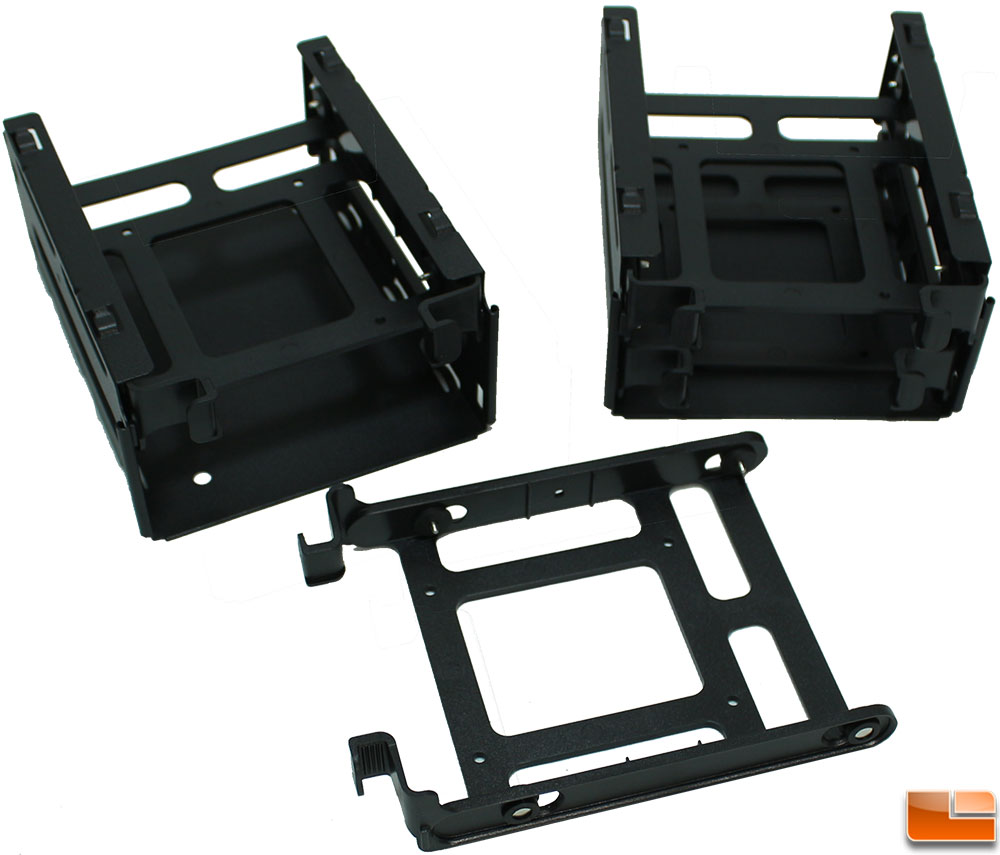
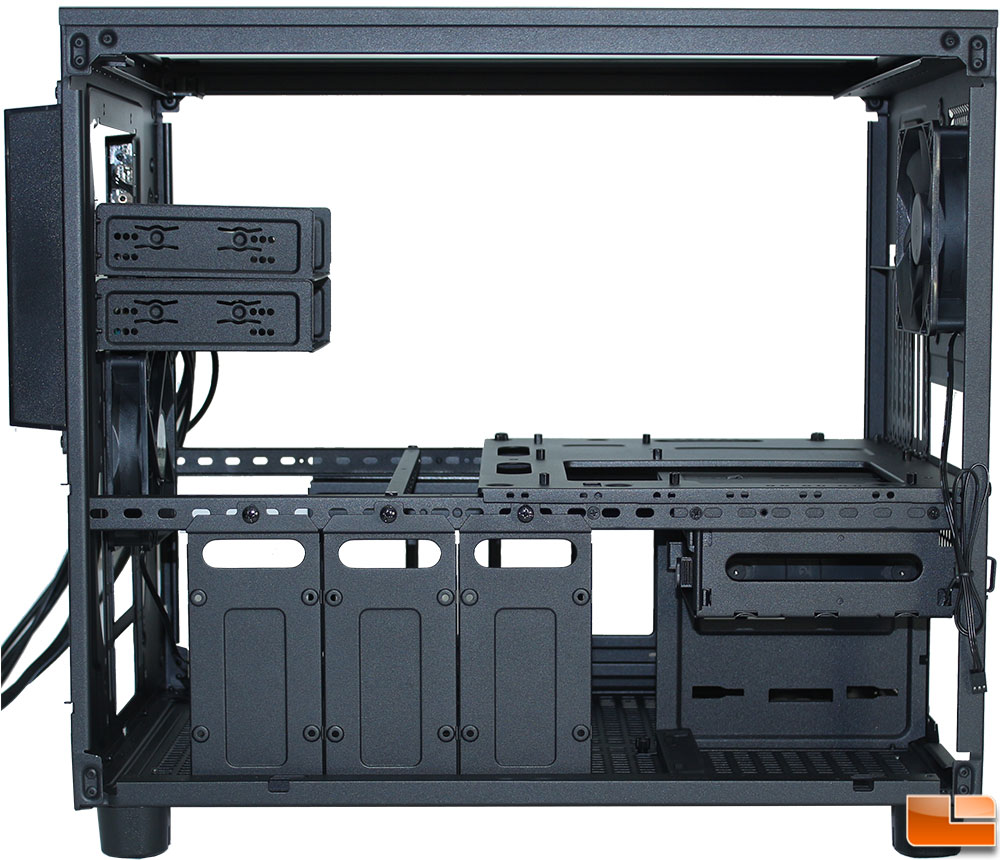
There are two removable 3.5″ drive cages on the bottom level. They are identical, and both contain trays for two 3.5″ drives. The trays allow for a tool-less 3.5″ drive installation, or you can install 2.5″ drives using screws through the bottom of the tray.
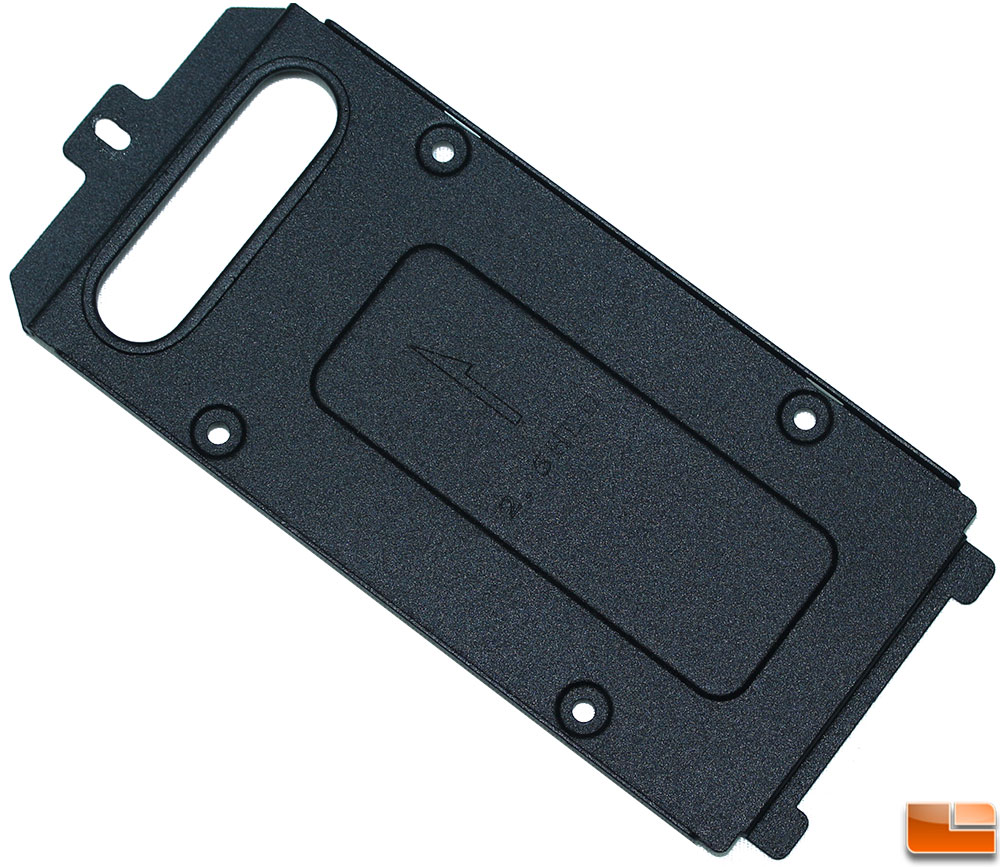
While you can install 2.5″ drives onto the 3.5″ drive trays, there are three dedicated trays for 2.5″ drives. Held in by thumbscrews they are easy to remove and attach your 2.5″ drive. Technically any 2.5″ drive should fit on them, however as there is no anti-vibration, they are mainly suited for SSD’s. This view is the inside side of the tray, the SSD’s would be placed on the other side, the little hole at the top helps with cable routing.
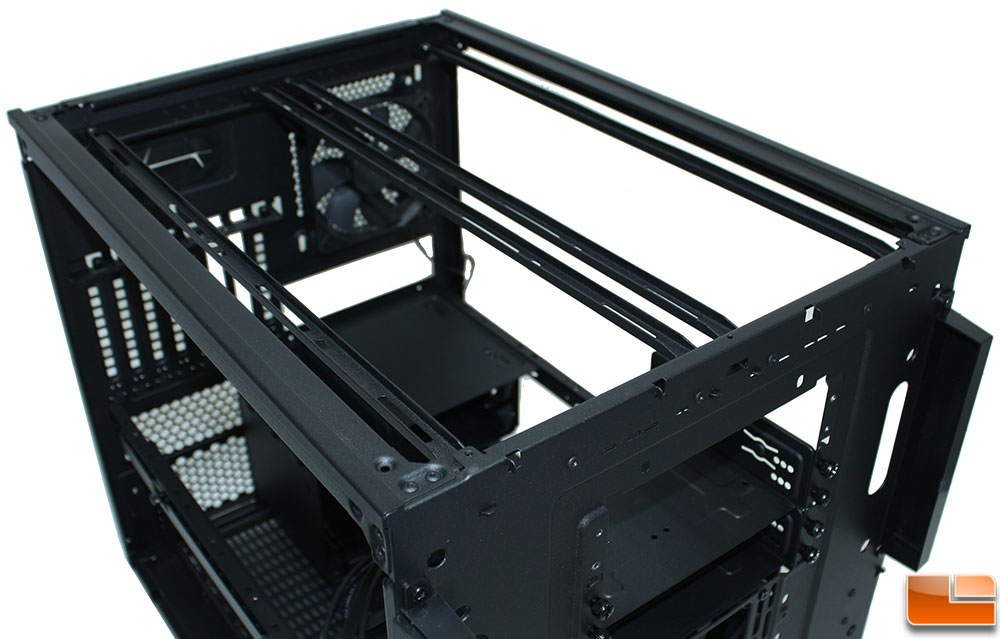
With the top panel removed, we find two sets of support brackets that will support up to a 400mm radiator, up to two 360mm radiators. If air cooling is your preference, these will of course support fans as well. The brackets are held in place with thumbscrews at the back, and a slide in slot at the front. Thermaltake has marked the slots and screw holes for each size making it easy to have them line up for the appropriate configuration.
Let’s take a look at the build process to see what you should be aware of when building a system within the Core X5.