Scythe Ninja 4 CPU Cooler Review
Scythe Ninja 4 CPU Cooler – Installation
Intel Z97 Test Bench
| Intel LGA 2011v3 Test Platform | |||||
|---|---|---|---|---|---|
| Component | Brand/Model | Live Pricing | |||
|
Processor |
Core i7-4790K | ||||
|
Motherboard |
MSI Z97 Gaming 5 | ||||
|
Memory |
Corsair Vengeance LP DDR3 1600MHz 16GB (2x8GB) | ||||
|
OS Drive |
Samsung EVO 850 250GB | ||||
|
Power Supply |
Corsair RM750 | ||||
|
Operating System |
Windows 10 64-Bit | ||||
Idle results recorded using RealTemp after sitting idle at desktop for 15 minutes. Load temperatures were recorded after running 30 minutes of Prime 95. All testing was done outside of the case with an ambient room temperature for 72 degrees. We used Antec Formula 7 Nano Diamond thermal compound for all testing to ensure results were as accurate and apple-to-apples as possible, as the thermal interface material included varies from manufacturer to manufacturer and will even be changed on the same product between batches, as many heatsink manufacturers choose to not invest a lot in this particular area.
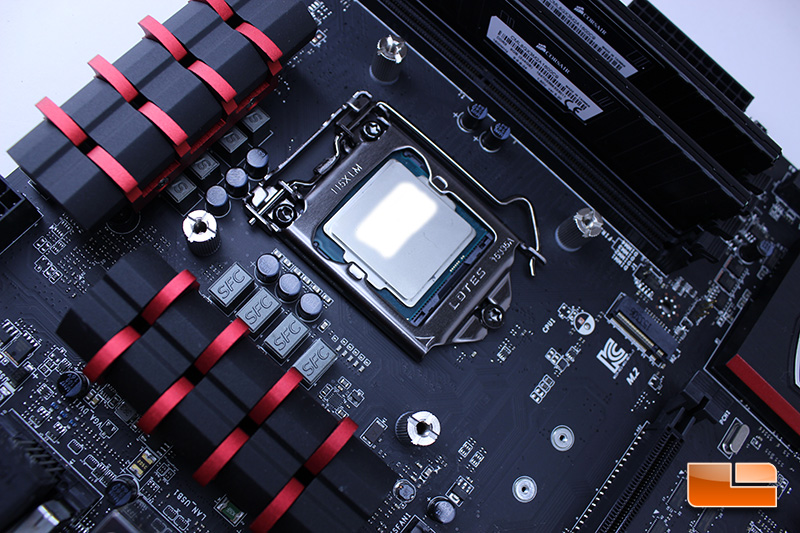
Installation of the Ninja 4 was simple and the cooler uses the Hyper Precision Mounting System (H.P.M.S) from Scythe that installs in just minutes. After reading the instruction, we installed the backplate on our motherboard. Once we positioned the backplate, the washers were positioned and the studs were screwed into the backplate. After installing the backplate and mounting studs, we installed the mounting plates onto the mounting studs. The mounting plates are well built and the mounting system feels very secure and sturdy, leaving me no worries that it will properly support the Ninja 4 for years to come, despite the weight of the heatsink. The whole process of installing the backplate and mounting plates took just a couple of minutes and is the last preparation you will do before placing your thermal compound and positioning the cooler.
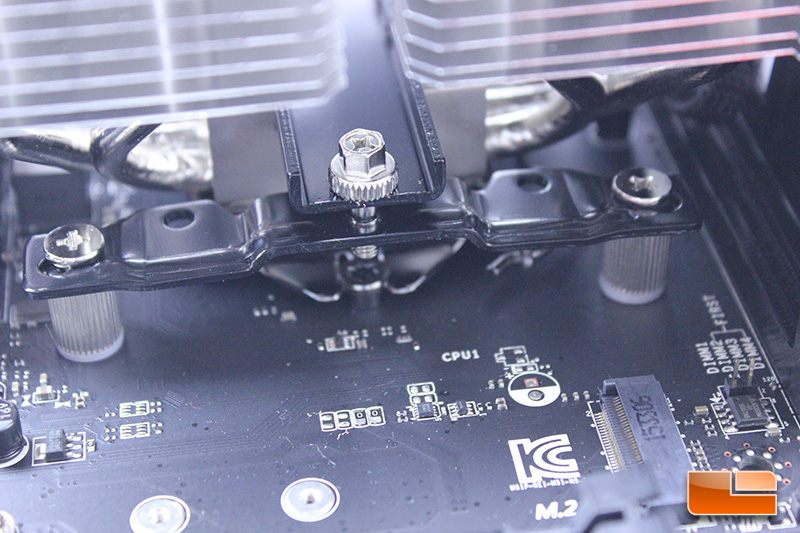
Once we placed our thermal compound, we placed the Ninja 4 on our CPU and lined it up properly. The Crossbar was then set across the base of the CPU and we used the screwdriver that was included with the Ninja 4 to secure the crossbar to the mounting plates. This process was very simple and took just minutes, though installation inside of a case will be more cramped and take longer, naturally.
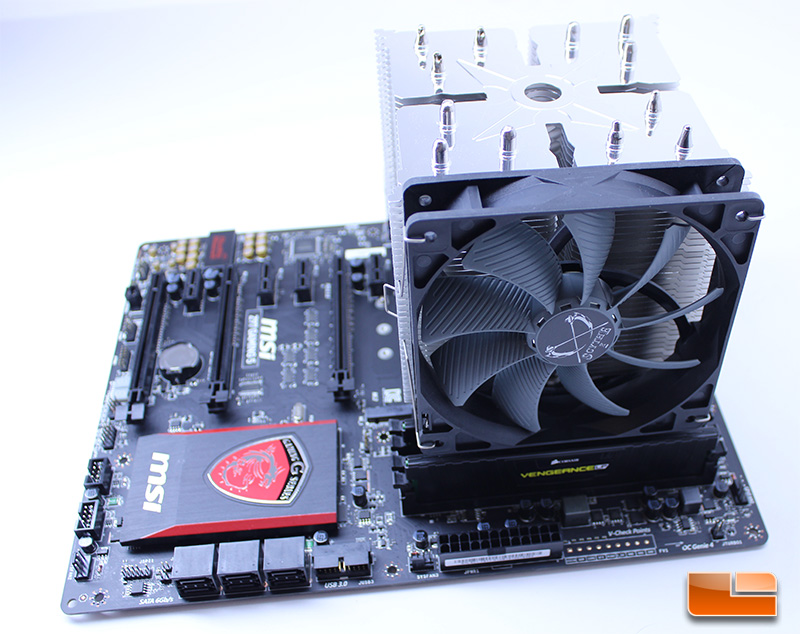
For our testing, we set the fan to blow through the heatsink and towards the IO ports of the motherboard. This is how it will be set up in most situations, but the the Ninja 4 will allow the fan(s) to be installed in various orientations, depending on the end users configuration and personal choice.
The fins of the Ninja 4 extend to the second slot on our MSI Z97 Gaming 5 motherboard and the fan sits right over the rest of the memory slots, so users with tall heatspreaders won’t be able to use the Ninja 4 in its default configuration.
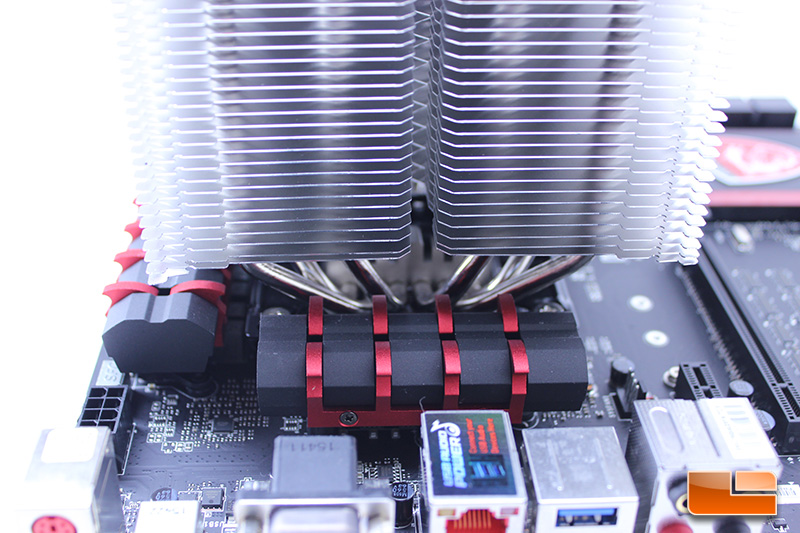
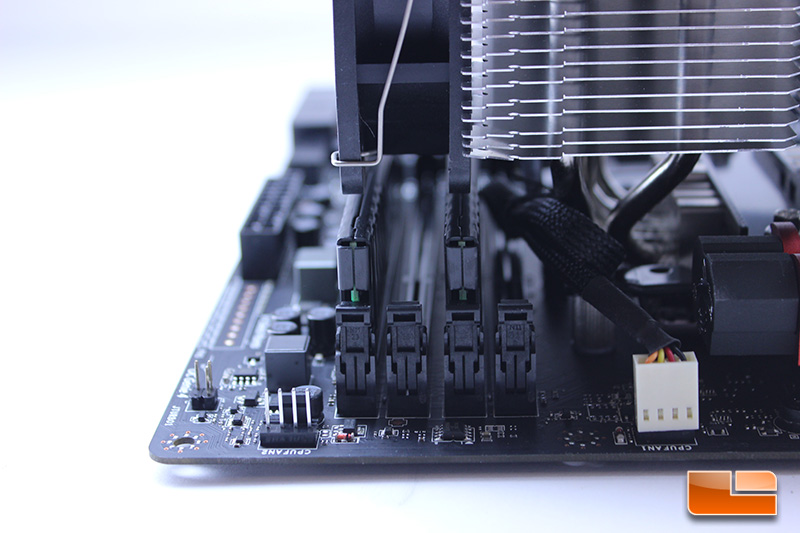
The Ninja 4 is able to clear the VRM heatsinks on the Z97 Gaming 5 without issue. Users with motherboards that have large VRM heatsinks will definitely want to research possible clearance issues before purchasing the Ninja 4. Our first PCI-E slot is also able to still be used without interfering with the heatsink, which is known to be a problem with larger heatsinks.
Let’s take a look at temperature testing!