NZXT Noctis 450 Mid-Tower Case Review
Noctis 450 Internal Impressions
Removing the side panel is pretty easy, two thumbscrews hold it in place; once those are loosened (they remain with the panel), the panel slides towards the back of the case and comes off. I’ve had some cases that required force to remove the panels, the Noctis 450 didn’t require any force.
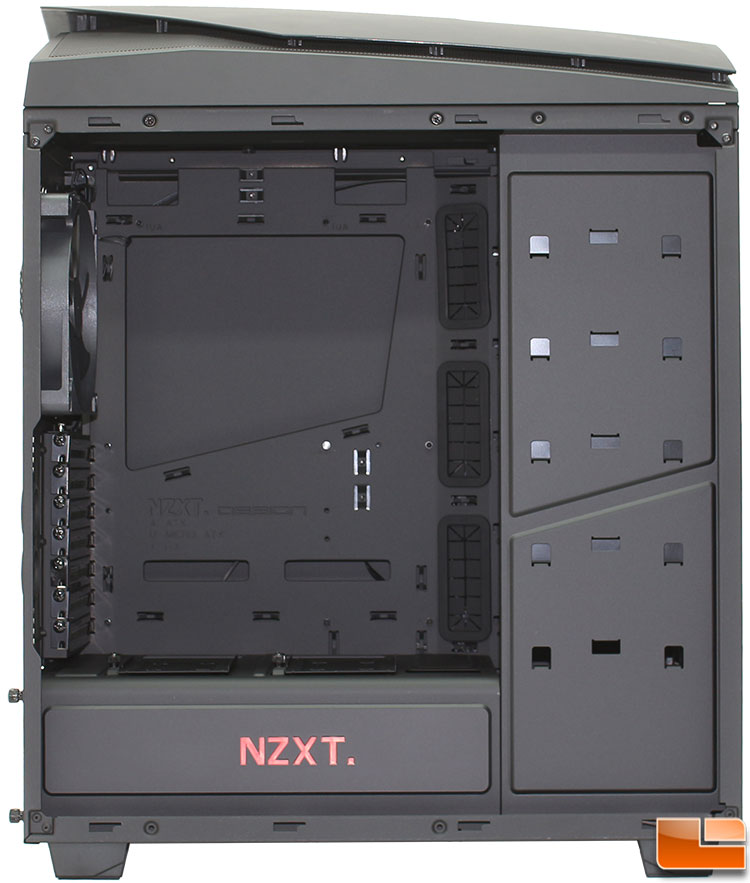
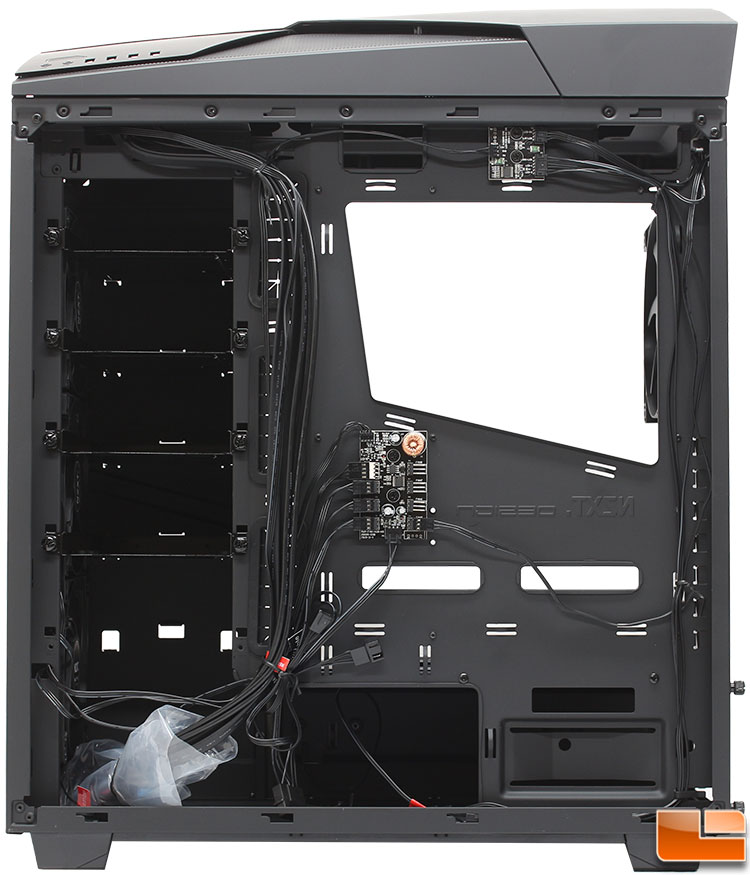
With the panel removed we can see the interior of the case. On the motherboard tray, there are several cable management holes, with the three largest ones having rubber grommets to protect cables; these are also slightly angled to make installation a little easier. The area for the CPU support bracket is rather large, and should support most of the CPU locations. Finally, NZXT has been hiding all the 3.5″ drive trays behind a solid panel for a few generations now, they continue this in the Noctis 450.
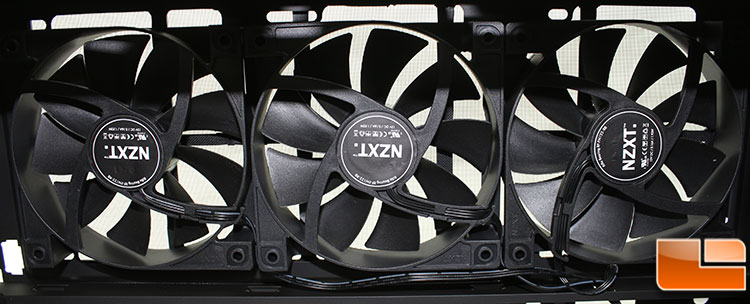
Taking a peek at the front fans confirm the three FN V2 1200 that we have already discussed. By removing the hard drive trays up to a 360mm liquid cooling radiator could be installed in a push/pull configuration.
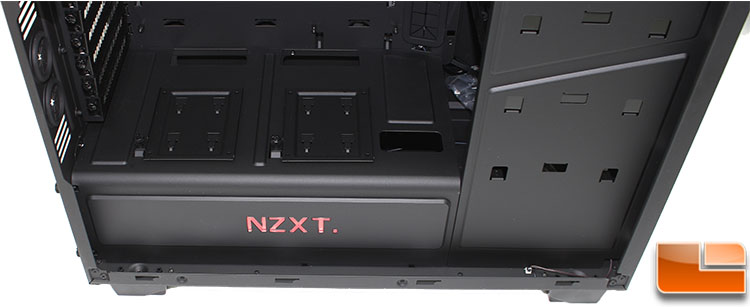
Like the H440 series, NZXT installs a power supply shroud that serves two purposes. First, the obvious one, is that it allows the user to hide the power supply and cables, making for a cleaner install. The second is the addition of two 2.5″ drive mounts on the top, this makes good use of the space. On the side of the power supply shroud, NZXT has placed their logo in red, which will light up once we power the case. Three cable management holes on the power supply shroud makes it easy to route cables.
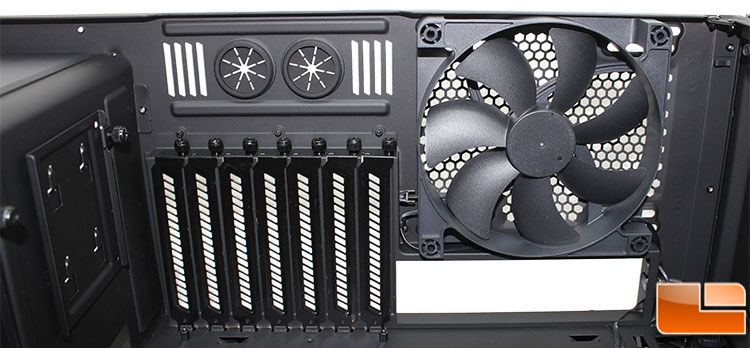
The internal view of the back panel doesn’t really provide much new information from the exterior view. The only new feature here is that the expansion slot covers are secured to the case with thumbscrews.
The back side panel removes like the other, loosening two thumbscrews and sliding the panel to the back of the case. Between each of the five hard drive trays there is approximately 2.5 inches of space. With that amount of space, while nice to have plenty of room, if they were squeezed together more drive could be installed or perhaps allow for all the hard drive trays to be used and custom liquid cooling. On the back of the motherboard tray, there are a total of 21 cable tie locations (18 on the motherboard tray, and 3 in the cable management area).
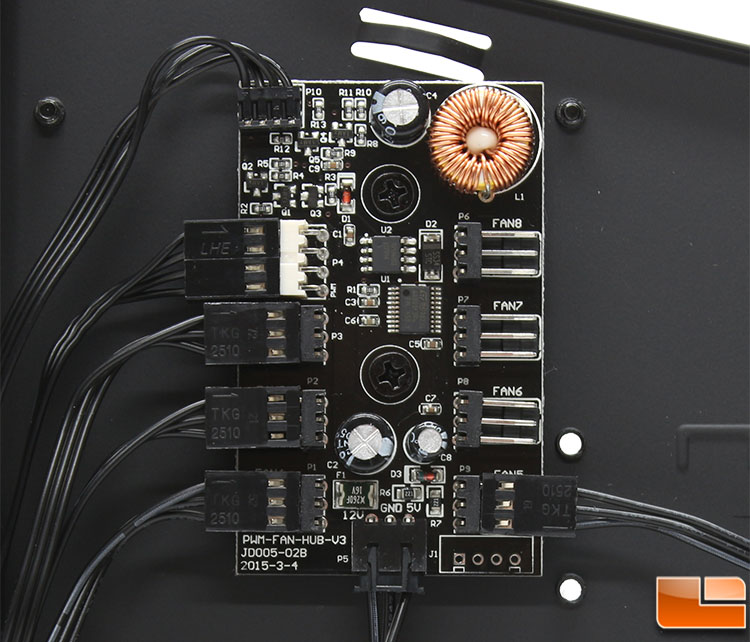
Below the large CPU cutout is the integrated fan hub. Here up to 8 PWM fan can be attached; NZXT upgraded the fan controller from the H440 case line! Nice upgrade making it PWM controllable. With the Noctis 450 including four fans, there are five fan headers being used. The one that is connected to the white header is actually an extension cable, which comes in handy if you have a fan with a short cable, or the desired PWM fan header is too far for the controllers cable.
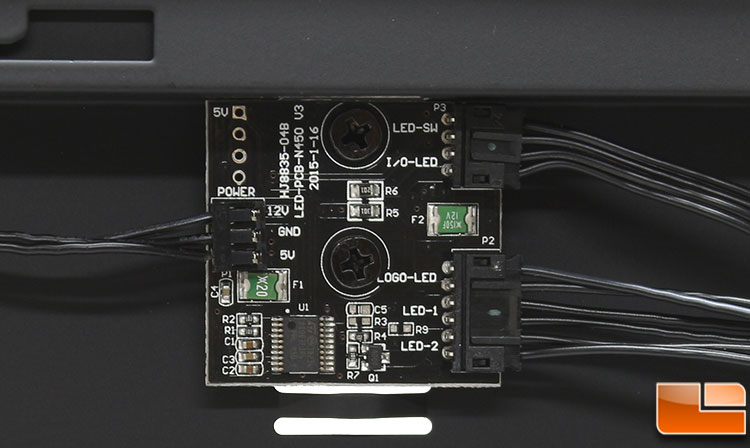
Above the CPU cutout is the LED controller, which is connected to the button on the back of the case and a shared four-pin molex connector, with the fan controller, for power. No special effects are included on the LED controller, and would be a nice upgrade for the next generation of LED controllers.
There are a total of five trays to hold the 3.5″ or 2.5″ drives which are held in place with thumbscrews (the sixth hard drive location is on the bottom panel). This is another element of the Noctis 450 that was taken from the H440. These have a glossy finish, and are painted to match the case.
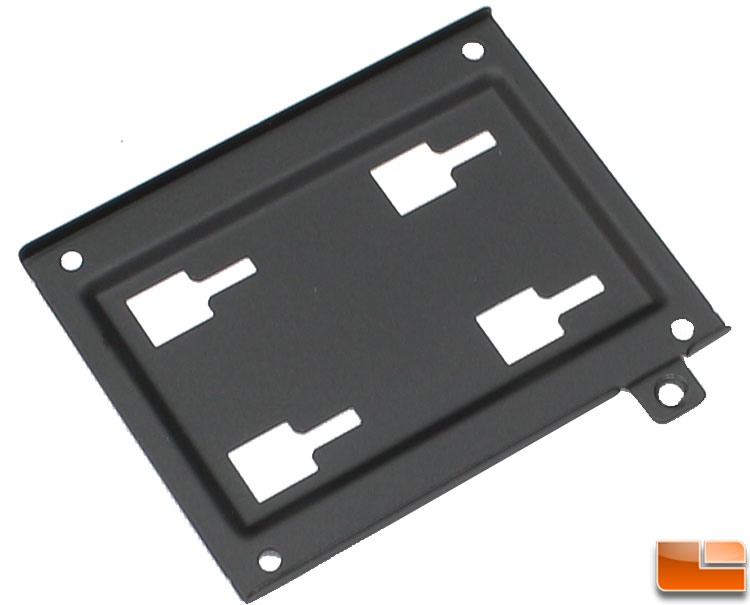
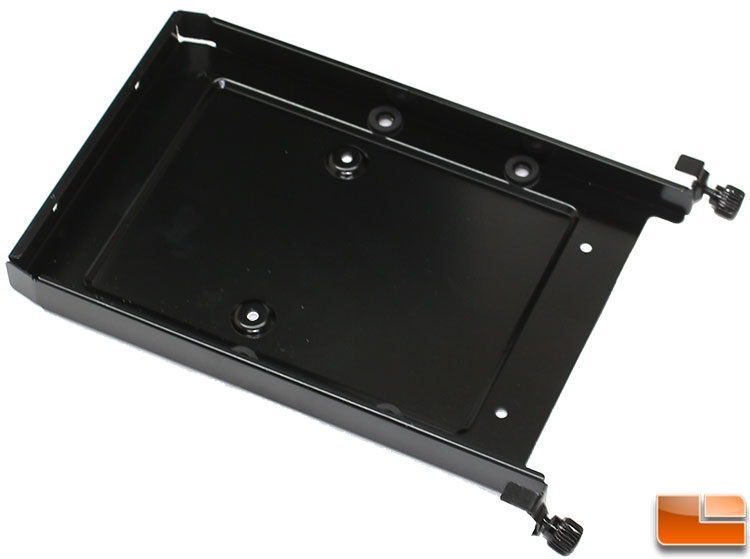
Finally, we have the 2.5″ drive tray that is located on top of the power supply shroud. It is held in place with a single thumbscrew and a slide lock. Secure the 2.5″ drive to the tray with four screws. These have a matte finish rather than the high gloss of the 3.5″ / 2.5″ trays.