NZXT Beta Mid Tower PC Case Review
NZXT Beta – Internal Look & Build
The first thing you’ll notice when you open the case is the completely painted interior which perfectly matches the black finish found on the outside. This adornment is usually reserved for more expensive cases and gives the NZXT Beta case a more refined and finished appearance than one would expect. This feature screams for some adventurous builders to add a windowed panel to showcase the interior.
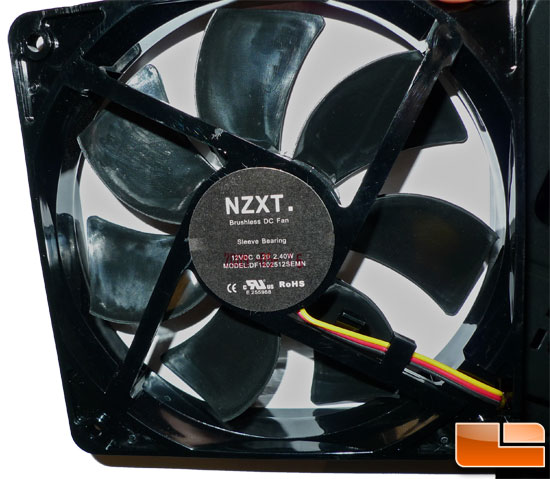
Up front, the 120mm fan features more blue LED’s and offers options for both Molex pass-through and three pin power connectors, each with ample length. This is an NZXT branded brushless fan and the label shows it has sleeved bearings and is rated at 12 volts. It’s been my experience that NZXT case fans are very quiet and this one is no exception. NZXT also allowed room for replacement of this fan for a thicker one if more airflow is needed.
The cables routed from the top panel inside are the typical audio, power, reset, HDD and power lighting connectors as well as a SATA cable leading to the eSATA port previously mentioned. All seem to have adequate lengths to reach their respective connectors. The motherboard mount area smartly has all standoff screw holes labeled via stamped letters into the metal for reference. There’s ample room for ATX standard boards as well as graphics cards up to 10.5 in length. Also are nice cutouts for routing cables to minimize clutter and maximize airflow. The side panel does sit rather close to the backside of the motherboard tray so don’t plan on running many or even large cables back there and I would go so far as to recommend a modular PSU to keep the cable insanity to a minimum. It is not the best design for cable management but good enough for most; especially since this feature is lacking in many cases in this price range. The PSU mounting area is plenty big with room for meaningful airflow on the backside.
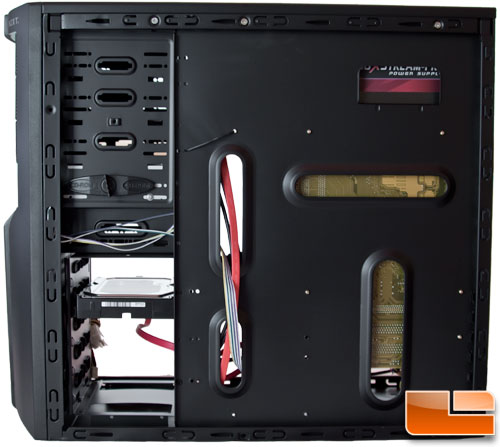
The HDD cage is oriented such that the drives sit sideways making the connectors easy to access although plan on using right-angle SATA cables as there is little room between the side panel and the drive rear side. Non-angled cables will fit but it’s too close for my comfort and SATA connectors aren’t known for their ruggedness so I recommend you don’t tempt fate here. The drive rails used for mounting are pretty standard and require no tools for assembly.
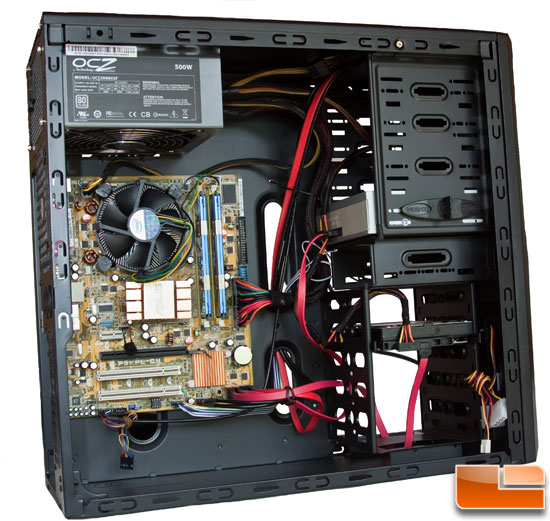
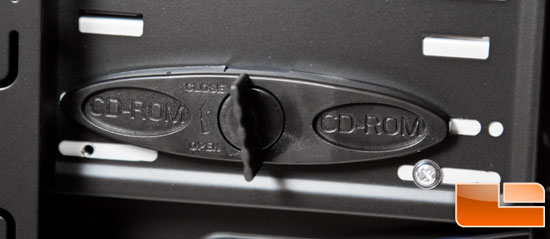
The 5.25 drives are secured using the provided locks bypassing the need for tools. They seemed to do a decent job securing an optical drive, although the plastic is rather soft and if you aren’t careful the steel will happily deform or damage the plastic locking piece so don’t force it. Since optical drives can really cause some serious vibrations, I decided to add one screw to each side for extra security and lessen noise as much as possible. There were no perceptions of unsteadiness without the screws; it was just a matter of personal preference on my part.
Finally, at the rear of the interior we find the empty 120mm exhaust fan mount. I’d like to see all cases come with a minimum of one front and one rear fan but I also understand the need for cost reductions and not forcing the customer to buy a bundled fan when they would just end up replacing it anyway. I highly recommend adding a fan to ensure proper airflow especially if air cooling the CPU. The expansion slot covers are held in place with simple screws requiring a screwdriver for extraction. It’s a little extra work but beats cheap plastic retention clips or some other gimmicky alternative that barely works and/or is susceptible to breakage.
Comments are closed.