Noctua NH-D15 Air CPU Cooler Review
Installing the Noctua NH-D15 CPU Cooler
I must put out a word of caution when working with this cooler: It’s quite fragile. The heat pipes are all that’s holding up the stacks, and they don’t provide much rigidity to them in their separated nature. If this were a single stack cooler you wouldn’t have to worry, but the cooler itself is quite flexible without the middle fan installed. You will want to avoid putting too much pressure on the stacks when installing / removing the fans, or you’ll be angry that you just busted your brand new investment.
Anyway, with that out of the way, I must say that the NH-D15 is by far the simplest cooler install that I’ve had an opportunity to perform. Noctua nailed it here! There is zero prep work needed to be done thanks to the SecuFirm2 mounting system, so aside from removing the center fan, you can dive in and start installing the cooler.
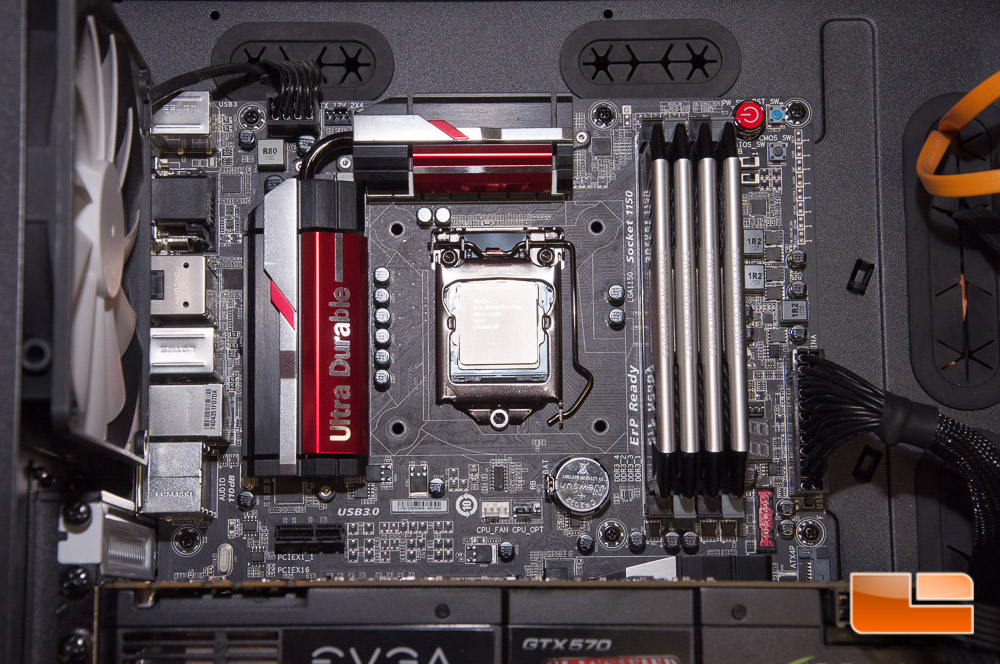
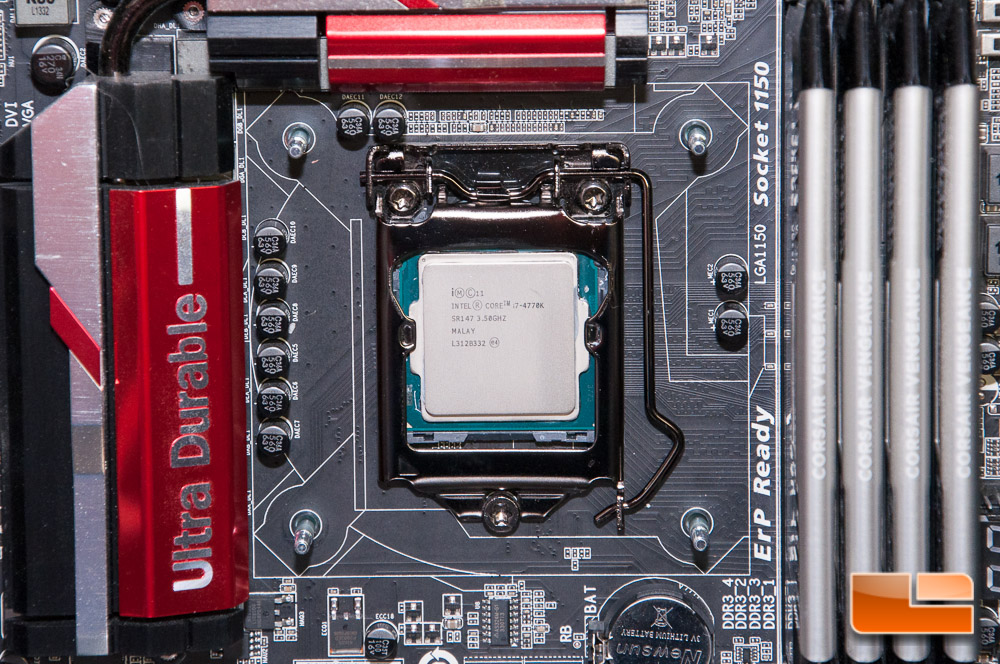
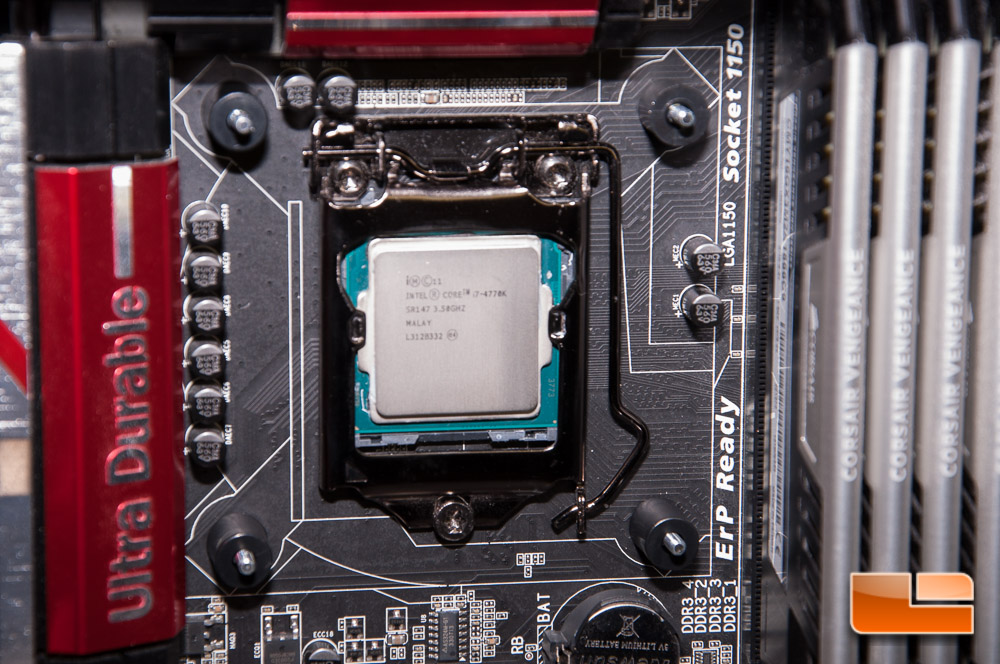
I always start off with a clean slate by wiping down the processor’s IHS with alcohol; I do the same with the new HSF where applicable.
We’re going to start off with this back plate for Intel setups.
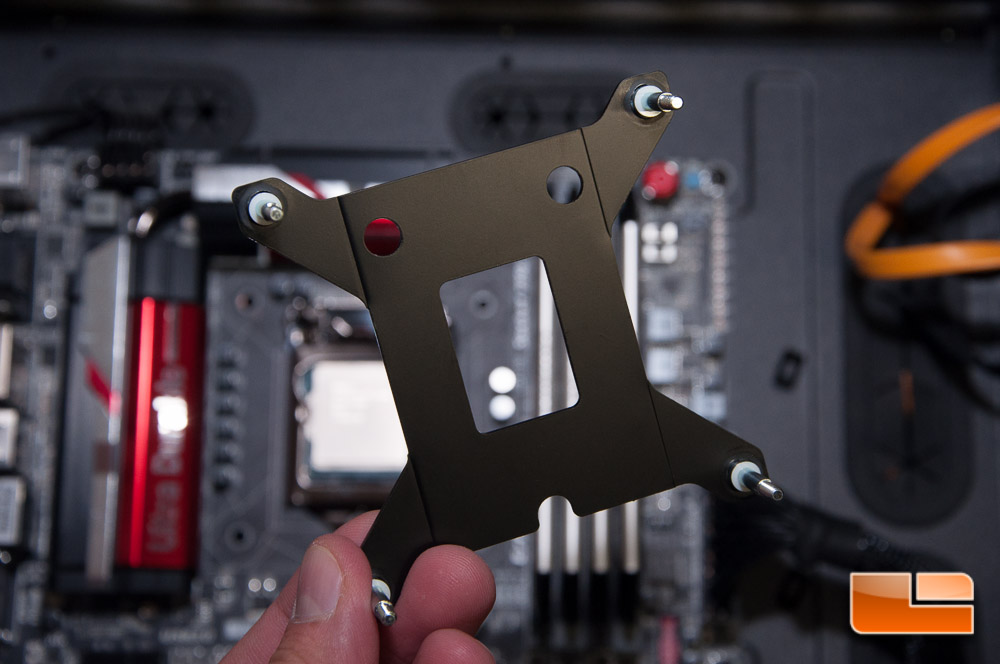
We just have to slide it through the rear motherboard access hole and slip it into the mounting holes. Take careful note of where the cutouts are positioned, as the single half-round cutout is to be positioned down. The goal is to not crush your motherboard, which is why these cutouts are here.
The back plate as seen from the rear:
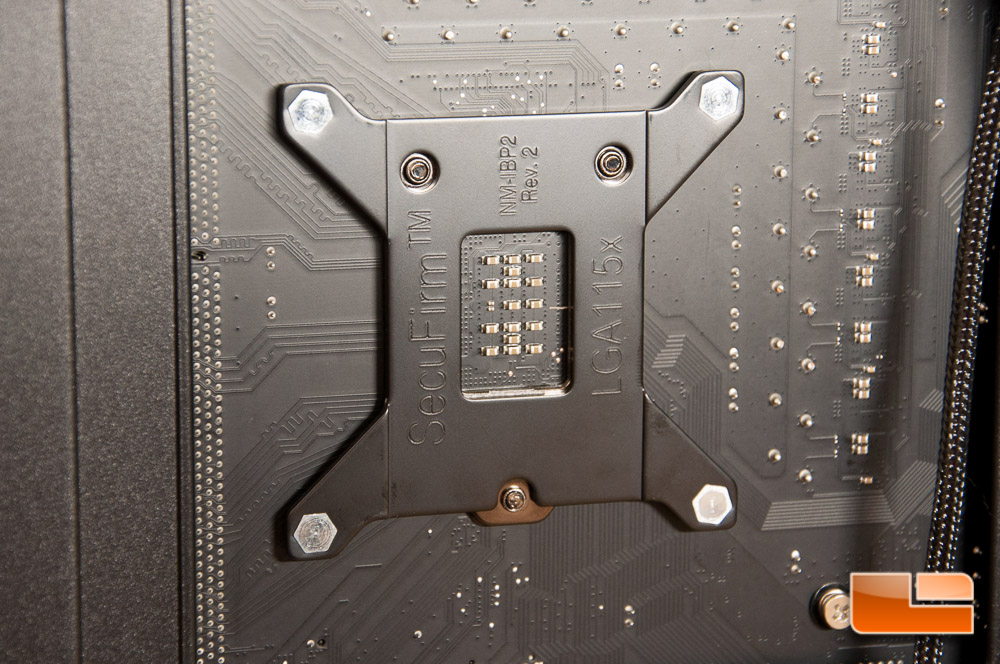
When installed, the standoffs will protrude
and will need a spacer installed to help with the install.
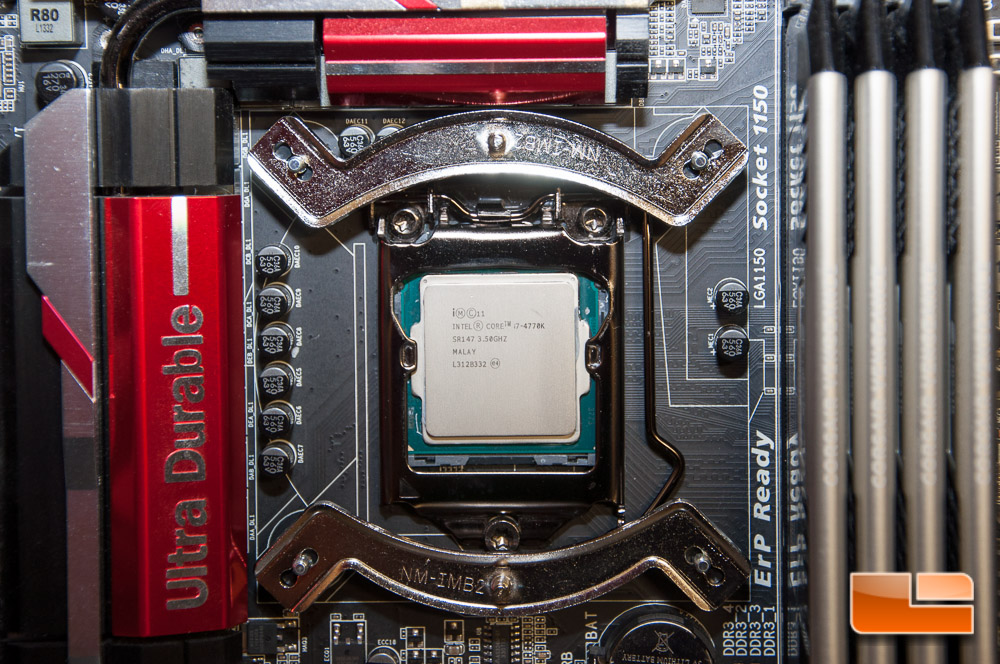
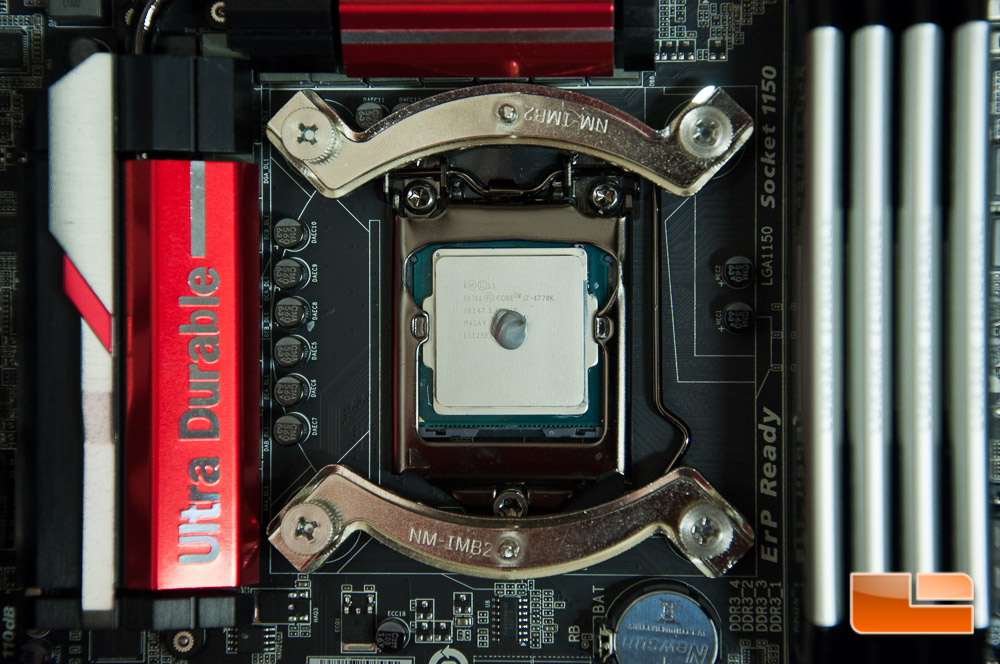
Next we will figure out how we want to mount this cooler. I wanted the airflow to go towards the rear of the case, so I had to place the brackets in a certain way. Take note that on my particular motherboard, there is only minute clearance between the bracket and my mosfet heatsink. I’m hoping that this is not a challenge for all boards, and thankfully was not with mine.
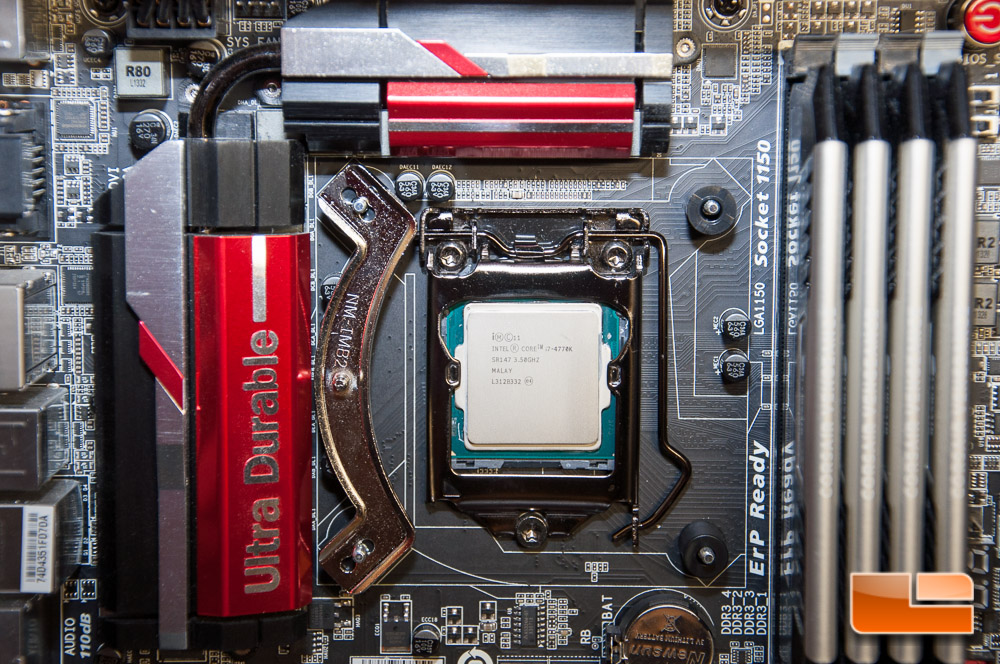

Both positions showed the clearance to be very very minute – If I had to guess, I would say just shy of 1 mm.
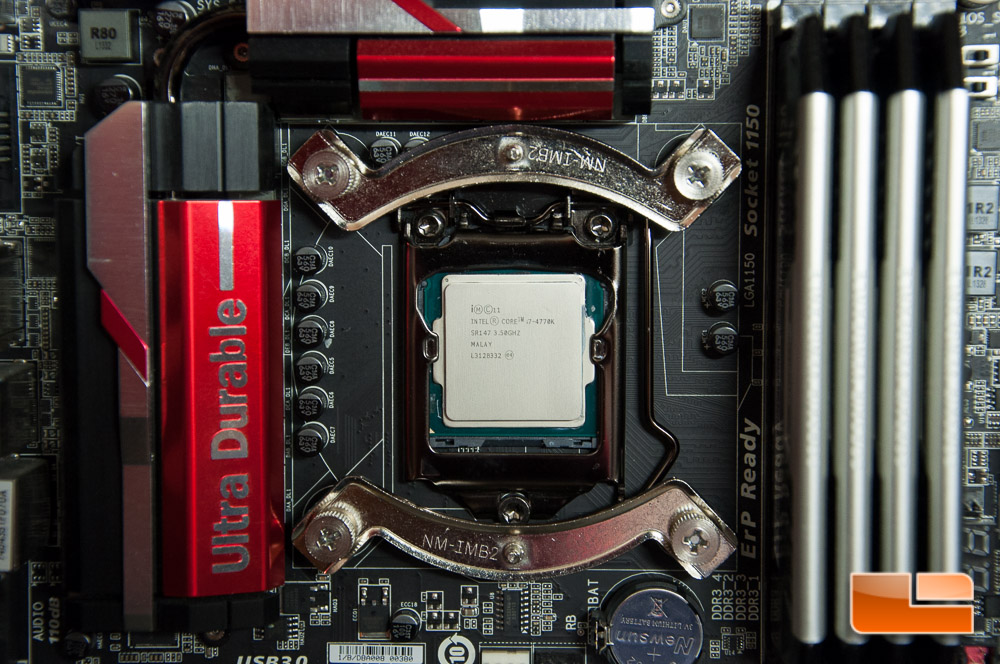
You will then cap the standoff with a thumb screw that should only be snugly fit.
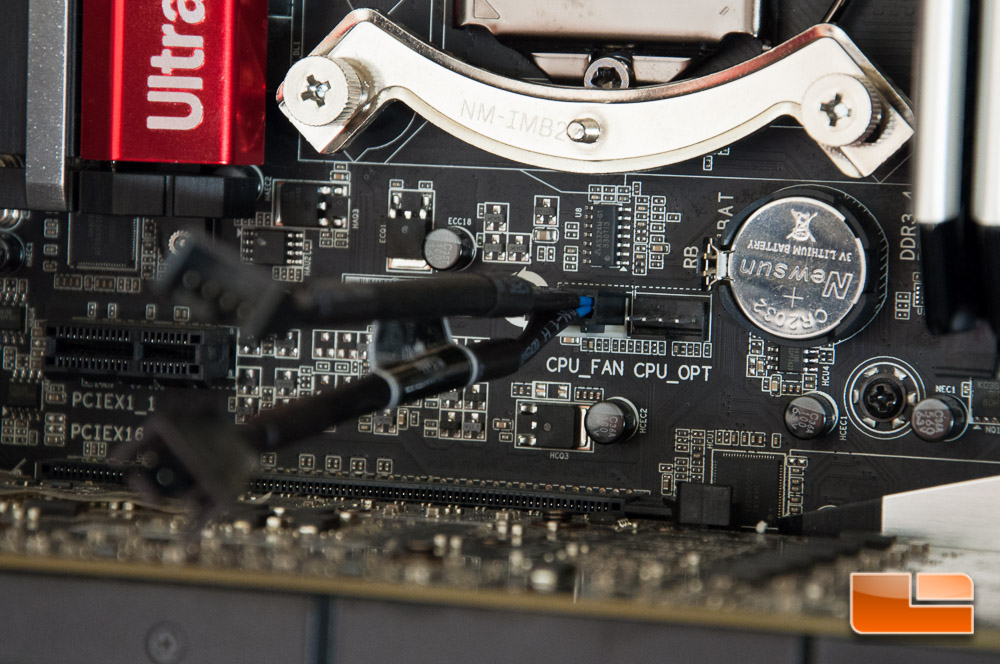
What I would do before dropping any thermal paste on your processor, is figure out if you can even get the second fan in place. You do not necessarily need it mounted prior to installing the cooler, but you can.
Also, if you’re like me and planning on connecting your fans to the CPU_FAN header, then you’ll want to connect the Y-splitter prior to installing the cooler. You’ll be very thankful that you did, as room between anything around the D15 gets very tight.
I dropped a pea-sized dot of the included NT-H1 thermal paste in the center
then proceeded to put the cooler in place. Noctua includes a long handled screw driver to make your install as simple as possible, and it works just fine here. Just snug these screws down and you’re all set.
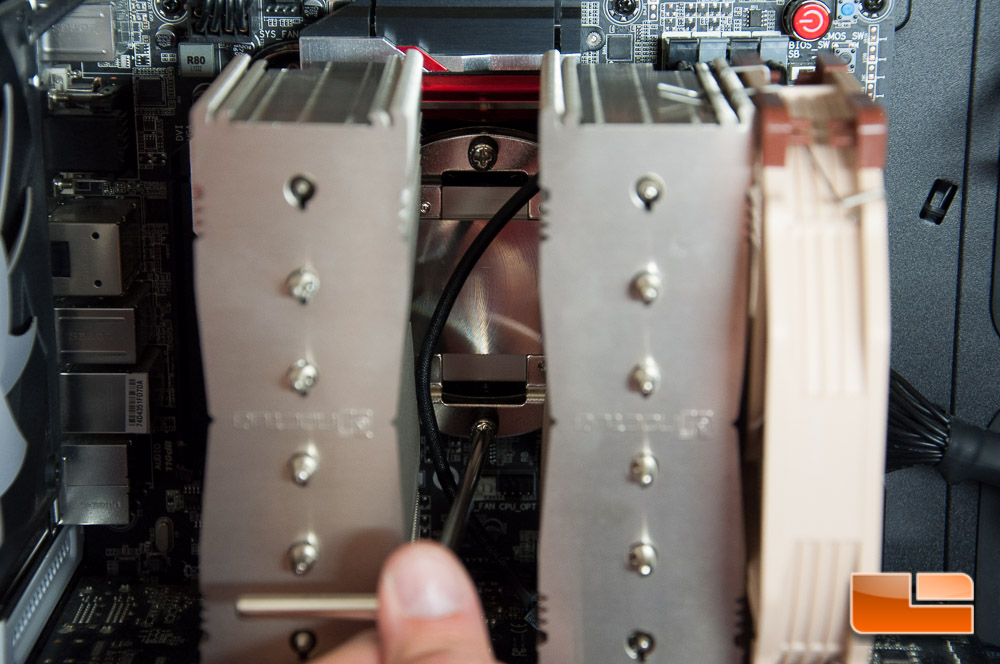
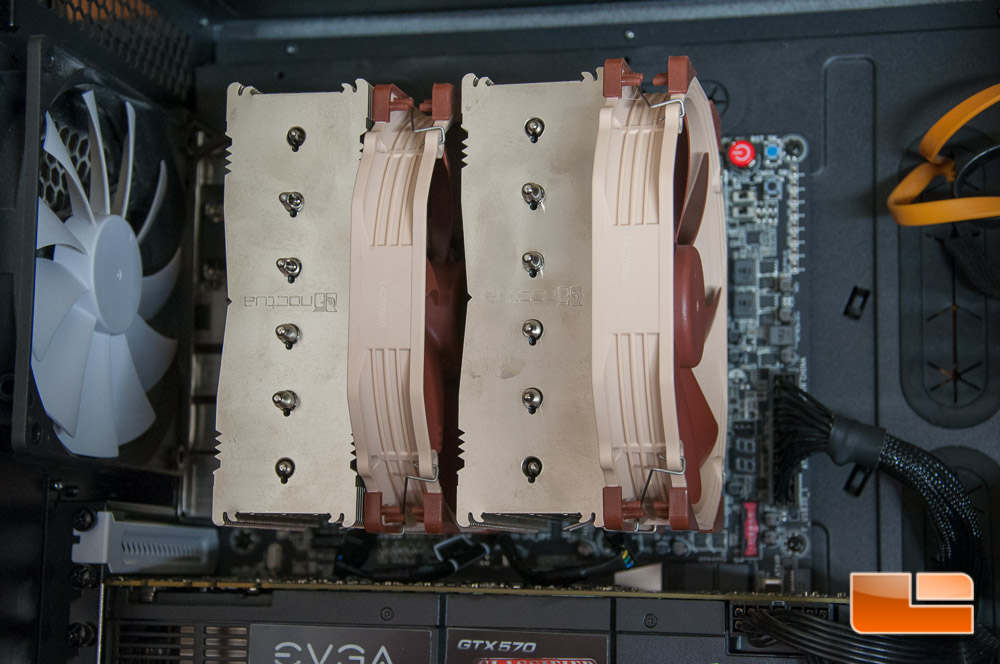
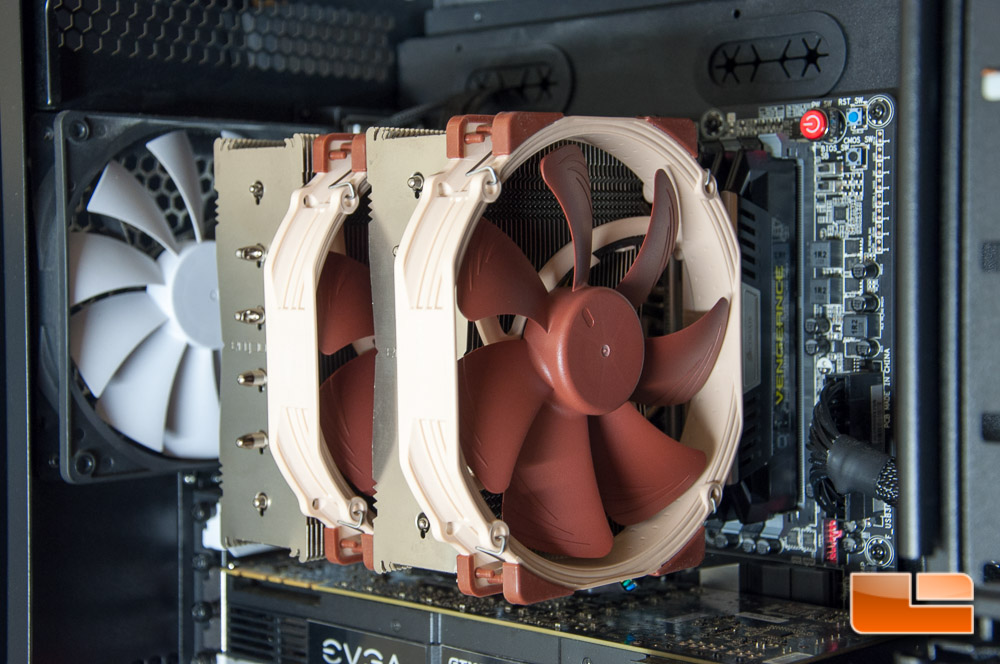
Now we’ve got the cooler all mounted and all that’s left is mounting either one or both fans. As you see below, I had my outside fan already mounted.
Securing the fans in place is very easy yet, and I thought I was going to have troubles getting the center fan in place. Fortunately the spring clips were very easy to manipulate with low clearance. I connected the fans to the Y-splitter immediately after mounting the cooler.
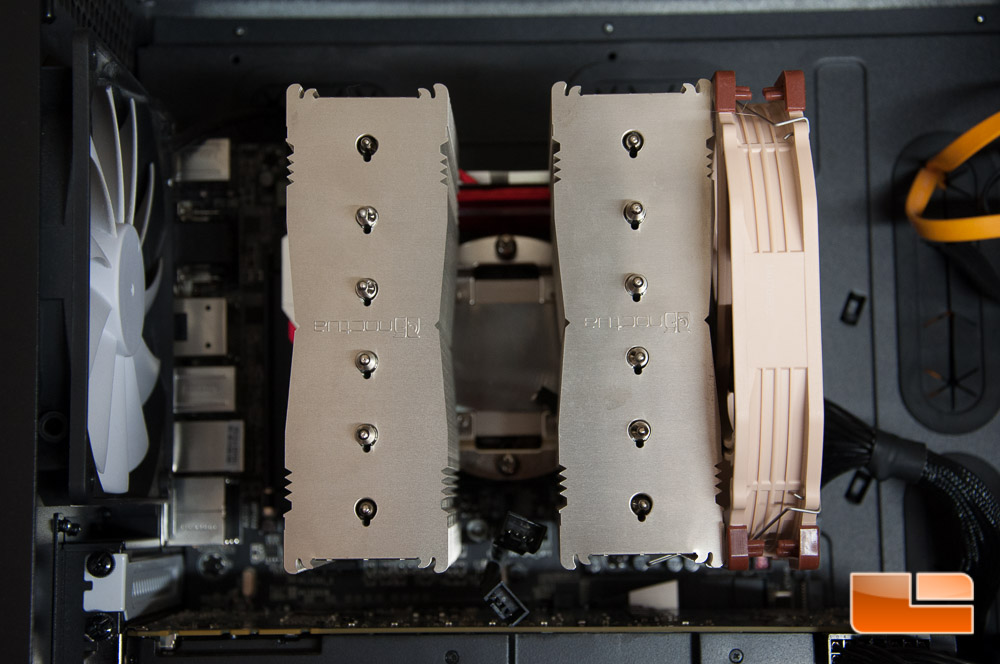
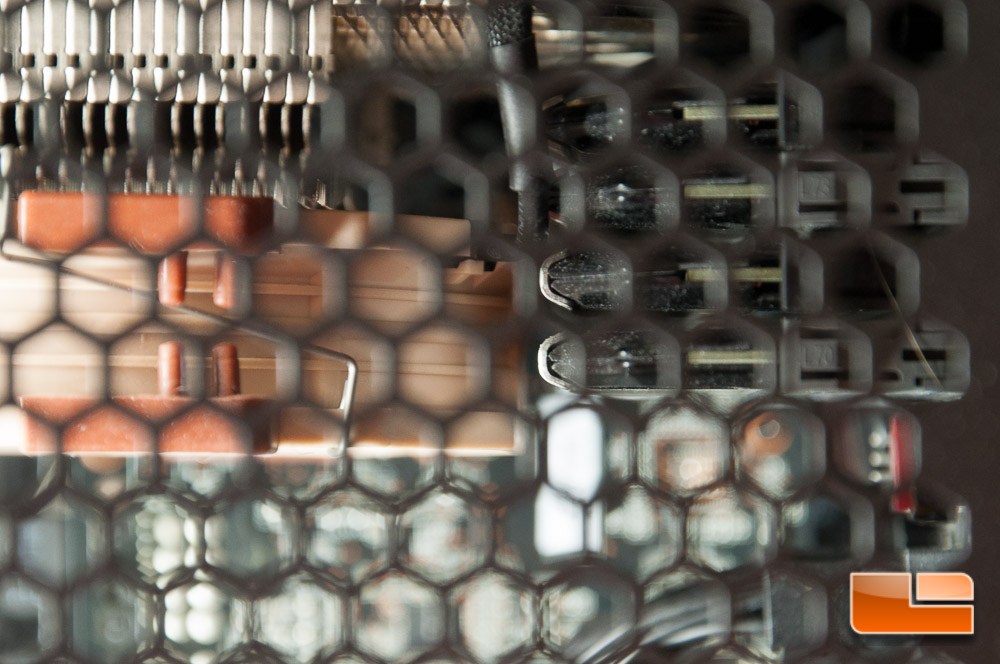
It’s tough to see from either angle, but my RAM had very little clearance with the fan as well. The Corsair Vengeance Pro RAM is quite tall and I ended up having to get within 1mm to allow clearance for my case door to actually go on.
If you look closely at this top-down picture through the cooling holes on the case, you can see the very little clearance between the fan and RAM.
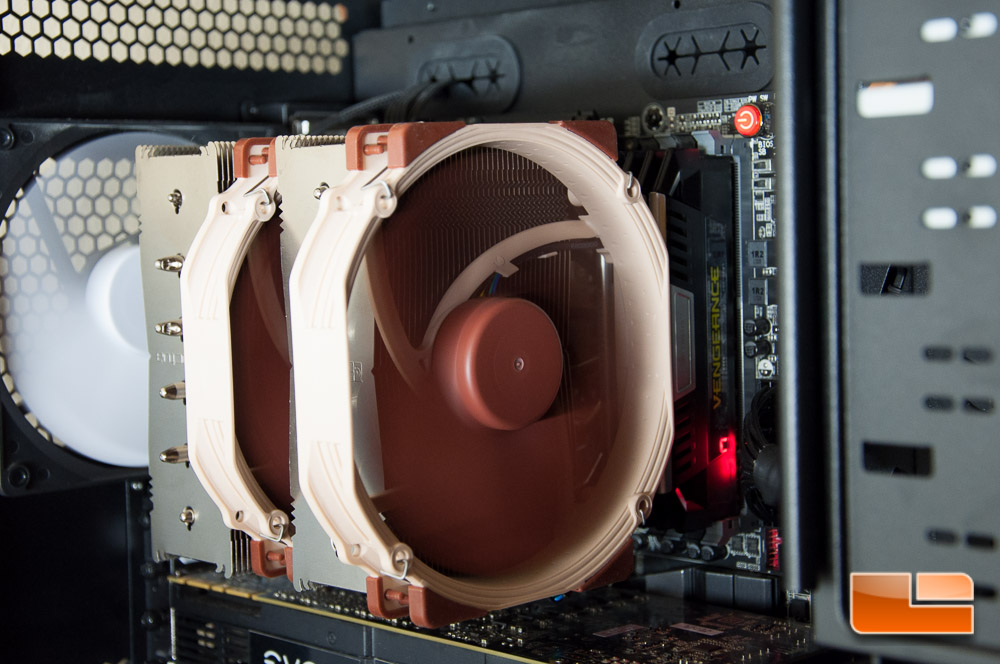
All powered up the cooler is dead silent in a 74*F room with no load. We’ll have to see if we can hear it under heavy loads from x264 or Prime95, as the fans will spin up
Since we know that everyone is curious with how the Noctua NH-D15 performs, let’s move onto the testing. Well compare it to the various air and liquid CPU coolers that weve tested in the past, see how well it works with an overclock to 4.3GHz on a i7-4770k. Before we get into the tests, click the next page to see what weve got in our system.