Nanoxia Deep Silence 1 Mid-Tower Case Review
Installation of Hardware into the Deep Silence 1
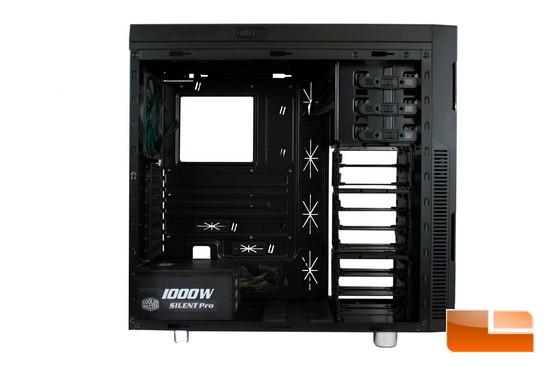
Time to start with the installation of my computer components into the Deep Silence 1 chassis. So far everything is going right in with no problems. The PSU went right and the motherboard standoffs were easy to install.
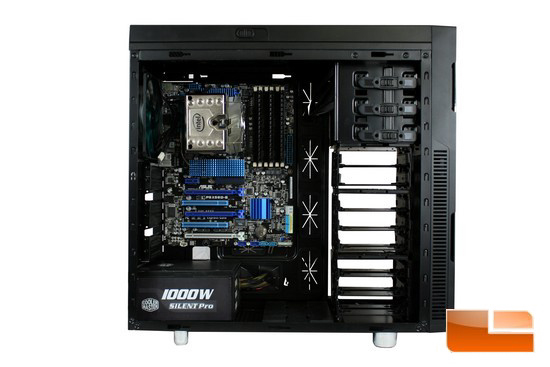
The motherboard went right in, so far the interior does not look to be overcrowded.
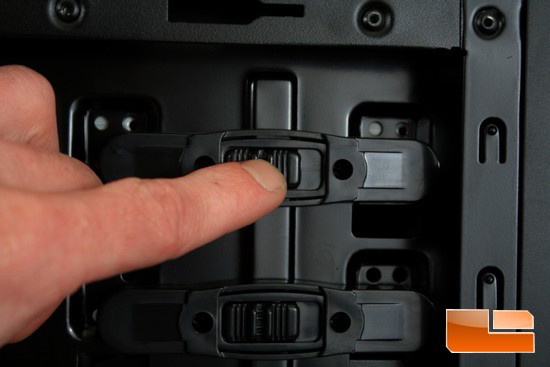
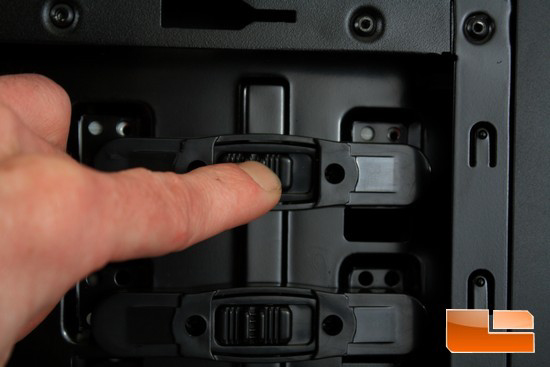
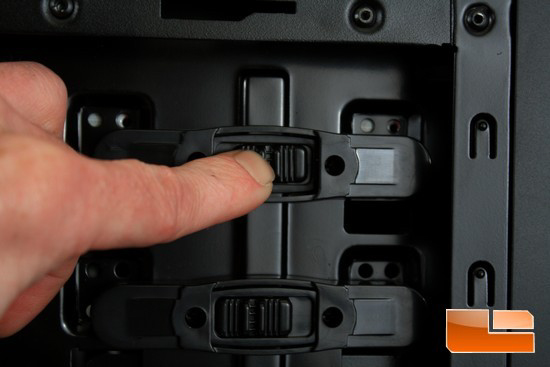
To install a 5.25 bay drive and secure it to this chassis requires us to push on the center of the locking mechanisms and push the lever from the rear position to the forward position and release the lock.
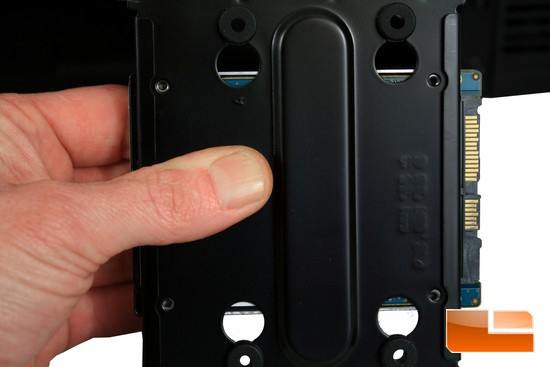
To install the 2.5 HDD/SSDs on to the individual HDD carriers we just need to align the mounting holes on the carrier to the mounting holes of the HDD/SSD. 2.5 HDD have the same exact mounting pattern as a SSD.
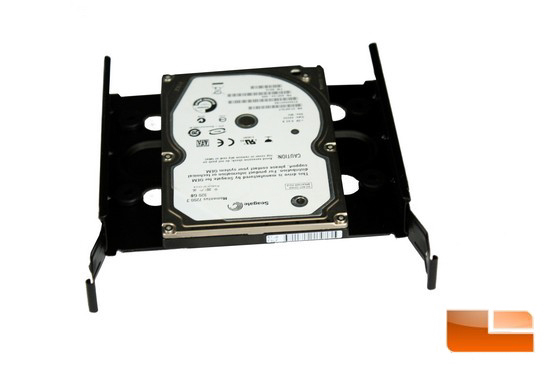
What a 2.5 HDD/SSD looks like once it has been installed onto the HDD carrier.
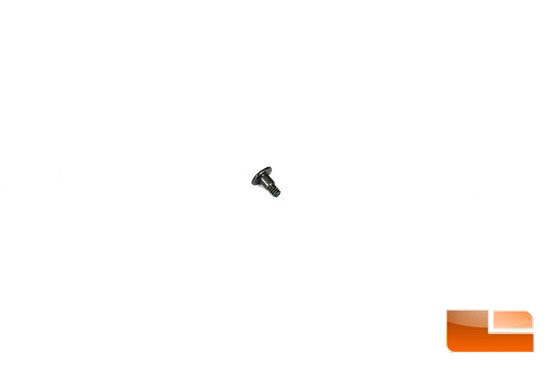
This T type of screw will be required for us to use in order to install the larger 3.5 HDD.
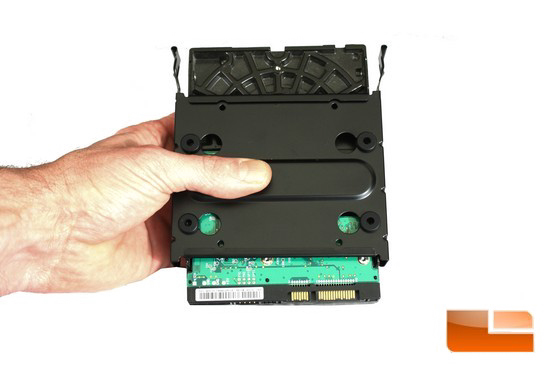
Same thing applies to our 3.5 HDD as the 2.5 HDD/SSDs, align the mounting holes on the carrier to the mounting holes on the 3.5 HDD and use the T type of screws to secure it to the carrier.
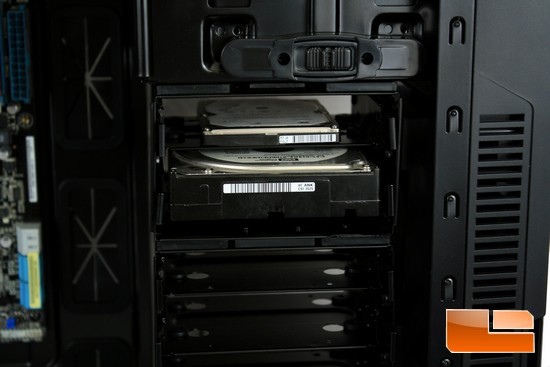
This is what the HDDs look like once installed onto the carrier as well as in the chassis.
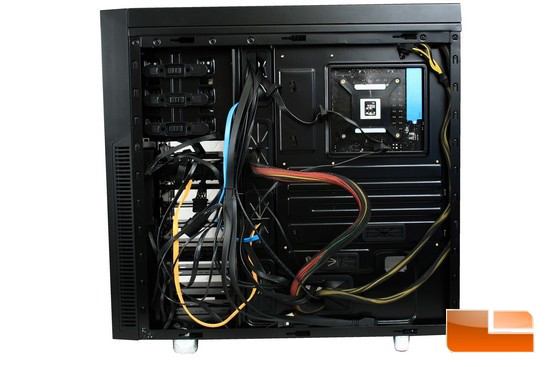
Looking at the backside of the motherboard tray once everything has been installed. Nanoxia does include wire ties to secure the excess power cables to the motherboard tray. So far everything is going smoothly.
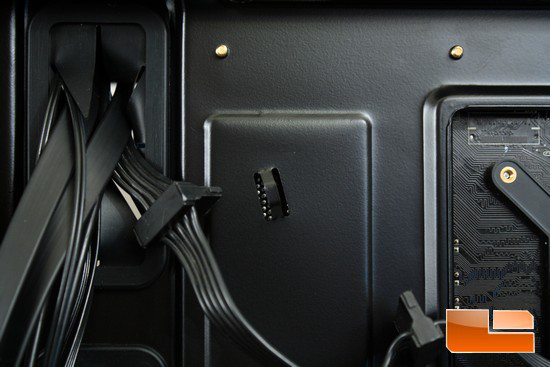
Closer look at the loops that are placed onto the motherboard tray for the included wire ties.
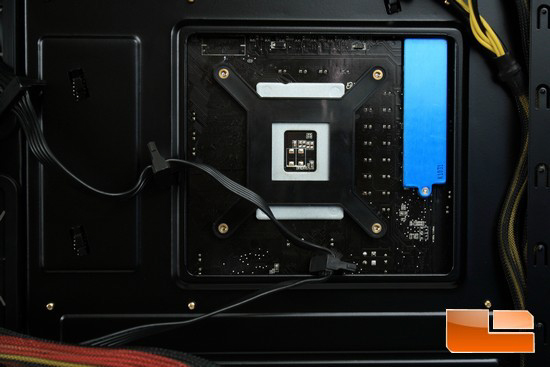
Well the CPU cutout is large enough to handle a great variety of different motherboards and their configurations.
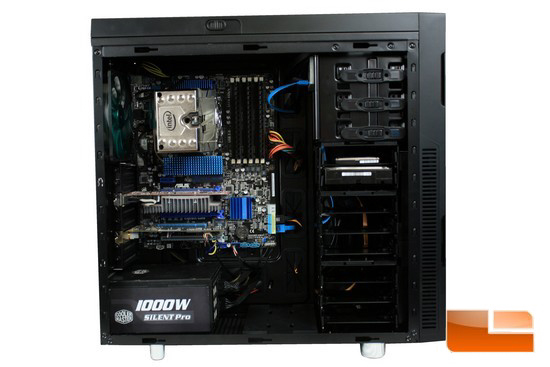
Another nice a clean installation of my computer components into the chassis.
The only thing I had issues with was putting the side panel on the right hand side (backside motherboard tray side) did require me to lay the chassis onto its side and put the right side panel on. This could been easier if Nanoxia used a swing open type of side panel instead of the sliding locking type that is currently in play.
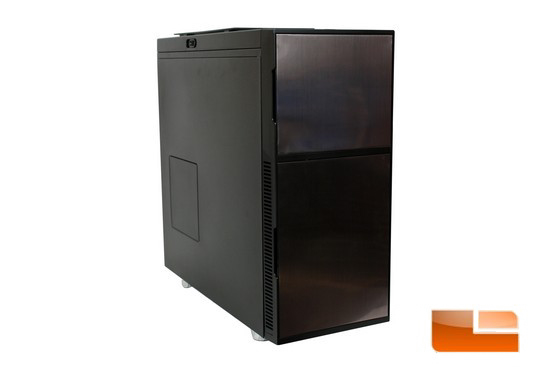
What the Deep Silence 1 looks like once all of the computer components have installed into this chassis.

Comments are closed.