Nanoxia Deep Silence 1 Mid-Tower Case Review
Interior thoughts of the Deep Silence 1
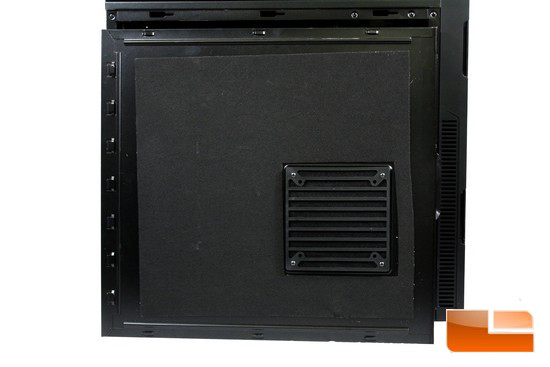
I am going to start off on the side panels, Nanoxia uses a sound deadening material on the inner side of both side panels. On the left side panel Nanoxia allows us to mount either a 120mm fan or a 140mm side fan for if and when we may need to added circulation for our chassis.
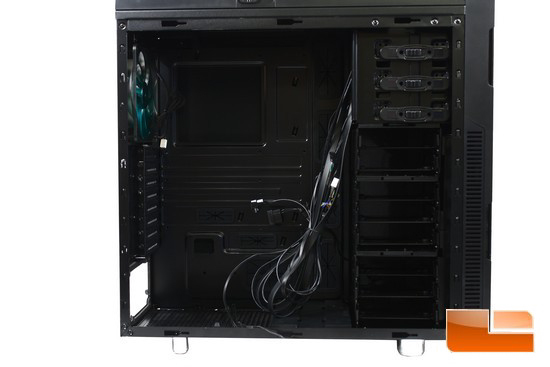
Time for me to start the interior overview of the Deep Silence 1 chassis.
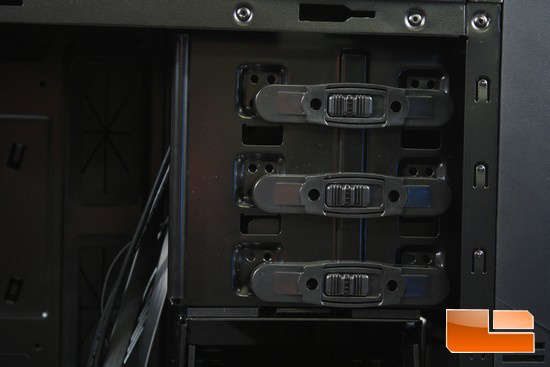
I have seen a lot of different types of 5.25 bay locks, this one in particular is definitely different. I will go into more detail on how to operate these in the hardware installation portion of the review. The Deep Silence 1 can utilize up to three 5.25 bay devices.
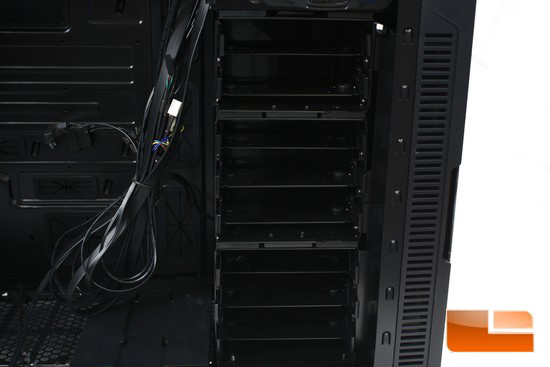
The Deep Silence 1 chassis can utilize up to eight 2.5/3.5 HDD/SSDs. The HDD cages themselves were a bit bent up when I received this chassis, it was not caused by the shipping of this chassis but during the packaging as the rest of the chassis was still intact. This is why the HDD cages look a bit odd, because I had to straighten them out to remove the HDD carriers.
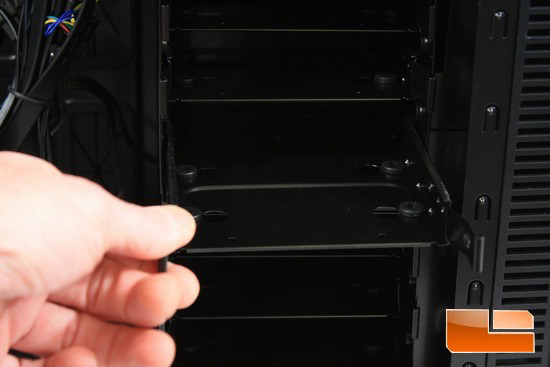
Each HDD cage houses individual HDD carriers, to remove a HDD carrier just simply squeeze the two tabs together and slide the carrier out of the cage.
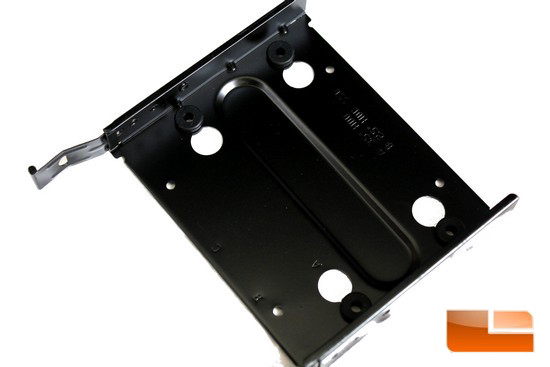
Each HDD carrier can handle either a 2.5 HDD/SSD or the larger 3.5 HDD.
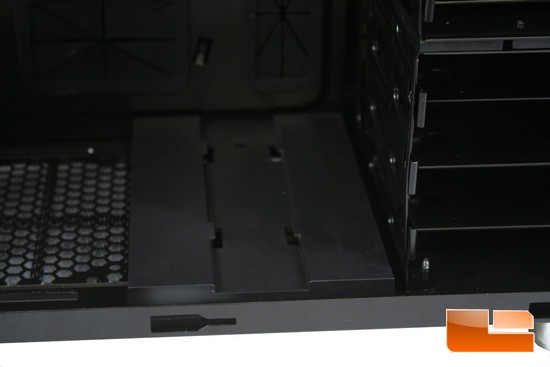
If you plan on mounting a front 240mm radiator onto this chassis you will have to remove the HDD cages from the front of the chassis. This little holder is so that we can still mount a HDD cage to this part so that we can still mount our HDDs while also using a forward 240mm radiator.
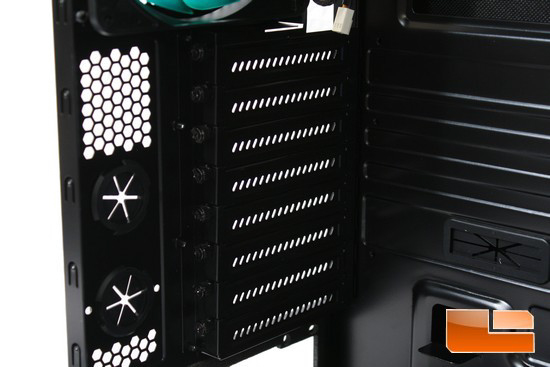
Nanoxia uses eight removable/replaceable vented PCI port covers on this chassis. These will help ventilate the chassis better and also help keep large debris from entering this chassis from the backside for when we are not using that corresponding PCI port.
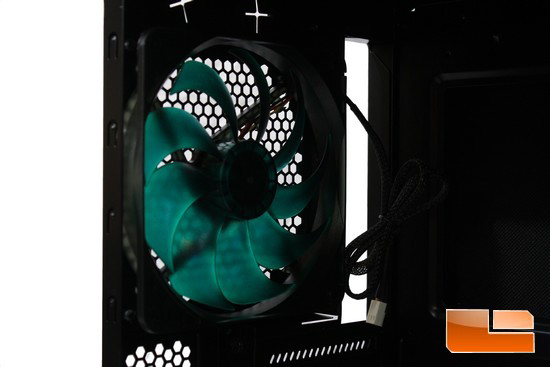
A better look at the 140mm rear exhaust fan that Nanoxia includes with this chassis.
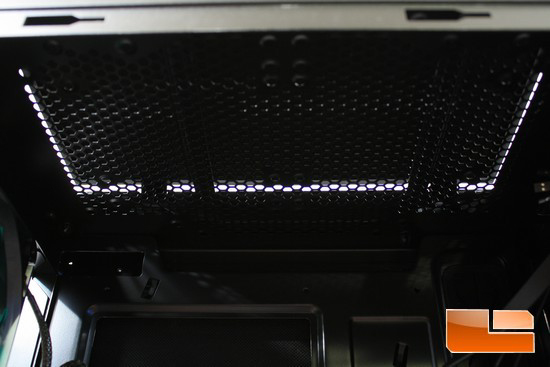
We can install either two 140mm fans up here, or we can install two 120mm fans; we even have the option of being able to install a 240mm radiator up here.
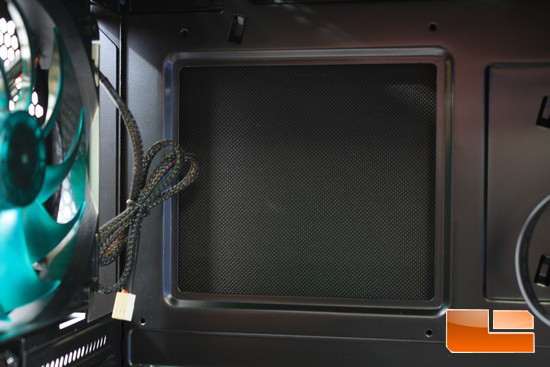
The CPU cutout appears to be large enough to handle a large variety of different motherboards and their multitude of different configurations.
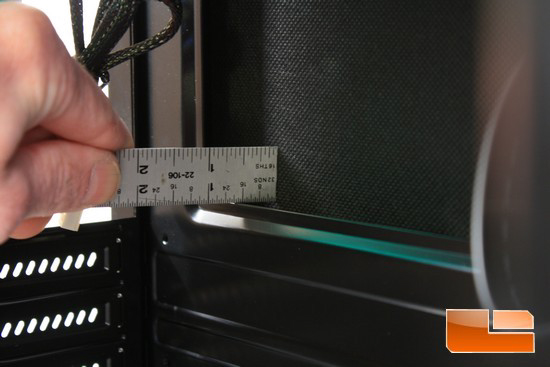
Doing a quick measurement directly behind the motherboard tray through the CPU cutout, we can see that we have just right at 3/4 of an inch of room behind the motherboard tray. This should be plenty of room to hide our extra PSU power cables.
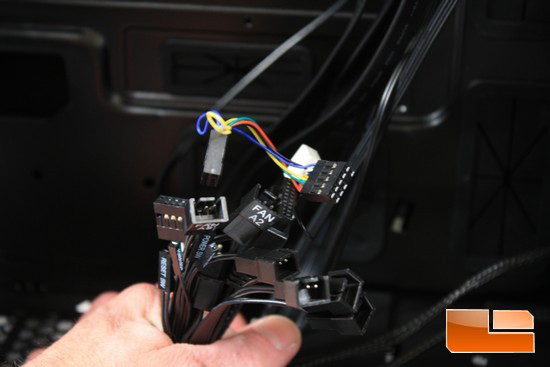
Looking at the included front IO header motherboard connectors. Six of the connectors are for the included fan controller for our fans, the other connectors are:
- USB 3 motherboard connector
- USB 2 motherboard connector
- On/off power button
- Reset switch
- Power LED indicator
- Front Audio header
I will like to add that Nanoxia labels three of the fan connectors A1-A3, and B1-B3 and that these correspond to one fan controller. A labeled fan connector correspond to the top fan controller, while the B labeled connectors correspond to the bottom fan controller.
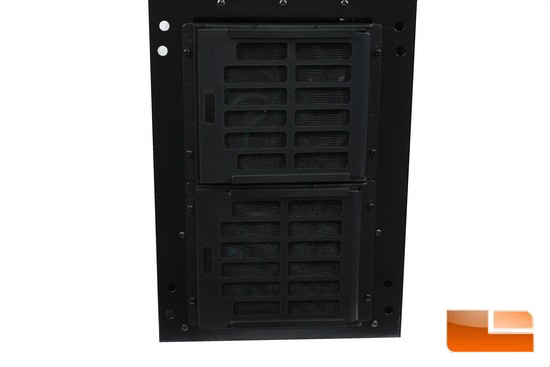
If you choose to install a forward mounted 240mm radiator you will have to remove the front fan cages. Each front fan cage is held onto with four screws.
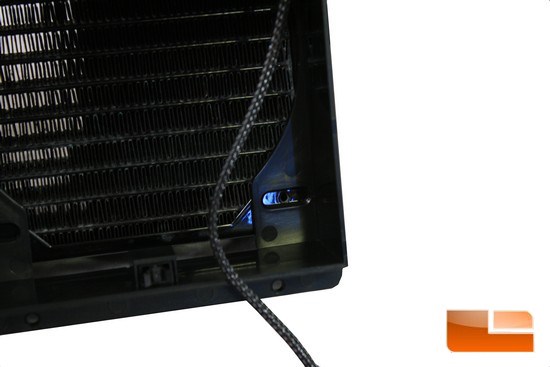
The fans do not mount directly to the radiator directly, they still stay mounted to their holders. The radiator is what gets mounted to the fan cages. Shown in this image on how that radiator will get mounted.
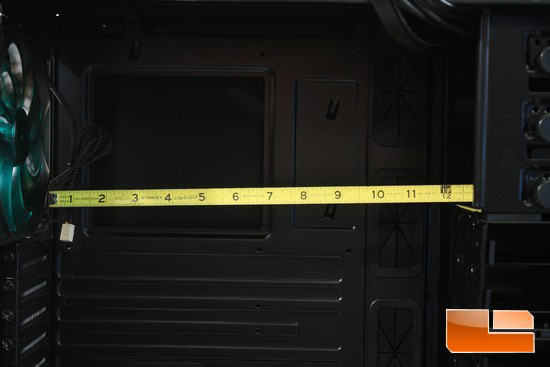
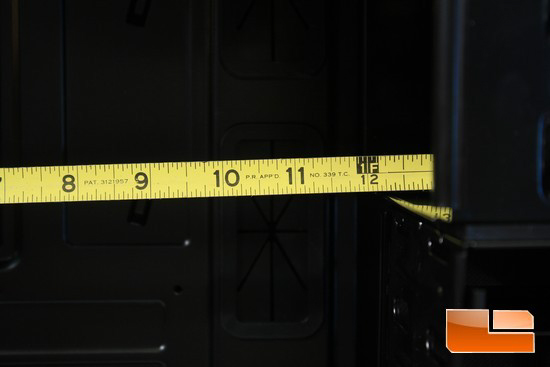
Doing a quick measurement of the interior of the Deep Silence 1 chassis, Nanoxia does give us quite a bit of room inside of the chassis; a little over twelve inches of room from the front of the PCI expansion ports to the backside of the HDD cages. We can further the amount of room by removing the HDD cages, if and when it is required.
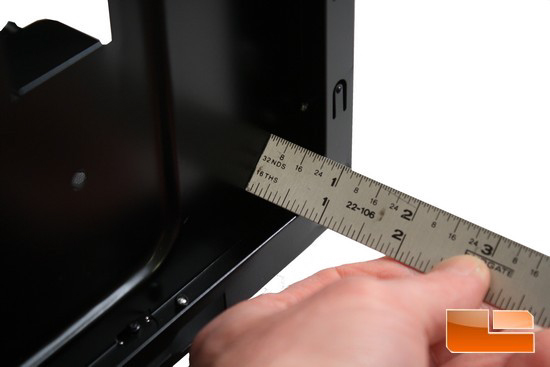
This measure confirms the measurement I had when I measured behind the CPU cutout, that we do have roughly 3/4 of an inch of room behind the motherboard tray.
Nanoxia does ensure that this chassis as fairly well built, and that all of the edges were rounded off enough to prevent me from shredding my hands as I made my way around this chassis. For stability testing I grabbed the bottom rear left corner of the chassis and grabbed the upper front right corner of the chassis and twisted it; my results revealed that there was not much play with this chassis. Giving me the determination that this chassis is built solidly.

Comments are closed.