ECS LIVA Mini PC Kit Review – Intel Bay Trail-M System For Under $135
Building The ECS LIVA Mini PC
ECS says you can assemble the LIVA in just 40 seconds with a Philips screwdriver, but it will likely take you a little longer than that as we couldn’t even do it in 40 seconds. We don’t feel bad as the ECS quick installation video is edited with cuts and is nearly two minutes along and is worth a quick look below.
As you can see assembly is very simple, so we’ll just give you a very high overview on what needs to be done.
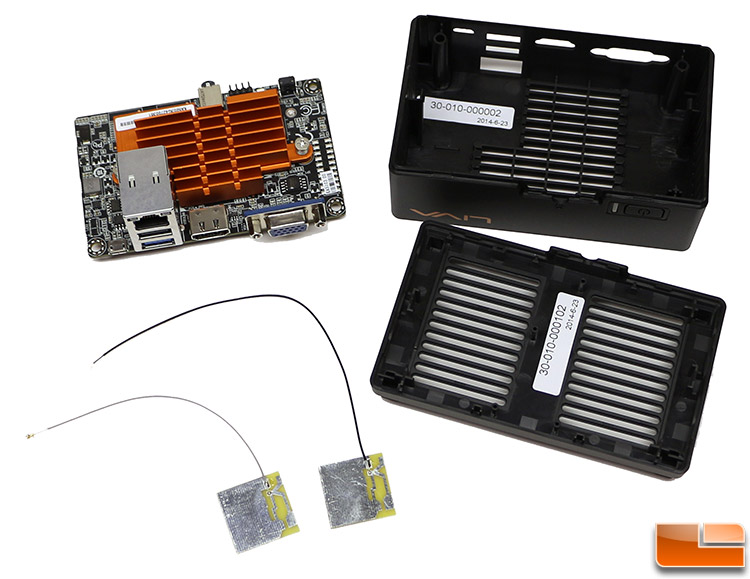
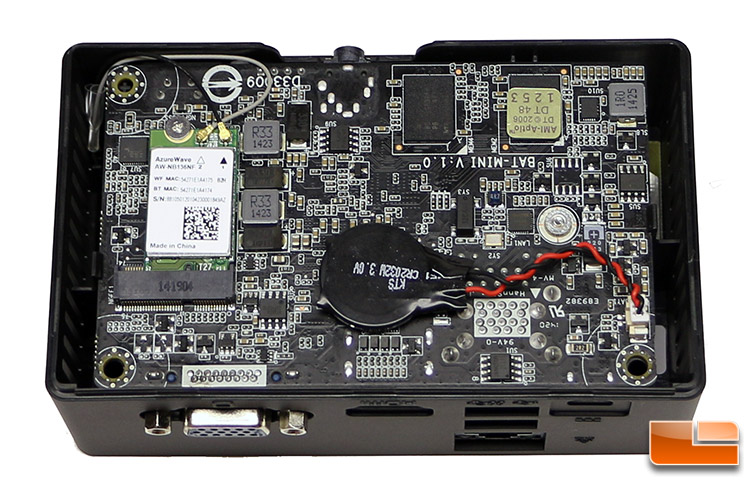
The first think you need to do is install the Wi-Fi module, which just pops in the board and is held down with the included Philips screw. You then need to lay out the wireless antennas and the two plastic halves of the PC enclosure.
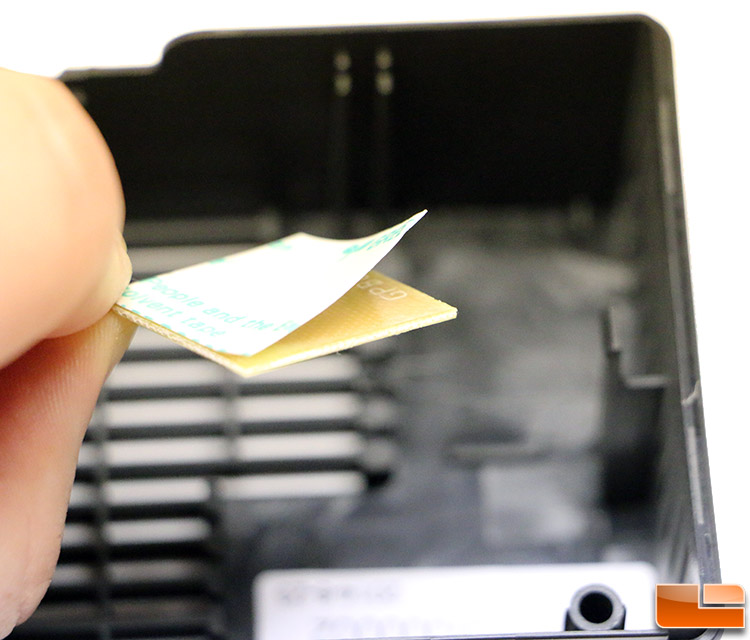
You need to install the antennas in the right spot as they are both different lengths and go in different locations in the case housing. Once you figure out where they go by reading the included installation manual you just need to remove the protective backing on the adhesive on the backside of each antenna and install them.
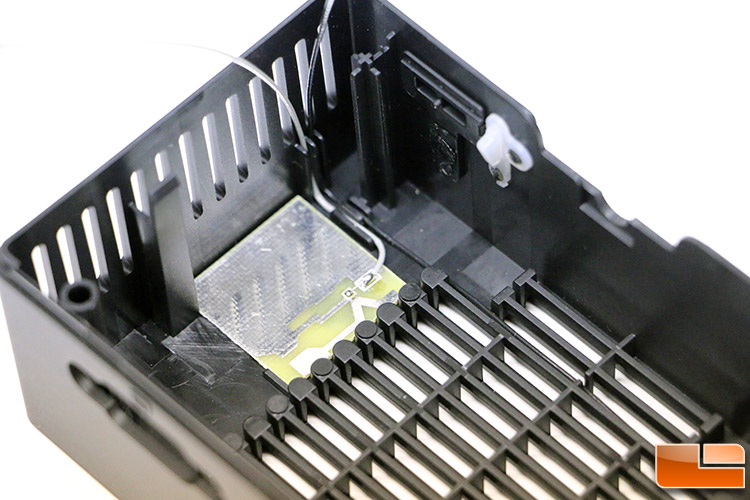
Once you have those installed you need to route both wires through some little routing paths there were made in the plastic cover. We rotated the antenna with the white lead as the wire appeared to lay better in the case. 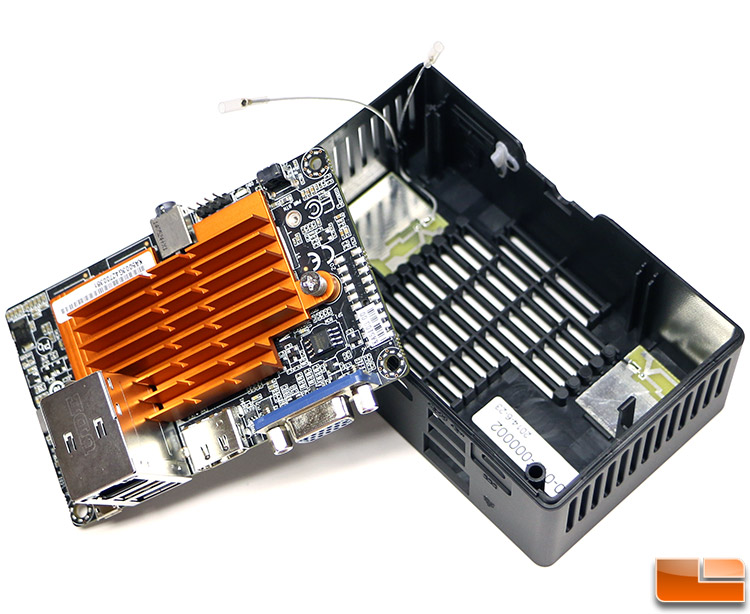
Once you get those run you just need to install the ECS BAT-MINI motherboard, which is held in with a pair of plastic clips on each side of the enclosure. You might have to finesse it in, but it fits.

Once that it in you just need to attach the two antennas on the wireless module and you are all set. Notice that the wireless card has black and white designators on the label, so you know exactly where to run the white and black antenna leads. You’ll need to slide back the protective plastic cover in order to attach the antennas. Be careful here as the wires are thin and if you aren’t gentle you could rip of the ends!
Once that is done you can gently route the wires our of the way and you are ready to put the case together.
For that you just need to line up the two case halve and snap them together. It goes together fairly easy, but it is tough to get back apart without a flat head screw driver. We wish ECS would have designed a pry spot in the injection molded case halves, but they didn’t.
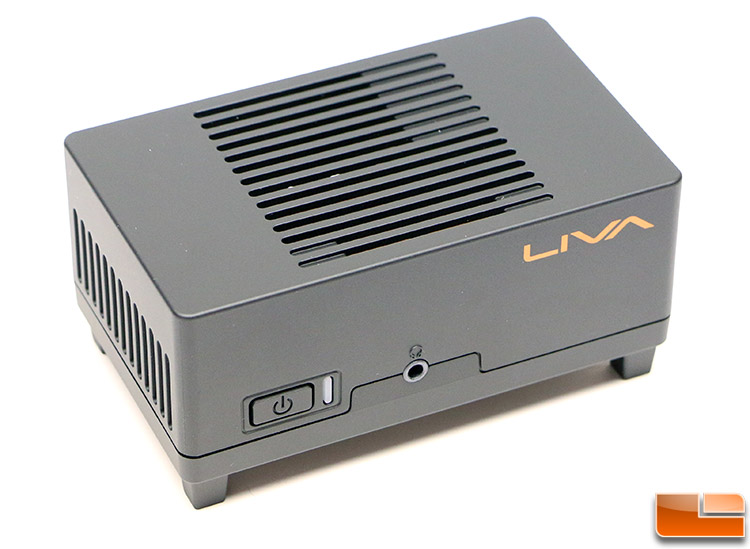
Once the case halves are together you have a completed ECS LIVA Mini PC kit! It is entirely plastic and very light weight, but it should do the trick.
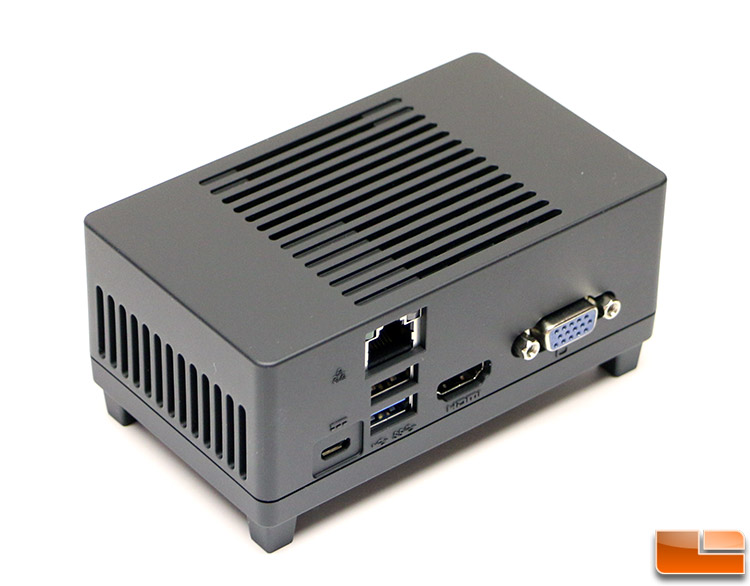
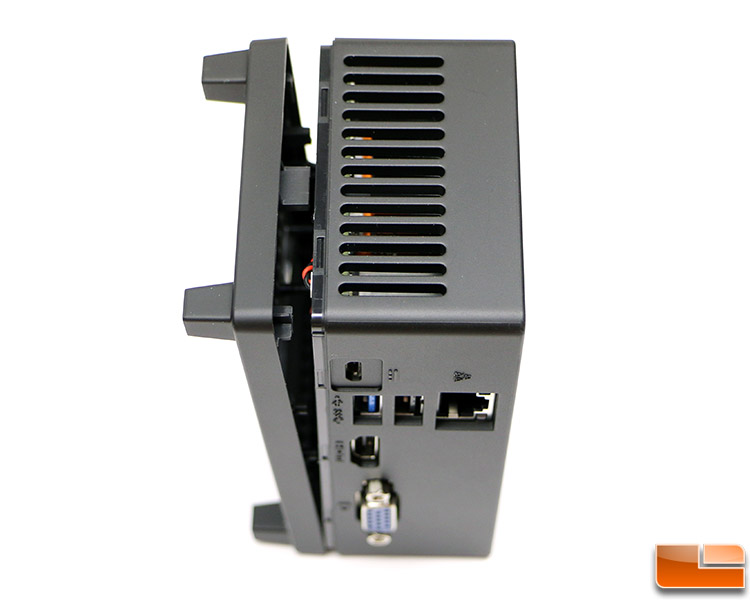
Here is a shot at the side of the ECS LIVE and the rear ports.
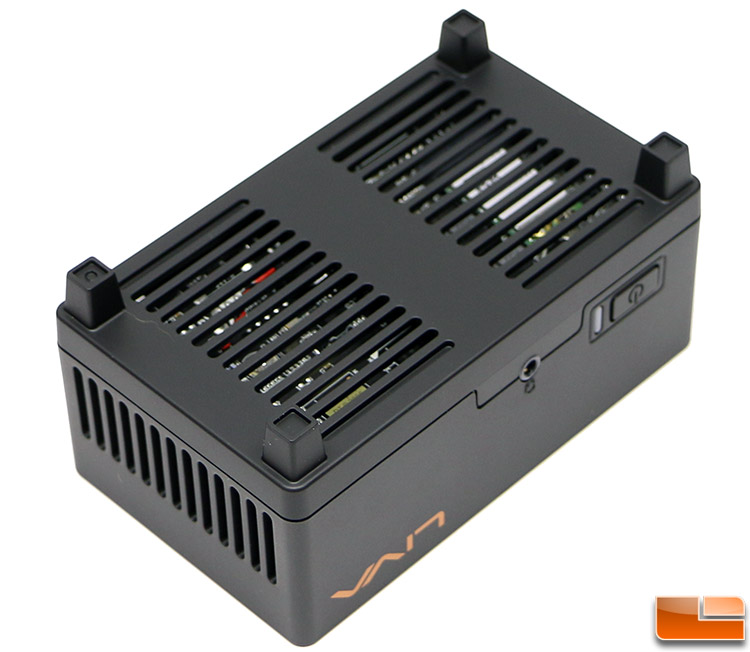
The case feet on the ECS LIVA are hard plastic with nothing to keep it from sliding around. The square legs have holes in them, so it appears at one point in time ECS might have been considering putting some pads on the feet. This can easily be done by later as a mod, but we just wanted to point it out.
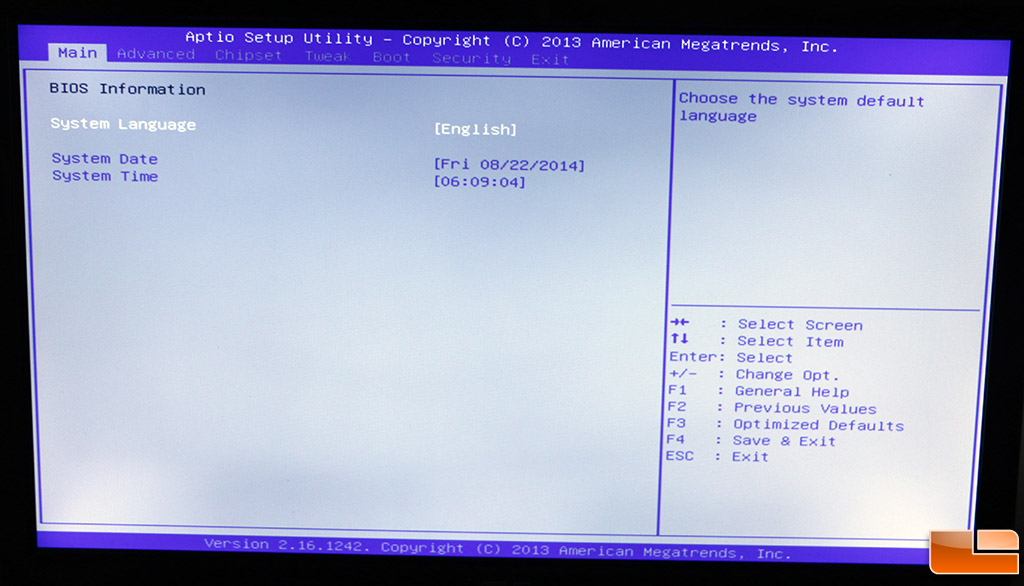
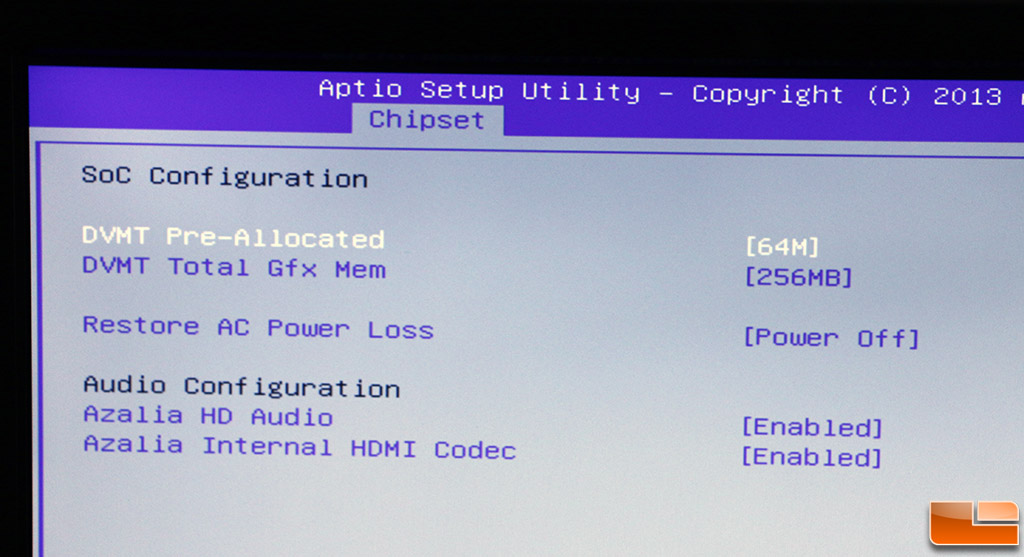
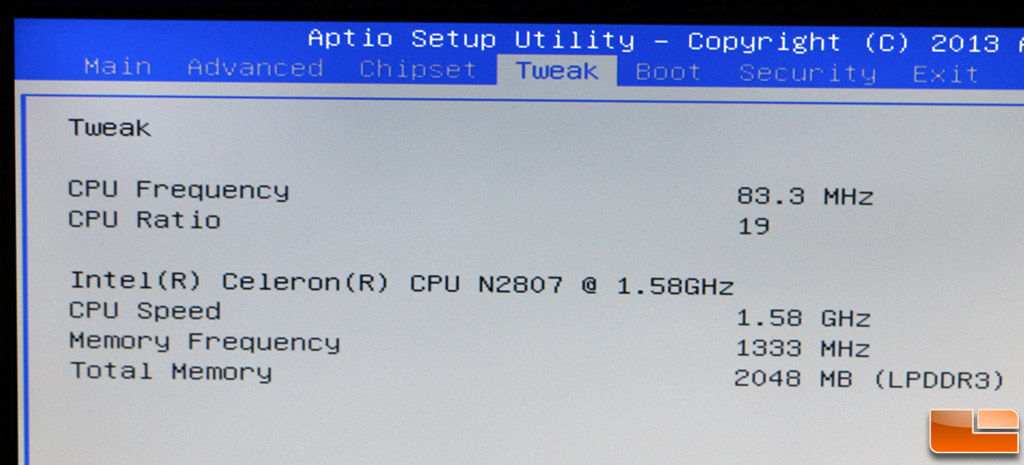
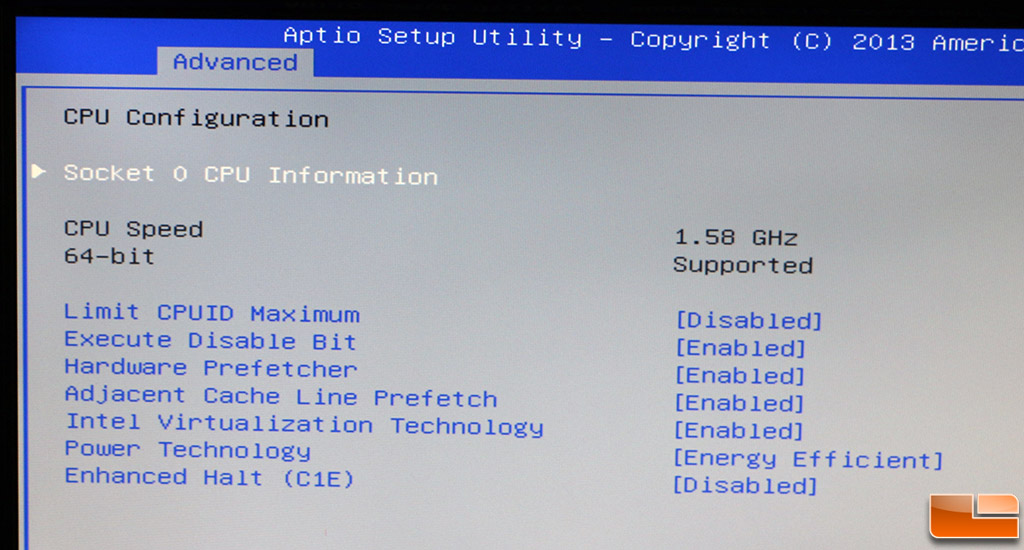
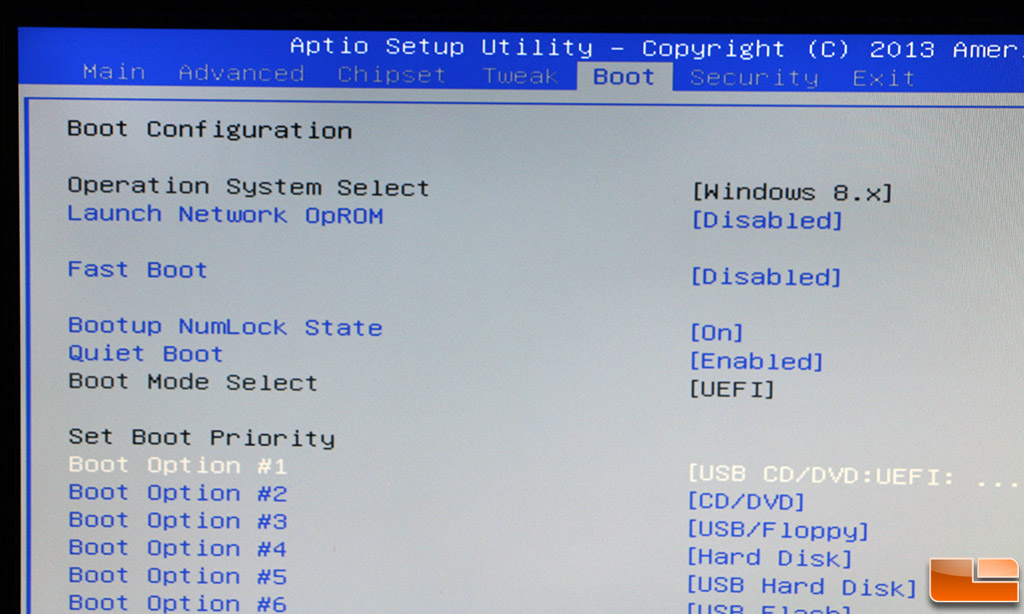
When we first turned on the ECS LIVA we went into the BIOS and found there wasn’t too much that could be tinkered with. ECS is using an American Megatrends BIOS and you can go in and adjust things like how much memory the Intel HD Graphics has access to and enable/disable a fairly decent amount of items. There is a menu called ‘tweak’ that got us excited, but there are no editable options under that tab. There is only a boot option for Windows 8, which makes sense as that is the only Microsoft OS supported by the ECS LIVA. It should be noted that we were unable to get back into the BIOS after we installed Microsoft Windows 8.1 with all the updates. We contacted ECS about the issue and this is what they had to say:
“There are new steps to go to the BIOS for Windows 8.1. Since they are designed to start the system in a faster speed, they dont accept any inputs from keyboard while the system is turning on. To go to the BIOS, please refer to the following website for more information: http://windows.wonderhowto.com/how-to/access-boot-menu-and-bios-windows-8-0139059/” – ECS Technical Support
That trick works, but we’ve used dozens of motherboards on Windows 8.1 and we have yet to need to do that in order to get into the BIOS/UEFI. Just a friendly heads up and/or tip in the event you need to get into the BIOS and can’t with your ECS LIVA.
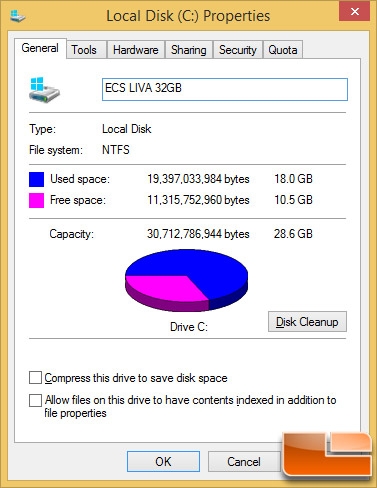
After installing Windows 8.1 with Update 1 and all available updates we were left with 10.5GB of free space with 18GB being used. That doesn’t leave you with much space, but there are ways to free up space with Windows tricks and hacks if you really wanted to do so.
Now that we got the ECS LIVA built and working with Windows 8.1 installed we can finally get around to benchmarking!