Deepcool Captain 240 EX AIO Liquid CPU Cooler Review
Installing the Captain 240 EX Liquid CPU Cooler
This page will be rather brief, because Deepcool (Gamer Storm) has made the Captain EX series completely tool-free, and this will make for a rather simple installation. Quite frankly, though, I would highly recommend you use a screw driver to tighten the mounting screws. However, the other parts for installing the mounting system are absolutely done without tools and very quickly.
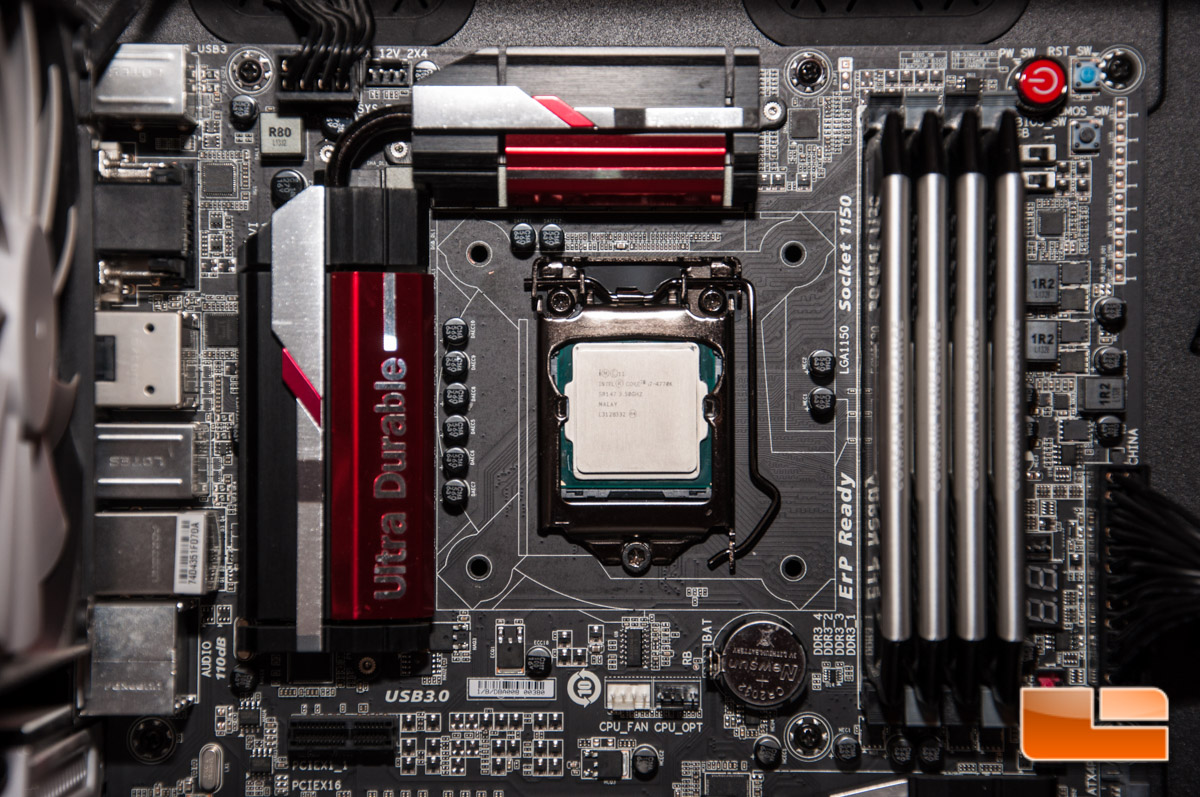
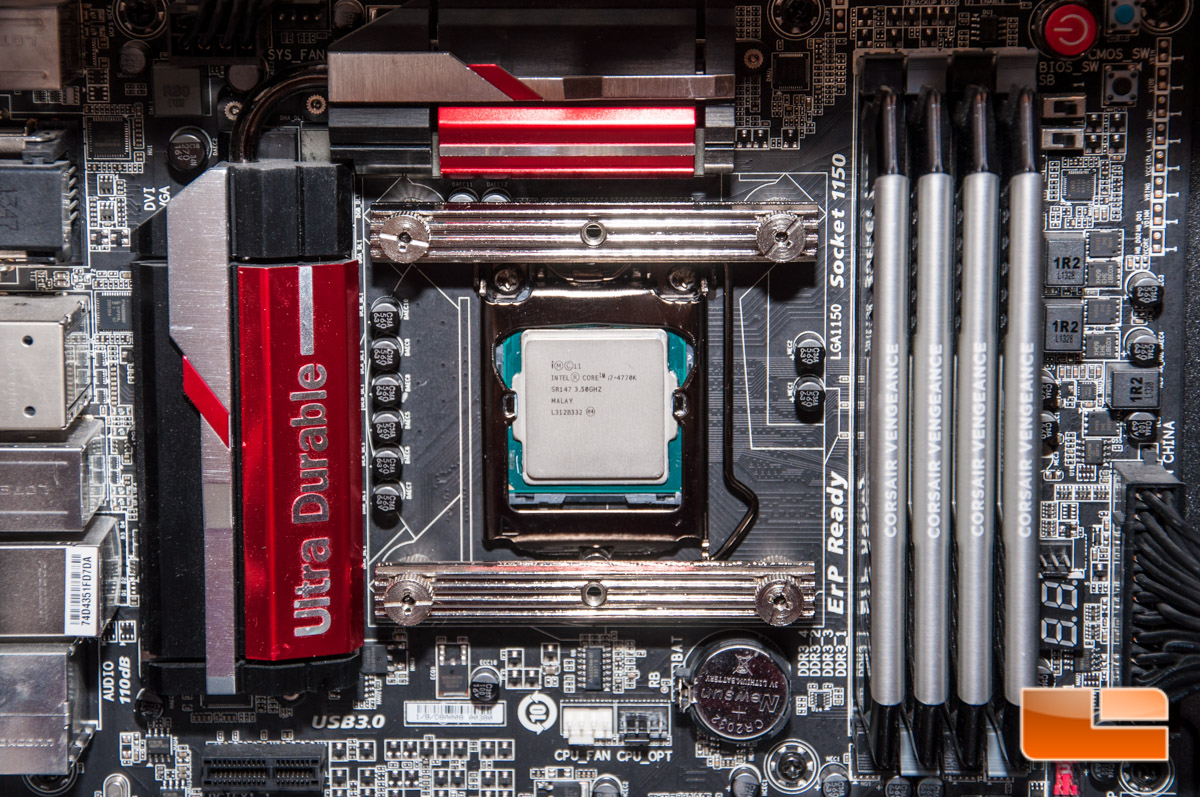
I always start off by cleaning the CPU with a high purity rubbing alcohol to ensure any old paste is removed and any contaminants are gone. I am using the factory paste for this cooler.
To start the installation, I took the back plate and stuck the screw bolts through on the 115X hole.
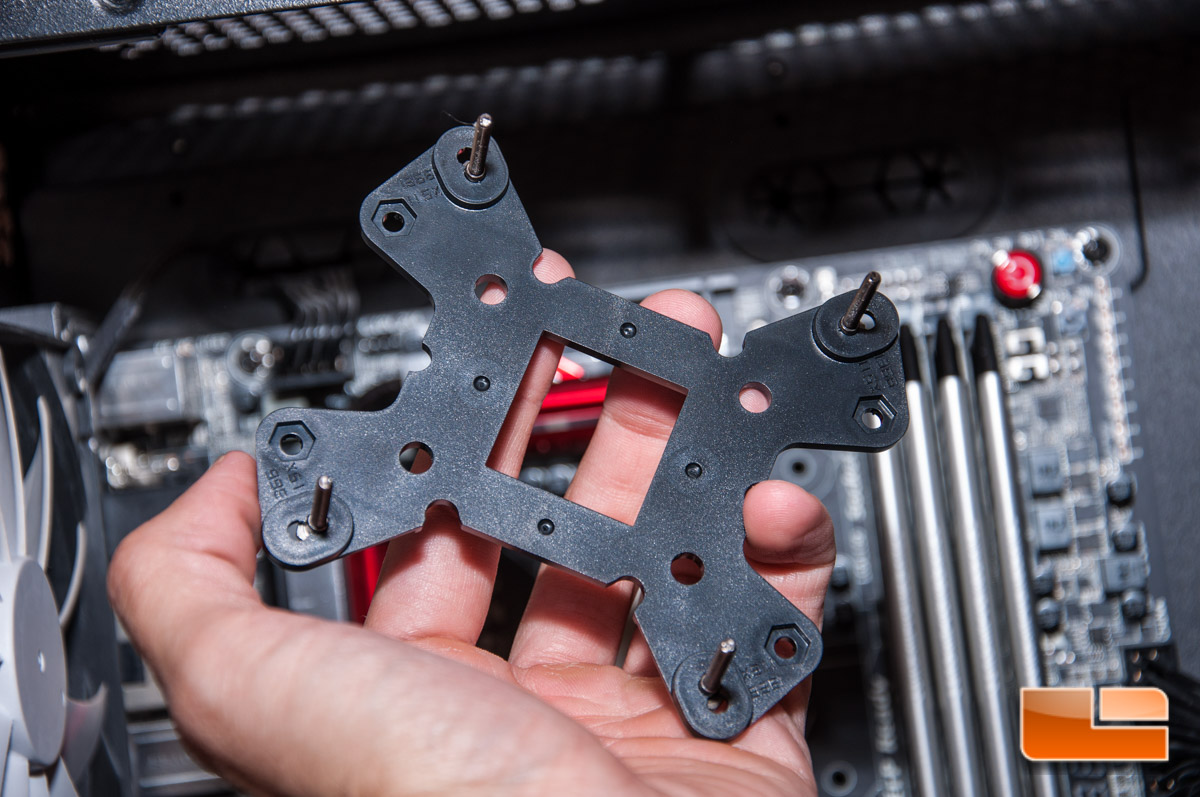
Slipping it through was easy enough, though there is nothing provided to stick it to the back of the motherboard. I think friction will be enough to get this started and would recommend either holding your hand underneath or just standing your system up.

I followed that up with installing the thumb nuts to hold the back plate in place.
Next I slid the Intel mounting bracket across two screws. Depending how you are installing the cooler, you will mount these horizontal (as I did) or vertical.
Finish that up with the screw cap and youre ready to install the block.
But first, lets get that radiator up. Its as simple as lining up the mounting screws to the mounting area of your choice in your case the top in my installation.
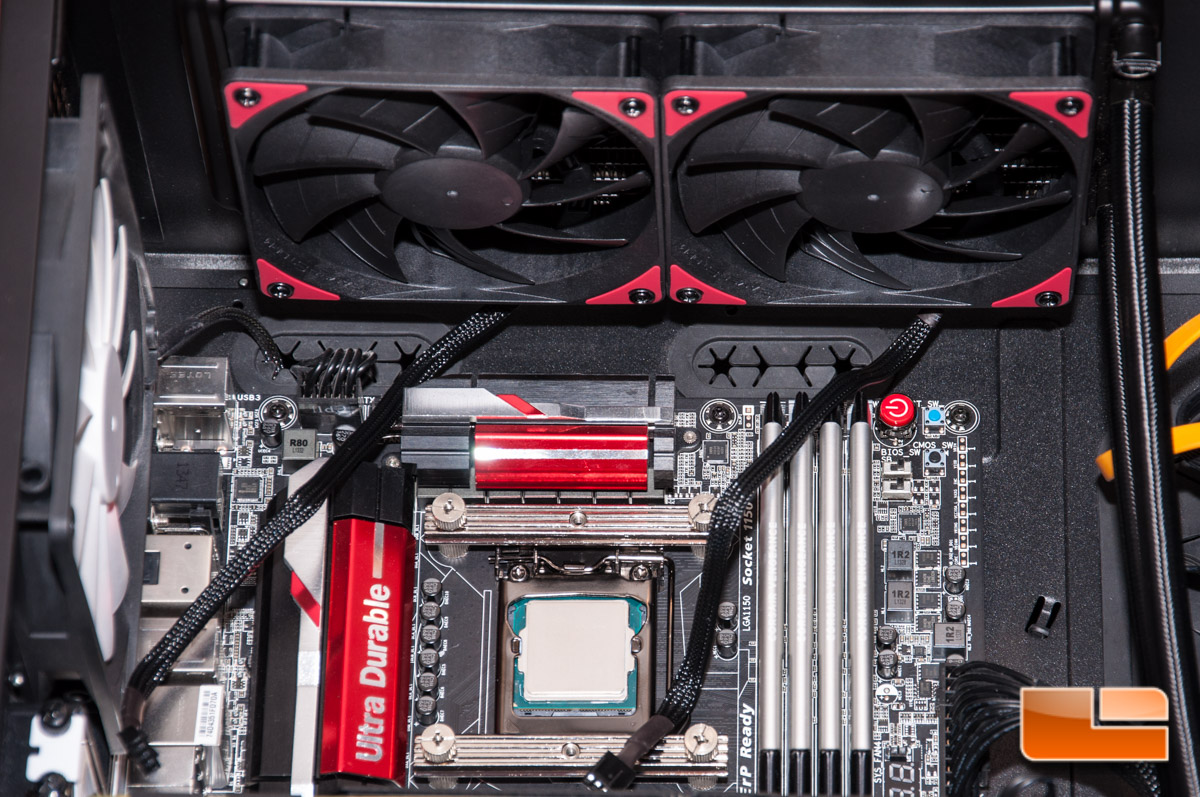
Also, before installing the pump assembly, I went ahead and connected the fans to the fan hub (Centered in picture), just so I didnt have to worry about anything being in the way. This habit sort of stems from installing those massive air coolers, which you absolutely must do it beforehand!
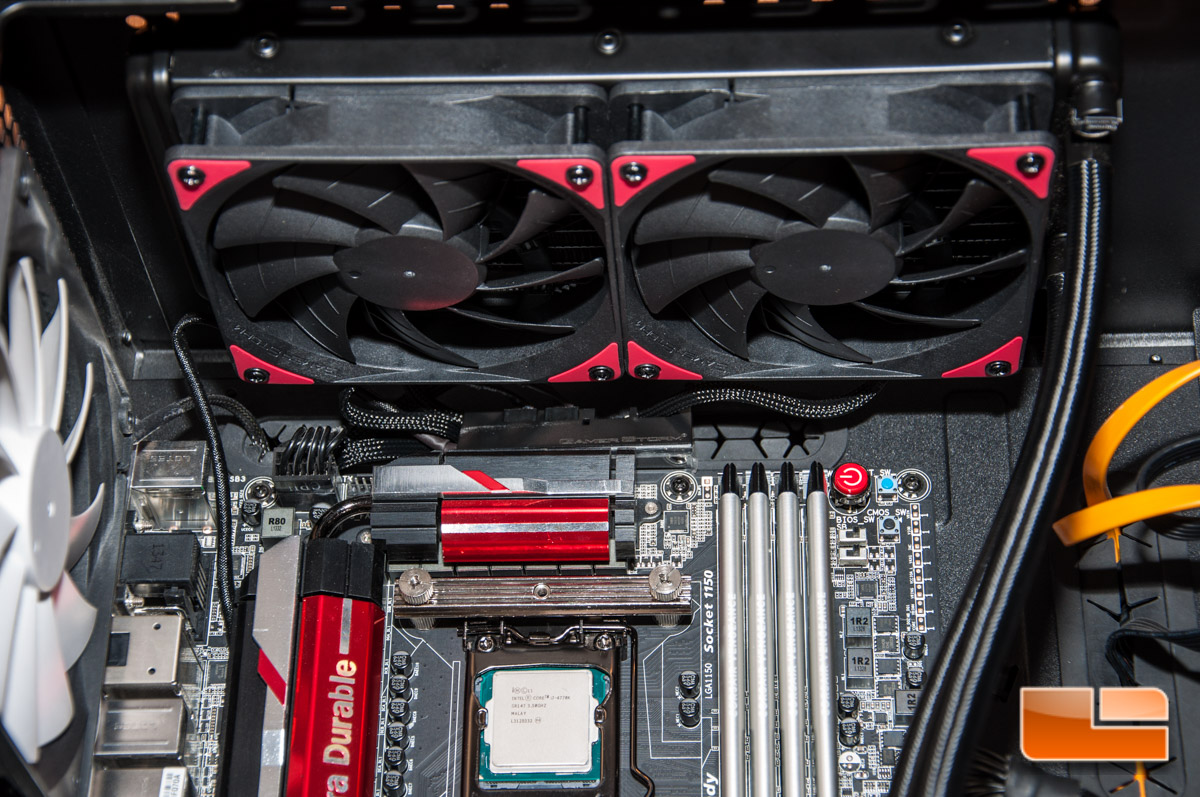
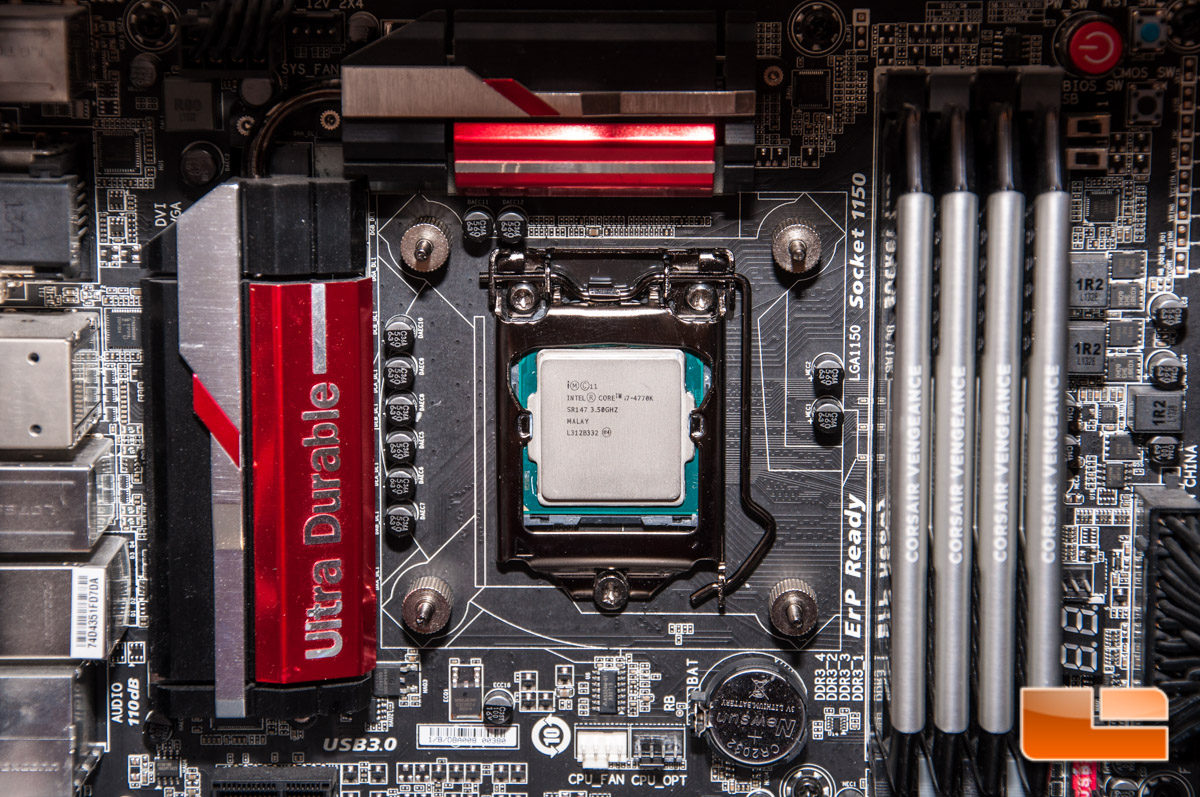
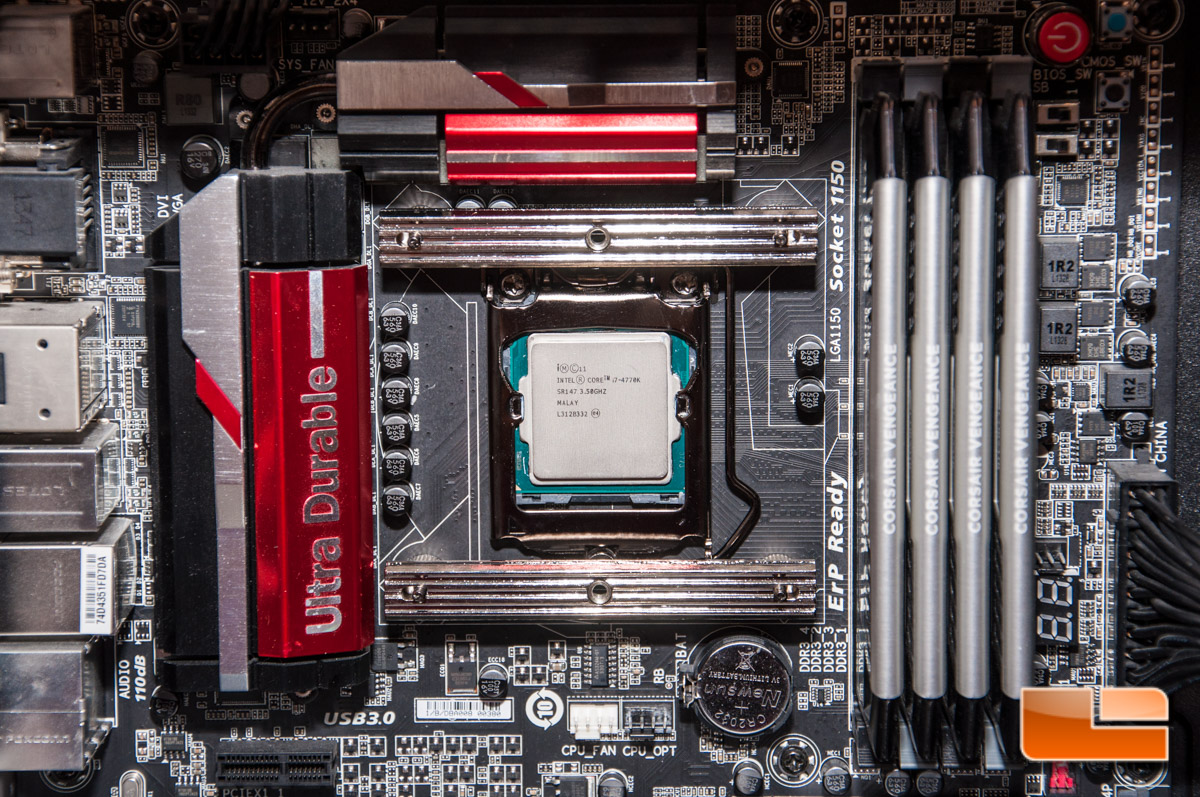
Now were ready to install the pump assembly. I typically prefer having four mounting screws for a guaranteed even installation and paste disbursement, but for this design they chose two screws. This does make things easy and should still provide adequate pressure across the entire processor.
Overall, installation took me maybe 15 minutes tops, and thats inclusive of attaching the fans to the radiator all the way to securing the block.
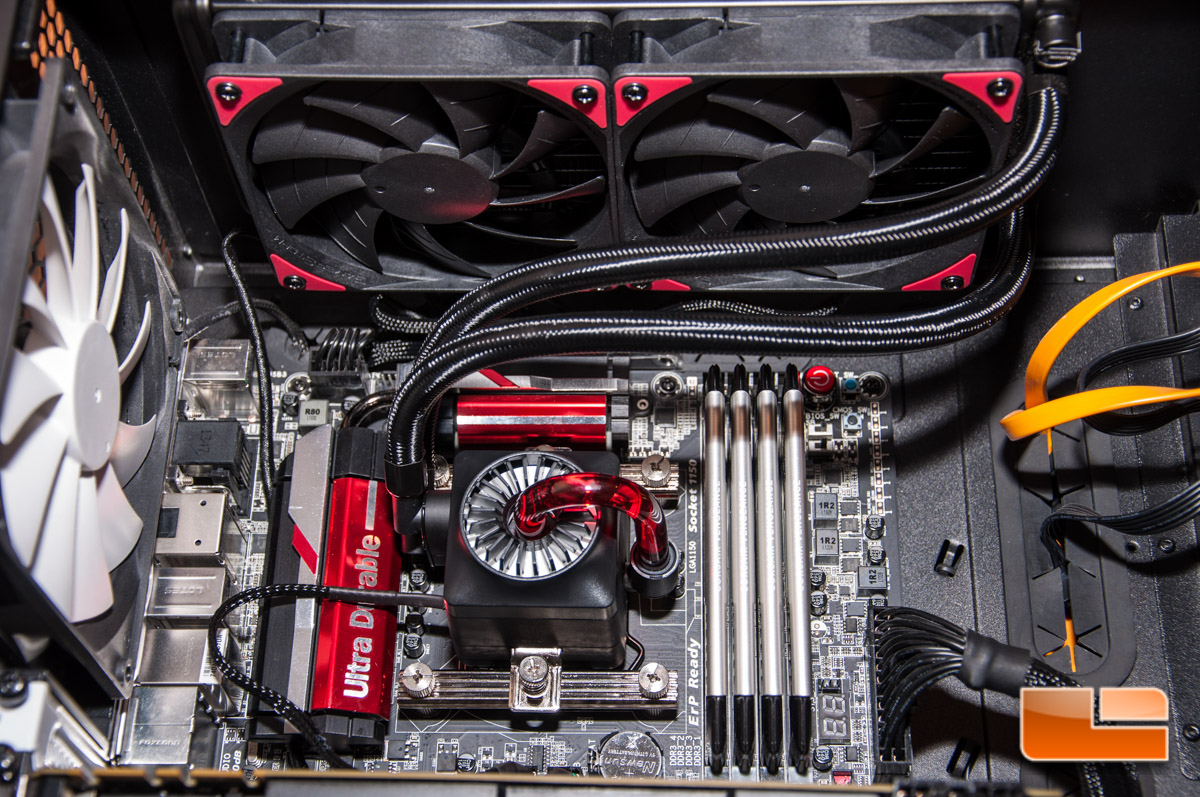
Lastly, firing it up, we get a chance to see the red LED over the reactor-style shroud and it looks pretty neat. This only pulses and there is no way to make it steady that I have discovered. Nevertheless, it does help draw attention to the block even more for you windowed case users.
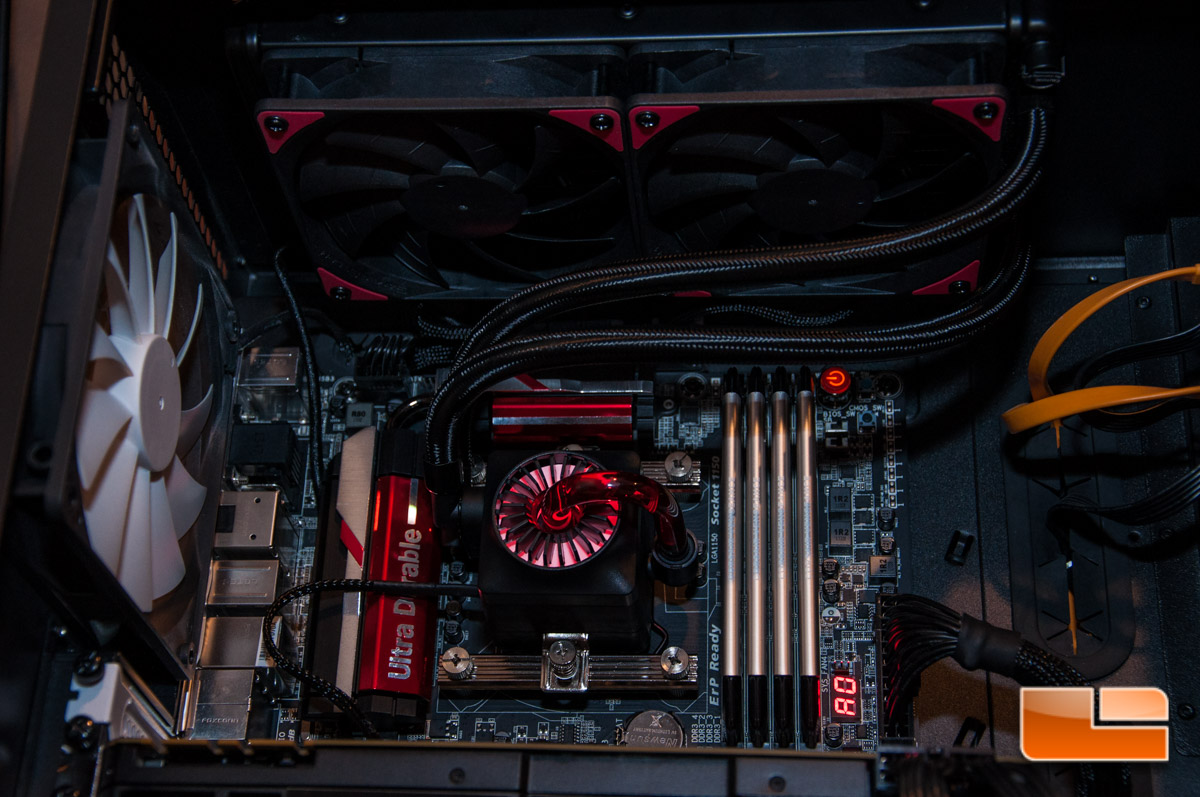
While I dont have a sound meter to test the loudness of the cooler, at idle you absolutely cannot hear the pump or fans from 3-4 feet away, and under full load, its hardly disturbing and nice and quiet yet. Its not the kind of quiet that you wont have to nudge your volume up a bit, but its a quiet that you dont have to shout at someone while speaking with them.
Since we know that everyone is curious with how well the Captain 240 EX performs, let’s move onto the testing. Well compare it to the various air and liquid CPU coolers that weve tested in the past, see how well it works with an overclock to 4.3GHz on an i7-4770k. Before we get into the tests, click the next page to see what weve got in our system.