Corsair Carbide Air 540 ATX Cube Case Review
Corsair Carbide Air 540 Interior Impressions
Getting inside the Air 540 is a piece of cake. All you have to do is unscrew two thumb screws, grab the handy gripping point on the back end of the panel, and pull away. I have seen simpler solutions, but I greatly appreciate any sort of tool-less option for removing these doors, and the 540 is very easy to work with.
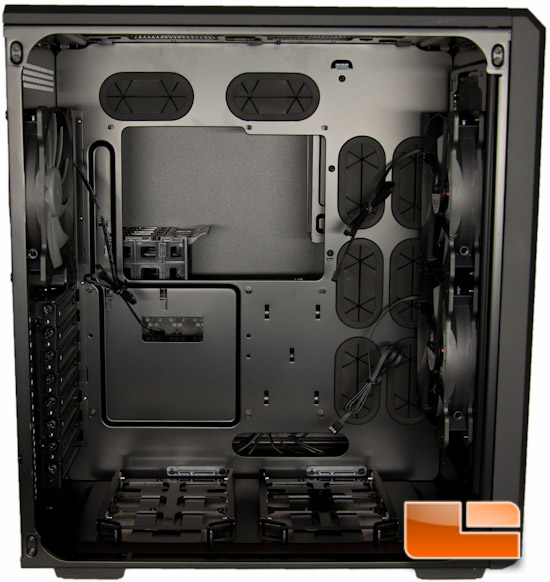
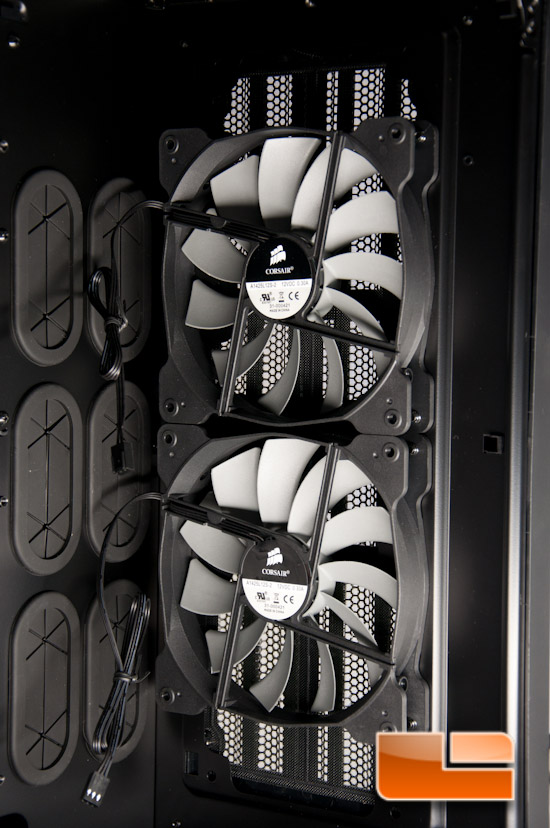
Starting with the left side of the case, this is where you will mount all of your main heat generating devices that need active cooling. Working from the front of the case to the back, you can find the two 140mm intake fans. These fans are Corsair’s Air Series AF140L fans, which they designed with airflow in mind while producing minimal noise. At this location, you can mount either a 280mm or 360mm radiator, should you choose to.
On the motherboard tray are a ton of grommet holes to make wire management and routing simple. You will notice that at the very bottom, is a hole that doesn’t have the rubber material in place. I would have personally liked to see that placed here, as well, because when routing any wires I like how everything gets hidden and held in place by these.
Also on the motherboard tray is a very generous sized hole to make backing plate installation easier, should you want to install a water cooler or a really heavy HSF, all without actually removing the motherboard.
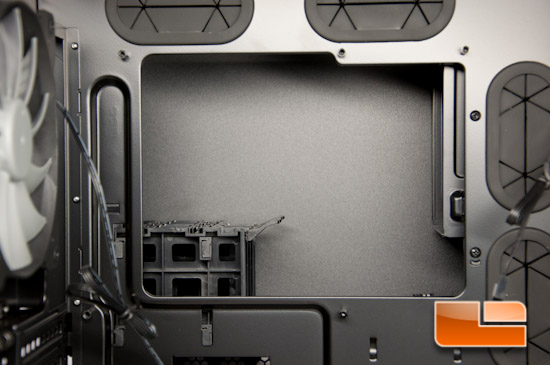
Installed on the motherboard tray, are the 9 standoffs for your motherboard. Actually, the center most standoff is meant for alignment, as it has a little nub. This should make motherboard installation very simple. These are placed in an ATX board configuration, but you can remove them should you have another supported board type (EATX, Micro ATX, Mini ITX). One thing that I like seeing on cases is a stamp of where a standoff should go for the various motherboard types. Unfortunately Corsair chose not to do this, but in all honesty it isn’t that big of a deal.
At the very bottom of the case, are two spots for hot-swappable HDDs. These trays come out by simply pinching them at the front, and then simply pull out. You can put either 2.5” or 3.5” drives here, but if you have any 3.5” drives that need to be mounted in this case, here is your only spot outside of taking over a 5.25” slot. 3.5” drives will be completely tool-less, while 2.5” you will obviously have to screw into place.
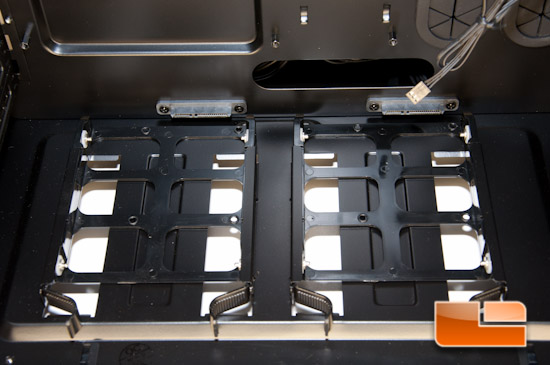
There are holes below these drives, which I assume are for ventilation. It is a prime spot that I would have liked to see a filter, since the case is already pretty slow to the ground.
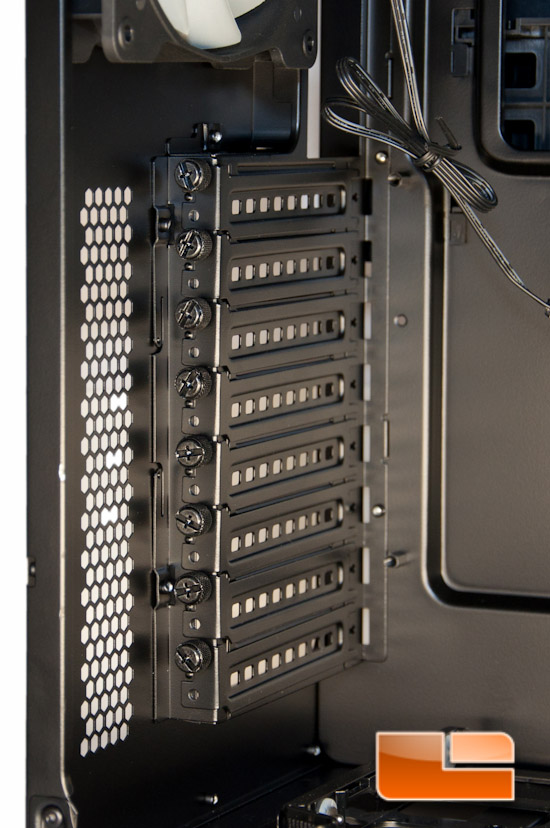
On the rear of the case is another 140mm Air Series AF140L exhaust fan, which can be swapped out for a water cooler of similar size or a 120mm, as well as your 8 expansion slots with thumb screws.
At the very top of this chamber, are two locations to mount two 120mm or 140mm fans or up to a 240mm or 280mm radiator.
Video cards of up to 320mm in length will fit inside of this case, while CPU coolers of up to 170mm high will also fit.
Moving over to the right hand side of the Air 540, is where you’ll put all of your components that don’t need active cooling. This will include things like ODD’s, SSDs, and your PSU.
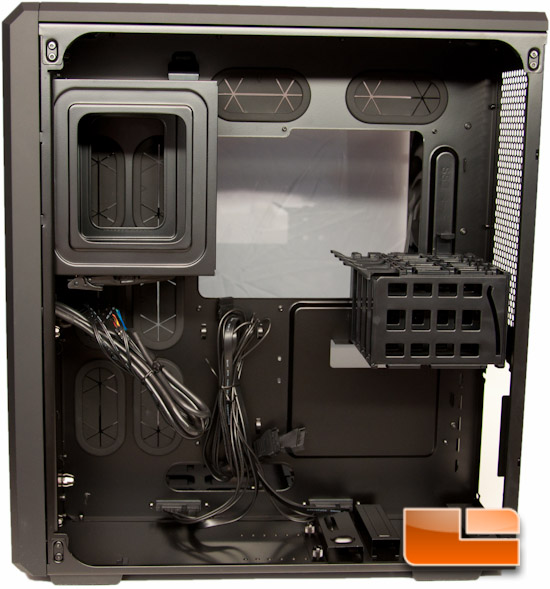
Starting on the left hand side is the ODD bay to fit two ODD’s. You simply slide them in from the outside and they click into place. Should you want to remove them, all you have to do is push the button for the tool-less system, and then slide them out.
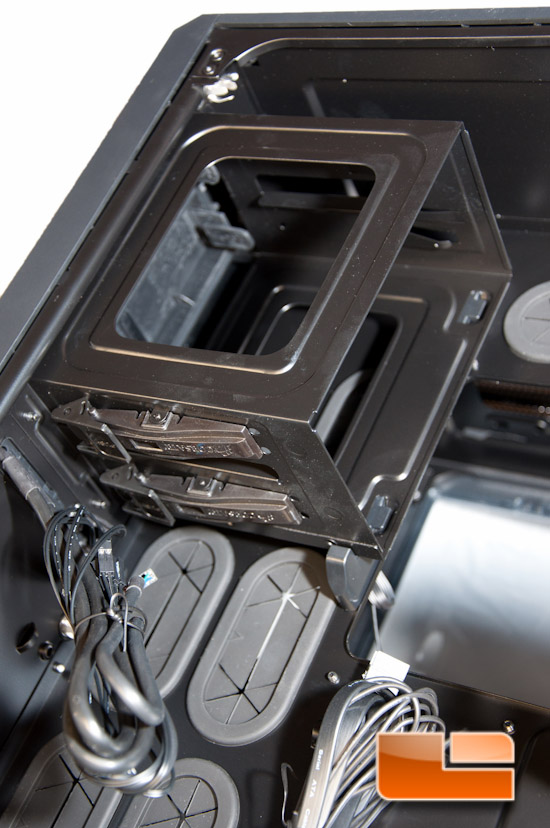
If you didn’t catch it, your ODD’s will mount sideways into this bay. If you want to use these for a water cooling reservoir instead, you’re kind of screwed unless you orient the case in a way that you could use it. If you use this case how Corsair wanted you to, you’re left to find a different reservoir, unfortunately. I know for myself, one of my personal systems has a Koolance dual 5.25” bay reservoir, and I wouldn’t be able to use it on this case. That’s unfortunate, but that’s the nature of this case. I also probably wouldn’t want change the orientation of the case to make it work, as it’ll throw off the cooling and heat dissipation properties, leaving heat to soak at the window instead of rising through the open top.
Also, should you want to install a fan controller yourself that has an LCD readout, you may be annoyed with how 5.25” devices are installed.
Other thing that you might notice behind the 5.25” bays is the grommet holes. These are placed rather close, which this will likely be troublesome come cable routing.
Below the 5.25” bays are the connectors for the I/O panel, and to the right of that are the SATA connectors for the hot swappable drives on the other side.
On the back end of the case is the tool-less 2.5” bays that Corsair had SSD installation in mind. You could always get away with 2.5” laptop drives here, too, should you be so inclined.
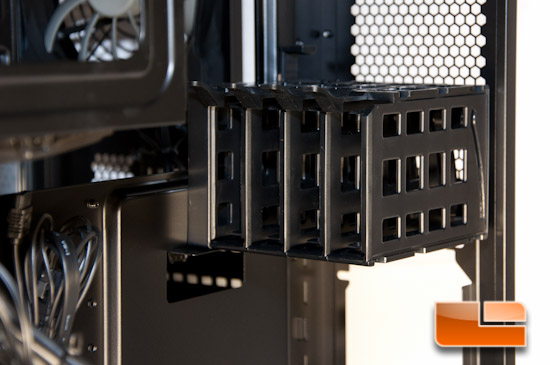
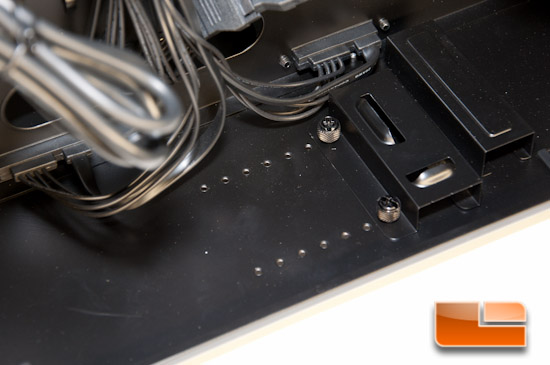
At the very bottom, where the PSU mounts, is a bracket that adjusts based on your PSU’s length. Turn two screws and you can place it where needed. This will allow you to install a PSU up to 200mm in length.
That’s about it for looking around inside the case. There are very few problem areas that could be seen at this point, so I’m going to take a look and see how installing hardware inside the Air 540 is next.

Comments are closed.