Corsair Carbide 300R Mid-Tower Case Review
Hardware Installation Inside the 300R
Corsair designed the 300R with the Carbide series motto: “Everything You Need, Nothing You Don’t.” They wanted to make sure the case was compact and to the point. Let’s see how well things fit inside this budget minded mid-tower chassis.
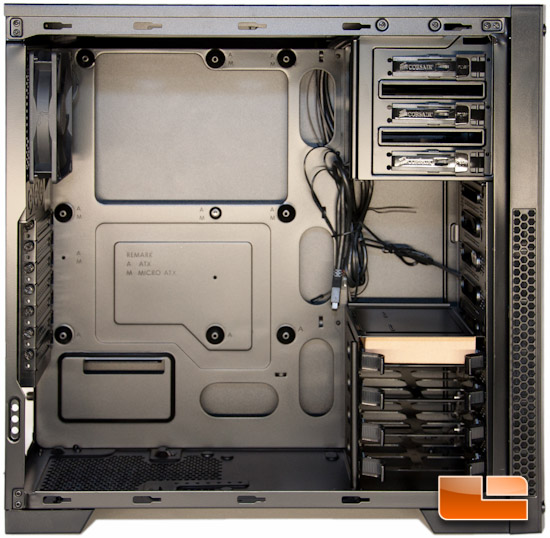
Starting off with the motherboard, I was happy to have the alignment stud in the center to make mounting simpler. The integrated standoffs were also pretty nice to work with and had zero fitment issues.
Video card and CPU/HSF mounting were both easy as always. Screw out two screws and pull out two filler plates, and you’ve got your video card in. Should you need a piece of mind when mounting your HSF, you’ve always got a gigantic hole on the motherboard tray to make sure you mounted it properly.
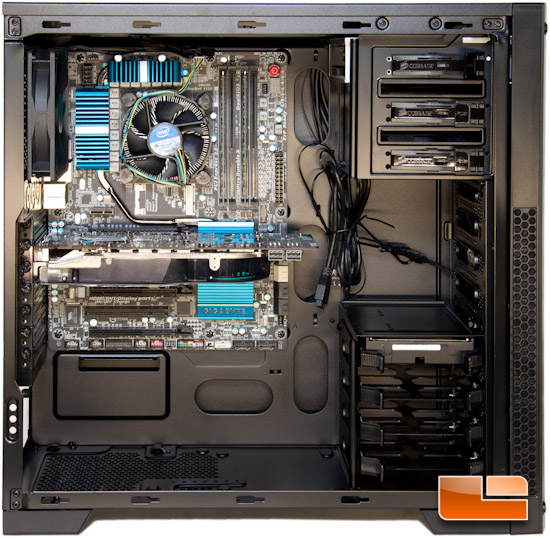
Hard drive installation was another very simple thing to do with the 300R. The drive trays come out by pinching them and pulling out. Then all you have to do is simply flex the tray enough so you can plop the 3.5” drive in, and it’ll wrap out quite nicely; no screws needed. Should you want to mount a 2.5” drive (IE: SSD), you will end up using screws to hold it down.
Getting a 5.25” ODD into the respective bay was as easy as it gets. Remove the filler plate from inside the case, then slide your ODD in place.
This case stays easy with PSU mounting. It mounts via traditional means; with screws on the rear. You just shove the PSU into its respective space and it fits nice and snug. There is a wire routing hole right next to the PSU, which makes hiding your ATX power connector an easy start. I did have troubles routing the 8-pin behind the motherboard tray, as my wire was a bit short. There is a hole just on the top left that is just big enough to pass this cable through. So with these troubles, you’ll notice I had to be “creative” when routing this cable.
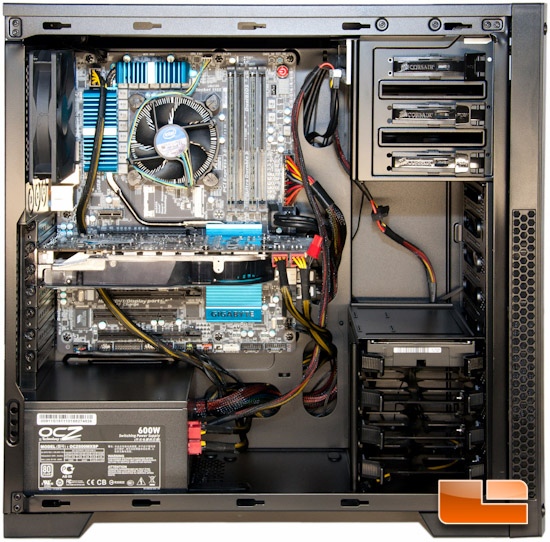
Another spot that I had to be messy with, in order to cut down on the number of wires that were hanging around inside the 300R, was the SATA power connector. The wire routing holes were slightly off here, which required me to ignore putting this behind the motherboard tray.
Everything else seemed to go well. I/O connector cables were all a wee bit short out of the box, but I noticed they were held in place with a zip tie towards the top of the case. Once I cut this tie off, I gained a good 2-3 inches and all the length I needed.
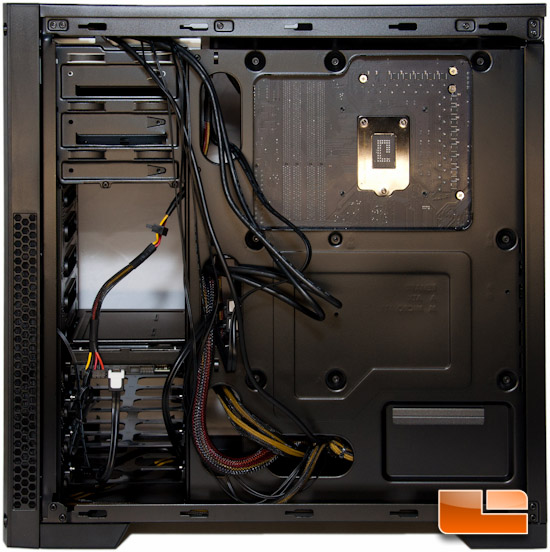
A quick shot of the backside of the motherboard tray, where you can be messy with your wires.
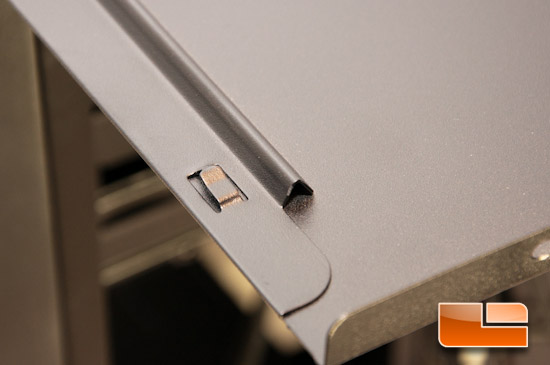
When I was closing up the 300R, I actually had some troubles. The doors on the 300R need a tongue and groove design on the top and bottom, or just a perpendicular piece of steel to assist with reattaching them to the case. I found it really difficult to get the side panels on at times, which was rather frustrating. As you can see in the below picture, it is a triangular bump-out and few points that will hold in place.
Once I got a chance to fire everything up, I noticed the fans were nice and quiet, as expected. The LED on the power button was a nice white color and not overly bright. I honestly really dig white for back lighting.
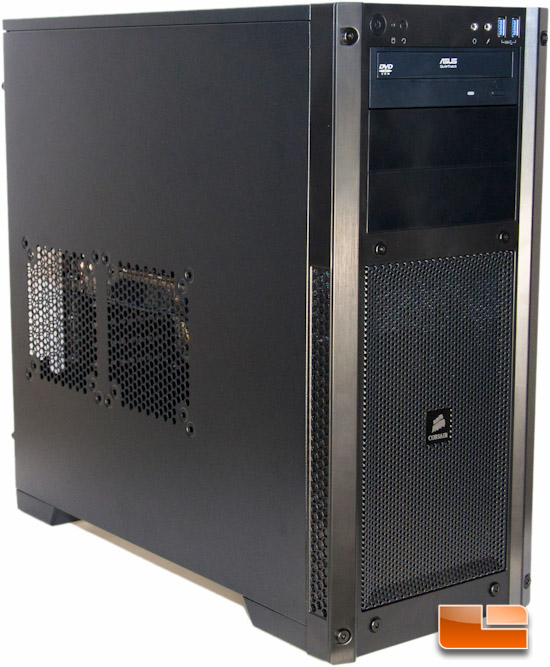
Overall I felt installation was fairly easy, but it ended up being messier than it should have. Should Corsair included the rubber grommets and re-positioned these holes, I think going for a cleaner install would have been easier with my PSU.
That’s all there is to this case, so let’s move onto the conclusion of this article for a recap of what I’ve found and experienced.

Comments are closed.