Cooler Master Storm Scout 2 Case Review
Storm Scout 2 Exterior Thoughts
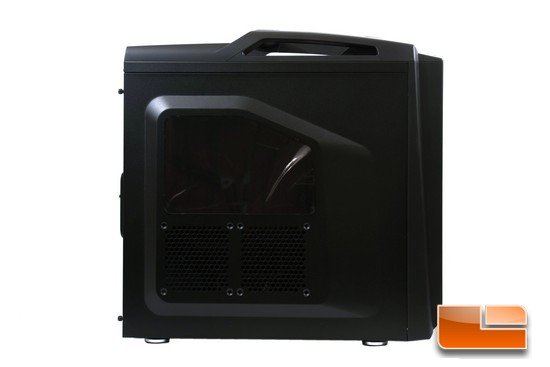
On the left side of the Storm Scout 2 chassis, Cooler Master places a window on the upper portion and then places 2 optional 120mm fan mounts on the lower portion of the side panel.
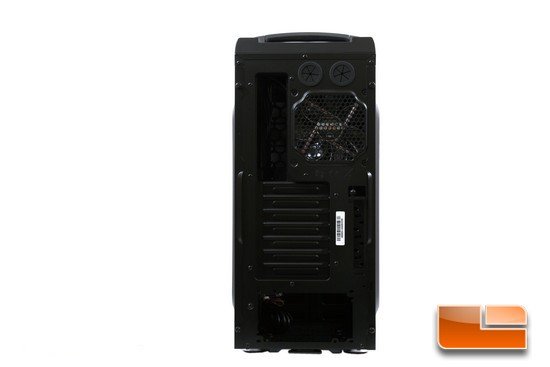
Rotating the chassis to the back side we can see that Cooler Master uses a standard ATX layout.
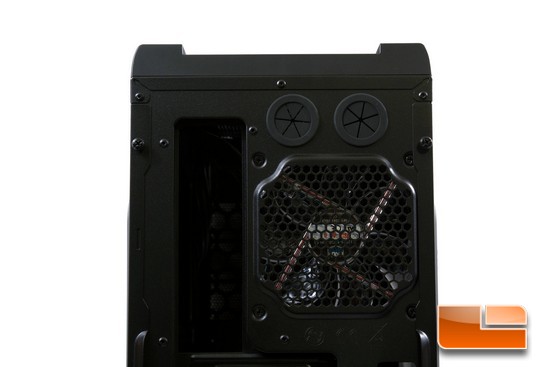
Up at the very top of the chassis, on the upper right hand side are two external water cooling ports, and right below these two ports is an included 120mm rear exhaust fan.
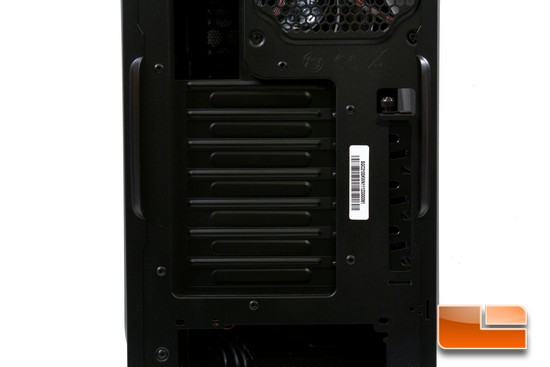
Making our down the backside of the Storm Scout 2 chassis brings us to the PCI expansion ports, this chassis can handle up to a full sixed ATX motherboard. To the right of the PCI expansion ports is Cooler Masters very own peripheral securing device the Storm Guard.
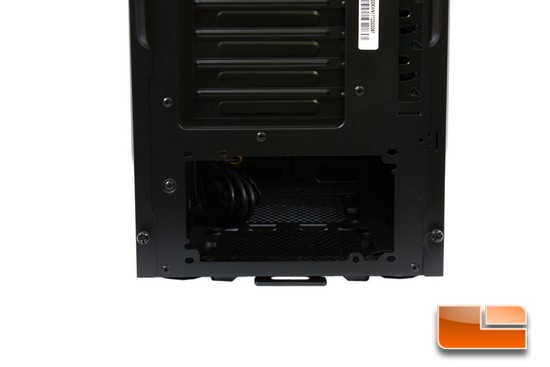
Then at the very bottom of this chassis is where we can mount our PSUs, the PSU mounting area uses multiple mounting holes so that it can accommodate a variety of different PSUs and configurations.
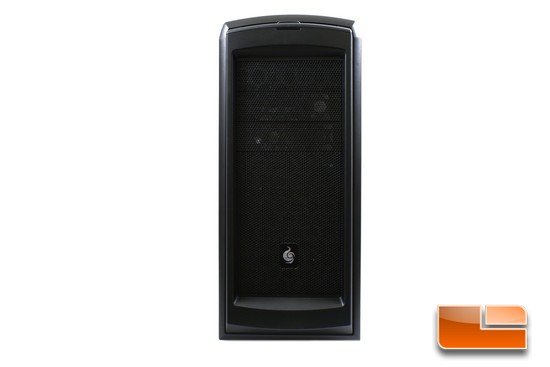
Now time for me to give the front of the chassis a quick look through; the Storm Scout 2 chassis is classified as a mid-tower chassis so it can only utilize up to three 5.25 bay devices. Also, Cooler Master uses a fine metal mesh on the entire front of this chassis to ensure maximum airflow while keeping at a minimum from entering the interior.
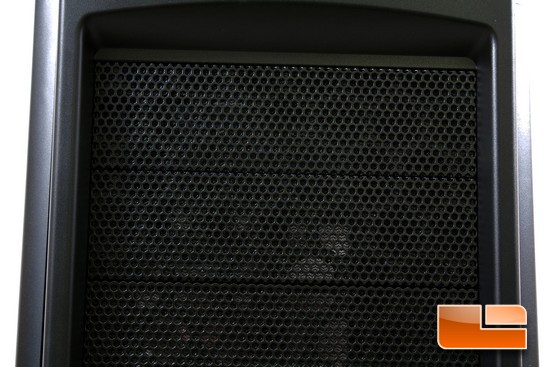
A close up picture of the upper 5.25 drives bays and the fine metal mesh that is employed on the entire front of the Storm Scout 2 chassis.
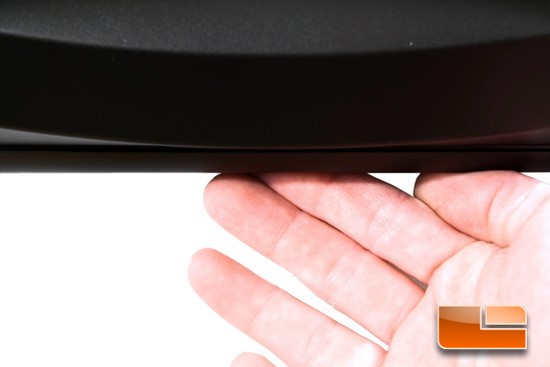
In order for us to remove the 5.25 bay covers we need to remove the entire front bezel. This was not hard and did not require a lot of force, just we need to place our hands underneath the front bezel and pull away from the main chassis.
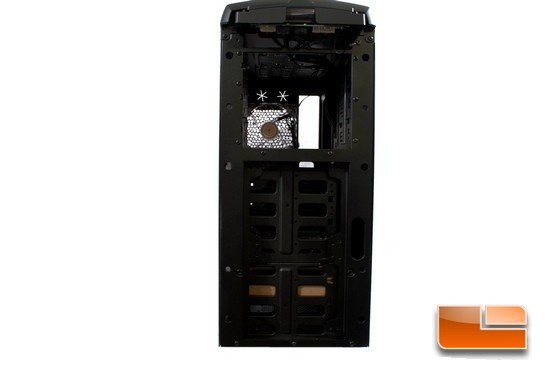
What the main chassis of the Storm Scout 2 looks like once the front bezel has been removed. As I mentioned earlier that this chassis can use up to three 5.25 bay devices, this chassis can also accommodate up to two 120/140mm front fans.
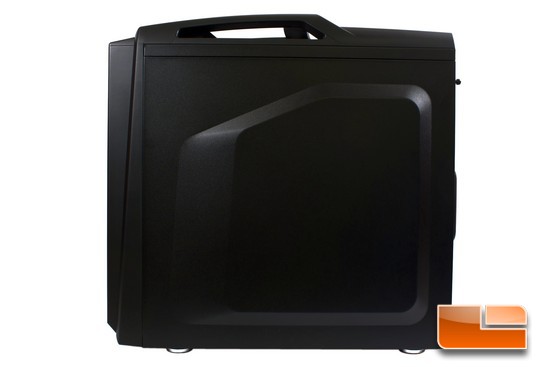
Rotating the Storm Scout 2 chassis 90 brings us to the right side panel. On both side panels Cooler Master puts a slight outward extrusion, this not only adds to this chassis look, this extrusion will also serve a very good purpose; which I will cover on the next page so stay tuned.
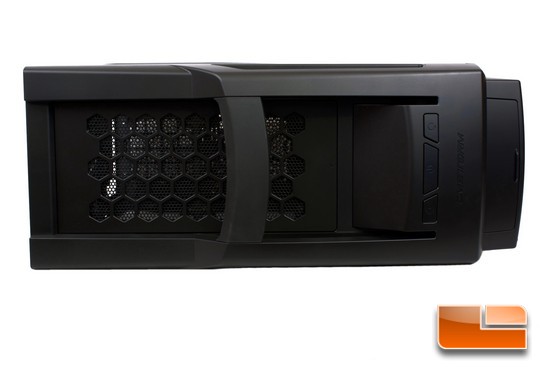
Time for me to put the Storm Scout 2 onto its side and look at the top.
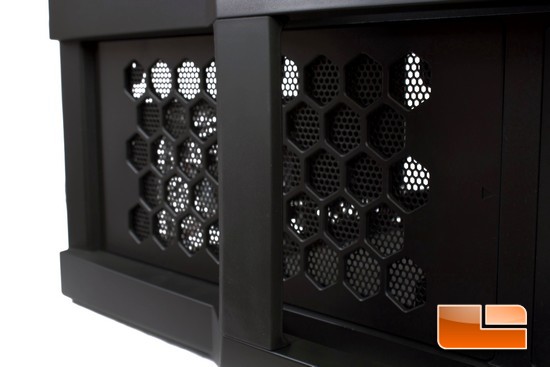
Like previous versions of this chassis they all have an incorporated carrying handle buit directly into them, the Storm Scout 2 is no exception. On the rear portion of the top of the chassis is a removable fan grill, to remove this fan grill requires that we go inside of the chassis and push on 6 small clips so that we can remove this fan grill so that we can install upper exhaust fans.
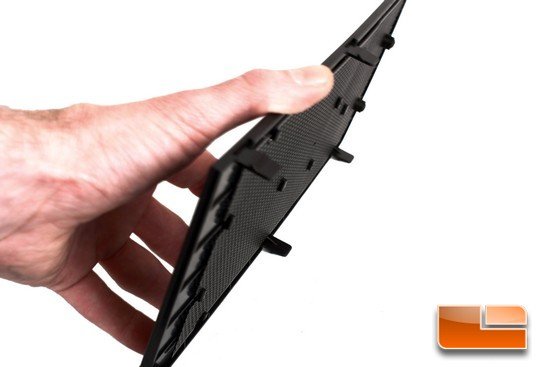
This is what the upper fan grill looks like once it has been removed from the top of the chassis, notice the six clips on the lower portion? These small clips are easily broken so take extreme cautions when removing this upper grill off.
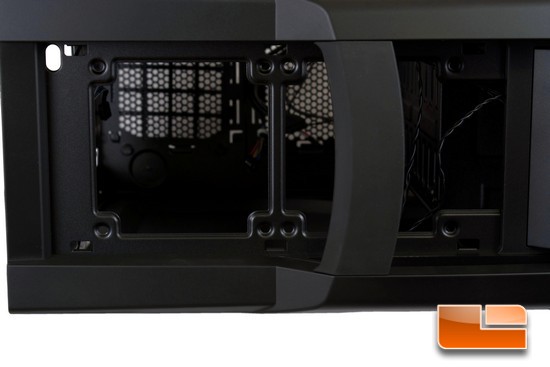
Now since the upper fan grill has been removed, we can see that we can install two 120mm exhaust fans up on the top of the Storm Scout 2 chassis.
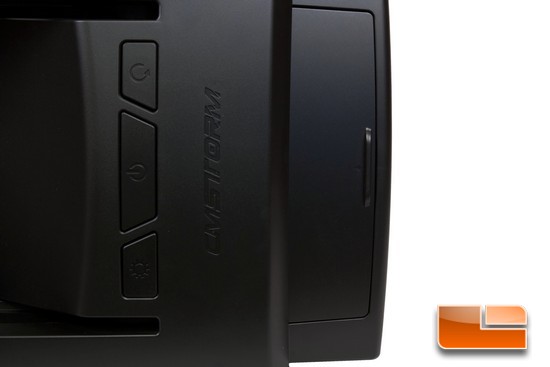
Moving towards the front top of this chassis brings us to the front IO switches. Starting from the bottom of the picture and working my way up Cooler Master places an LED on/off button that if we connect any extra LEDs to this switch will allow us to turn off these LEDs for night time running. Moving upwards is a large on/off power switch, then right above the on/off power switch is the reset button. Directly in front of the switches is a small sliding door.
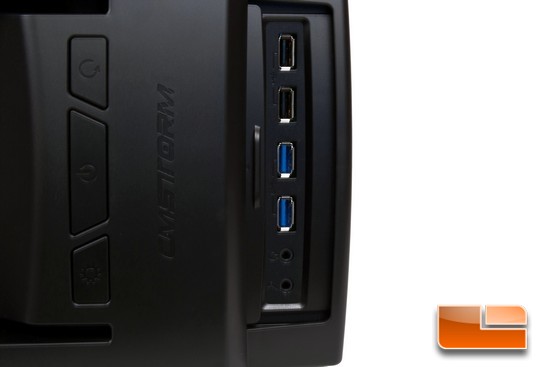
Upon opening that small sliding door reveals our front IO ports. Starting from the bottom working our way up, Cooler Master includes a mic/head phone jacks, two USB 3 front IO ports, and finally two more USB 2 IO ports.
I do not like having my USB/mic and head phone jacks out in the open because they do collect a lot of dust and debris. I personally liked how Cooler Master allows us to close these exposed ports up when they are not being used.
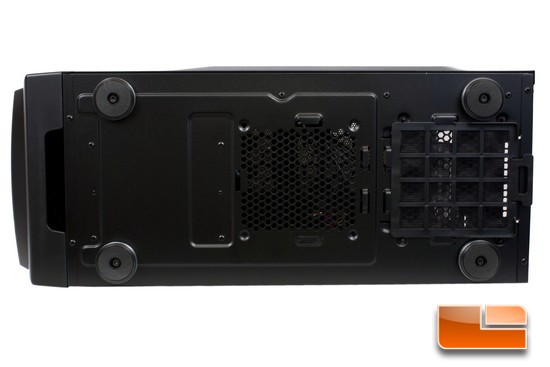
Time for me to turn our attention over to the final side of the Storm Scout 2 chassis the bottom side.
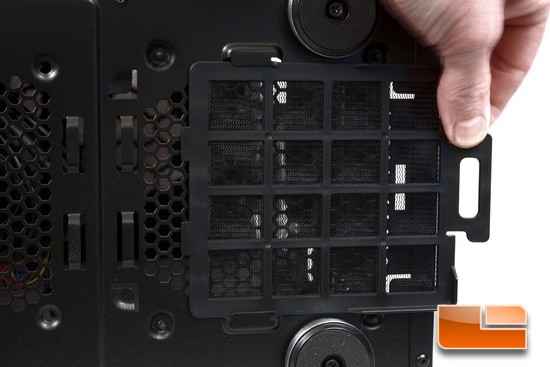
The only removable filter that Cooler Master includes is the PSU filter.
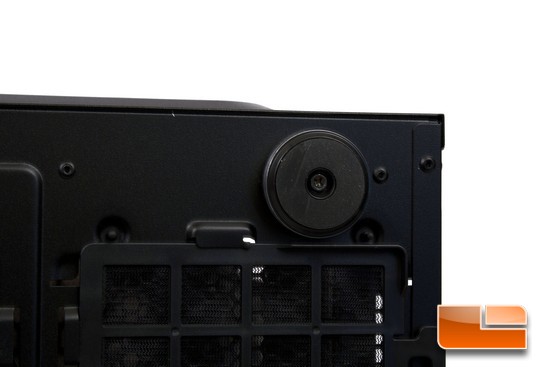
And the final thing I need to touch base on is the feet of this chassis; Cooler Master puts rubber bottoms on to the feet of the Storm Scout 2 chassis to ensure that we do not scratch up the surfaces we may be placing this chassis upon.
So far my thoughts of the exterior of the Storm Scout 2 has been positive, this chassis is stylish as well as solidly built.

Comments are closed.