Cooler Master MasterCase 5 Mid-Tower ATX Case Review
Cooler Master MasterCase 5 Mid-Tower ATX Case Build Overview w/Pro Upgrade
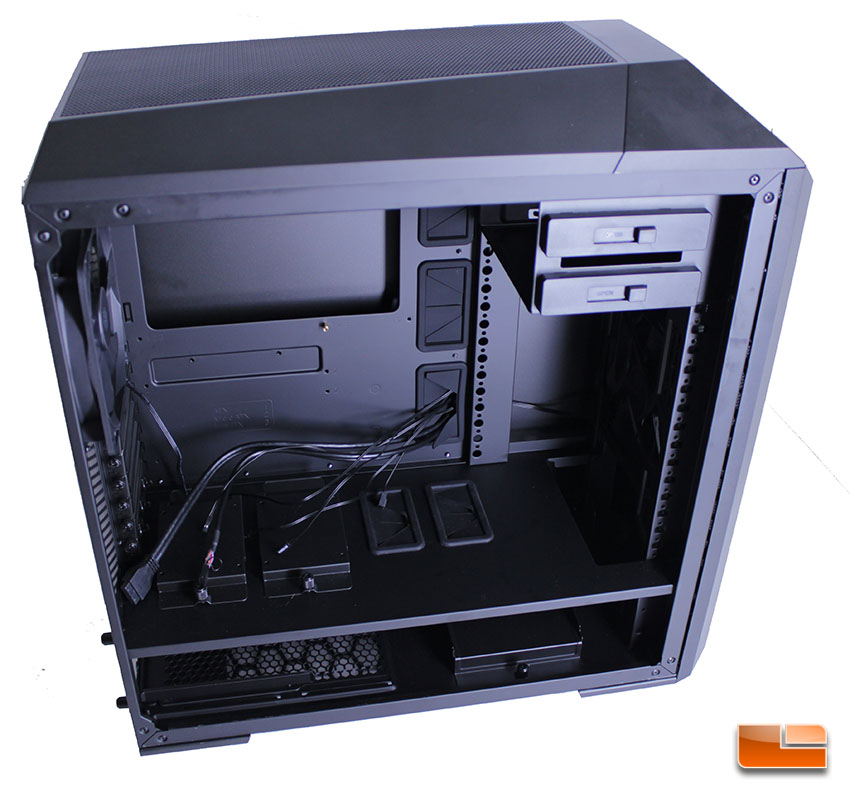
The MasterCase 5 Pro accessories were sent along with our review sample so that we could upgrade our own unit to the MasterCase 5 Pro. Swapping on the top panel was very simple, as it merely required unscrewing the old flat cover and filter and then using the included, already attached captive thumbscrews to secure the top radiator support, which is bi-directional and can’t be installed in the wrong direction. Installing the top mesh simply requires sliding it in place. The top mesh does not lock and pulls off easily and we think that Cooler Master could have done more to make it so that this mesh top panel is more secure.
Once the mesh top panel with radiator support was installed, we installed our H100I GTX before continuing to ensure it would fit properly. There was plenty of clearance and the removable cage made installation very simple and took a lot of the headache out of the mounting process. The rest of our build would continue the trend of the MasterCase 5 being easy to work with. Simply put, building into the MasterCase 5 Pro was the most pleasurable build experience I’ve ever had.
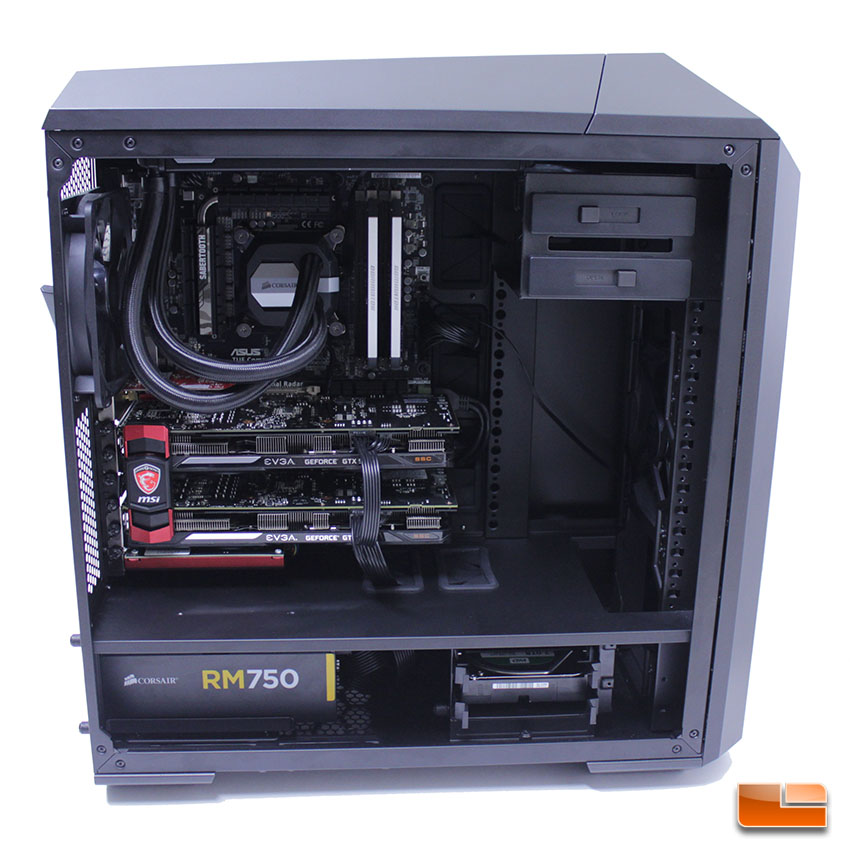
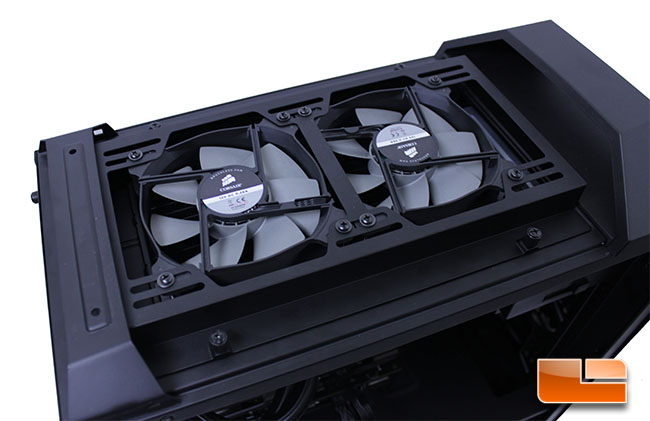
Here we see the MasterCase 5 occupied with our full hardware layout. We’ve mounted the radiator in the top of the case and removed the front drive cages to provide optimal airflow to our GPU’s. The fans shipped with the MasterCase 5 aren’t quiet, nor or they loud (24dba) and move a decent amount of air at 1200 RPM (55 CFM), which is their default speed at 12v. There are plenty of fans out there with higher CFM ratings at lower noise output.
The motherboard and main components installed without issue once we installed the ATX standoffs. The included metal driver for the standoffs helped us install the standoffs quickly and tight to the tray.
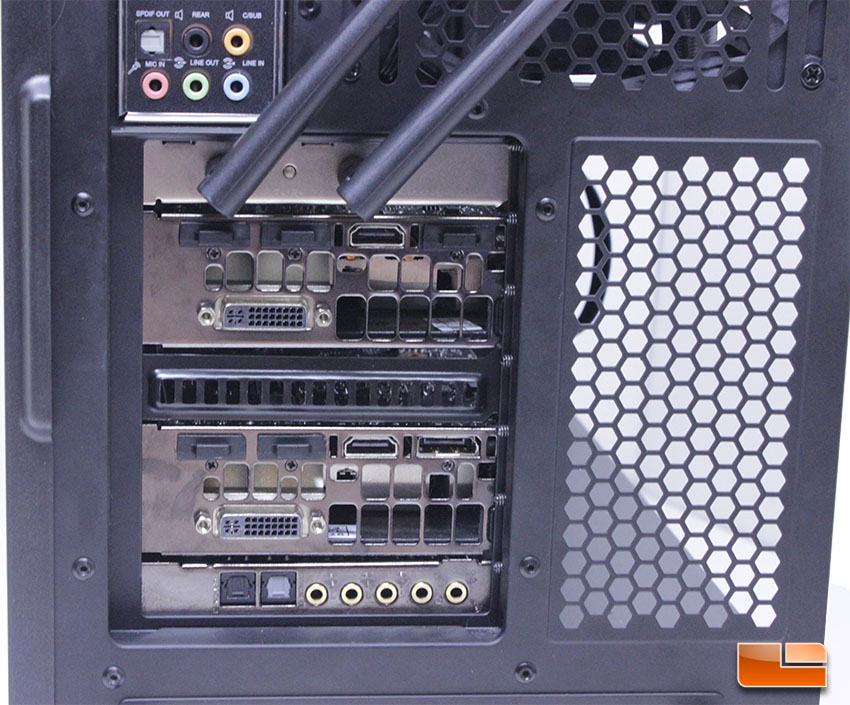
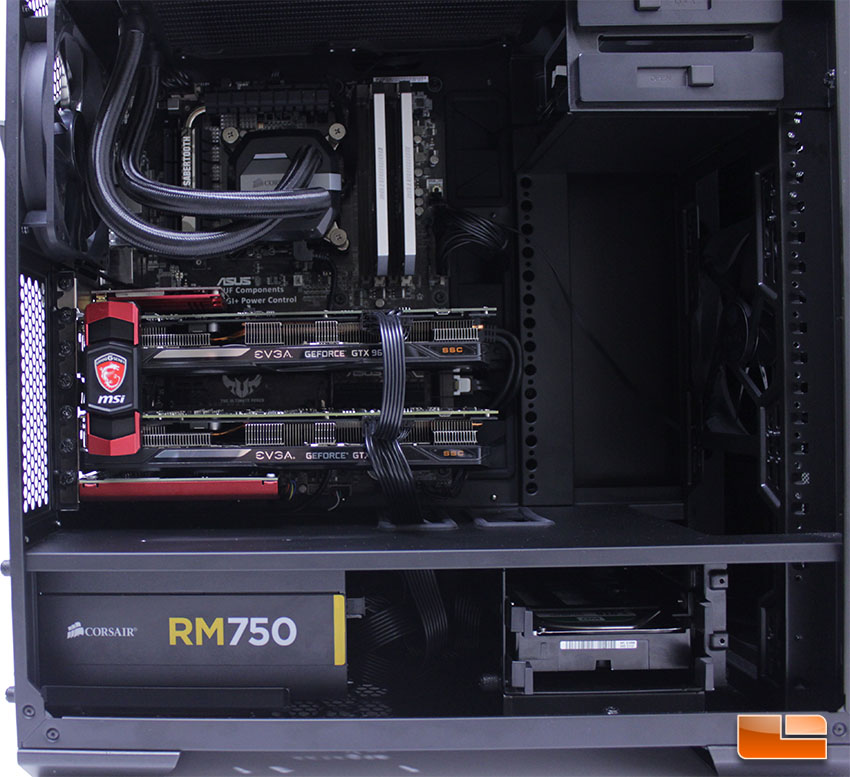
Components have no metal spacers between them, there is open air between the cards. We do wonder if this will lead to dust being built up between cards, though with proper airflow configuration, it should actually provide channels for dust and air to escape from the case.
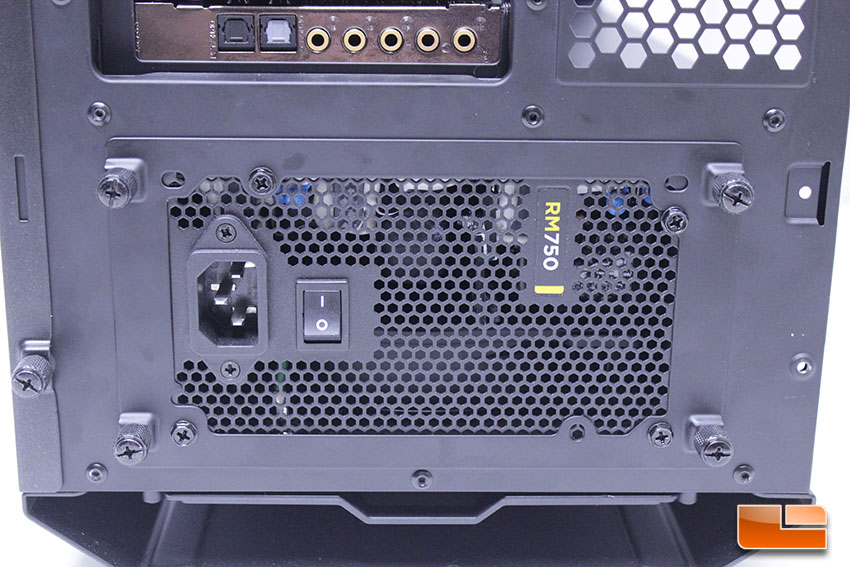
PSU installation went smooth and we liked the unique mounting mechanism, though we prefer the quicker, more simplified old school mounting mechanism of just sliding in the PSU and screwing it directly to the case.
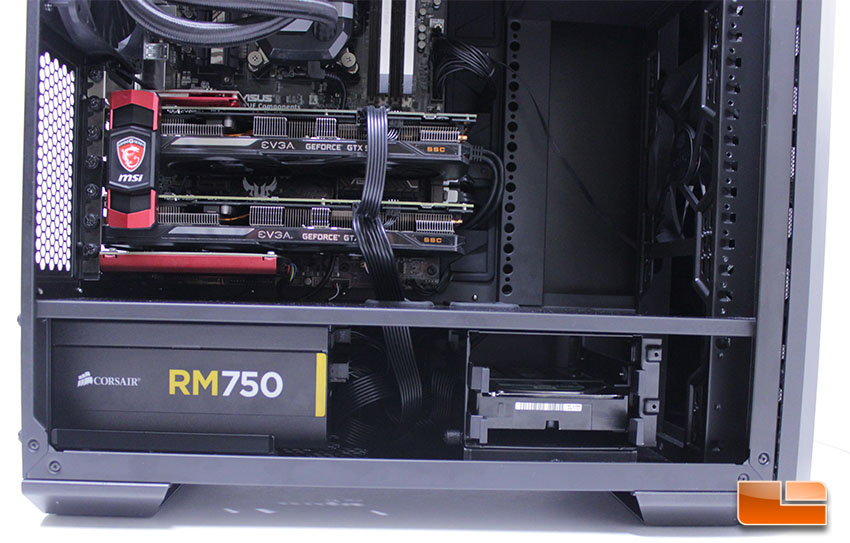
The bottom chamber of the MasterCase 5 is somewhat cramped when the hard drive cage is in the position closer to the PSU, so we recommend leaving out the hard drive cage when installing and running cables initially.
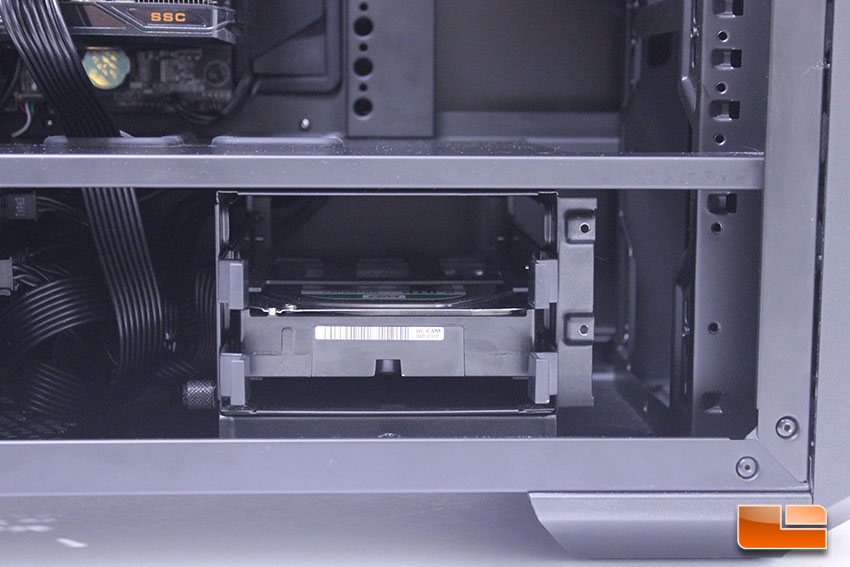
Keep in mind that this HDD cage location is completely optional and can be moved to a more forward position, we just wanted to show the clearance should it be moved back. There is still plenty of room and we’re running a pretty full cable run from our RM750.
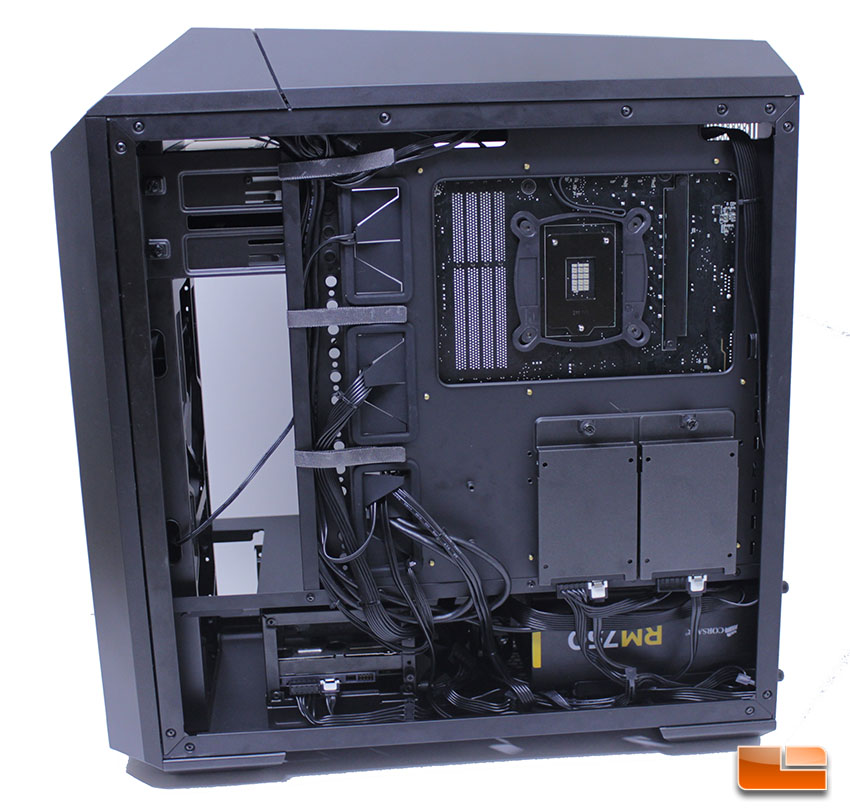
The back motherboard tray area was easy to work with, as the cable routing channel let us route our cables nicely and tie them down with the Velcro straps.

The SSD installation system worked very well and we liked the way our SSD’s fit into the cages, nice and snug without requiring the use of screws.
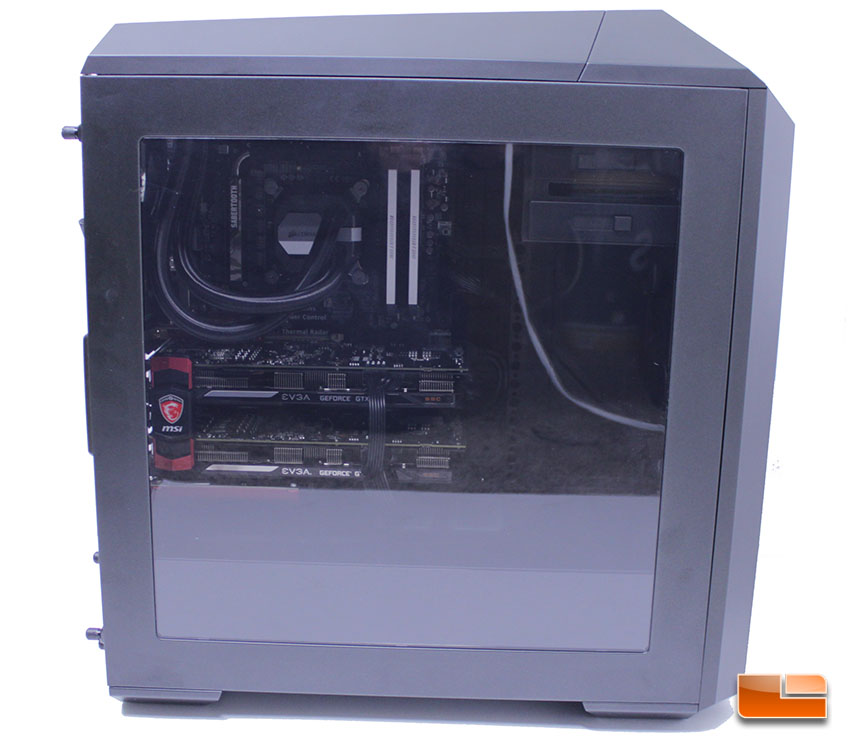
Once the side panel is installed, you will notice the bottom chamber isn’t visible due to the black strip Cooler Master placed across the bottom of the panel. This is removable, but we really like the way the window hides the PSU, cables and storage drives.
Cooler Master really hit the nail on the head when it comes to the aesthetic appeal and ability of the MasterCase 5 Pro to make your build look its best. The ability to remove drive cages gives users a lot of flexibility. In our case we were able to optimize for the best possible airflow by removing the drive cages and using the lower cage and back of the motherboard tray for our storage installation. While the case is not fully modular, it offers just enough flexibility and potential to be suitable for just about any purpose, from a gaming system, to a storage server. It’s this flexibility and ease of use that had us enjoying our time building into the MasterCase 5 and we’re very happy with the way our completed system turned out. We also want to note that even though the MasterCase 5 Pro features an open mesh front and top, the system we assembled ran surprisingly quiet. We recently reviewed the be quiet! Silent Base 800 and found it to only be marginally more quiet than the MasterCase 5 in idle scenarios, though the MasterCase 5 did run slightly louder when under full load.