Cooler Master MasterCase 5 Mid-Tower ATX Case Review
Cooler Master MasterCase 5 Mid-Tower ATX Case Internal Features
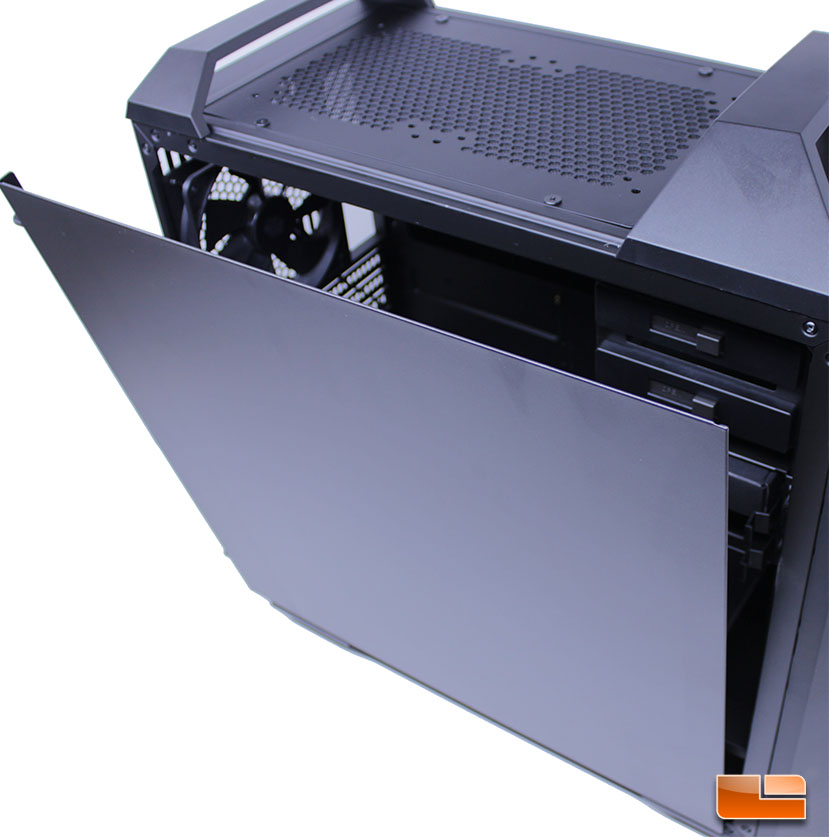
Accessing the internals of the MasterCase 5 is very simple. Once you remove the thumbscrews, which are captive and stay attached to the side panel, the side panel slides back and sits on a hinge so that it doesn’t just fall off. This mechanism works very well and is one of the best working, yet simple, side panel mechanisms I have ever worked with.
The interior of the MasterCase 5 is very clean looking, with a uniform black color across all components and modern features such as rubber grommets, all-black header cables and tool-free drive cages. The black paint inside of the case has a soft, smooth feel to it and looks great.
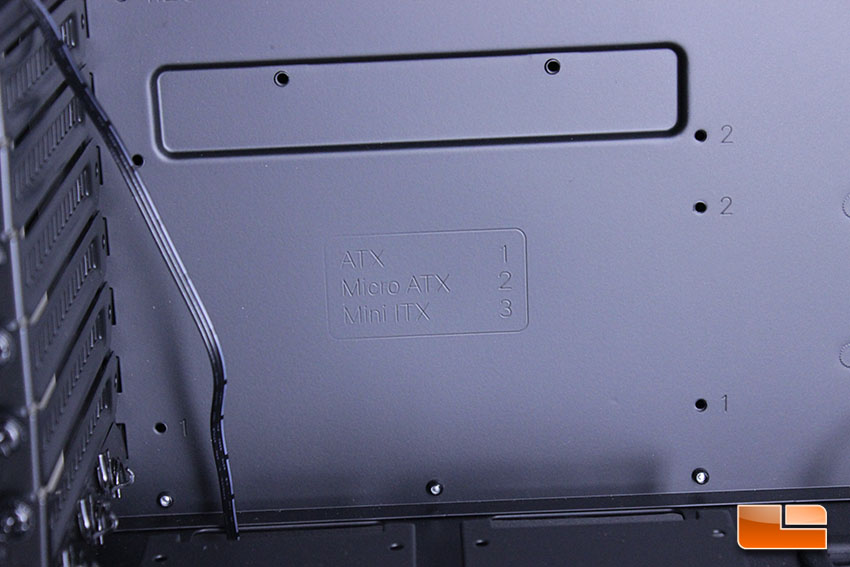
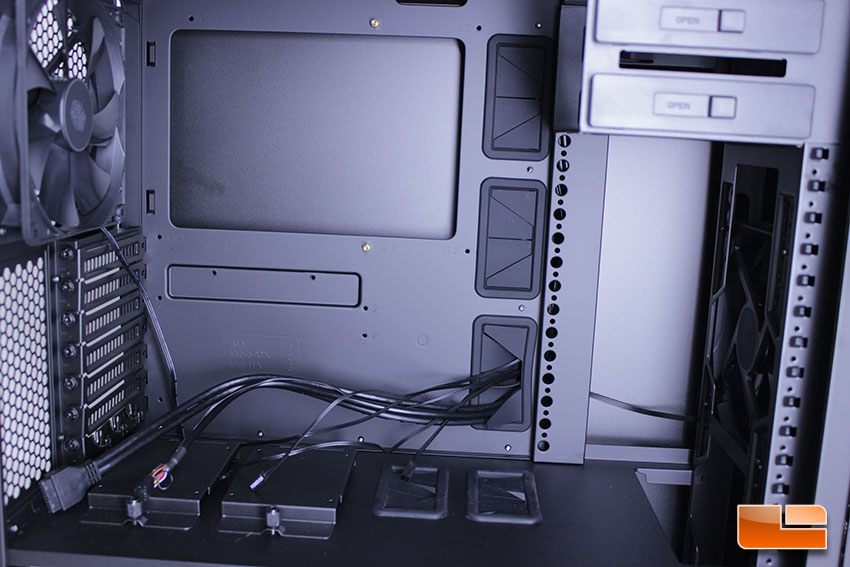
Looking closely, we see that Cooler Master has stamped a standoff chart on the motherboard tray, a very nice feature to assist builders. The chart has numbers corresponding to motherboard type so that users can install standoffs in the proper location more easily.
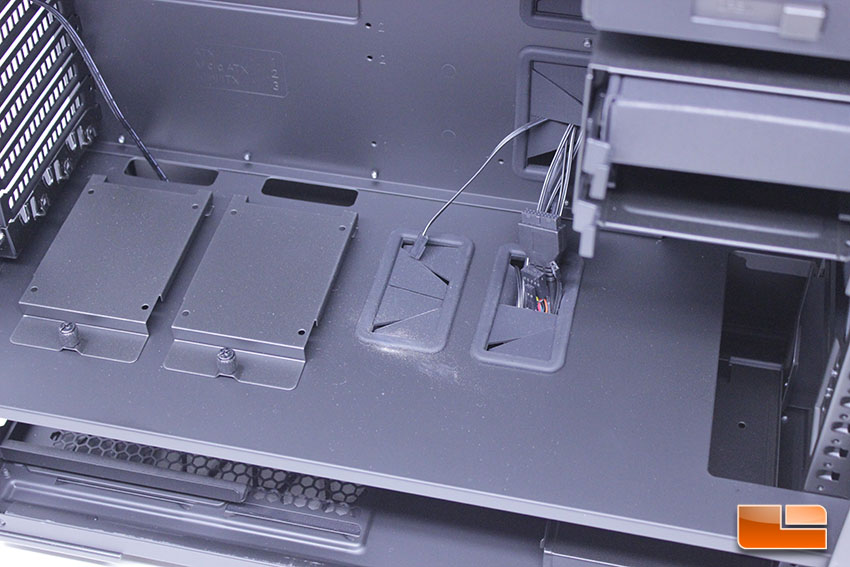
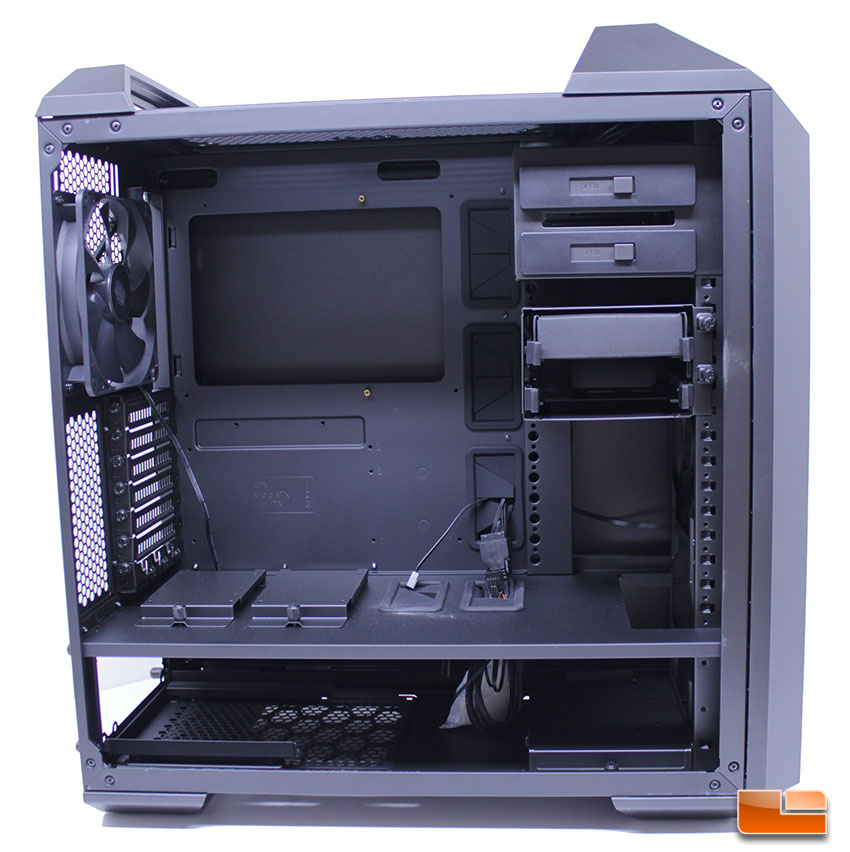
Cooler Master is using a standard mid-tower ATX layout here, but there is a solid divider panel between the main components and PSU area. This divider panel is used well, as it features two rubber grommets for cable or tubing pass through, provisions for two SSD’s and additional cut outs to run cables to the SSD’s and motherboard from the lower chamber. The panel is very rigid and well-built, but is unfortunately non-removable, making it hard to do modifications on the panel, such as extending the area of the cutout to allow for fans to be installed inside the case when a radiator is being used.
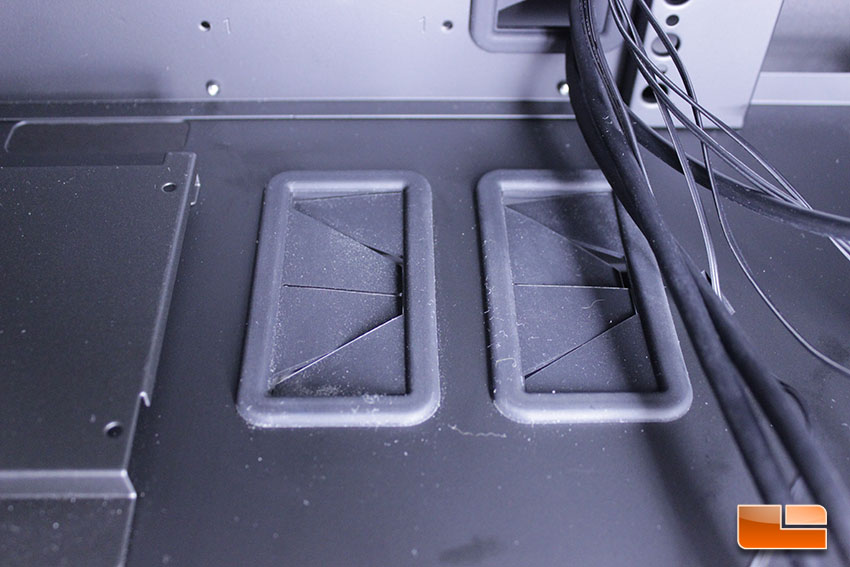
The rubber grommets throughout the MasterCase 5 are flexible and use a high quality rubber that feels soft and pliable. The grommets stay put in the case and are slatted in a pattern that lends itself very well to being able to fold and run cables straight. We’ve encountered some really cheap grommets in premium cases lately, so these are a refreshing sight.
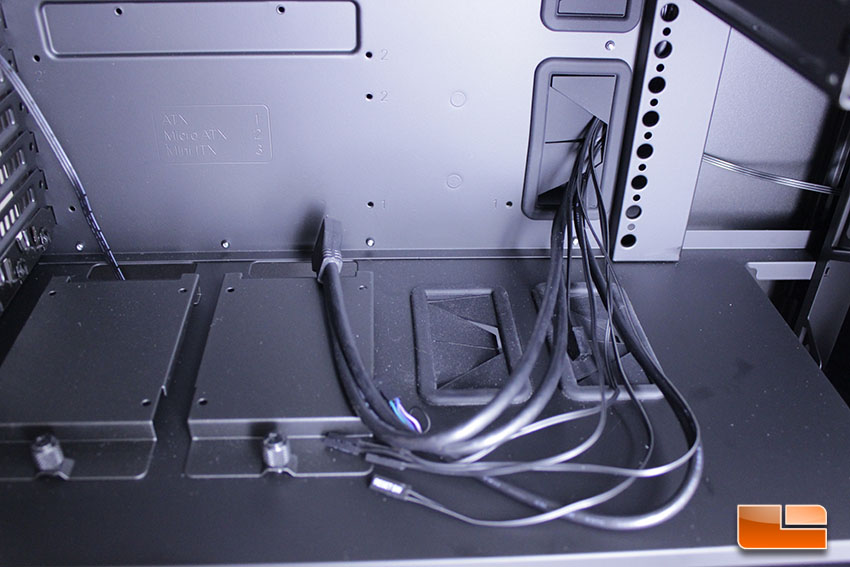
The all-black cables in the MasterCase 5 are flexible and long enough to reach where they’ll need to be plugged in, regardless of which motherboard you are using. The USB 3.0 header cable was nice and flexible, with a durable, solid connector. Unfortunately, the front panel audio connector does have some colored wires, but this is an easy, quick fix if you have an inch of electric tape.
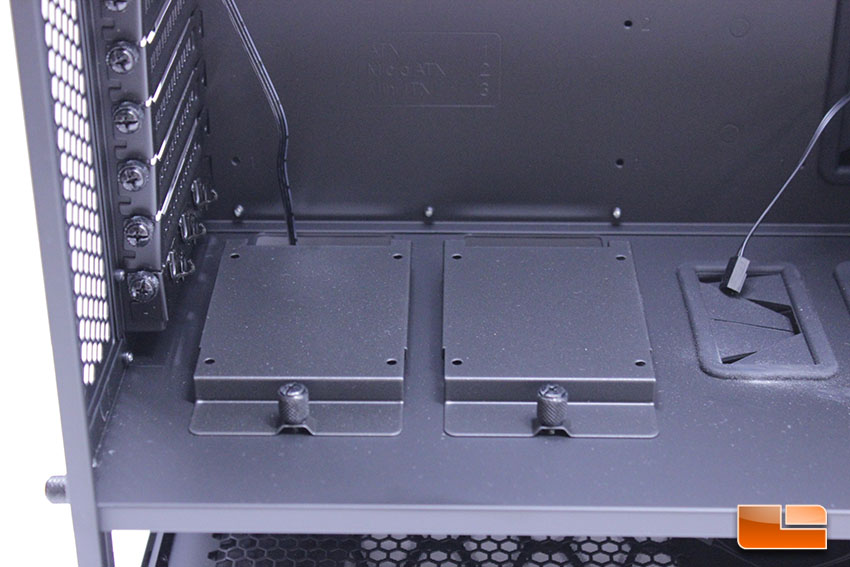
The mounting clip mechanism for SSD’s is very easy to use and provides great flexibility. In addition to the two obvious spots in the main component chamber for SSD’s, Cooler Master includes two more mounts on the rear of the motherboard tray. You can mount SSD’s inside of the clips, or you can screw them onto the top so that they are on display. You could even run two SSD’s per clip in the main chamber location, with one on top and the other inside of the clip, though you can’t run SSD’s on top of these trays when installed on the rear motherboard tray location due to size constraints.
The MasterCase 5 ships with a single cage to install hard drives in, which is a bit underwhelming given the cost of the base MasterCase 5, as just two 3.5″ drives are supported by the stock MasterCase 5. These cages are sturdy and well-built, offering compatibility for both 2.5″ and 3.5″ drives. Cooler Master also ships the accessory box for the MasterCase 5 locked into one of the caddies and it held it well during shipping. The cages simply slide into the holes built into the frame of the case and can then be locked into place with thumbscrews. It’s a solid drive mounting system that provides a lot of flexibility while remaining very simple to use.
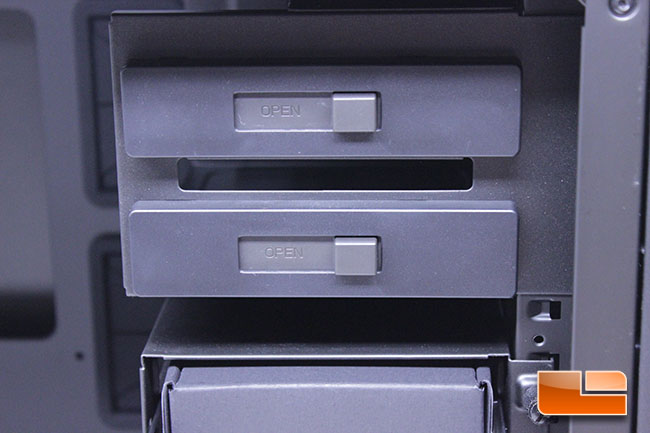
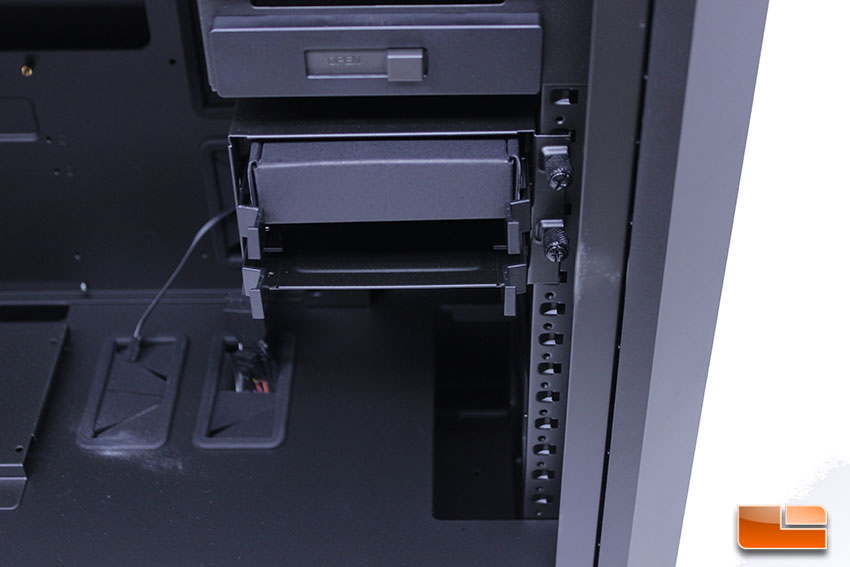
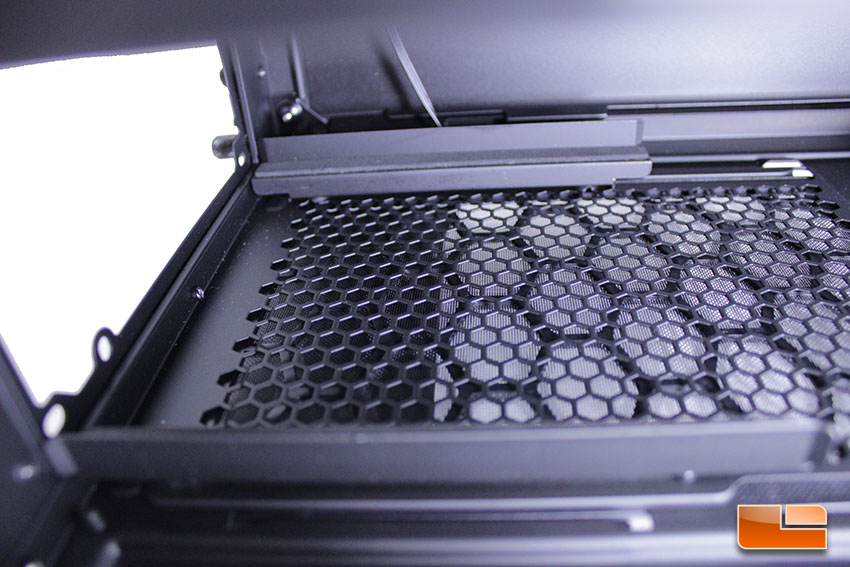
The optical drive area, which can be completely removed from the case to accommodate an additional front intake fan, features a tool-free mechanism to secure drives. The mechanism is in the Open position by default and once a drive is installed, you simply slide it back to lock the drive in place.
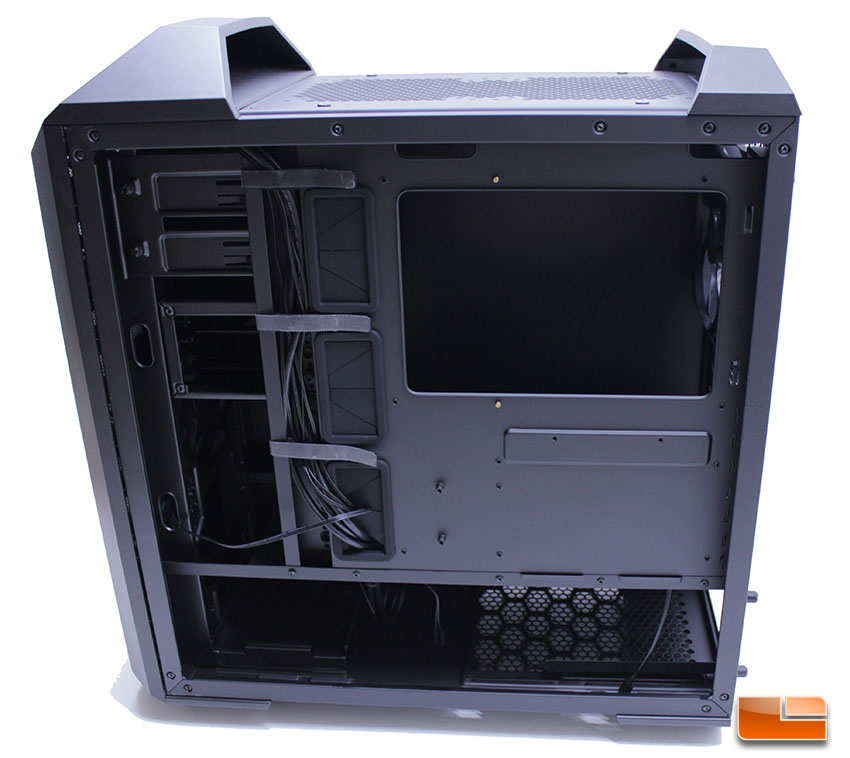
Around back, we have a very clean layout with Velcro straps and a nice, deep channel to run cables through. The layout is very clean and well thought out, with Cooler Master pre-routing the header cables in pretty neat fashion. We are disappointed at the lack of cable ties, as there aren’t many on the back of the tray, there are just two near the rear of the case that can be used to tie down the 8-PIN CPU cable and other cables you run along this ridge. Given the ample room and Velcro straps, cable management on the MasterCase 5 should be a simple task.
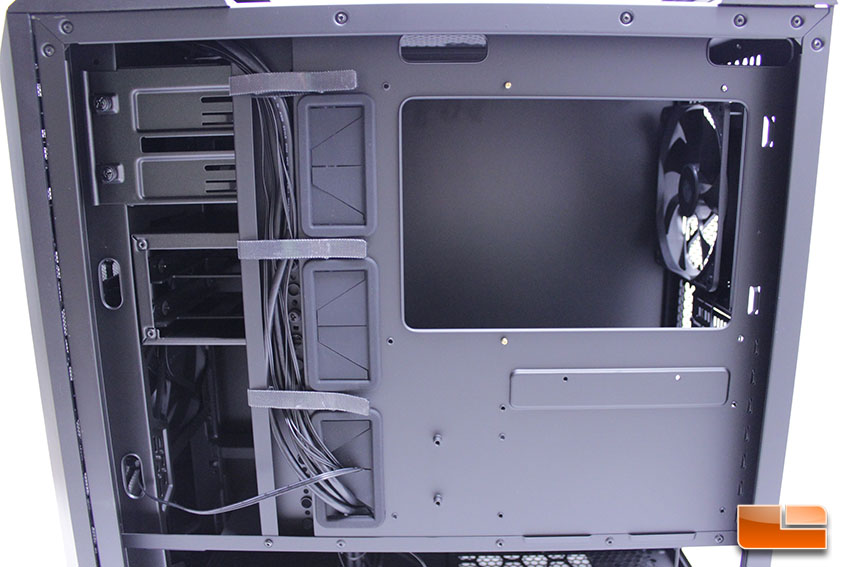
There is ample room behind the tray to route cables from the PSU and there aren’t any bars or unnecessary obstructions that make cable routing problematic. The two slots on the rear of the tray directly above the PSU area are for installing SSD cages.
Removing drive cages is really simple and takes mere seconds. You just have to undo two securing thumbscrews and then pull the cage out. We are doing this in preparation for our build, as we’re not going to be using this area for drive installation and want to provide the best possible airflow to our components.
The power supply slides in onto these rails, which are covered with rubber to help reduce noise and vibration. This is a very nice system, though the rubber pads do like they could wear out or pull over time. The intake area underneath the PSU is very breathable and open, so while the filter should do an adequate job of keeping large dust particles out, you’ll still want to occasionally blast out built up dust in your PSU with some compressed air.
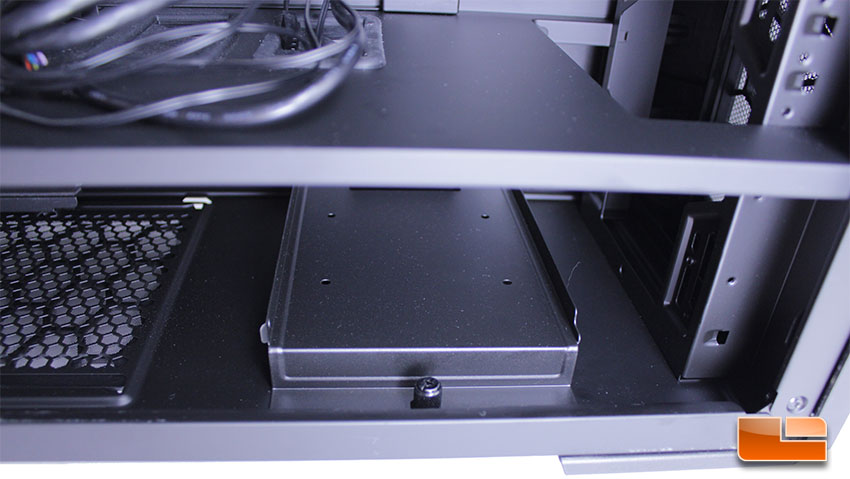
We’ve moved the lower drive cage mount over to accommodate our radiator come build time. When we received the case and were planning things out, we wondered how this piece let the drive cages attach securely, since the thumbscrew holes can’t be accessed. Cooler Master instead puts screw mounts on the rails of this cage mount and the cage thumbscrews into those mounts.
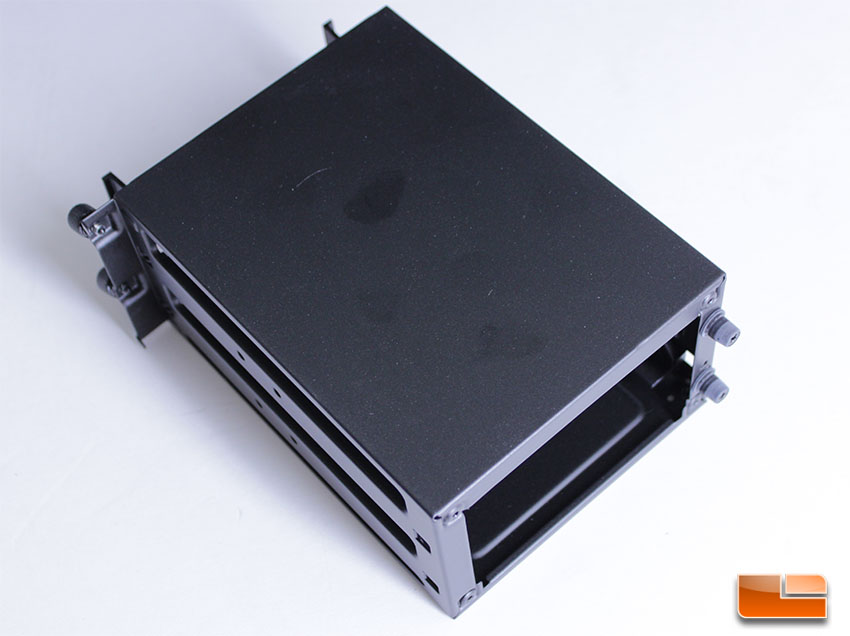
The HDD cages for the MasterCase 5 are built very well, with solid connecting points in the back. The captive thumbscrews that secure the cages to their location work great. We really like that Cooler Master has used captive thumbscrews throughout the case, not just on the side panels, as it can be easy to lose track of loose thumbscrews during a build.

Seriously, these are some of the best modular cages we’ve worked with. Everything from the build quality, ease of use and how the cage fits so securely in the case is very refreshing. We also like that Cooler Master makes these cages in various drive capacities, allowing users true storage flexibility.
While we really like the internals of the MasterCase 5, we would have liked for the divider tray to be removable to allow for modding and future upgrades. Another issue with the MasterCase 5 is that there are only seven PCI-E slots, which is typical for an ATX Mid-Tower, but does limit expansion potential. We’ve seen other ATX Mid-Towers offering eight PCI-E expansion slots, so it would have been nice to see this on the MasterCase 5, especially since one of the slots has a Storm Guard that will become unusable if an expansion card needs to go there. Perhaps the biggest issue with the MasterCase 5 is a lack of top panel radiator support, which can be somewhat forgiven when you realize that the front of the case can accommodate radiators and you can still use the top panel as an exhaust. Still, for users who want to build an extensive watercooling system, the MasterCase 5 falls a bit short and an upgrade to the MasterCase 5 Pro, which can support 280mm top panel radiators, is recommended. The lack of cable tie points behind the motherboard tray were also noted, but given the nice cable channel and Velcro straps, this isn’t as big an issue. The shortcomings of the MasterCase 5 aren’t deal breakers for most and won’t be the kind of things that cause average users problems, or that will even be noticed.
Internally, the MasterCase 5 is solid all around and offers modern features with a very clean, well-built look. The layout offers excellent expansion potential along with the ability to do very aesthetically pleasing cable management, thanks to thoughtful design choice by Cooler Master. Cooler Master has placed cable management holes, several with rubber grommets, in all of the necessary locations to ensure cable routing can be done in the neatest possible fashion. The cable channel with velcro straps on the rear of the motherboard tray was great to see, as it will make cable management a cinch for even inexperienced builders. Rounding things out, we loved the separate PSU chamber that allows us to isolate our PSU from the rest of the hot components in the case, a feature that is becoming very popular. This is a very well-built, modern case that will appeal to enthusiasts. Next, we’re going to transform our MasterCase 5 into a MasterCase 5 Pro, complete with side panel window and top panel radiator support.