Cooler Master Glacer 240L Expandable Liquid CPU Cooler Review
Cooler Master Glacer 240L Packaging & Unboxing
Cooler Masters packaging for the Glacer 240L isnt the most flashy thing youd find on a shelf, but when you pick it up, I have to say youd find more than adequate details on it. Aside from the exterior, the interior packaging is pretty important to me, knowing that my product can get jostled around in transit from the manufacturer to anywhere, all without being destroyed. Lets take a quick look at it.
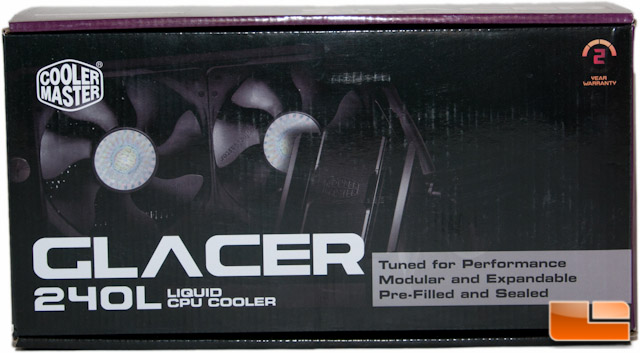
The top of the packaging is where the 240L has a dim glamour shot along with the key detail that says Hey, I expand to your needs!
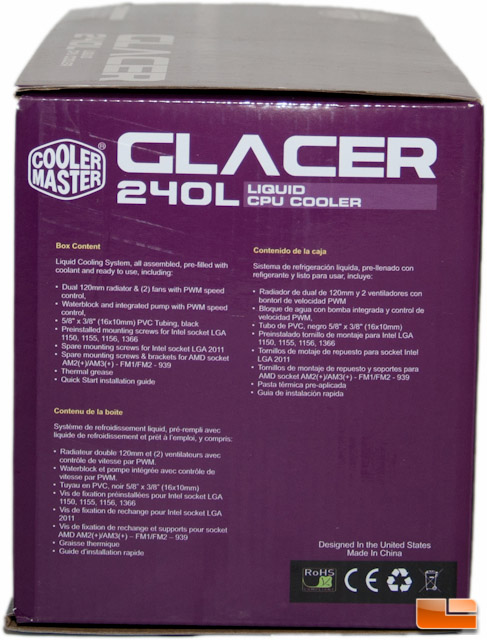
The sides of the box give you the details on the box contents, socket compatibility, and another shot of the cooler itself.
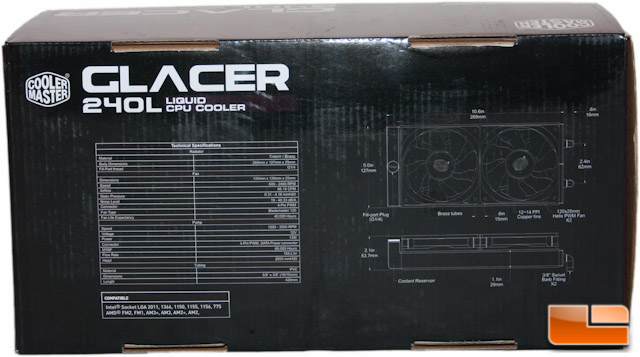
Looking on the bottom is where you will find all of the statistics that you need to know, including a nice set of dimensions of the radiator and its components so you can figure out if it will work for you.
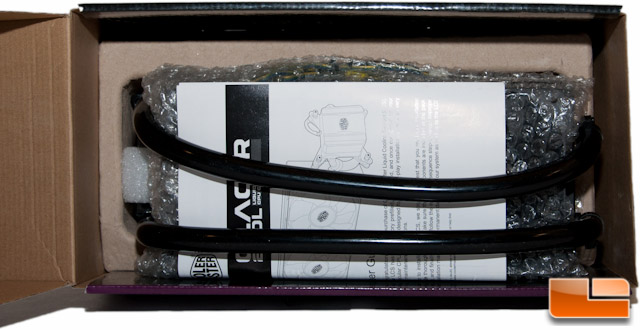
Cracking open the top of the box, there is an egg carton style recycled cardboard that is holding everything in its own section.
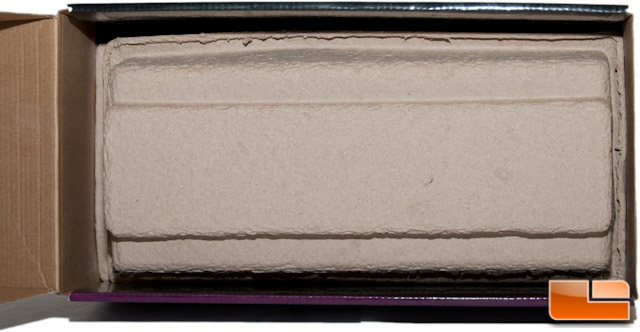
Taking off the top, this is how its sectioned inside. There was at least bubble wrap protecting everything from damage in transport, which is better than nothing. Sometimes you end up with bent fins on your radiator because it was packaged poorly, so this is nice to see.
Once I pulled the kit out of the box, I noticed the fans were pre-mounted. I really appreciate that! Keep reading on and check out the install section for a slight quirk involved with these being pre-mounted.
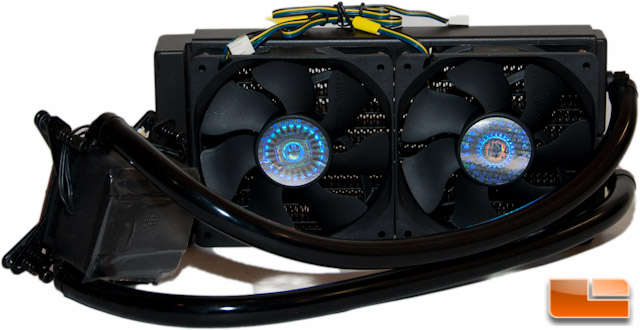
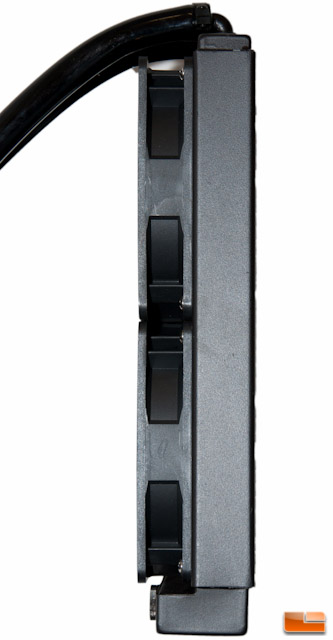
Heres a side profile shot showing the fans and radiator. The section on the left is where you will fill the radiator with extra coolant.
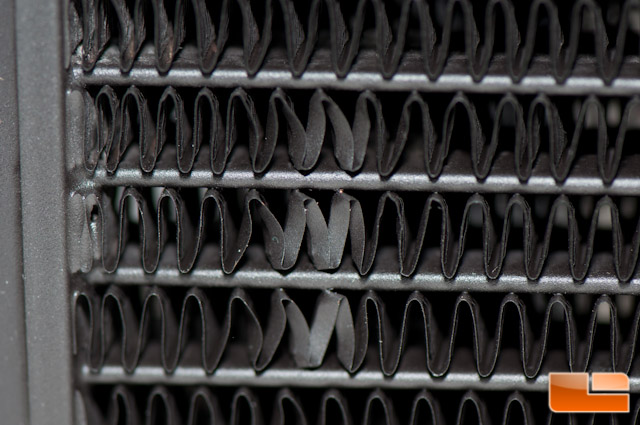
Looking a bit closer at the radiator, the bubble wrap unfortunately didnt prevent damage to the radiator. I dont feel this will be a huge issue for performance, but for those who prefer pristine products may be disappointed.
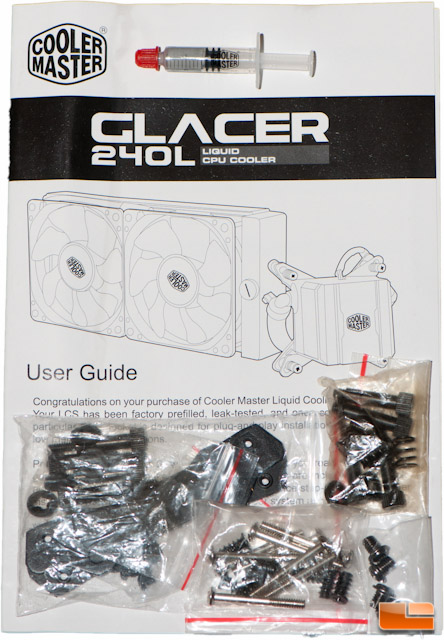
Out of the box, all of the hardware for an Intel install was pieced together. Youll obviously have to remove the bracket when youre ready to perform your install. This is technically a tool-free bracket, but like all other coolers that Ive worked with, a screw driver will probably be much easier to work with.
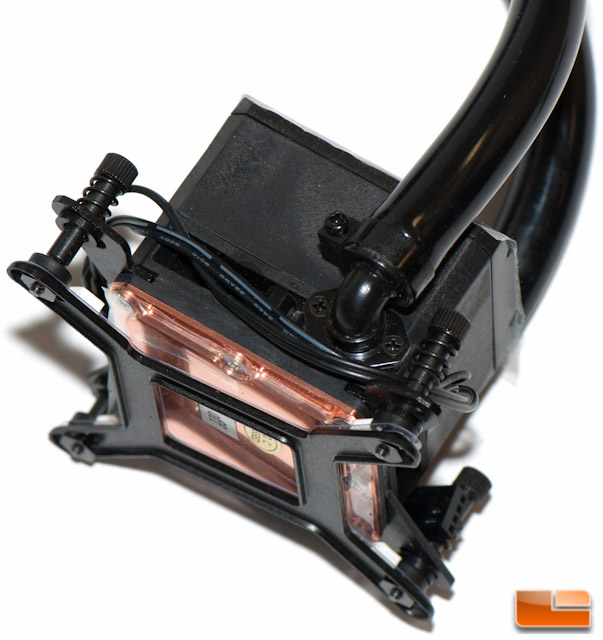
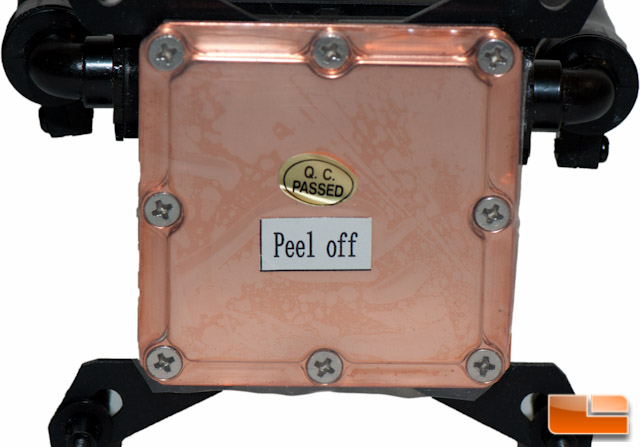
On the bottom of the block was a piece of film to remove prior to install. There was no pre-applied thermal compound, but instead in the hardware kit youll find a small syringe of what Cooler Master wants you to use. For those that plan on breaking the kit up and adding more components, the small syringe is an added benefit so you dont have to go out and purchase even more. The paste thats included in the Glacer 240L kit appears to be Cooler Masters ECG-D0001-02-GP paste.
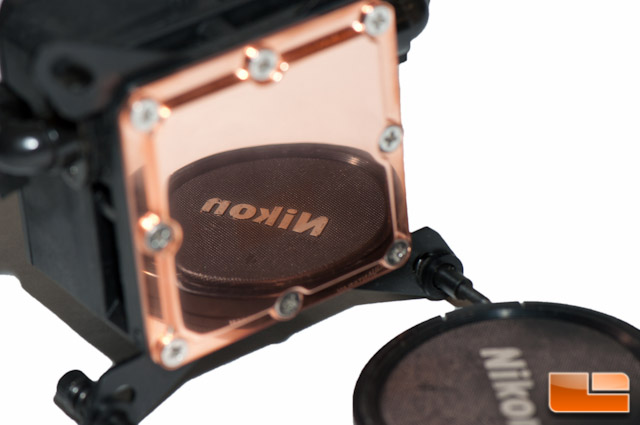
Peeling off the plastic on the bottom, this reveals the mirror finish on the block. A lot of people like a mirror finish and overall you may find it a bit easier to clean up when removing thermal paste.
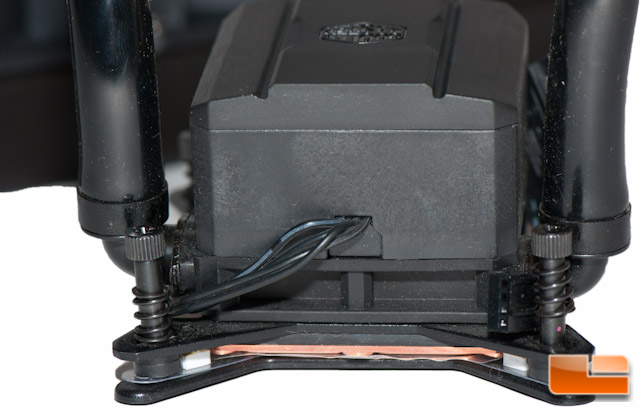
On the back side of the block are a couple different wires. One of the wires is a PWM connector for the pump speed and the other is a SATA power connector to provide juice for the pump. Sadly the 4-pin PWM connector doesnt have a wire to monitor temperatures or pump RPM, so this means no fancy software to monitor how your system is doing.
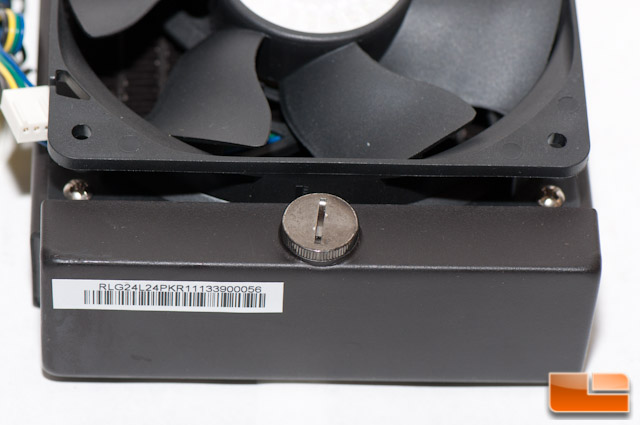
Heres a quick shot of the fill port.
The accessories included are the instruction manual and a bunch of screws. There is also a bracket for AMD mounting, as Intel was pre-mounted out of the box.
Thats about all there is to the kit, but as I mentioned earlier in this article, Cooler Master included two Jetflo 120 fans with this kit. Our intentions are to swap them out and see if we achieve any better results.
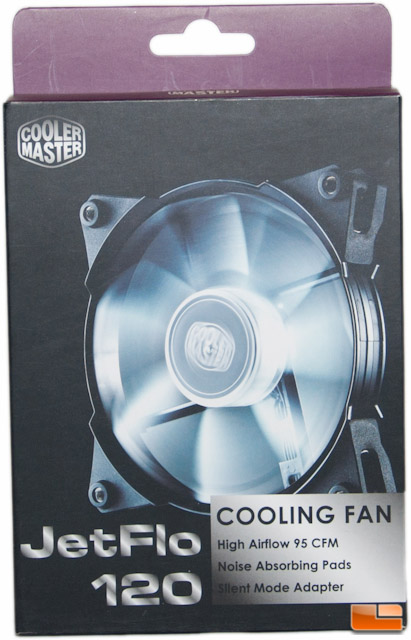
The front of the box for the Jetflo 120 gives you a couple little details of the fan…
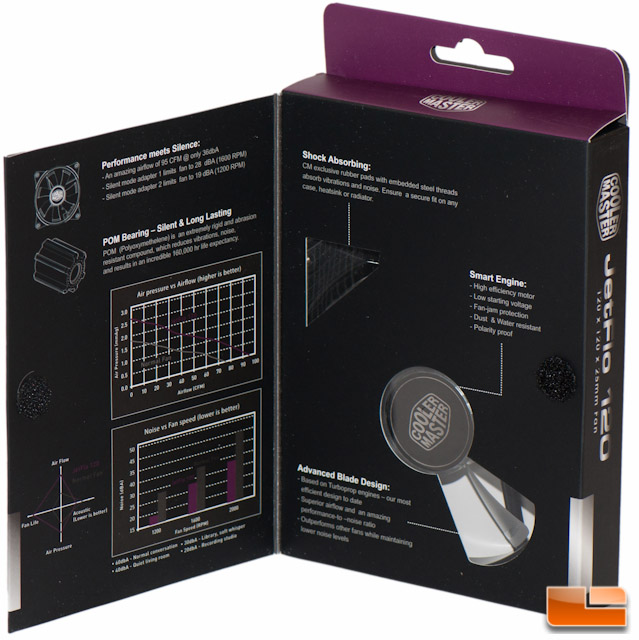
… while the rear gives you all of the sweet details that you will probably want to know.
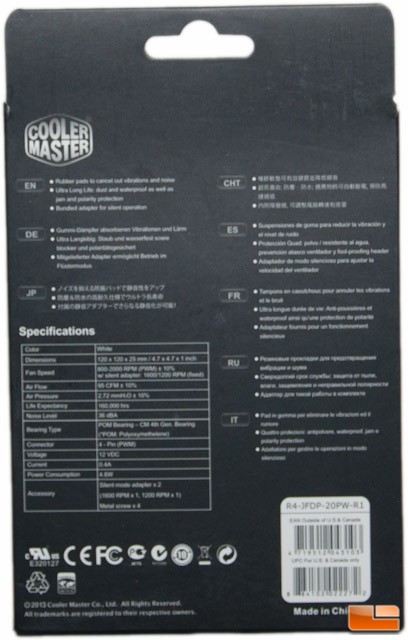
There is also a cover held in place by Velcro, and flipping this open we find some more fine details and statistics from Cooler Master’s own testing.
Out of the box, this is how the Jetflo 120 looks.

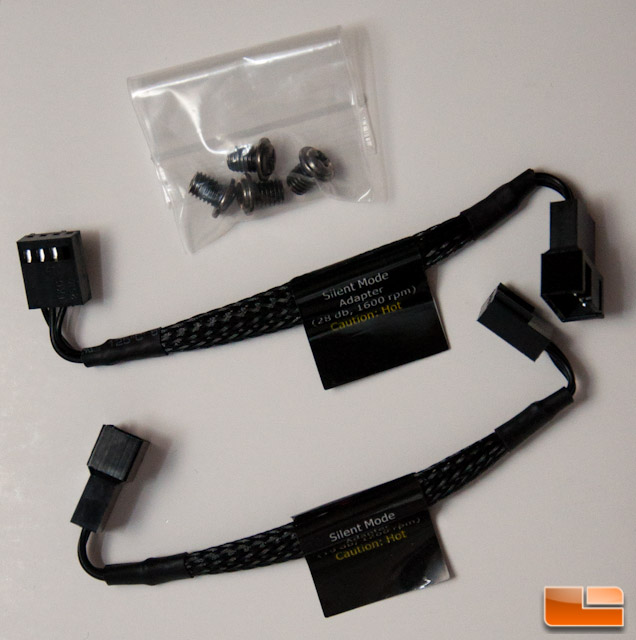
The Jetflo 120 fans have rubber corners to reduce vibration and this particular model has a white LED. Included in the kit are two silencers that will fix the RPM of the fan to 1200 or 1600 RPM.
Next up Ill show you my experience with installing the Glacer 240L and will see if there are any quirks involved with it.