Building Your Own Computer (DIY) Guide
Installing the Processor Heat Sink
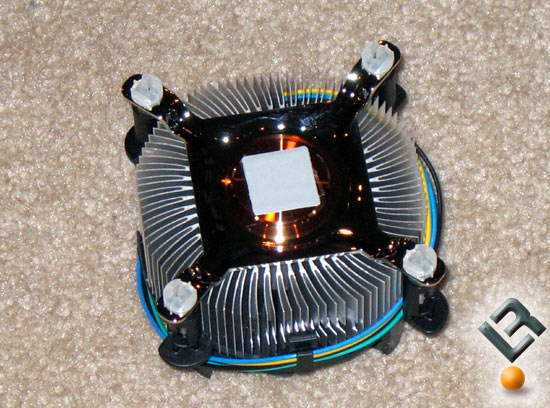
The heat sink that comes with the Intel Pentium D processor comes with a thermal pad already in place. For the majority of computer users this will work fine and not need to be changed as often at thermal pastes that enthusiasts install to lower their temperatures. If you want to install thermal paste that is fine, but we would re-apply it several times a year to avoid break down. Legit Reviews suggests using Arctic Silver thermal compounds if something different is going to be used.
Taking a look around the processor socket area you will notice four holes that go through the motherboard. These are the holes that the CPU heat sink will mount to. Carefully line up the heatsink feet in these holes.
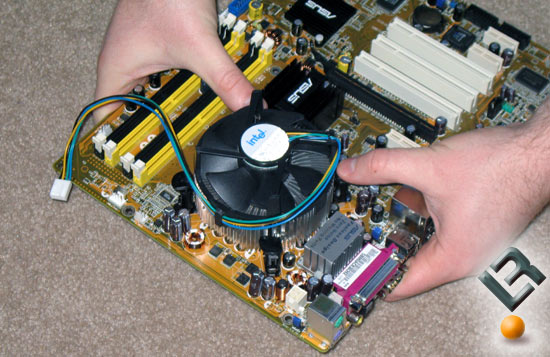
Once you are certain that the heatsink is lined up correctly we can push the stand-offs down till the click. During this process we noticed something that didn’t look right.
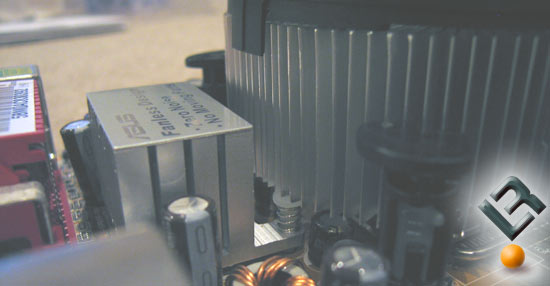
We noticed that the reference Intel heat sink fan actually hits the retention pin on the heat sink that ASUS uses on the motherboard. Upon futher investigation we found that this is not of concern as it is spring loaded and will move down when the heat sink is locked into place. Ignore the contact as it will not interfere with the heat sink sitting flush or operation.
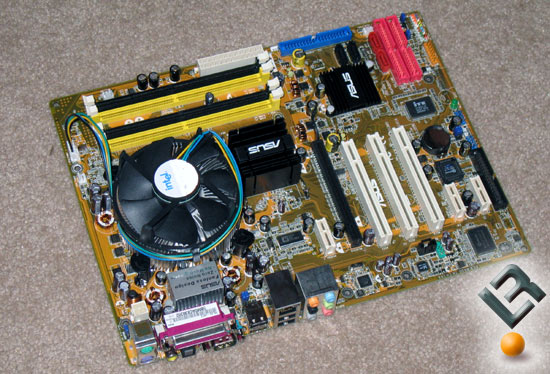
After all four stand-offs are clicked into the motherboard be sure to install the power cable to the 4-pin power header on the board that is located next to the open memory banks.
Comments are closed.