Building Your Own Computer (DIY) Guide
Starting The Computer Build
Now that Legit Reviews has been doing system guides since the start of 2006 one of the most asked questions is how to put one of these systems together. We recently had a reader in the St. Louis area order in our March 2006 Do-It-Yourself Mainstream Intel System and we were there to document the build. Since our system guides are built to be interchanged the buyer of this system wanted to go with the GeForce 6800 video card in our Budget Intel System Guide and 2GB of Corsair XMS Pro memory. If you have ever wanted to build your own computer, but didn’t know how Legit Reviews now has the Hardware Guides and the build guides to help you along the way. Read on and follow our 30 minute journey to building our $1000 Intel system.
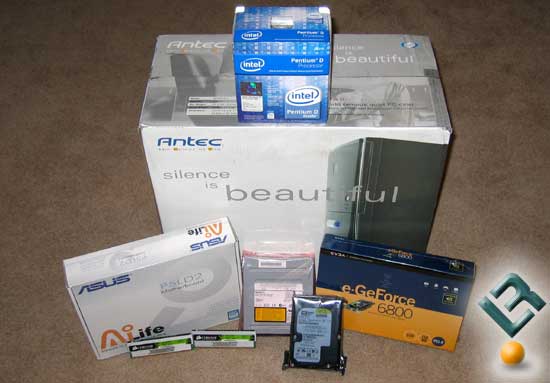
Fresh out of the UPS packaging we made sure all of our system parts were correct. Now is a great time to make sure what you got matches the shipping list. Mistakes do happen and often not in your favor! Everything we ordered was correct so we unpacked everything and opened the case.
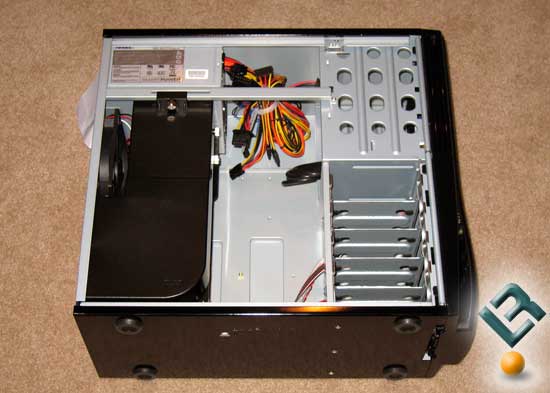
After removing the two philips screws and opening the Antec Sonata II case we find an empty housing with plenty of room for our system. Notice the big black box in the picture above? This has to be removed and can easily be done by removing the three more screws. One can be seen in the picture above on the rail below the power supply. Another is seen looking at the bottom of the case, and the last is just below the rear exhaust fan.
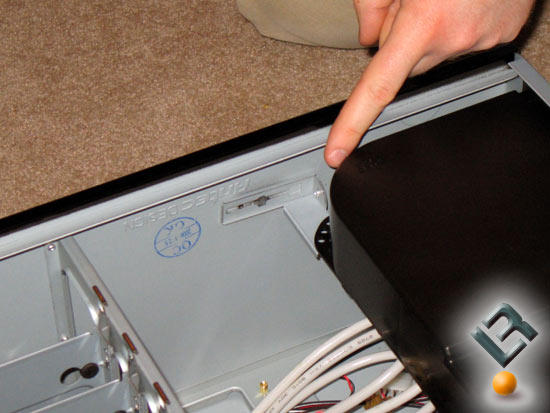
After removing the screw on the metal bracket of the air duct as shown above, and with the two thumb screws removed you can slide out the cold air duct work.
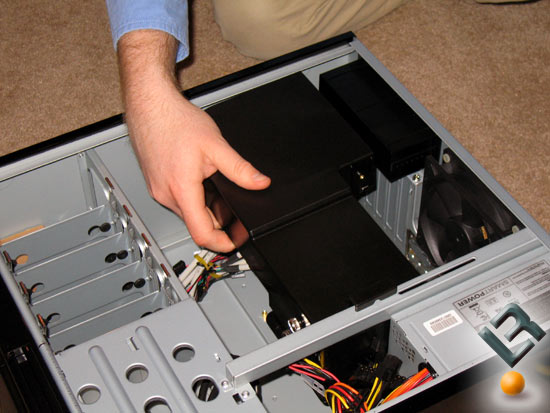
Once the duct work is pulled towards the front of the case it can be lifted up and placed to the side. Once everything is put into the case this will be installed again, so keep it close.
CAUTION
Electrostatic discharge (ESD) can damage desktop board components. Install the board at an ESD-controlled workstation. If such a workstation is not available, wear an antistatic wrist strap or touch the surface of the antistatic package before handling the motherboard in the next step.
Comments are closed.