Bitfenix Nova Mid-Tower PC Case Review
BitFenix Nova Hardware Install
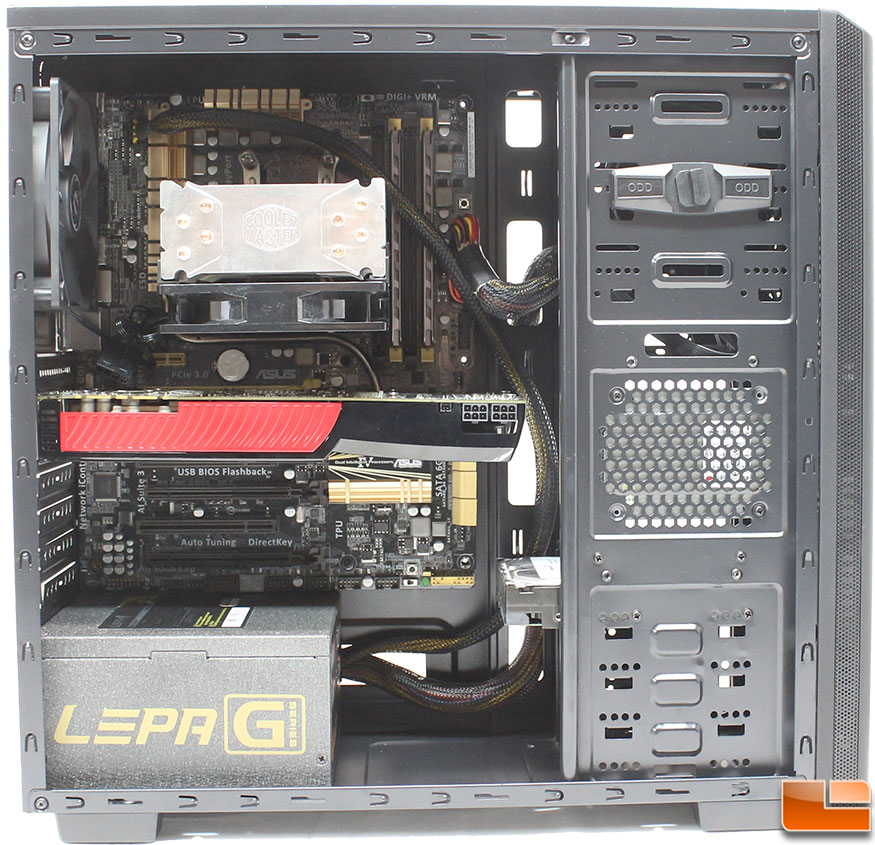
Building a complete system within the BitFenix Nova wasn’t difficult. It does take a little planning if you want to get cable management done as well as possible in the limited amount of space to route cables. Even with minimal cable management you can get a nice looking system that anybody should be proud of. For this particular build, we installed an ASUS A88X-PRO ATX motherboard, EVGA GTX 275 graphics card, KLEVV DDR3 memory, Lepa G 650W power supply, Cooler Master Hyper 212 CPU cooler, Seagate 1.5TB Hard Drive, and two SSD’s.
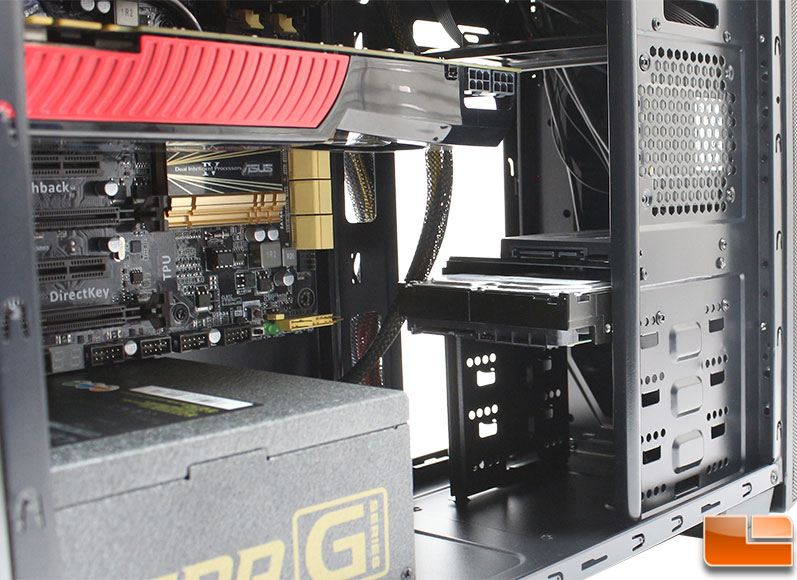
Installing hard drives is done simply by sliding the drives into the appropriate slot and securing them with screws. The three 3.5″ drive bays have rails to support the drive while you secure them. Of the two 2.5″ drive locations, the one directly on top of the 3.5″ cage is extremely simple as it rests on top of the cage while you secure it. The second 2.5″ drive will need to be held in place while you secure it, which is still extremely easy as the drives are lightweight.
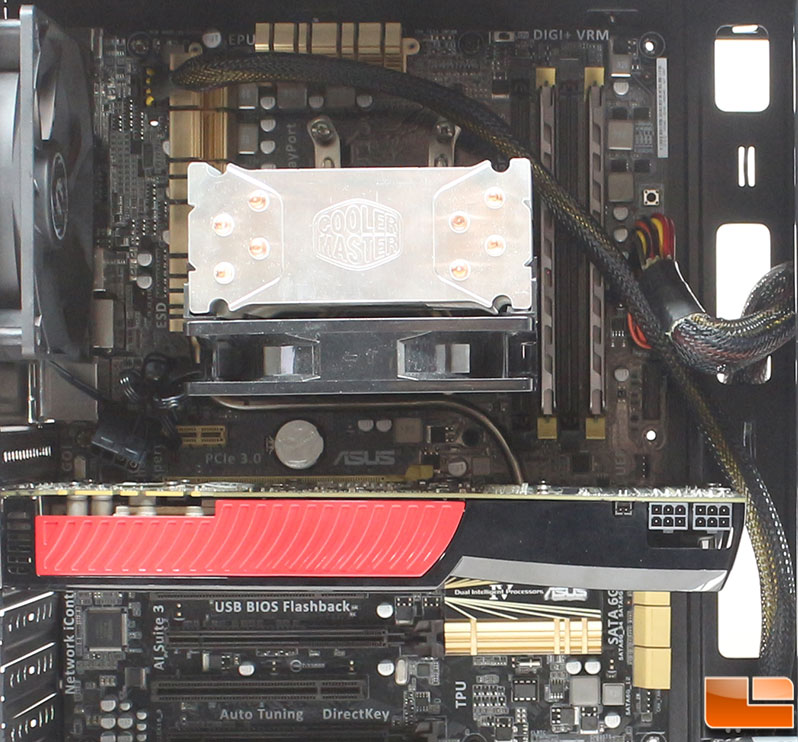
The Nova will support tall CPU coolers up to 160mm in height, we installed the CoolerMaster Hyper 212 cooler, which comes in at 159mm. The other option is to install a 120mm AIO liquid cooler on the rear of the case. Unfortunately, this is the only place you can install an AIO liquid cooler, without modifying the case. Graphics cards won’t be an issue either, as the Nova supports up to 320mm long cards. Which means it’ll support virtually any graphics cards, except maybe the ultra long cards. Most of the current long cards are well under 320mm; the eVGA GTX 275 we installed measures 266mm so plenty of room left.
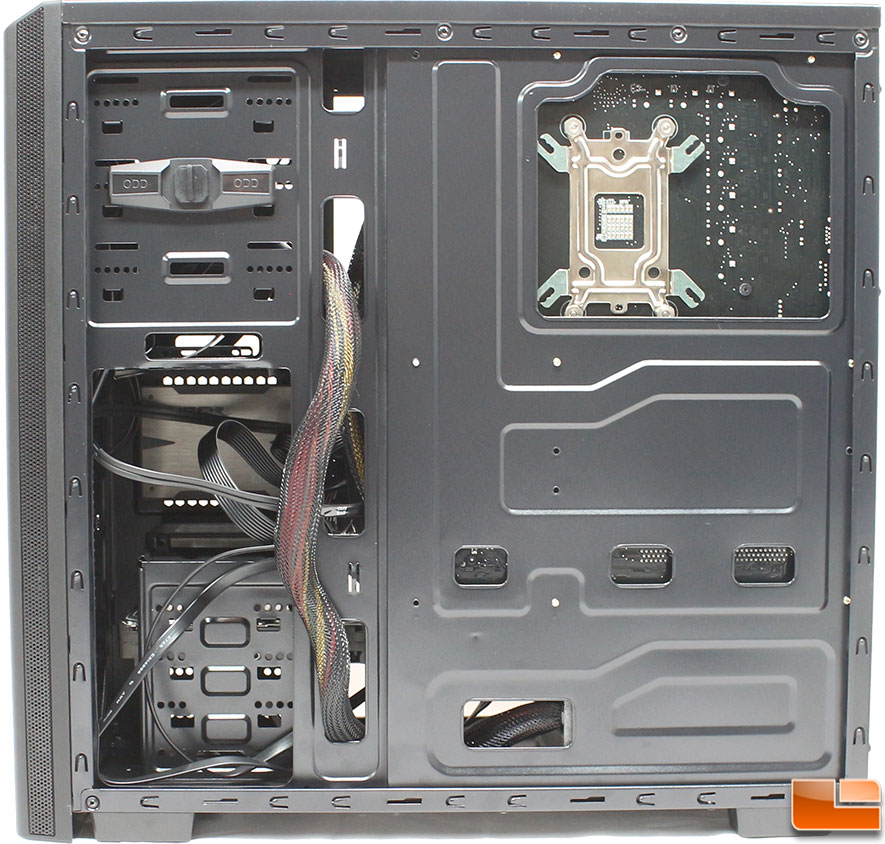
After everything is installed and we are ready to start looking at cable management, we can flip the case around and see that there are very few options. If you plan your system out wisely, you might be able to use flat or loosly wrapped cables to squeeze the 8-pin ATX power cable under the motherboard. Otherwise you have a couple other options, if the cable is long enough (or use an extension) you can route the cable behind the motherboard tray and through the top hole. The other option is to route the cable the best way possible on the front of the motherboard. With the limited amount of space behind the tray, the 24-pin power cable took up a large portion of the space with a few of the SATA data cables being routed through the holes as well. Even if you route a few cables on the front of the motherboard tray, you can make them look decent if you secure them together and out of the way. In the space behind 3.5″ drive cage and the 2.5″ drives you can store extra cables, just be sure to keep them bundled up and secured.
One thing I noticed after building the system, I’m glad I installed the CPU cooler before installing the motherboard. There are some small spacing issues with the cutout in the motherboard tray. While it’s impossible for any company to account for the small differences in the CPU location for every type of CPU, making the hole as large as possible is a plus, making it easier for the end user to install a CPU cooler without needing to dismantle their system.
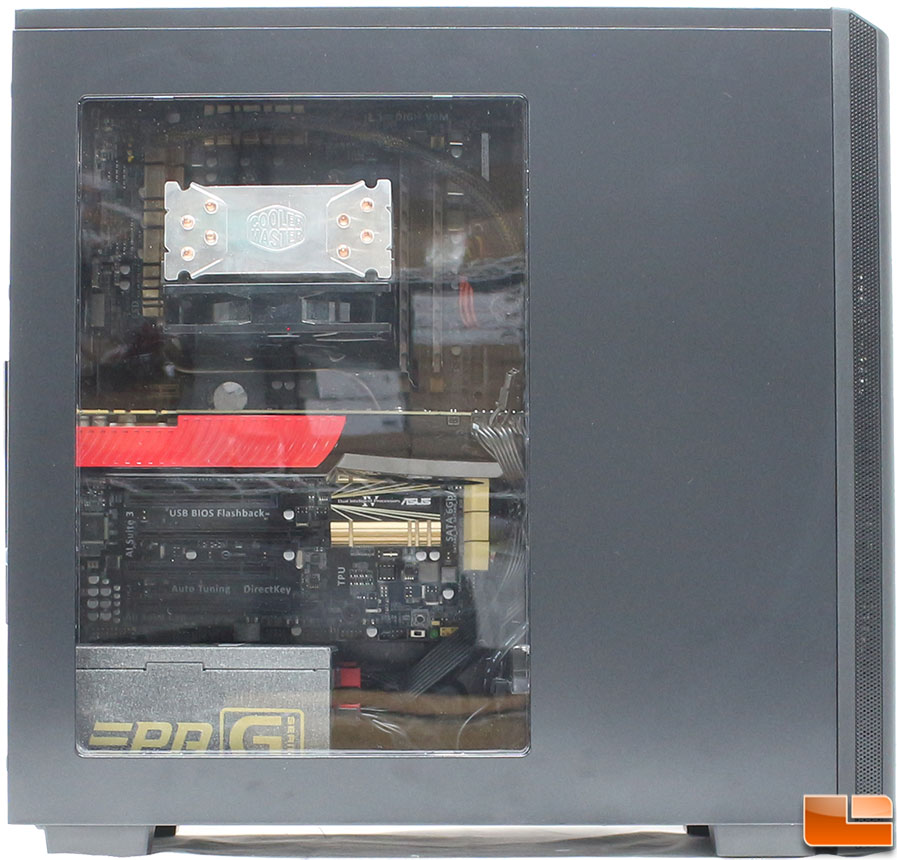
With everything installed and connected, we can put the side panels back into place and take a look at our new system. The window is large enough to allow you to see the major components. While I was installing cables, I did make one small change to the way the hard drives were installed. Previously I had the 3.5″ hard drive in the top location, I moved it down to the second, purely to allow me to use a right-angle SATA cable on the SSD. The SSD that is attached to the side panel of the cage, you won’t have a choice, you will have to have a straight SATA cable, and will most likely need to use the end SATA power connector as the drives connections are pretty close to the cage. Other than that, the cables are nicely routed out of the view, with the exception of the 8-pin AUX power connector at the top, I’d like to do something a little different with that, however I don’t have an extension currently available.