Antec Signature Series S10 Full Tower EATX PC Case Review
Antec Signature Series S10 Full Tower E-ATX Case Build Overview
We used an H97 PC Mate motherboard from MSI along with a load out of basic components for this build. While we could have opted for a larger, more involved, enthusiast build, we think it is best to detail the Antec S10’s build process with standard hardware, omitting an optical drive due to a lack of support for one in the S10, despite the huge size of the chassis.
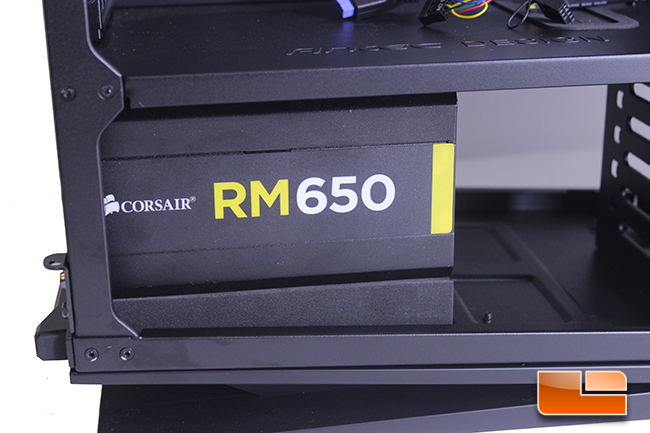
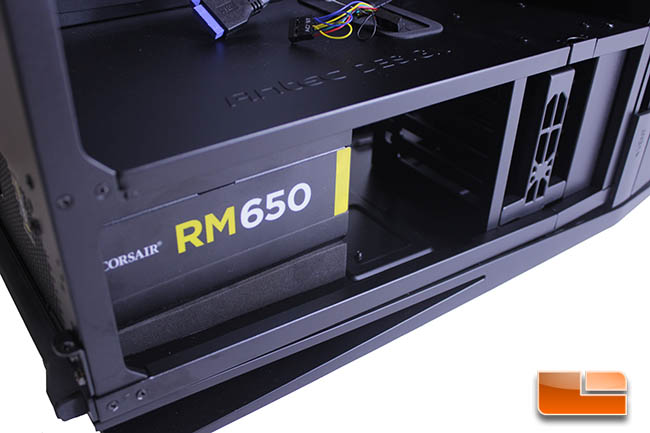
Installation of the PSU went just fine, but for this type of case design, we think a rear-sliding PSU would have been best, as the chamber is tight and installation of larger PSU’s is going to take some time and thought.
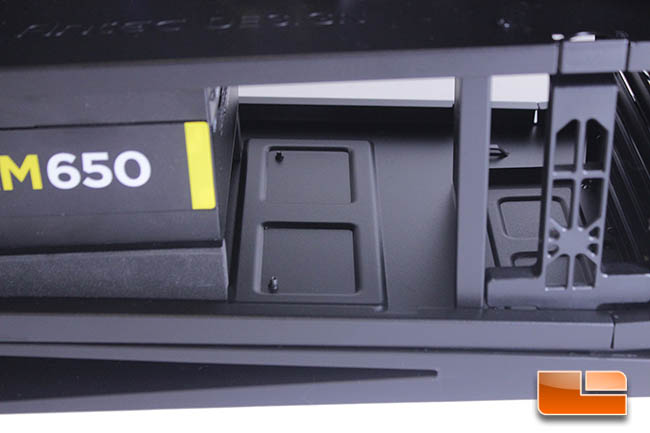
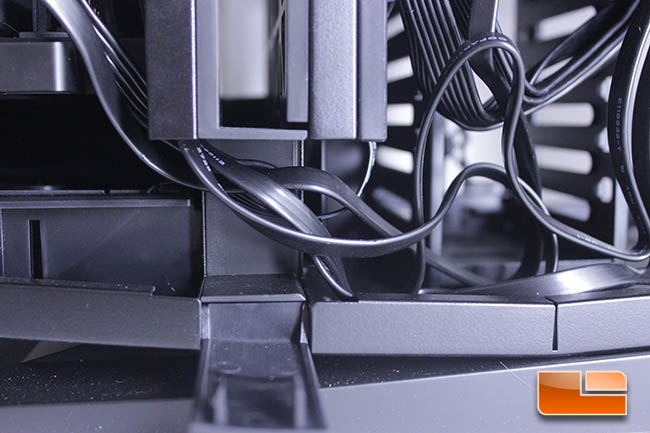
There is very tight spacing to plug in modular cables due to the drive cage in the bottom chamber, which isn’t removable. The space shown is the amount of room you will have to work with when installing and running modular cables. Our RM650 from Corsair fit just fine, but it is a standard unit that doesn’t extend very far. Even with our RM650, we had a difficult time installing cables once our 24-Pin ATX and 8-Pin CPU cable were installed because we were left with less room for our hands to be able to plug in modular cables.
For such a large case supposedly targeted at enthusiasts, the Antec S10 is cramped when it comes to cable routing for the PSU.
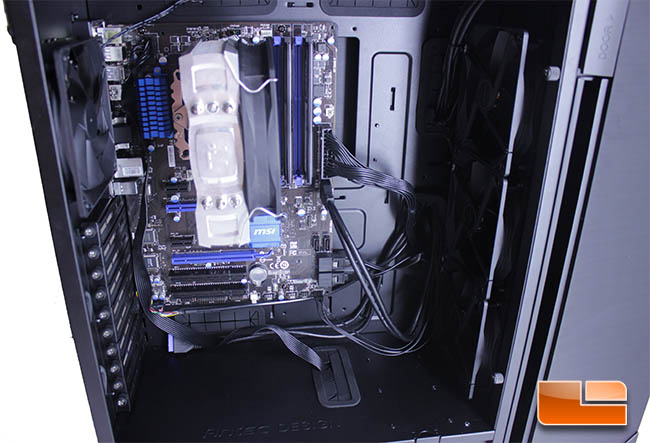
Since our H97 PC Mate board doesn’t have mounting holes on the right side of the board, the pre-installed standoffs were adequate for installation. The motherboard fit in the tray without issue and looks tiny in the spacious interior provided by the S10 Signature Series, which can house E-ATX motherboards and have plenty of room to spare.
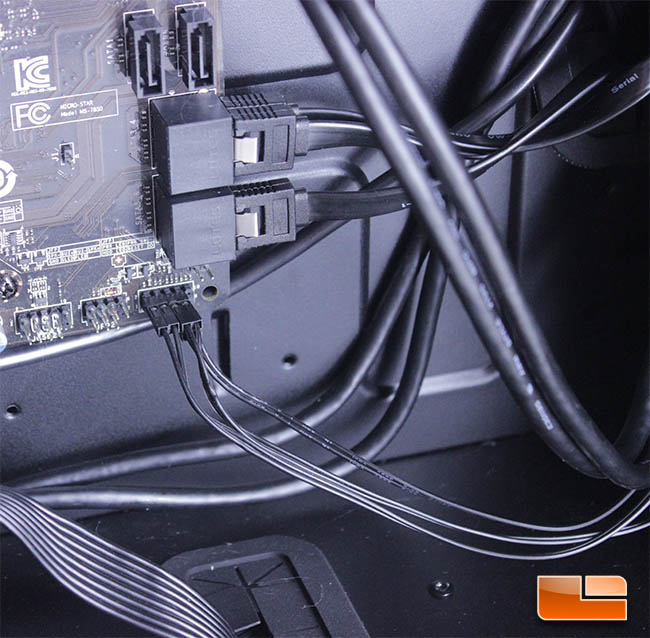
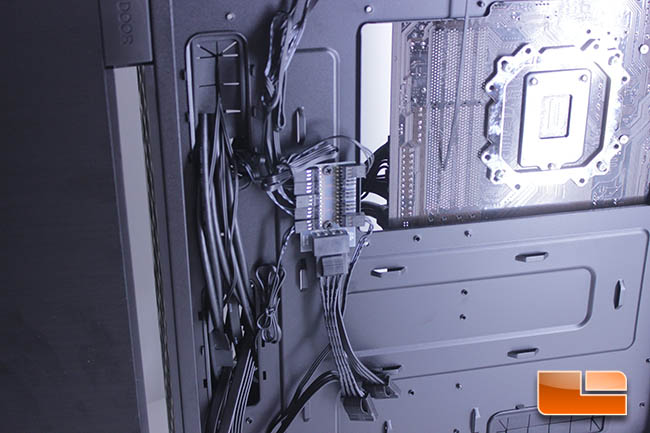
We like the use of uniform, black header cables on the Signature Series S10. The all-black SATA cables are a nice touch, as well.
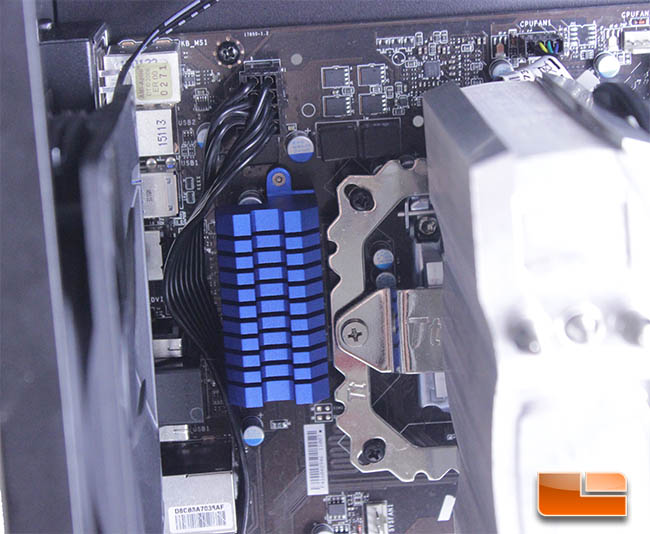
We are unable to run the 8-Pin CPU connector behind the motherboard tray because it’s just not long enough. As previously mentioned, there was no 8-Pin extension cable included, which is a huge disappointment.
Our motherboard only has one USB 3.0 header, so the second header for the S10 cannot be attached. Antec didn’t include an adapter to run the USB 3.0 into a USB 2.0 connector, which we’ve seen with other cases. This isn’t a huge problem, as most enthusiast motherboards have two USB 3.0 headers.
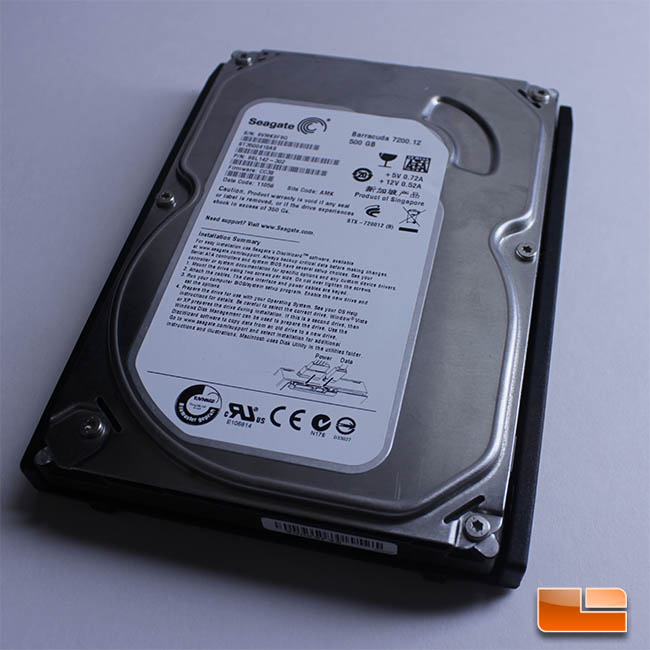
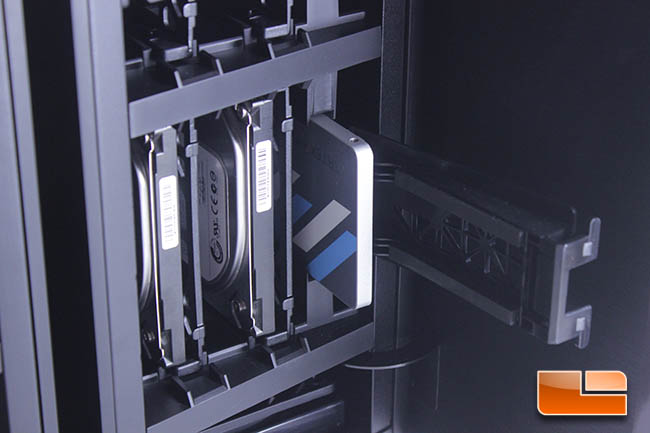
Hard Drive installation is simple, as Antec is using simple drive mounting caddies for 3.5″ drives. These caddies are not compatible with SSD’s, which I think is a huge oversight. Our drives lined up just fine with the caddies and snapped into the tabs without issue.
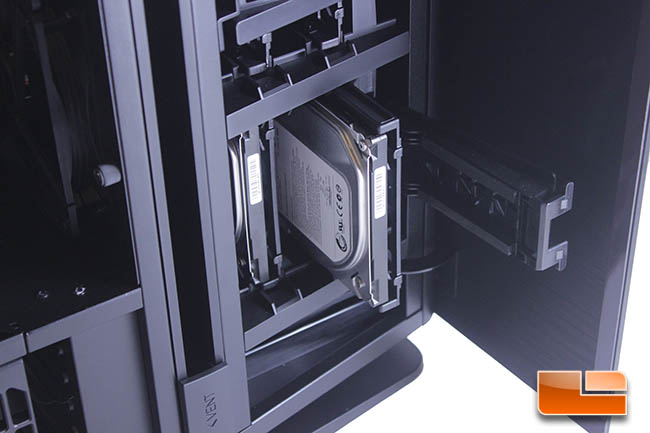
Once the drives were in the caddies, we slid them in the lowest section of the chamber, where we felt they would get the most benefit of the bottom-mounted cooling fan.
The OCZ Vertex 480A SSD slid into the SSD cage without issue, though it moved around quite a bit and left us feeling like the mounting mechanism was cheap.
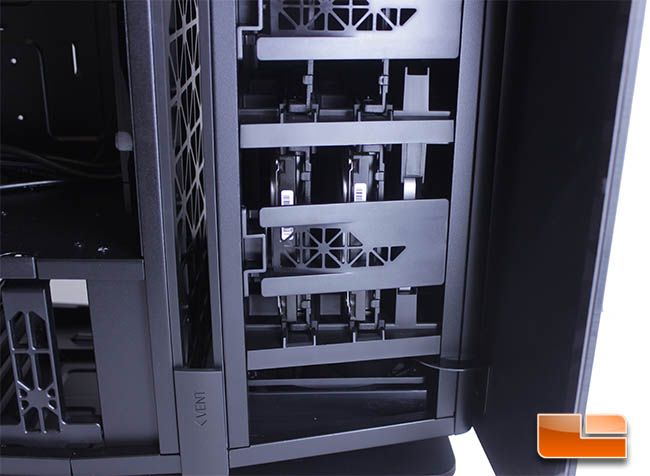
Once all of the drives are installed, you push the clip back into place to lock them. I’m not a big fan of this mounting system for a couple of reasons. In my experience, mounting drives on their side causes more vibration than mounting them horizontally. Also, there is nothing really preventing the drives from vibrating excessively, as the drive mounting is just flexible, thin plastic and the internal cages are also made of plastic.
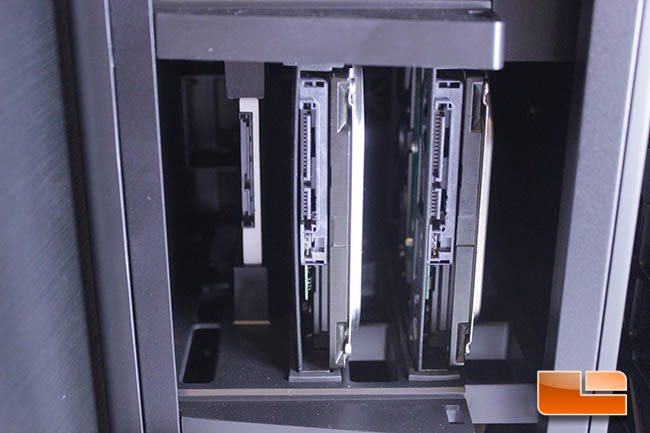
Do to the installation position, the SSD won’t have it’s connectors flush or lined up with the HDD’s, which will make it more difficult to run cables. While the rear of the HDD’s are accessible, we c an see that the SSD rear is actually a fingers length past where the HDD lines up. I think we’ve done a fair amount of harping on the drive mount system, but this design element is just plain annoying. It wasn’t thought out very well, or Antec is out of touch with what enthusiast builds typically require in 2015. Again, Antec could have used 2.5/3.5″ compatible cages here to alleviate many of these issues.
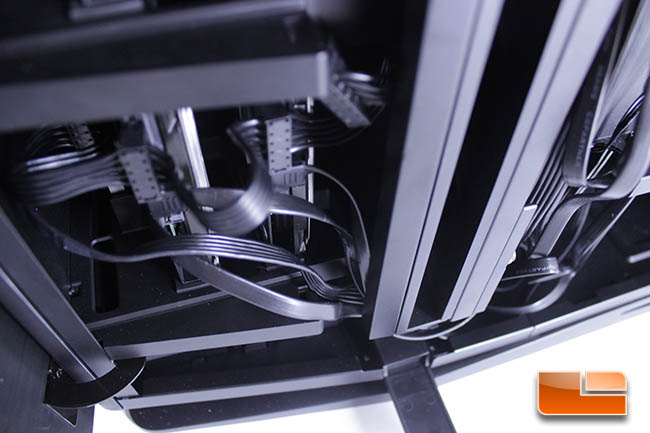
While we’re only running three storage drives, the cable routing area provided is already congested. If we add more drives, it’s going to become a real chore to route the cables.
Here we see the small channel that all SATA cables must pass through. Running multiple drives in the front chamber is going to require taking additional time for cable management and we wish Antec would have afforded more space for this routing.
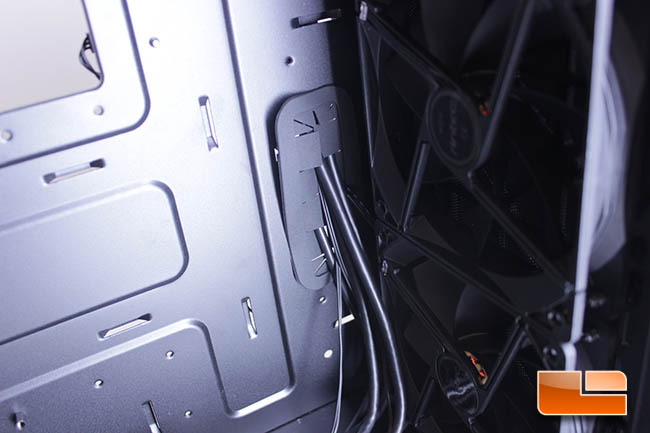
Throughout the build, the rubber grommets would come out partially, even from just moving a cable, as seen here. We decided to just wait until the build was complete to try and finesse them back in. These are the most flimsy rubber grommets I have ever worked with, yet the Antec Signature S10 carries a higher MSRP than any case I’ve ever reviewed.
All of the stock fans for the Signature Series S10 have been plugged into the included fan hub. Given that the case has seven stock fans, the fan hub was a necessity. We had one of the connectors lift up when attempting to install a fan, as the hub is very cheap and the connectors reflect this. Like other manufacturers, Antec should have used a decent PWM fan hub that is cable of being motherboard controlled. The solution here is cheap and offers no user-control. For such an expensive case, the fan control situation on the Antec S10 wasn’t thought through very much, at all. Antec could have used that wasted space on top of the front chamber for a fan controller and shown enthusiasts they actually put some thought and effort into the design of the case. This hub seems like a cheap patch that Antec included because they pretty much had to. AZZA included a fan controller with hub on their full-tower Nova 8000 case, which comes in at just over $100. NZXT includes a fan hub with PWM controller on several of it’s offerings that are in the $100-range, as well.
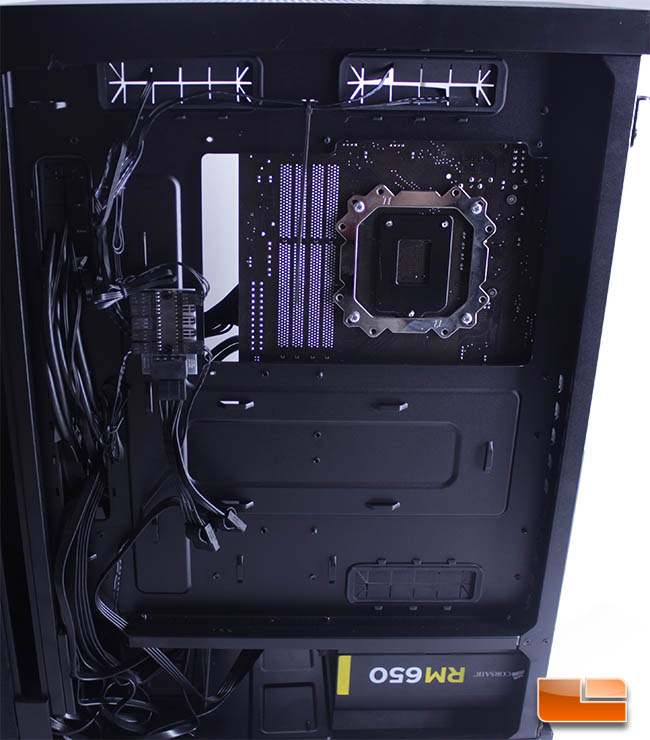
Running cables behind the tray wasn’t an issue, except for that we had to run the 8-Pin CPU connector over the motherboard, which is a throwback to pre-enthusiast chassis. While our component setup is very basic and likely not indicative of the type of build somebody who buys the Signature Series S10 would be completing, we still had a tight fit when it came to cable routing.
Issues with component quality came up throughout the build, as the rubber grommets were frustrating to work with and we ran into issues with the rubber door stops falling off of the rear of the case. Users who are going to run multiple hard drives and extensive component setups in the Antec S10 are going to be in for a headache. For it’s asking price of $400, building into the Antec S10 Signature Series should have been a fun experience devoid of quality control issues and cheap components, but that is not the situation at all.
We will point out a few positives. The Signature Series S10 is dead quiet, especially given it has seven fans. When it was powered on, the most noticeable sound in our system was coming from the hard drives. With the thick side panels closed, running our zero-RPM power supply and Thermaltake quiet HSF, we could barely hear the system running at all. Drive installation is easy, but we don’t like how SSD’s sit in their trays loosely, with no way to truly secure SSD’s or Hard Drives to their mounting mechanisms. Overall, we were underwhelmed and felt that the internal build quality of the Signature Series S10 didn’t reflect the price point and after completing our build, our feelings are amplified.