Antec ATX 12V Power Supply Tester Review
Testing Your PSU

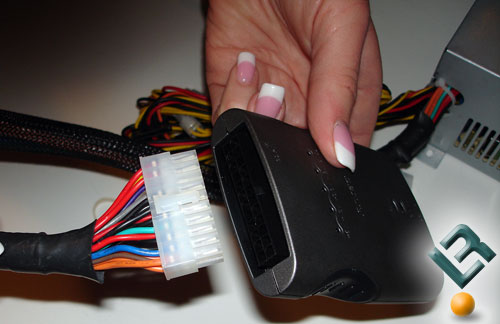
How simple is the testing process? so simple my wife can actually do it! First, unplug the PSU and disconnect everything from it (I mean everything….motherboard, optical and HDD, fans, everything). Next, plug your power supply’s 20 or 24 pin connector into the testing unit.
After making sure your power supply is firmly plugged into the unit, plug the power supply into an electrical outlet and turn on the power supply. The tester will actually allow the power supply to draw power, so don’t worry if the power supply’s fans start spinning. This is done to simulate the power supply under load.
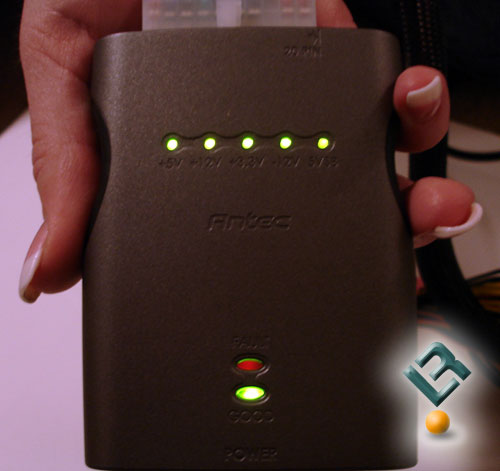
Now it is as simple as watching the light show! At first the individual rail LEDs will come on yellow, then one by one, if your power supply is good, they will turn to green.
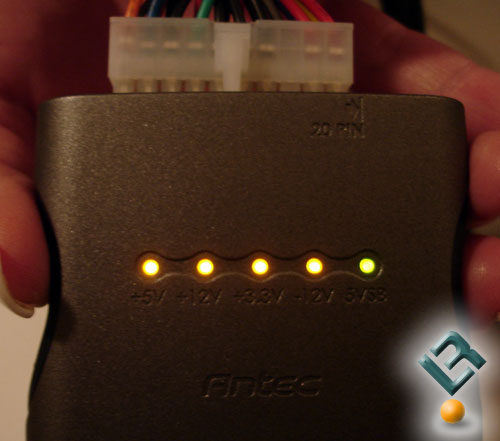
Should they stay yellow it means that the power supply’s rails are undervolting, Red LEDs mean that your power supply is overvolting.
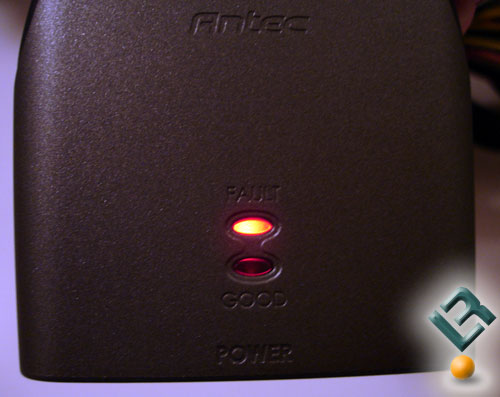
Laastly, the main POWER LED will switch on. GREEN means your power supply is fine, RED means that there is some sort of fault with the overall power supply or that a rail is bad (which you will be able to see from the individual rail LEDs), if both the GREEN and RED POWER LEDs light up, this means that the power supply should be replaced.
The entire process should take about 10 minutes (including disconnecting your power supply from your system). The actual testing itseldf took less than a minute and was as simple as it gets simple.
Comments are closed.