AeroCool Touch-2000 LCD Fan Controller Review
External Impressions & Installation
The Touch-2000 itself has a silver bezel around the screen which is framed in black aluminum. This is the only offered color at this time so if you have a case other than black, it may not integrate as seamlessly as you might like, but most optical drives come in only black or beige so this is nothing out of the ordinary. The front also features audio, USB, and eSATA ports which really adds to the value of the Touch-2000. This is especially true if you have a budget case that may totally lack an eSATA port and only have one or two USB ports available.

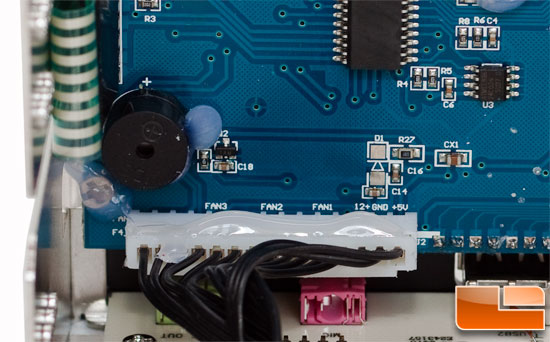
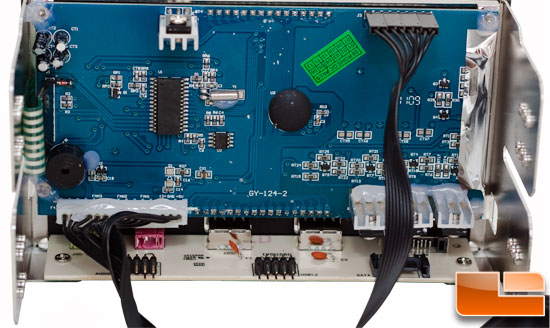
Looking at the guts of the unit, youll see the USB, audio and SATA ports clearly labeled. The fan connectors are somewhat permanently connected with what appears to be glue. The temperature probes are not similarly bound but the cables are joined into one continuous piece for the first few inches. The manual doesnt explicitly say so, but Im assuming the extra thermal probes can be used here in the event there is a problem with one or more of the original ones.
On the subject of the manual, I found it to be somewhat difficult to read. It is printed on one 10.5 x 14.5 sheet of paper (unfolded) in eight languages with each step shown in all languages prior to displaying the next step. This requires jumping from place to place on the sheet to walk through the instructions. This probably saves space by only having to show each diagram once but grouping the steps by language would be ideal, even if this required a download of an electronic copy. Also missing from the manual is the listing of all parts which is helpful to know if a mistake was made and parts are missing. While it shows how to connect the fans, power cable, and temperature probes, it makes no mention of the audio cable, USB cable, eSATA or the extra probes. I actually searched for extra probe connectors on the Touch-2000 until I finally decided they were spares.
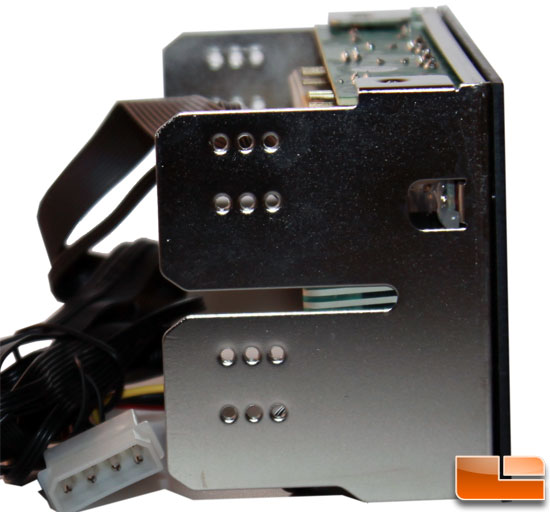
The touch screen allows the Touch-2000 to forgo knobs and buttons which gives it a sleek, clean appearance. It takes up two 5.25 drive bays so those with small cases and multiple optical drives may have to opt for the Touch-2000s little brother, the Touch-1000 which only requires one empty bay. The side panels of the unit are sized as most fan control panels are — much shorter than that of optical drives. As a result, it can be hard to get it to lock in perfectly with a flush mount when installing in tool-less cases depending upon the design of the locks. It took me a few minutes to get it where I wanted it and I followed that up with the included screws to secure it for use as there is no real weight to counterbalance the unit.
Once it’s in place, it’s a simple matter of plugging in the Molex power cable, connecting the USB and audio cables to the proper plug locations on the motherboard, attaching the temperature probes with the included thermal tape and connecting the fans to the 3 pin fan connectors. AeroCool strongly recommends turning off your system prior to disconnecting/connecting fans, even though certain Legit Reviews writers (ahem, Bubba) make a habit of doing so. The fan cables are labeled 1-4 and via an instructional picture in the manual, it is inferred that this is to be used for the CPU fan. This makes sense because this is the only fan cable that actually has an extra speed sensor cable that can be plugged in the CPU fan port on the motherboard so that the motherboard can monitor the fan speed in tandem with the Touch-2000. If you choose not to use this, remember to disable that setting in your BIOS first or it may think your fan has died and set off alarms or even shut down. Note that the max power per fan channel is 6 Watts (0.5A@12V), which should be plenty for most case fans.

The temperature probes are labeled 1-4 as well and it is again only inferred in the manual that these should be used in for the CPU, VGA, HDD & SYS temperatures respectively, although you can use them wherever you wish. Please do not attempt to place a probe between the heat sink base and the CPU! This will cause the cooler to have poor contact with the CPU which can lead to all sorts of bad things.
Comments are closed.